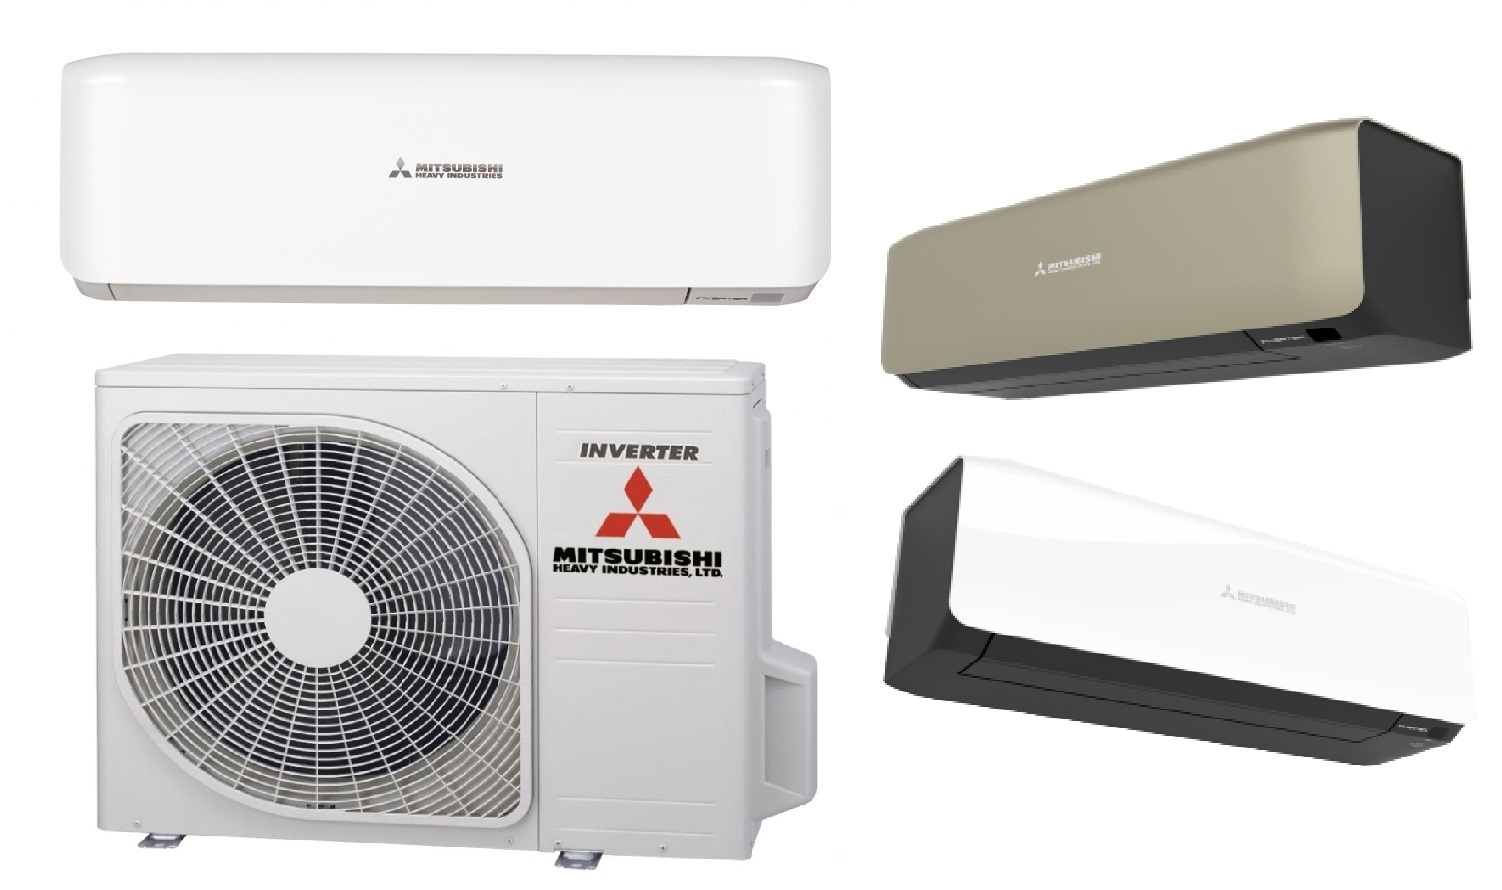
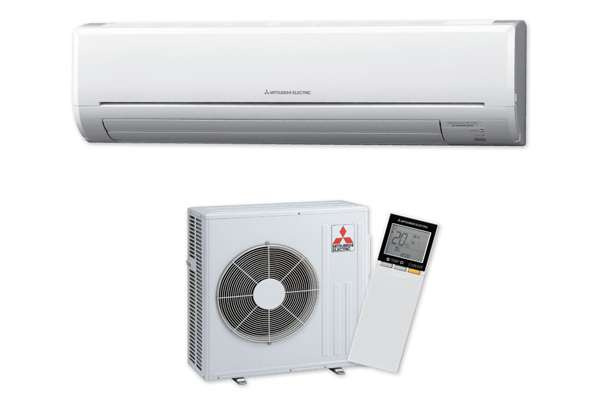
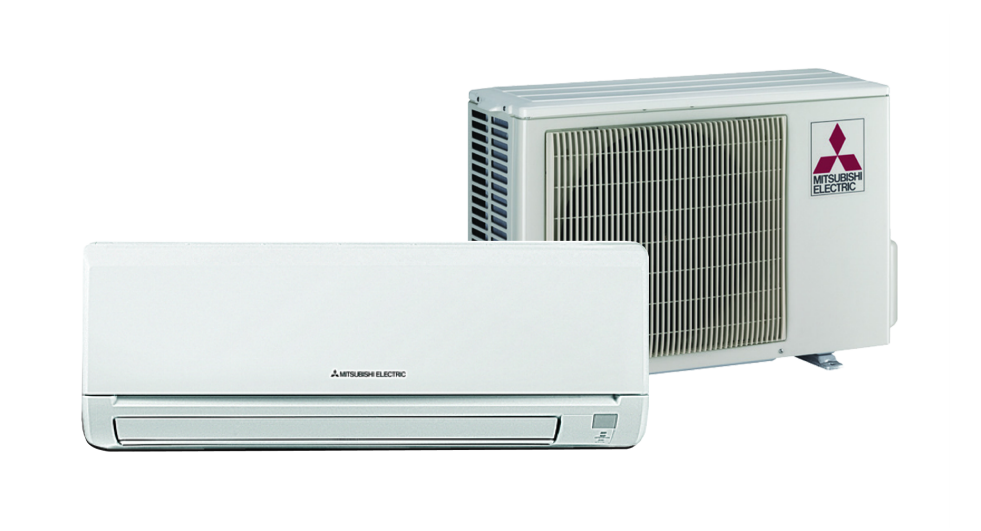
Mitsubishi Heat And Air Conditioning Units

Mitsubishi heat and air conditioning units are known for their efficiency and reliability. However, like any complex system, they can occasionally experience problems. One of the most frequent issues homeowners encounter is inconsistent cooling or heating, where some rooms are colder or hotter than others, or the system struggles to maintain the desired temperature.
Diagnosing Inconsistent Heating or Cooling in Your Mitsubishi Unit
Before calling a professional, let's walk through a methodical process to diagnose the issue. This will save you time and potentially money.
Step 1: Visual Inspection (No Tools Required)
Begin with a thorough visual inspection of both your indoor and outdoor units.
- Check the Air Filters: Dirty air filters are the most common culprit for reduced airflow and inconsistent temperatures. Locate your air filters (usually behind a grille on the indoor unit or within the air handler). Remove the filters and hold them up to the light. If you can't see through them easily, they need cleaning or replacement.
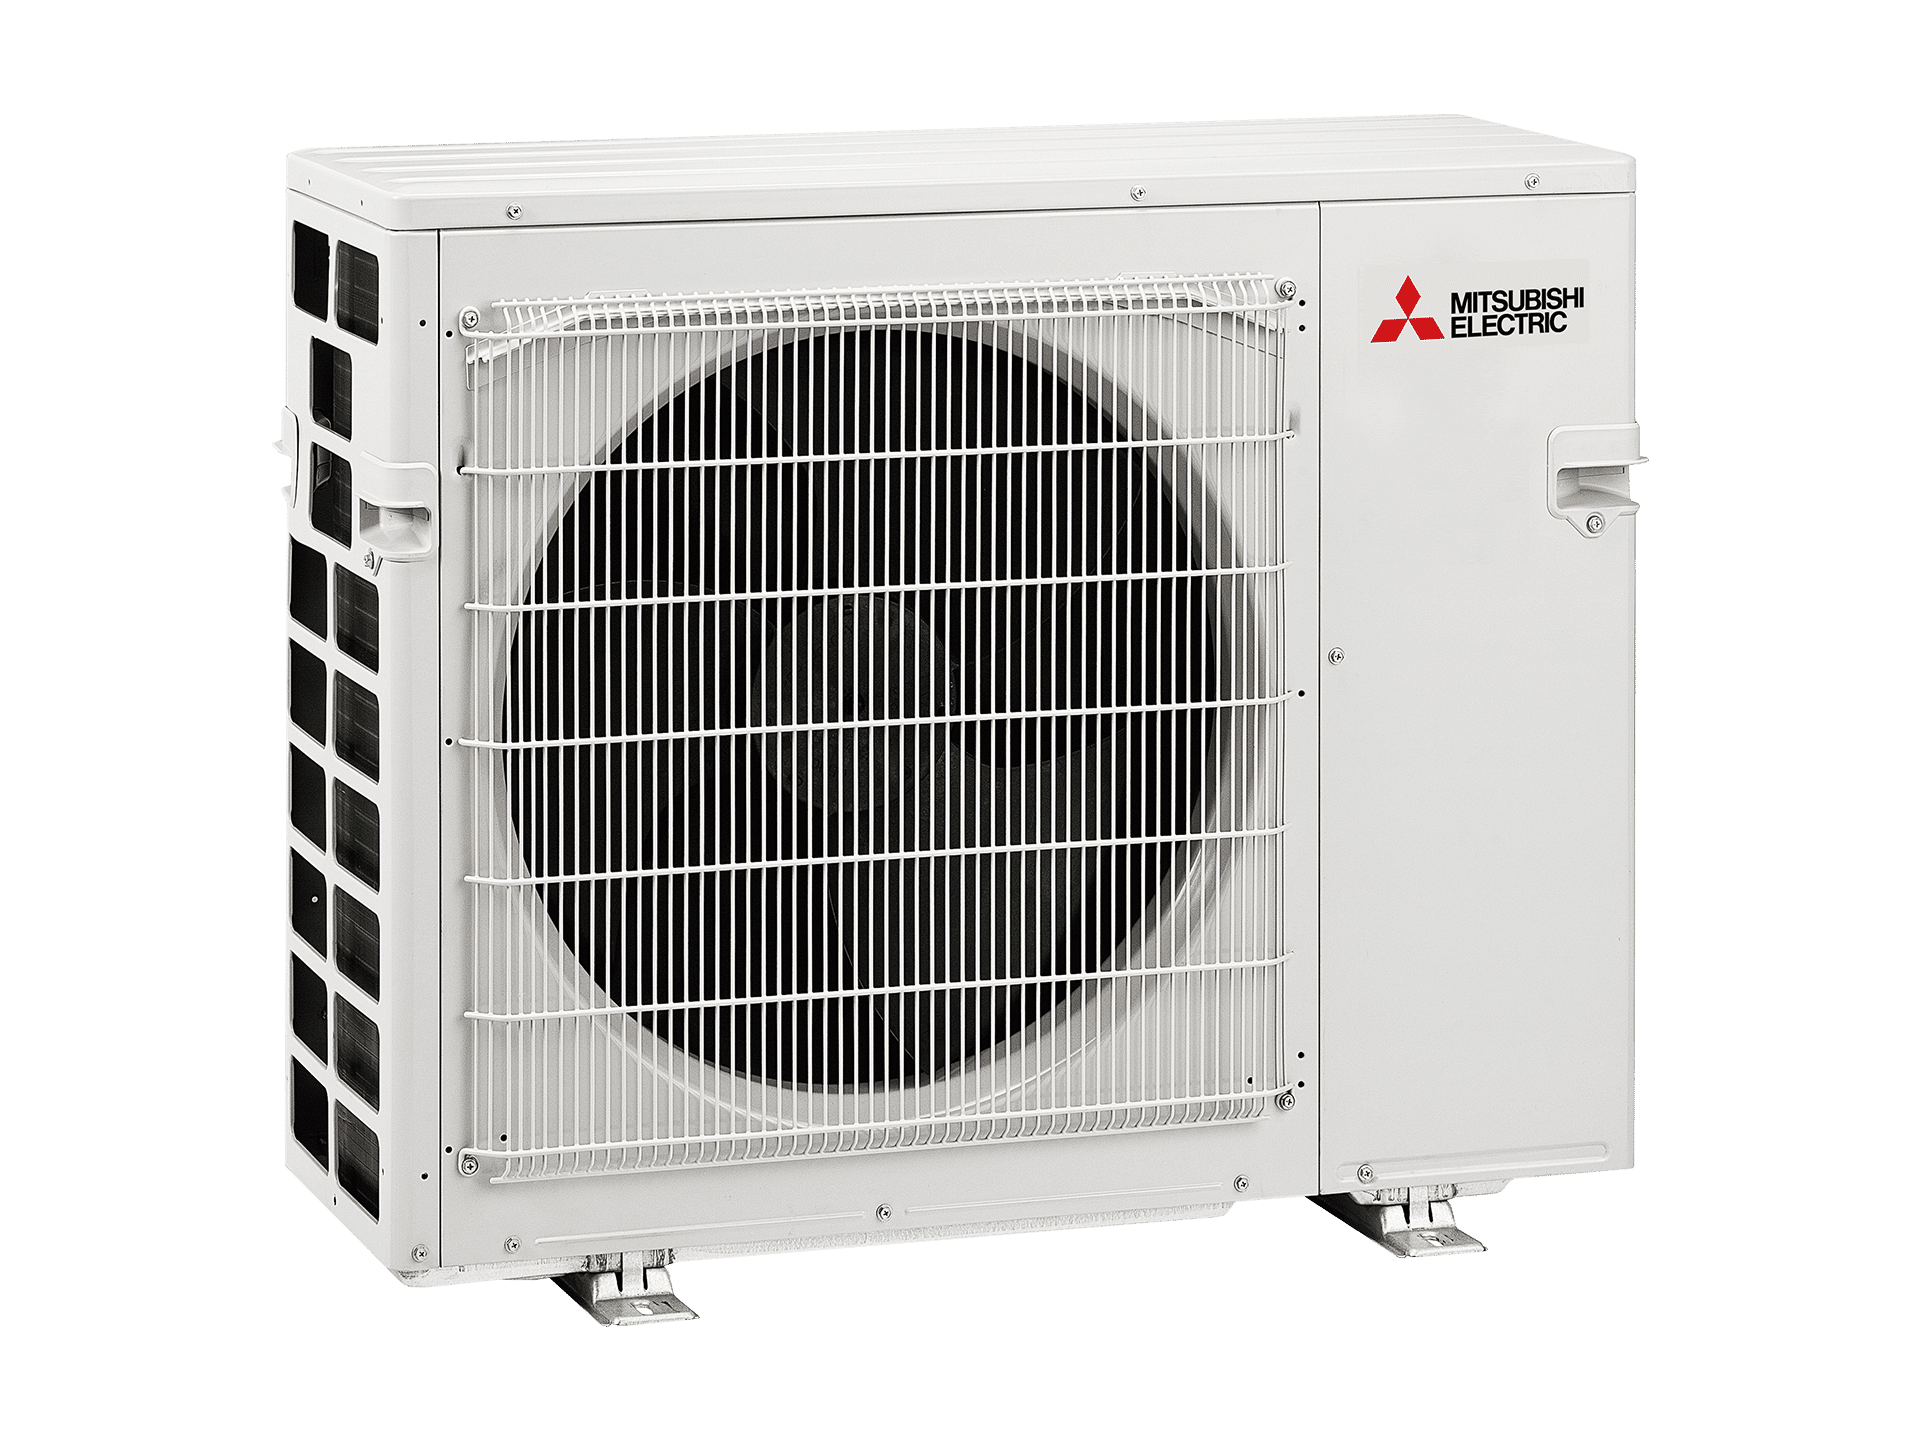
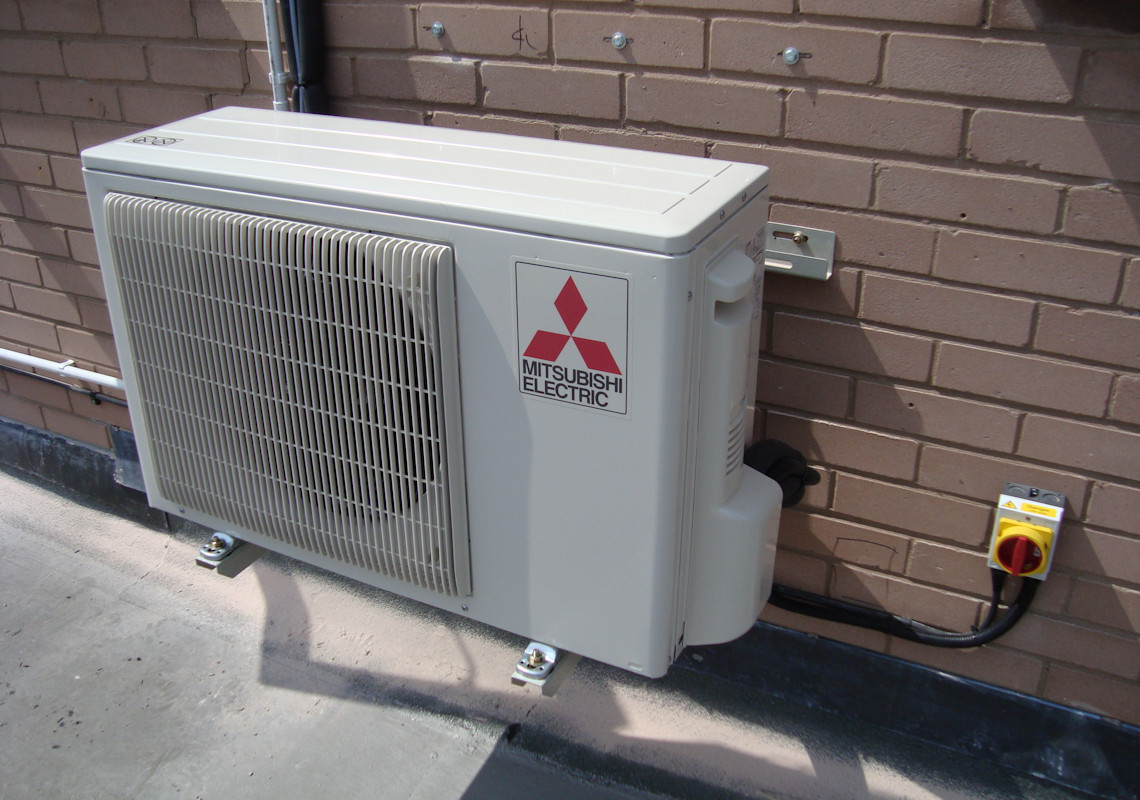
- Inspect the Outdoor Unit: Look for any obvious obstructions around the outdoor unit. Ensure there is at least 2-3 feet of clear space on all sides for proper airflow. Debris like leaves, grass clippings, or snow can significantly impede performance.
- Check for Ice Buildup: During the winter, inspect the outdoor unit for ice buildup. A thin layer of frost is normal, but excessive ice can indicate a problem with the defrost cycle.
- Inspect Indoor Vents: Ensure that all supply and return air vents are open and unobstructed by furniture, rugs, or curtains. Closed vents can disrupt airflow and cause temperature imbalances.
Step 2: Basic Troubleshooting (No Tools Required)
After the visual inspection, try these simple troubleshooting steps.
- Cycle the System: Turn the unit off for 15-20 minutes, then turn it back on. This can sometimes reset the system and resolve minor glitches.
- Verify Thermostat Settings: Ensure your thermostat is set to the correct mode (heat or cool) and the desired temperature. Double-check the program settings to make sure there are no unexpected temperature changes scheduled.
- Check for Error Codes: Many Mitsubishi units display error codes on the indoor unit or thermostat. Consult your owner's manual to decipher the meaning of the code and any suggested troubleshooting steps.
Step 3: More Detailed Checks (Basic Tools Required)
If the above steps haven't resolved the issue, you can proceed with some more detailed checks, requiring basic tools.
- Clean the Air Filters (If Reusable): If your filters are reusable, wash them with mild soap and water. Allow them to dry completely before reinstalling.
- Clean the Outdoor Unit Fins: Use a garden hose (with a gentle spray nozzle) to clean the fins on the outdoor unit. Be careful not to bend the fins. A fin comb can be used to straighten bent fins.
- Check the Breaker: Locate the circuit breaker for your HVAC system in your electrical panel. Ensure the breaker is not tripped. If it is, reset it. If it trips again immediately, there's likely a more serious electrical problem.
Step 4: Advanced Troubleshooting (Potentially Requires Professional Help)
The following steps involve working with electrical components and refrigerant. These are best left to qualified HVAC technicians.
- Checking Refrigerant Levels: Refrigerant levels should only be checked by a certified technician. Low refrigerant can indicate a leak, which needs to be located and repaired.
- Testing Electrical Components: Using a multimeter to test capacitors, contactors, and other electrical components requires specialized knowledge and can be dangerous if not done correctly. This is best left to professionals.
- Inspecting the Blower Motor: A malfunctioning blower motor can cause inconsistent airflow. However, accessing and diagnosing blower motor issues often requires dismantling parts of the unit and using specialized testing equipment. A professional can best handle this task.
DIY Actions You Can Take
Based on the diagnosis, here are some DIY actions you can safely perform:
- Replace or Clean Air Filters: This is the most common and simplest fix. Regular filter maintenance is crucial for optimal performance.
- Clear Obstructions Around Units: Ensure proper airflow to both indoor and outdoor units. Keep the areas around the units clear of debris.
- Adjust Thermostat Settings: Double-check your thermostat to ensure it is programmed correctly and set to the desired temperature.
- Balance Airflow (To a Limited Extent): You can adjust the dampers in your ductwork to slightly balance the airflow to different rooms. However, avoid closing off too many vents, as this can strain the system.
When to Call a Professional HVAC Technician
It's crucial to know when to call a professional. Here are some situations where you should definitely seek professional HVAC service:
- Refrigerant Leaks: Refrigerant is a hazardous substance, and only certified technicians are qualified to handle it.
- Electrical Problems: Working with electrical components can be dangerous. Any electrical issues should be addressed by a qualified electrician or HVAC technician.
- Compressor Issues: The compressor is the heart of the cooling system. If you suspect a compressor problem, contact a professional immediately.
- Strange Noises: Unusual noises, such as banging, grinding, or hissing, can indicate serious mechanical problems.
- Icing Issues: If your outdoor unit is constantly icing up, it could indicate a refrigerant problem or a malfunctioning defrost cycle. A professional can diagnose and repair these issues.
- Persistent Inconsistent Temperatures: If you've tried the DIY troubleshooting steps and are still experiencing inconsistent temperatures, there may be a more complex issue requiring professional diagnosis.
- Error Codes You Can't Resolve: If you're seeing error codes that you can't find information about or can't resolve using the manufacturer's troubleshooting guides, it's time to call a professional.
Safety Precautions
Always prioritize safety when working with your HVAC system.
- Turn Off the Power: Before performing any maintenance, turn off the power to the unit at the circuit breaker.
- Wear Protective Gear: Wear gloves and eye protection when cleaning the units.
- Don't Work on a Wet Unit: Never work on the unit when it is wet or during a rainstorm.
- Be Careful with Fins: The fins on the outdoor unit are delicate and can be easily bent. Use caution when cleaning them.
- If in Doubt, Call a Professional: If you are unsure about any aspect of the troubleshooting or repair process, it's always best to err on the side of caution and call a qualified HVAC technician.
Preventative Maintenance
The best way to avoid problems with your Mitsubishi heat and air conditioning unit is to perform regular preventative maintenance.
- Change or Clean Air Filters Regularly: This is the most important maintenance task. Check your filters monthly and replace or clean them as needed.
- Schedule Annual Professional Maintenance: Have your system professionally inspected and tuned up annually. A technician can identify and address potential problems before they become major issues.
- Keep the Outdoor Unit Clean: Regularly clean the outdoor unit to ensure proper airflow.
- Monitor System Performance: Pay attention to how your system is performing. If you notice any changes in temperature, airflow, or noise, investigate the issue promptly.
By following these troubleshooting steps and taking preventative measures, you can keep your Mitsubishi heat and air conditioning unit running smoothly and efficiently for years to come. Remember, when in doubt, always call a qualified HVAC professional for assistance.