Moen Tub And Shower Faucet Installation

A leaky tub and shower faucet is a common household annoyance that can lead to wasted water and higher utility bills. While a complete faucet replacement might seem daunting, many issues during or immediately after a Moen tub and shower faucet installation can be resolved with some basic troubleshooting. This guide offers a step-by-step approach to identifying and fixing common problems, empowering you to tackle simple repairs safely and effectively. Remember, if at any point you feel uncomfortable or the problem seems beyond your skill level, don't hesitate to call a licensed plumber.
Initial Checks After Installation
Before diving into complex diagnostics, let's start with the basics. These initial checks can often pinpoint simple mistakes made during the installation process.
1. Water Supply
- Confirm Water is On: This might sound obvious, but double-check that the main water supply to your house, and especially the shut-off valves leading to the bathroom, are fully open. Sometimes, valves are accidentally left partially closed after installation.
- Check for Kinks: If you've recently replaced any supply lines, inspect them for kinks or bends that could be restricting water flow.
2. Cartridge Installation
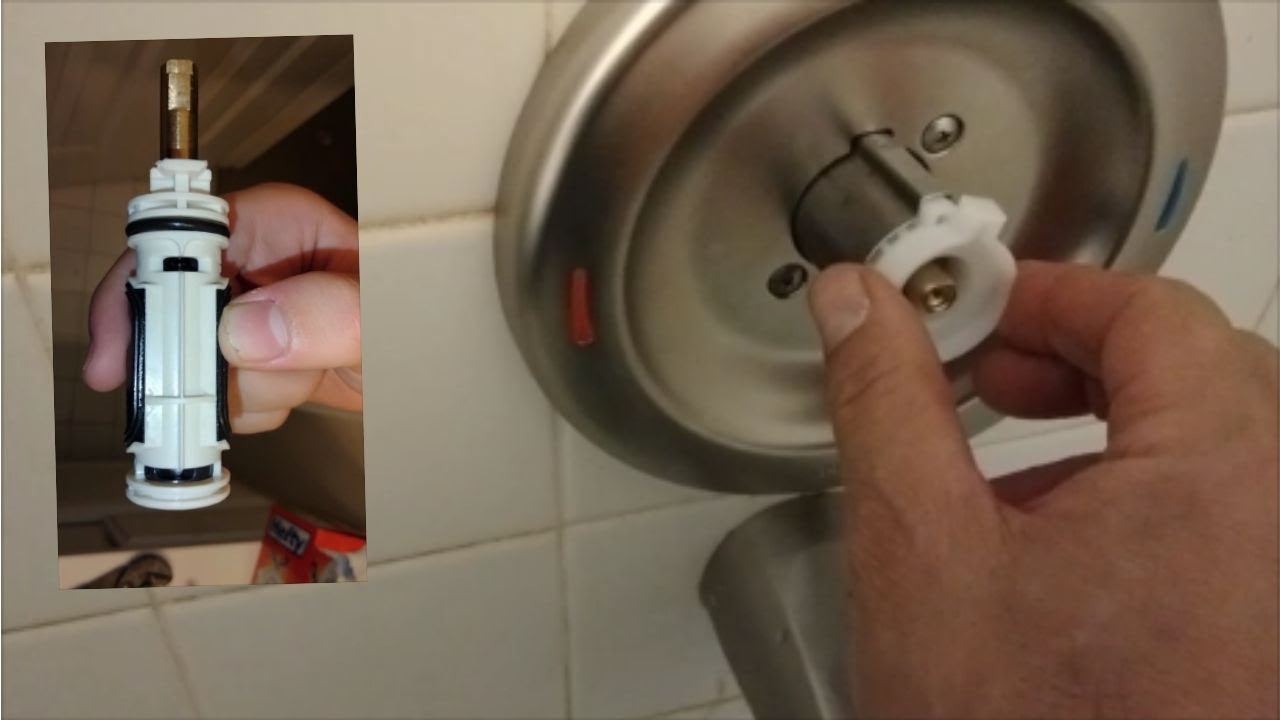
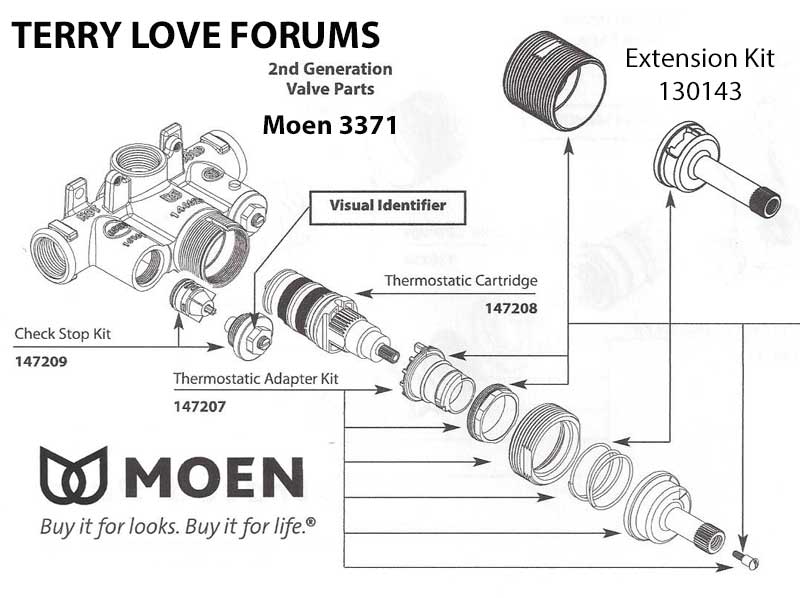
The cartridge is the heart of a Moen faucet, controlling water flow and temperature. Improper installation is a frequent culprit behind many issues.
- Correct Orientation: Ensure the cartridge is installed in the correct orientation. Most Moen cartridges have markings or notches that indicate the proper position. Refer to your faucet's installation manual for specific instructions. Incorrect installation can lead to water flowing when the faucet is off, or difficulty adjusting temperature.
- Securely Fastened: The cartridge must be securely fastened within the faucet body. Check the retaining clip or nut that holds the cartridge in place. A loose cartridge can cause leaks or inconsistent water flow. Make sure the retaining clip or nut is properly seated and tightened according to the manual.
- Cartridge Damage: Inspect the cartridge for any visible damage, such as cracks or breaks. If you suspect damage, replace the cartridge with a new one.
3. Handle Alignment and Operation
The faucet handle should move smoothly and easily, controlling the water flow and temperature without resistance.
- Proper Alignment: Make sure the handle is aligned correctly with the cartridge stem. If the handle feels stiff or difficult to turn, it might not be properly connected to the cartridge.
- Handle Screw: Ensure the handle screw is tightened securely. A loose handle screw can cause the handle to wobble or feel unstable. However, avoid over-tightening, which can damage the handle or cartridge.
- Full Range of Motion: Test the full range of motion of the handle. It should move smoothly from cold to hot and from off to full flow. If you encounter any resistance or unusual noises, investigate further.
Troubleshooting Common Problems
Now, let's address specific issues you might encounter after installing a Moen tub and shower faucet.
1. Leaky Faucet
A dripping faucet is a common problem that can be frustrating and wasteful.
- Cartridge Issues: The most likely cause of a leaky Moen faucet is a faulty cartridge. Over time, the rubber seals within the cartridge can wear out, causing leaks. Replacing the cartridge is often the solution.
- Turn off the water supply.
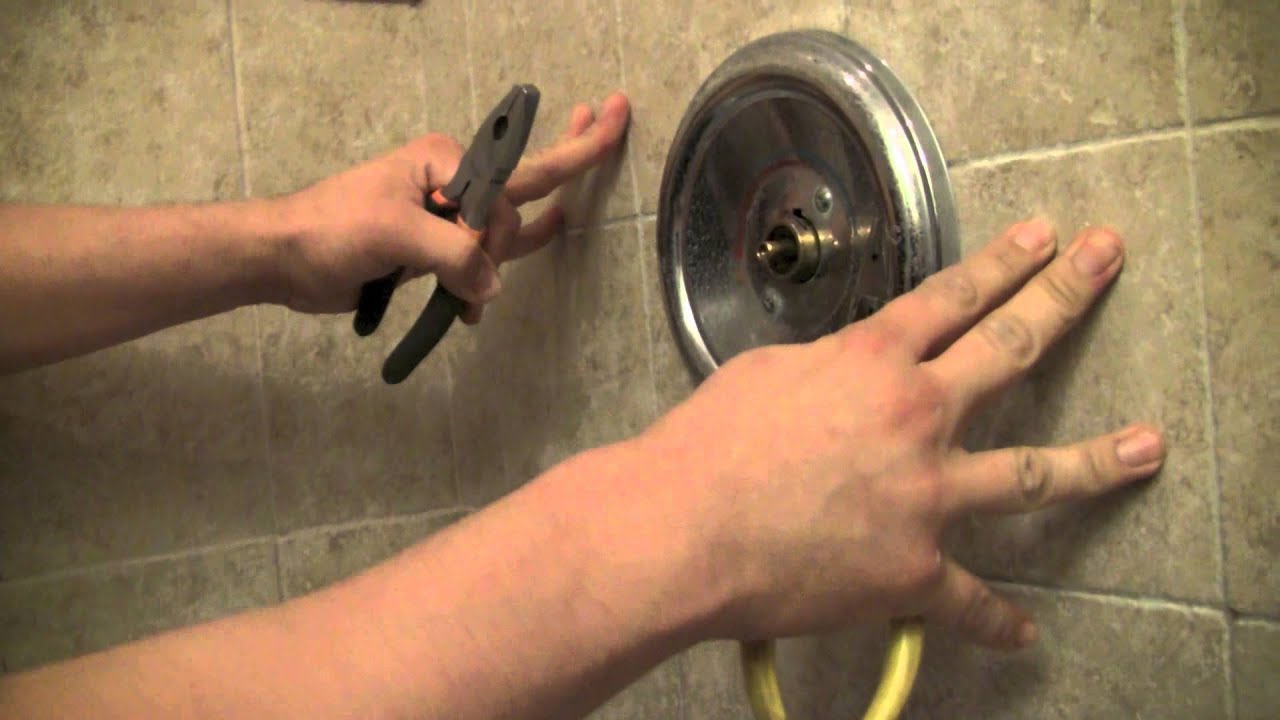
- Remove the handle and trim.
- Remove the old cartridge using a cartridge puller (often needed).
- Install the new cartridge, ensuring proper orientation.
- Reassemble the faucet.
- O-Rings and Seals: Inspect the O-rings and seals around the cartridge and other faucet components. Damaged or worn O-rings can also cause leaks. Replace any damaged O-rings with new ones of the correct size. A small amount of silicone grease on the new O-rings can help them seal properly.
- Valve Seats: In some cases, the valve seats (the surfaces against which the cartridge seals) can become corroded or damaged. This is less common in newer faucets but can occur in older installations. If the valve seats are damaged, you might need to replace the entire faucet body. This is best left to a professional plumber.
2. Low Water Pressure
Reduced water pressure after installing a new faucet can be due to several factors.
- Debris in Aerator: The aerator, located at the end of the spout, can become clogged with debris during installation. Remove the aerator and clean it thoroughly with a brush or cloth. Soaking it in vinegar can help dissolve mineral deposits.
- Clogged Cartridge: Debris can also clog the cartridge itself, restricting water flow. Try flushing the faucet by running the water at full flow for a few minutes. If this doesn't work, remove the cartridge and inspect it for debris. Clean the cartridge carefully, or replace it if necessary.
- Kinked or Restricted Supply Lines: As mentioned earlier, check the supply lines for kinks or restrictions. Ensure that the supply lines are the correct size for your faucet and that they are not blocked by debris.
- Pressure Balancing Spool (if applicable): Some Moen faucets have a pressure balancing spool that helps maintain consistent water temperature when there are fluctuations in water pressure. If this spool becomes stuck or damaged, it can cause low water pressure. Cleaning or replacing the pressure balancing spool might resolve the issue. Consult your faucet's manual for specific instructions on accessing and servicing the pressure balancing spool.
3. Water Temperature Issues
Difficulty controlling water temperature, or water that is consistently too hot or too cold, can be a sign of cartridge or plumbing problems.
- Cartridge Adjustment: Some Moen cartridges have an adjustable temperature limit stop. This allows you to set the maximum hot water temperature to prevent scalding. Make sure the temperature limit stop is set correctly. Refer to your faucet's installation manual for instructions on adjusting the temperature limit stop.
- Crossed Hot and Cold Water Lines: This is a common mistake during installation. If the hot and cold water lines are crossed, the faucet will dispense cold water when you expect hot, and vice versa. Correct this by swapping the hot and cold water connections at the faucet or supply lines.
- Pressure Balancing Spool (again): As mentioned above, a malfunctioning pressure balancing spool can also affect water temperature. If the spool is stuck or damaged, it can cause inconsistent or fluctuating water temperatures.
- Water Heater Setting: While less likely related to the faucet installation itself, ensure your water heater is set to the appropriate temperature. A too-low setting will result in lukewarm water, while a too-high setting can be dangerous.
4. No Water Flow at All
If no water comes out of the faucet at all, the problem is likely a complete blockage or a closed shut-off valve.
- Closed Shut-Off Valves: Double-check that both the hot and cold water shut-off valves are fully open.
- Main Water Supply: Verify that the main water supply to your house is turned on.
- Debris in Cartridge or Supply Lines: A significant blockage in the cartridge or supply lines can prevent water from flowing. Disconnect the supply lines and check for debris. Remove and inspect the cartridge for blockages.
- Air Lock: Occasionally, air can become trapped in the water lines, creating an air lock that prevents water from flowing. Try opening other faucets in your house to help release the air. You can also try turning the water supply on and off several times to dislodge the air lock.
When to Call a Professional
While many faucet issues can be resolved with DIY troubleshooting, some situations require the expertise of a licensed plumber. Never attempt repairs that involve complex plumbing, gas lines, or electrical connections. Here are some scenarios where it's best to call a professional:
- Damage to Pipes or Plumbing: If you encounter any damage to pipes or plumbing during the installation process, do not attempt to repair it yourself. Call a plumber immediately to prevent further damage or leaks.
- Gas Water Heater Issues: If you suspect a problem with your gas water heater, do not attempt to repair it yourself. Gas leaks are extremely dangerous and can lead to explosions or carbon monoxide poisoning. Contact a qualified gas technician or plumber.
- Electrical Connections: If your faucet has any electrical components, such as a touchless sensor, do not attempt to repair the electrical wiring yourself. Electrical work should only be performed by a licensed electrician.
- Complex Plumbing Repairs: If the problem requires specialized tools or knowledge, or if you are uncomfortable working with plumbing, call a plumber. Trying to fix a complex plumbing issue yourself can lead to further damage and costly repairs.
- Persistent Leaks: If you've tried troubleshooting the faucet and it continues to leak, it's time to call a plumber. A persistent leak can indicate a more serious problem with the plumbing system.
- Valve Seat Issues: As noted above, damaged or corroded valve seats often require specialized tools and expertise to repair. It's best to leave this type of repair to a professional.
Safety Precautions
Safety should always be your top priority when working on any plumbing project.
- Turn Off the Water Supply: Before starting any work on the faucet, always turn off the water supply to the faucet. This will prevent flooding and water damage.
- Wear Safety Glasses: Protect your eyes from debris and splashes by wearing safety glasses.
- Use Appropriate Tools: Use the correct tools for the job. Using the wrong tools can damage the faucet or injure yourself.
- Read the Instructions: Carefully read the faucet's installation manual before starting any work.
- Don't Over-Tighten: Avoid over-tightening screws and connections. Over-tightening can damage the faucet components.
- If in Doubt, Ask a Professional: If you are unsure about any aspect of the repair, don't hesitate to call a licensed plumber.
By following these troubleshooting steps and safety precautions, you can often resolve common issues with your Moen tub and shower faucet installation. Remember to be patient, work carefully, and always prioritize safety. With a little effort, you can save yourself time and money by tackling simple repairs yourself.