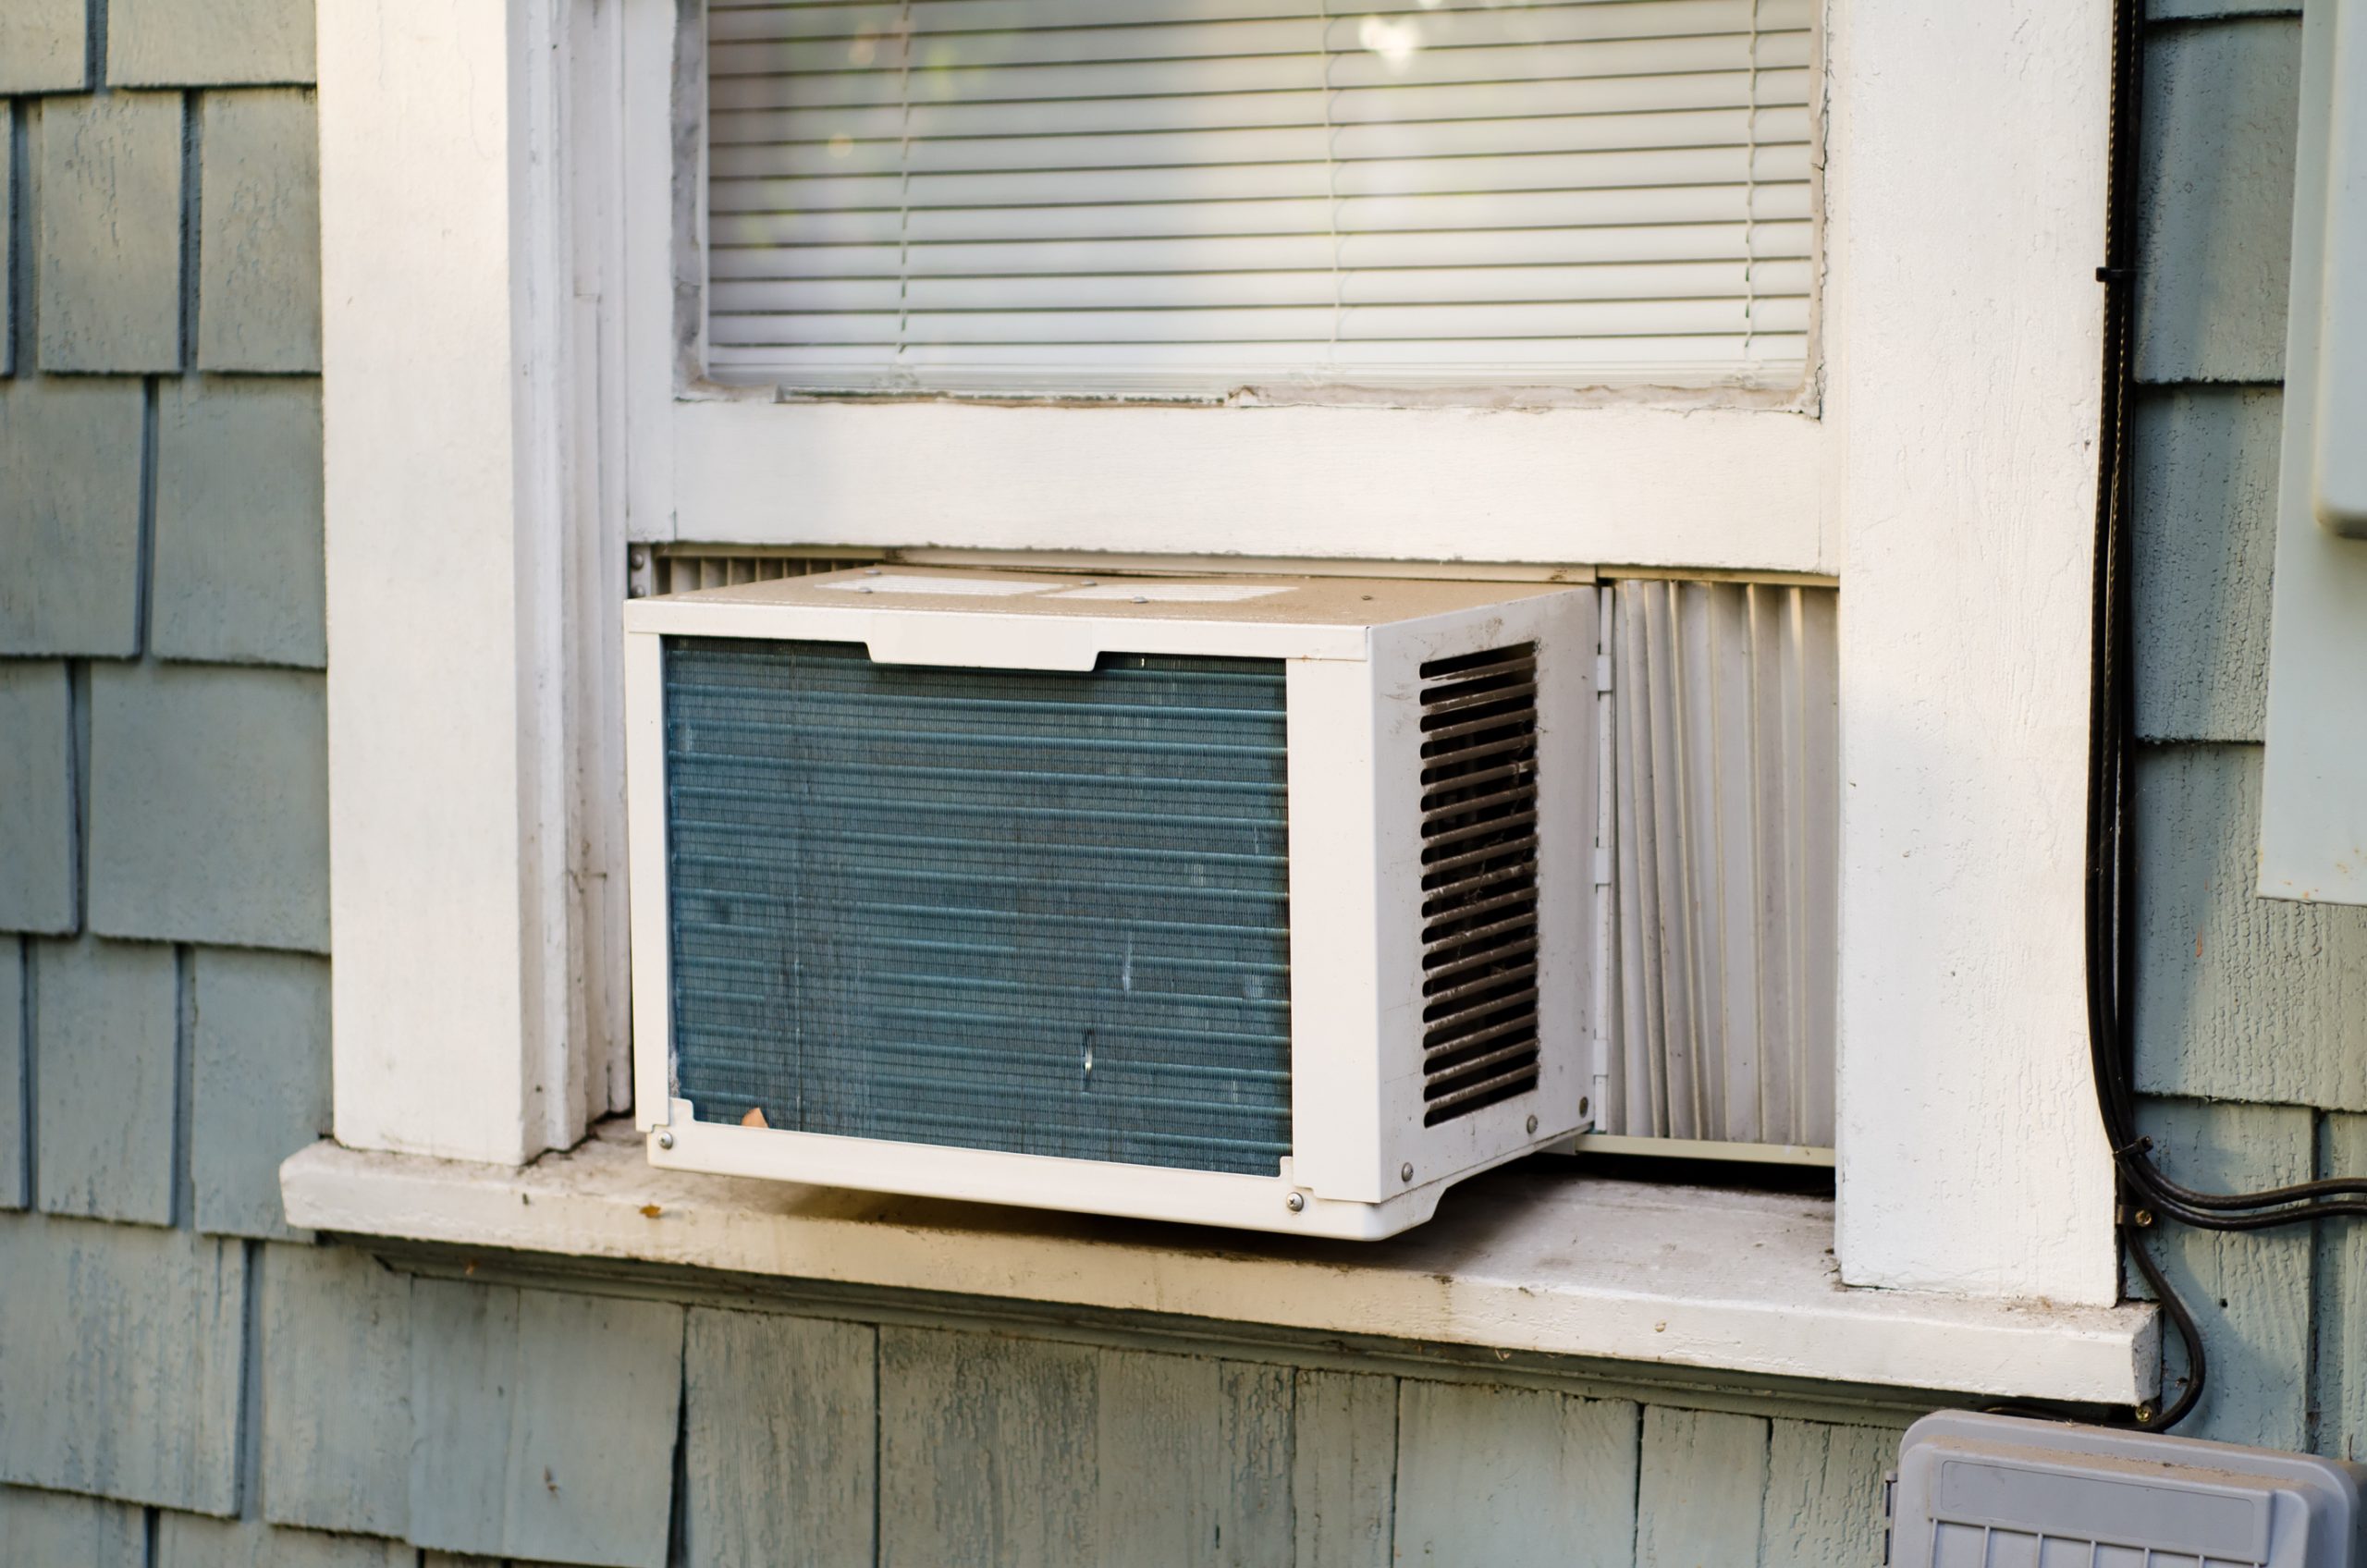
Most Energy Efficient Ac Window Unit
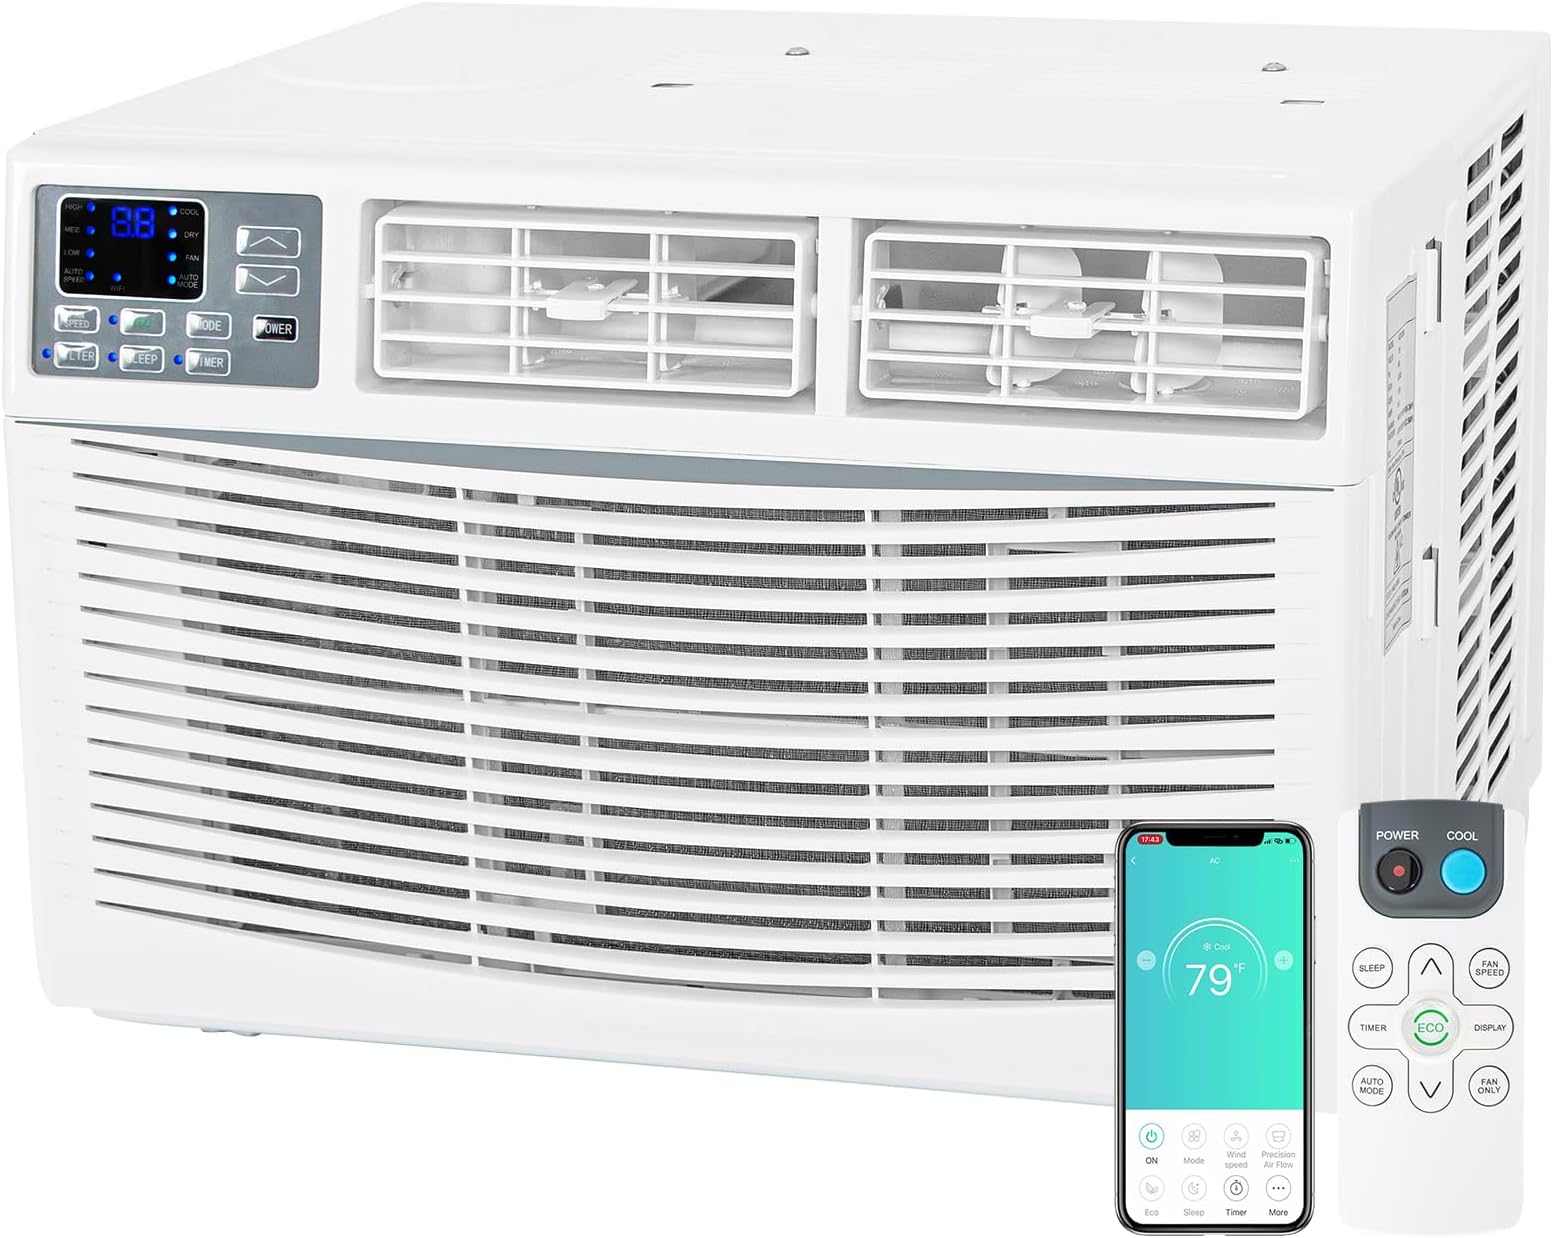
Air conditioning units, especially window units designed for energy efficiency, can sometimes stop working as expected. It's frustrating, especially when you're counting on them to keep your home cool and comfortable. This guide will walk you through a series of troubleshooting steps you can safely perform to diagnose and potentially fix the problem. Remember, your safety is paramount. If at any point you feel uncomfortable or unsure, or if the problem seems electrical or involves complex components, stop immediately and call a qualified HVAC technician.
Common Window AC Problems & Basic Checks
Before diving into deeper troubleshooting, let's identify some common issues and quick checks:
- No Power: The unit doesn't turn on at all.
- Weak Airflow: The unit turns on, but the air coming out is weak or not cold.
- Unit Cycles On and Off Frequently: The AC turns on and off too often, leading to inconsistent cooling.
- Strange Noises: Unusual sounds like rattling, buzzing, or grinding.
- Ice Formation: Ice builds up on the coils.
- Water Leaks: Water drips from the unit, either inside or outside.
Let's start with the simplest solutions.
Step 1: Power Supply Verification
The most frequent culprit? Power. Always start here.
- Check the Outlet: Is the AC unit plugged in securely? Try unplugging it and plugging it back in firmly.
- Test the Outlet: Plug another device (like a lamp) into the same outlet. Does it work? If not, the problem is with the outlet, not the AC unit.
- Potential solutions if the outlet doesn't work: Check the circuit breaker in your electrical panel. A tripped breaker is a common cause. Flip it to the "off" position and then back to "on." If the breaker trips again immediately, there may be a short circuit. Call an electrician.
- If the outlet is a GFCI (Ground Fault Circuit Interrupter) outlet (usually found in bathrooms and kitchens), press the "reset" button.
- Inspect the Power Cord: Look for any signs of damage to the power cord, such as cuts, frays, or kinks. A damaged power cord is a fire hazard. Do not attempt to repair it yourself; replace the cord or call a professional.
Safety First: Never work with electrical components while standing in water or with wet hands.
Step 2: Thermostat and Settings
Sometimes, the issue isn't a malfunction but a simple setting oversight.
- Check the Thermostat Setting: Ensure the thermostat is set to "cool" and the temperature is lower than the current room temperature. A common mistake is leaving it on "fan only" or a temperature setting that's too high.
- Fan Speed: Experiment with different fan speeds. Sometimes, a lower fan speed can actually improve cooling efficiency.
- Mode: Make sure the unit is in the correct mode. Some units have modes like "eco," "sleep," or "auto." These modes may affect cooling performance. Check your unit's manual for details.
- Timer Settings: Some units have timers that can be inadvertently activated, causing the unit to turn off or on at unexpected times. Review the timer settings and ensure they are not interfering with normal operation.
Step 3: Airflow Obstruction
Restricted airflow can significantly reduce cooling efficiency and even damage the unit.
- Clean the Air Filter: A dirty air filter is a primary cause of weak airflow. Most window AC units have a removable air filter.
- How to clean the air filter: Turn off and unplug the AC unit. Remove the filter (consult your unit's manual for instructions). Vacuum the filter to remove loose dust and debris. Wash the filter with mild soap and water. Rinse thoroughly and allow it to dry completely before reinstalling.
- Frequency: Clean the air filter every 2-4 weeks, or more often if you have pets or live in a dusty environment.
- Clear Obstructions: Ensure that the front and back of the AC unit are free from obstructions, such as curtains, furniture, or plants. The unit needs adequate airflow to function properly.
- Check Exterior Vents: Make sure the exterior vents of the unit are not blocked by leaves, debris, or snow.
Step 4: Ice Formation
Ice buildup on the coils indicates a problem with airflow or refrigerant.
- Turn Off the Unit: Immediately turn off the AC unit to allow the ice to melt.
- Address Airflow Issues: As mentioned above, clean the air filter and ensure proper airflow around the unit.
- Check for a Dirty Coil: If the ice continues to form even after cleaning the filter, the evaporator coil (the part that gets cold) might be dirty. This is a job for a professional. Cleaning the coils requires specialized tools and knowledge.
- Refrigerant Leak: If the ice formation persists despite good airflow and a clean filter, the unit may have a refrigerant leak. This requires professional repair. Do not attempt to handle refrigerant yourself; it is harmful and requires specialized equipment.
Step 5: Water Leaks
Window AC units are designed to drain condensation, but leaks can occur.
- Check the Drain Hole: Most window AC units have a drain hole on the back to allow condensation to escape. Make sure this hole is not blocked by debris. You can use a small wire or pipe cleaner to clear any obstructions.
- Proper Installation: Ensure the unit is properly installed and tilted slightly downwards towards the outside to facilitate drainage. An improperly installed unit can cause water to collect inside and leak.
- Condensate Pump (If Applicable): Some units use a condensate pump to remove water. Check the pump for proper operation and ensure the drain line is not clogged.
- Excess Humidity: In very humid conditions, some condensation is normal. However, excessive leaking indicates a problem.
Step 6: Noise Troubleshooting
Unusual noises can indicate various problems.
- Rattling: Check for loose screws or panels. Tighten any loose components. The rattling could also be caused by vibrations. Consider using rubber shims or pads to dampen the vibrations between the unit and the window frame.
- Buzzing: A buzzing sound could indicate a loose electrical connection. Do not attempt to fix this yourself. Call a qualified electrician.
- Grinding: A grinding sound is often a sign of a failing motor or fan. This requires professional repair or replacement of the unit.
- Clicking: A clicking sound may indicate a problem with the compressor or relay switch. Consult an HVAC professional.
Step 7: Simple Part Replacements (Handle with Care!)
Some simple parts can be replaced by homeowners, but always unplug the unit and ensure the power is off before attempting any repairs.
- Power Cord: If the power cord is damaged, you can replace it with a new one of the same type and specifications. You can often find replacement cords at hardware stores or online. Ensure the new cord is properly rated for the AC unit's voltage and amperage.
- Capacitor (Advanced - Professional Recommendation): While some brave DIYers might consider capacitor replacement, we strongly recommend this be left to a professional. Capacitors store electrical energy and can deliver a dangerous shock even after the unit is unplugged. If you are absolutely certain you understand the risks and have the proper tools and experience, research capacitor replacement thoroughly and follow all safety precautions. Otherwise, call an HVAC technician.
When to Call a Professional
While this guide provides steps for troubleshooting and basic repairs, certain situations require the expertise of a qualified HVAC technician.
- Refrigerant Leaks: Handling refrigerant requires specialized equipment and knowledge.
- Compressor Problems: The compressor is the heart of the AC unit, and repairs are complex.
- Electrical Issues: Any electrical problems beyond checking the power cord and outlet should be handled by a qualified electrician.
- Complex Component Failures: Issues with the motor, fan, or other internal components often require professional repair or replacement.
- If You're Unsure: If you've tried the basic troubleshooting steps and the problem persists, or if you're simply uncomfortable working on the unit, it's always best to call a professional.
Energy Efficiency Tips
To maximize the energy efficiency of your window AC unit:
- Proper Sizing: Ensure the unit is appropriately sized for the room. An undersized unit will struggle to cool the space, while an oversized unit will cycle on and off too frequently, wasting energy.
- Seal Gaps: Seal any gaps around the AC unit with weather stripping or caulk to prevent air leaks.
- Use Curtains or Blinds: Close curtains or blinds during the hottest part of the day to block sunlight and reduce heat gain.
- Fan Assistance: Use ceiling fans or other fans to circulate the cool air and improve comfort.
- Regular Maintenance: Regularly clean the air filter and keep the unit free from obstructions.
- Consider a Smart AC Controller: Smart AC controllers can help you optimize your AC usage and save energy by automatically adjusting the temperature based on your schedule and preferences.
By following these troubleshooting steps and energy efficiency tips, you can keep your window AC unit running smoothly and efficiently, saving you money and keeping your home comfortable.
Disclaimer: This guide is for informational purposes only and should not be considered a substitute for professional advice. Always follow safety precautions and consult a qualified technician for complex repairs.