Motor Start Capacitor Failure Symptoms

Is your home's air conditioner or heat pump struggling to keep you comfortable? Perhaps it's not cooling or heating as effectively as it used to, or maybe it's making strange noises when starting up. One common culprit behind these frustrating issues is a failing motor start capacitor. This small but crucial component plays a vital role in getting your system's motors running, and when it goes bad, it can lead to a variety of problems.
Understanding the Start Capacitor
Before diving into troubleshooting, let's quickly explain what a start capacitor does. Think of it as a jolt of energy. Start capacitors provide the extra surge of power needed to initially spin the motor in your air conditioner's compressor or fan. Once the motor is running, the capacitor's job is done. Without a functioning start capacitor, the motor may struggle to start, leading to overheating, inefficiency, and eventually, complete failure.
Symptoms of a Failing Motor Start Capacitor
Recognizing the symptoms early can save you from more extensive and costly repairs. Here are some telltale signs that your motor start capacitor might be on its way out:
- Humming Noise: A common symptom is a humming noise coming from your outdoor AC unit or heat pump, particularly when it attempts to start. This indicates the motor is trying to start but doesn't have enough power.
- Delayed Start-Up: You might notice a significant delay between when you turn on your system and when it actually starts blowing cool or warm air.
- Clicking Sounds: Repeated clicking sounds from the unit can also indicate a struggling motor due to a failing capacitor.
- Unit Fails to Start: In more severe cases, the unit might fail to start altogether. You might hear a hum or click, but the fan or compressor won't kick in.
- Increased Energy Bills: A failing capacitor can cause the motor to work harder, leading to increased energy consumption and higher electricity bills.
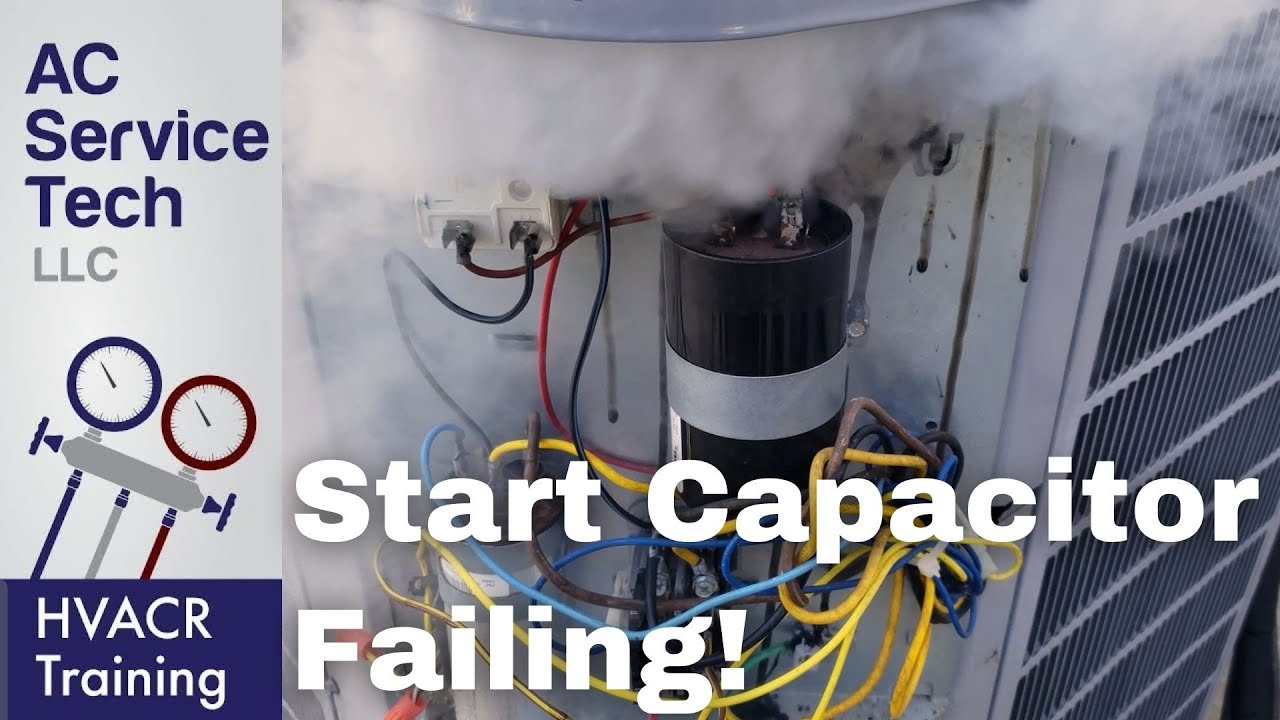
- Overheating: The motor might overheat due to the extra strain, potentially leading to further damage. You might be able to smell a burning odor.
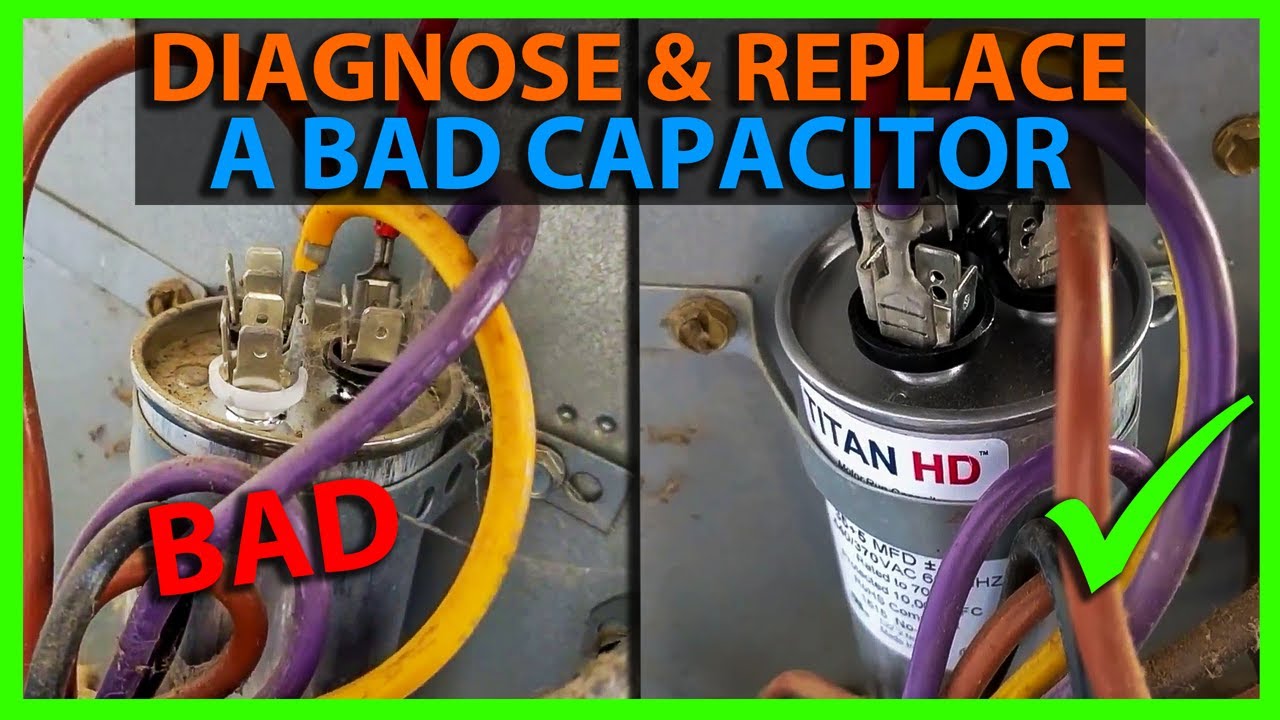
- Visible Damage: Sometimes, a capacitor can show visible signs of failure, such as bulging, leaking, or cracking.
Troubleshooting: A Step-by-Step Approach
If you're experiencing any of these symptoms, it's time to investigate. Follow these steps to diagnose the potential capacitor issue. Remember safety first! Always turn off the power to your AC unit or heat pump at the breaker box before performing any inspections or repairs.
Step 1: Preliminary Checks (No Tools Required)
Before you grab any tools, start with these simple visual and auditory checks:
- Turn Off the Power: Locate the breaker that controls your outdoor unit and switch it to the "off" position. Double-check to ensure the unit is completely powered down.
- Visual Inspection of the Unit: Carefully examine the outside of the unit for any obvious signs of damage, such as dents, rust, or debris blocking the fan.
- Listen Carefully: After turning on the unit from the thermostat, stand by the outdoor unit and listen for any unusual sounds (humming, clicking, or grinding).
- Check the Fan: See if the fan is spinning freely. Sometimes, debris can get lodged inside, preventing the fan from starting. Never stick your hands inside the unit while it's powered on.
If you observe any of the following, STOP and call a qualified HVAC technician:
- Burning smells
- Visible sparks or smoke
- Signs of electrical arcing
Step 2: Visual Inspection of the Capacitor (Tools: Screwdriver)
This step requires a screwdriver to open the access panel on your outdoor unit. Make sure the power is OFF before proceeding.
- Locate the Access Panel: Typically, there's a removable panel on the side of the unit that provides access to the electrical components. Use a screwdriver to remove the screws holding the panel in place.
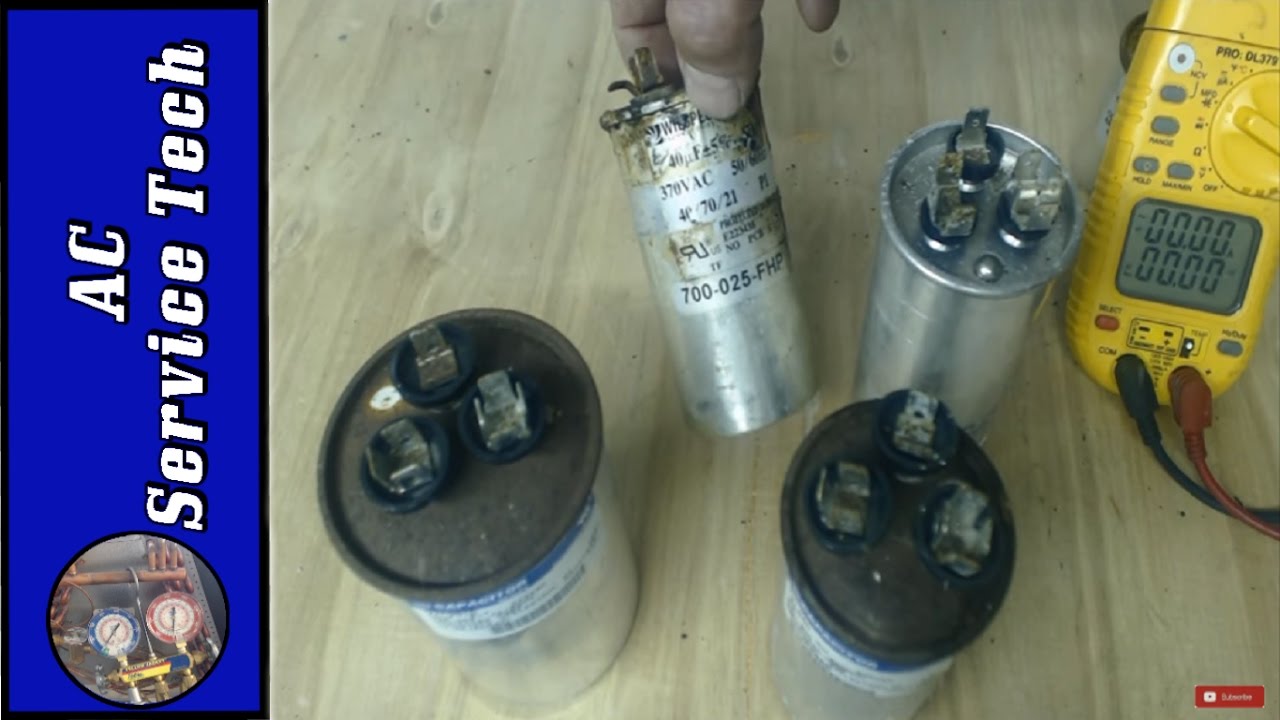
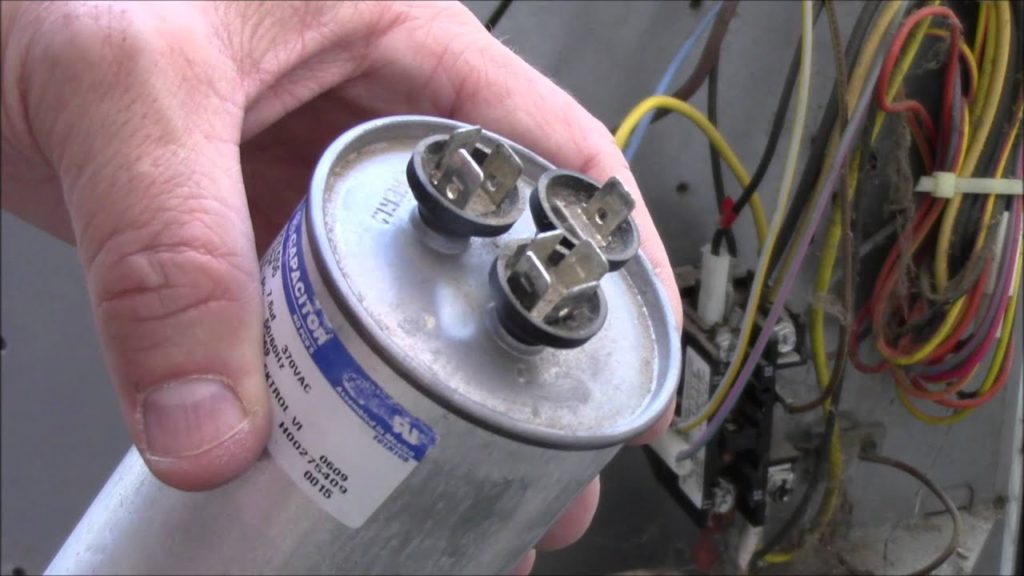
- Identify the Capacitor: The capacitor is usually a cylindrical component, often white or gray, with wires connected to it. It's often labeled with its capacitance (e.g., 45+5 uF) and voltage rating.
- Visual Inspection: Carefully examine the capacitor for any of the following:
- Bulging: If the top or sides of the capacitor are bulging outwards, it's a clear sign of failure.
- Leaking: Look for any signs of oil or residue leaking from the capacitor.
- Rust or Corrosion: Check for rust or corrosion around the terminals or on the capacitor body.
- Cracking: Examine the capacitor for any cracks or breaks in its casing.
If you see any of these visual signs of damage, the capacitor needs to be replaced.
Step 3: Testing the Capacitor (Tools: Multimeter with Capacitance Function)
This step requires a multimeter with a capacitance testing function and some basic electrical knowledge. If you're not comfortable working with electricity, DO NOT attempt this step. Call a qualified HVAC technician.
- Discharge the Capacitor: This is crucial for safety! Capacitors store electrical energy, even when the power is off. Use a resistor (e.g., a 20,000-ohm resistor with at least 5 watts rating) with insulated leads to safely discharge the capacitor. Connect the resistor leads to the capacitor terminals for several seconds.
- Disconnect the Wires: Carefully disconnect the wires from the capacitor terminals. Note the original wiring configuration so you can reconnect them correctly later. It is best to take a picture before disconnecting the wires.
- Set the Multimeter: Set your multimeter to the capacitance testing mode (usually indicated by a "uF" symbol).
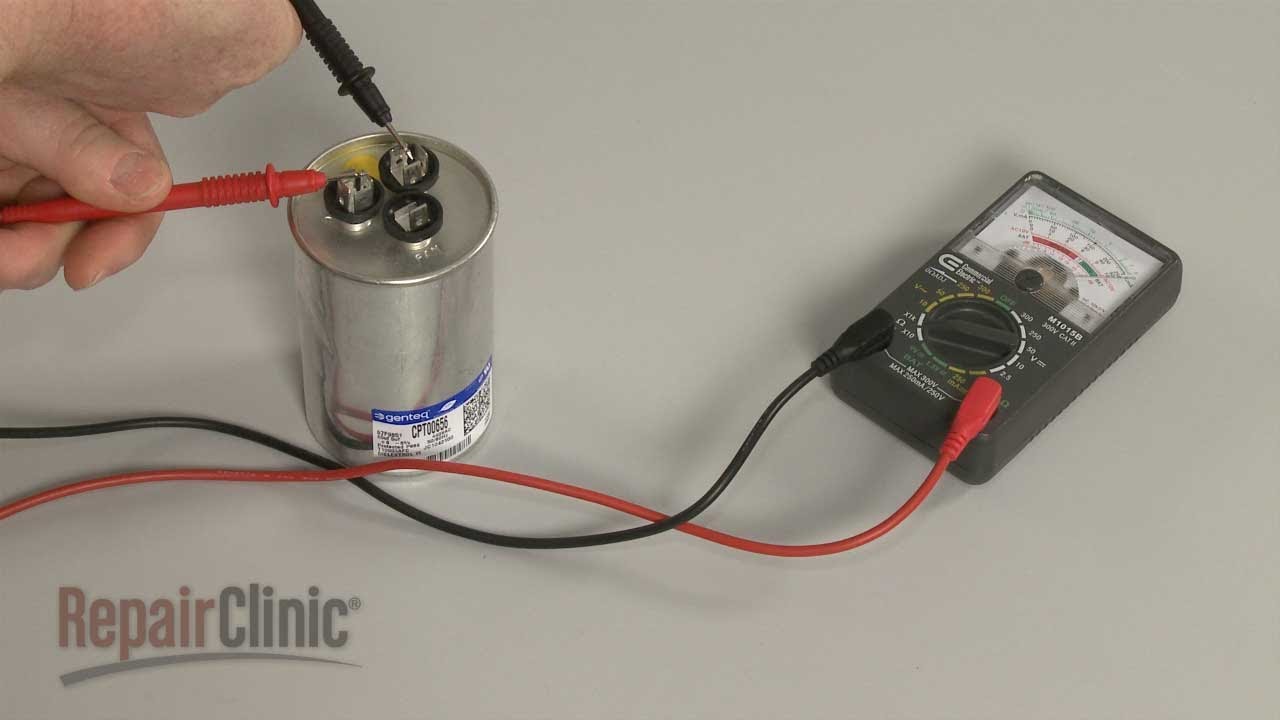
- Test the Capacitance: Connect the multimeter probes to the capacitor terminals. The multimeter should display the capacitance value.
- Compare to Rating: Compare the measured capacitance value to the rated capacitance value printed on the capacitor label. A capacitor is generally considered faulty if its capacitance is more than 10% below the rated value.
If the capacitance value is significantly lower than the rated value, the capacitor is likely faulty and needs to be replaced.
Step 4: Replacing the Capacitor (DIY with Caution OR Call a Professional)
Replacing a capacitor can be a relatively straightforward DIY project if you have some basic electrical knowledge and are comfortable working with tools. However, if you're unsure about any step, it's always best to call a qualified HVAC technician.
- Purchase a Replacement Capacitor: Buy a capacitor with the exact same capacitance (uF) and voltage rating (V) as the original. You can find these at most HVAC supply stores or online retailers. Using a capacitor with the wrong ratings can damage your system.
- Discharge the New Capacitor: Although new, it's good practice to discharge the new capacitor using a resistor as described in Step 3.
- Connect the Wires: Carefully reconnect the wires to the new capacitor terminals, matching the original wiring configuration. Use the photo you took as reference. Ensure all connections are secure.
- Reinstall the Access Panel: Replace the access panel and secure it with the screws.
- Restore Power: Turn the power back on at the breaker box.
- Test the System: Turn on your AC or heat pump from the thermostat and observe its operation. It should start smoothly and run without unusual noises.
When to Call a Professional
While some aspects of troubleshooting a motor start capacitor can be handled by a homeowner, there are situations where calling a qualified HVAC technician is the safest and most prudent course of action.
- Lack of Electrical Knowledge: If you're not comfortable working with electricity or don't have a good understanding of electrical circuits, don't attempt any repairs yourself.
- Complex Wiring: If the wiring inside your unit is complex or you're unsure about the correct connections, seek professional help.
- Refrigerant Leaks: If you suspect a refrigerant leak (e.g., oily residue around the copper lines), do not attempt to fix it yourself. Refrigerant handling requires specialized equipment and training.
- Compressor Issues: If the compressor itself seems to be the problem (e.g., excessive noise, overheating), it's best to call a technician. Compressor repairs can be complex and expensive.
- Persistent Problems: If you replace the capacitor and the problem persists, there may be other underlying issues with your system that require professional diagnosis.
- Warranty Concerns: If your AC unit or heat pump is still under warranty, check the warranty terms before attempting any repairs yourself. DIY repairs may void the warranty.
Safety Precautions
Working with electricity can be dangerous. Always follow these safety precautions:
- Turn off the power: Always disconnect the power to the unit at the breaker box before performing any inspections or repairs.
- Discharge capacitors: Capacitors store electrical energy, even when the power is off. Discharge them safely using a resistor.
- Use insulated tools: Use tools with insulated handles to prevent electric shock.
- Wear safety glasses: Wear safety glasses to protect your eyes from flying debris.
- Work in a dry environment: Avoid working in wet or damp conditions.
- If in doubt, call a professional: If you're unsure about any step, it's always best to call a qualified HVAC technician.
Preventive Maintenance
Regular maintenance can help prevent capacitor failures and extend the lifespan of your AC unit or heat pump. Consider these preventive measures:
- Annual Inspections: Schedule annual inspections by a qualified HVAC technician. They can identify potential problems early and perform necessary maintenance.
- Clean the Unit: Keep the outdoor unit clean and free of debris. Remove leaves, grass clippings, and other obstructions that can restrict airflow.
- Replace Air Filters: Regularly replace your air filters to ensure proper airflow and prevent the system from overworking.
- Monitor Performance: Pay attention to your system's performance. If you notice any unusual noises, delays, or reduced cooling/heating capacity, address the issue promptly.
By understanding the symptoms of a failing motor start capacitor and following these troubleshooting steps, you can often diagnose and even resolve the problem yourself. However, remember to prioritize safety and don't hesitate to call a qualified HVAC technician when needed. A well-maintained system will provide you with reliable comfort and save you money on energy bills in the long run.