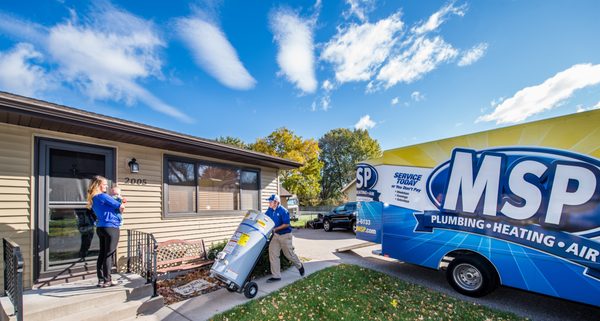
Msp Heating And Air Conditioning Reviews

Many homeowners dread the moment their heating or air conditioning system falters. A common complaint, especially during peak seasons, is that the system is blowing warm air when it should be cold, or cold air when heat is desired. This frustrating issue can range from a simple fix to a sign of a more serious problem. Let's walk through a systematic approach to diagnose and potentially resolve this yourself, before calling in the professionals based on MSP heating and air conditioning reviews.
Step 1: Initial Assessment – No Tools Required
Before reaching for any tools, perform a basic assessment to gather clues. This step involves observation and checking fundamental settings.
1. Thermostat Check
This might seem obvious, but it’s the most frequent culprit. Ensure your thermostat is:
- Set to the correct mode: Cool for AC, Heat for furnace. Accidentally leaving it on Off or Fan Only can explain the issue.
- Set to the desired temperature: Make sure the target temperature is significantly lower (for cooling) or higher (for heating) than the current room temperature. A small difference might mean the system is working, but struggling to keep up.
- Programmed correctly: If you use a programmable thermostat, verify the schedule aligns with your expectations. A setting that switches off the system during specific hours could be the cause.
- Battery condition: Low batteries can cause erratic thermostat behavior. Replace them if you suspect this is the problem.
DIY Action: Adjust the mode, temperature, and schedule as needed. Replace thermostat batteries if they appear weak.
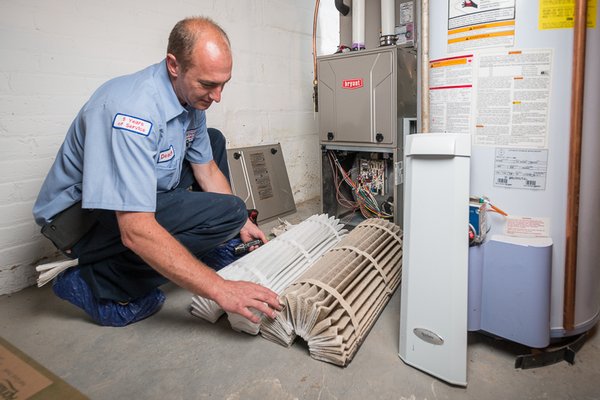
2. Air Filter Inspection
A dirty air filter is a common cause of reduced airflow, which can impact both heating and cooling efficiency. A clogged filter restricts the amount of air passing through the system, forcing it to work harder and potentially overheat or freeze up.
- Locate the air filter: It's usually found near the blower motor of your furnace or air handler. Some systems have multiple filters.
- Visually inspect the filter: Hold it up to the light. If you can barely see through it, it's likely dirty and needs replacement.
DIY Action: Replace the dirty air filter with a new one of the correct size and type. Check your system's documentation for the recommended filter specifications.
3. Supply and Return Vents
Make sure vents are not blocked by furniture, rugs, or curtains. Restricted airflow from supply vents (where air comes out) or return vents (where air goes in) can significantly reduce system performance.
- Check supply vents: Ensure air is flowing freely from each vent in the house.
- Check return vents: Verify they are unobstructed and can draw air easily.
DIY Action: Rearrange furniture and clear any obstructions from vents.
Step 2: Basic Troubleshooting – Requires Simple Tools
If the initial assessment doesn't reveal the problem, these steps require basic tools like a multimeter and a non-contact voltage tester.
1. Circuit Breaker Check
A tripped circuit breaker can cut power to the entire system or specific components, such as the outdoor compressor unit.
- Locate your electrical panel: Identify the circuit breaker(s) labeled for your HVAC system (furnace, AC, or condenser).
- Check for tripped breakers: Look for breakers that are in the "tripped" or "middle" position.
DIY Action: Flip the tripped breaker fully to the "Off" position, then back to the "On" position. If it trips again immediately, do not keep resetting it. This indicates a more serious electrical problem that requires a professional electrician or HVAC technician.
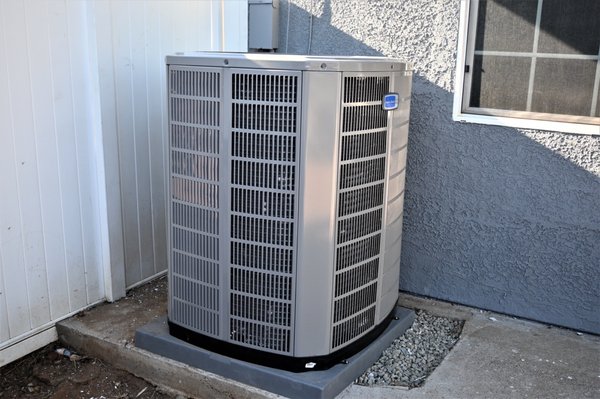
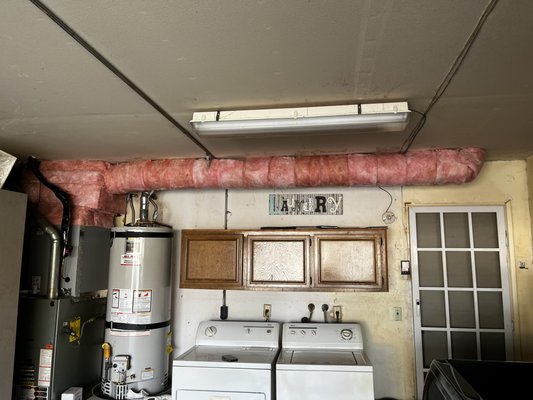
2. Outdoor Unit Inspection (AC Only)
The outdoor unit (condenser) is a crucial part of the air conditioning system. Check for obvious issues.
- Power to the unit: After resetting the breaker (if needed), ensure the outdoor unit is receiving power. You may hear a hum or see the fan attempting to start. Use a non-contact voltage tester to confirm power before touching any components.
- Obstructions: Make sure the unit is free from debris, such as leaves, grass clippings, or snow. These can restrict airflow and cause the system to overheat.
- Frozen coils: If the coils are covered in ice, the system is likely freezing up due to low refrigerant, poor airflow, or a malfunctioning component.
DIY Action: Carefully remove any debris from around the outdoor unit. If the coils are frozen, turn off the AC system and allow the ice to thaw naturally. Do not attempt to chip away the ice, as this could damage the coils.
3. Furnace Flame Observation (Furnace Only)
If you have a gas furnace, you can visually inspect the flames (with caution) to check for proper combustion. Only proceed if you are comfortable working around gas appliances. If you smell gas at any point, evacuate the area immediately and call your gas company.
- Locate the furnace's viewing port: This is usually a small window or access panel on the front of the furnace.
- Observe the flames: The flames should be blue and steady. Yellow or orange flames, or flames that are flickering erratically, indicate a problem with combustion.
DIY Action: If you see abnormal flames, the only safe DIY action is to turn off the furnace at the breaker and call a qualified HVAC technician. Do not attempt to adjust the gas valve or other components yourself.
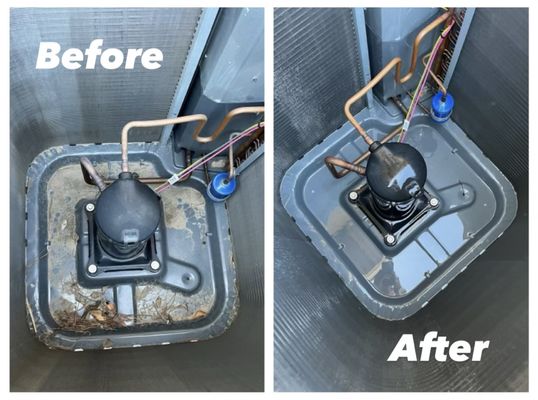
4. Capacitor Check (Advanced - Use Caution!)
The capacitor helps start and run the motor in your HVAC system. A failing capacitor is a common cause of problems. Warning: Capacitors can store a dangerous electrical charge even when the unit is off. Discharge the capacitor using a resistor before handling it. If you are not comfortable with this process, skip this step and call a professional.
- Locate the capacitor: It is usually found inside the outdoor unit (for AC) or near the blower motor (for furnace). It is a cylindrical component.
- Visually inspect the capacitor: Look for signs of bulging, leaking, or corrosion.
- Test the capacitor with a multimeter: This requires knowing the capacitor's microfarad (µF) rating. Set your multimeter to measure capacitance and compare the reading to the rated value. A significantly lower reading indicates a failing capacitor.
DIY Action: If you are comfortable and have the necessary skills and tools, you can replace a failing capacitor with a new one of the same specifications. Always discharge the old capacitor before removing it. However, due to the electrical risk, it's generally best to leave this repair to a professional.
Step 3: When to Call a Professional
While some HVAC issues can be resolved with simple DIY troubleshooting, others require the expertise and tools of a qualified HVAC technician. Here are some situations where you should definitely call for professional help, particularly focusing on factors that people consider when reviewing MSP heating and air conditioning services:
- Refrigerant Leaks: Refrigerant is essential for cooling, and leaks can cause serious environmental damage and health risks. Only certified technicians can handle refrigerant safely and legally. Signs of a leak include ice buildup on the coils, hissing noises, and poor cooling performance.
- Electrical Problems: HVAC systems involve high-voltage electricity, and improper handling can be extremely dangerous. If you encounter repeated breaker trips, sparks, or burning smells, do not attempt any repairs yourself.
- Gas Leaks: Natural gas is highly flammable and can cause explosions or carbon monoxide poisoning. If you smell gas near your furnace or gas lines, evacuate the area immediately and call your gas company and a qualified HVAC technician.
- Complex Mechanical Issues: Problems with the compressor, blower motor, heat exchanger, or other major components require specialized knowledge and tools. Attempting to repair these components yourself could cause further damage or void your warranty.
- System Age and Condition: If your HVAC system is old or has a history of problems, it may be more cost-effective to replace it than to continue repairing it. A qualified technician can assess the overall condition of your system and recommend the best course of action.
- You're uncomfortable: If at any point you feel unsure or uneasy about performing a task, stop and call a professional. Your safety is the top priority.
Remember to always read MSP Heating and Air Conditioning reviews to ensure you are hiring the right company!
Preventative Maintenance for Future Peace of Mind
The best way to avoid HVAC problems is to perform regular preventative maintenance. Here are some simple steps you can take to keep your system running smoothly:
- Change air filters regularly: At least every 1-3 months, or more often if you have pets or allergies.
- Clean outdoor unit: Remove debris and trim vegetation around the unit.
- Schedule professional tune-ups: Have your HVAC system inspected and serviced by a qualified technician at least once a year. This can help identify and address potential problems before they become major issues.
- Keep vents clear: Ensure vents are free from obstructions.
- Monitor system performance: Pay attention to any changes in your system's performance, such as unusual noises, reduced airflow, or inconsistent temperatures. These could be early signs of a problem.
By following these troubleshooting steps and preventative maintenance tips, you can keep your HVAC system running efficiently and reliably for years to come. And when you need professional help, remember to check MSP heating and air conditioning reviews to find a trustworthy and qualified technician.