My Ac Unit Is Leaking Water In The House
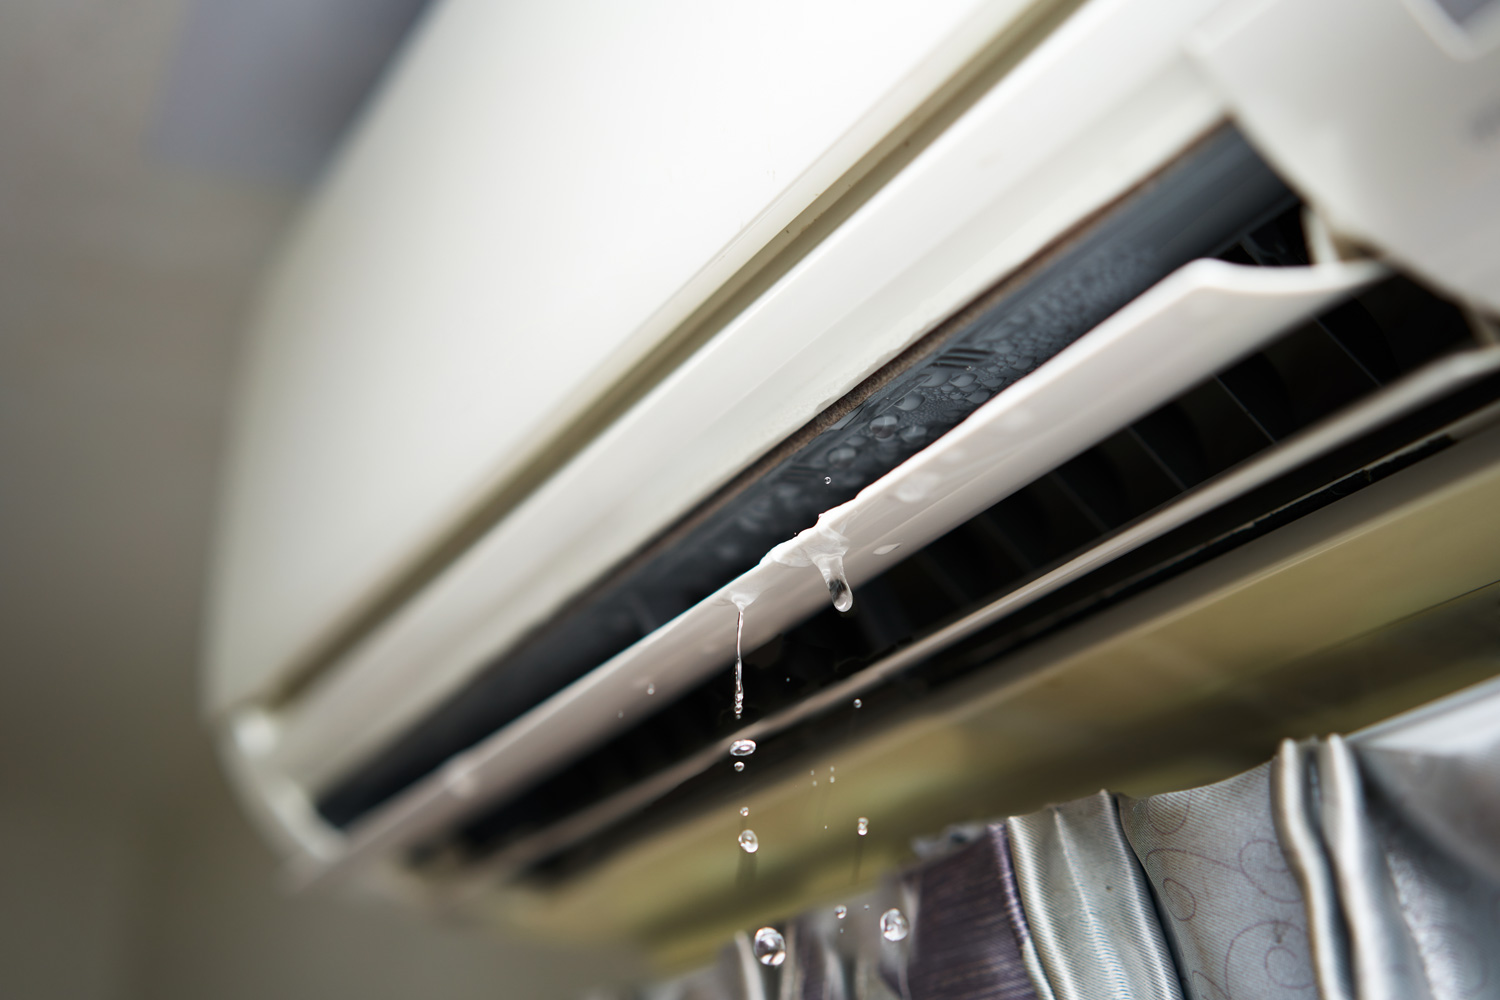
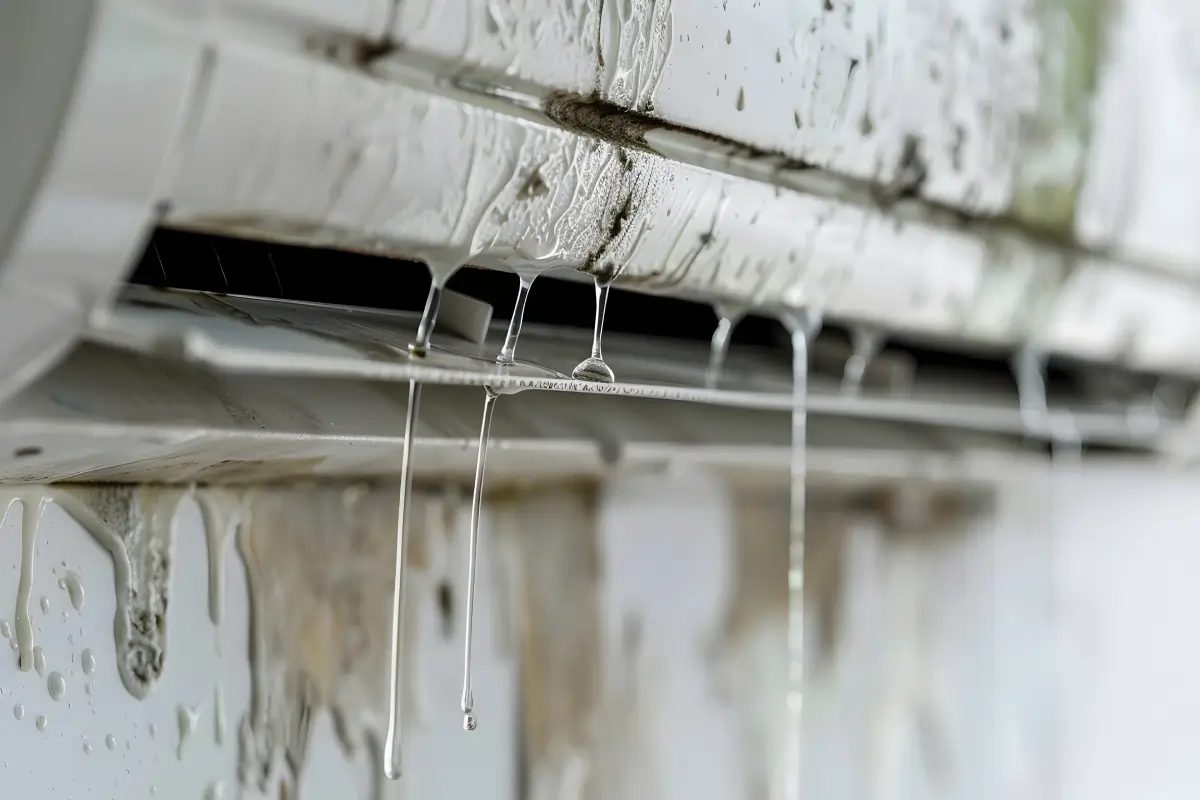
Discovering water leaking from your air conditioning unit inside your home can be alarming. Not only can it damage your floors and walls, but it also signals a problem that needs immediate attention. This guide provides a systematic approach to troubleshooting the leak, empowering you to identify the cause and potentially resolve it yourself, while also knowing when to call in a professional.
Understanding the Issue: Why is My AC Leaking?
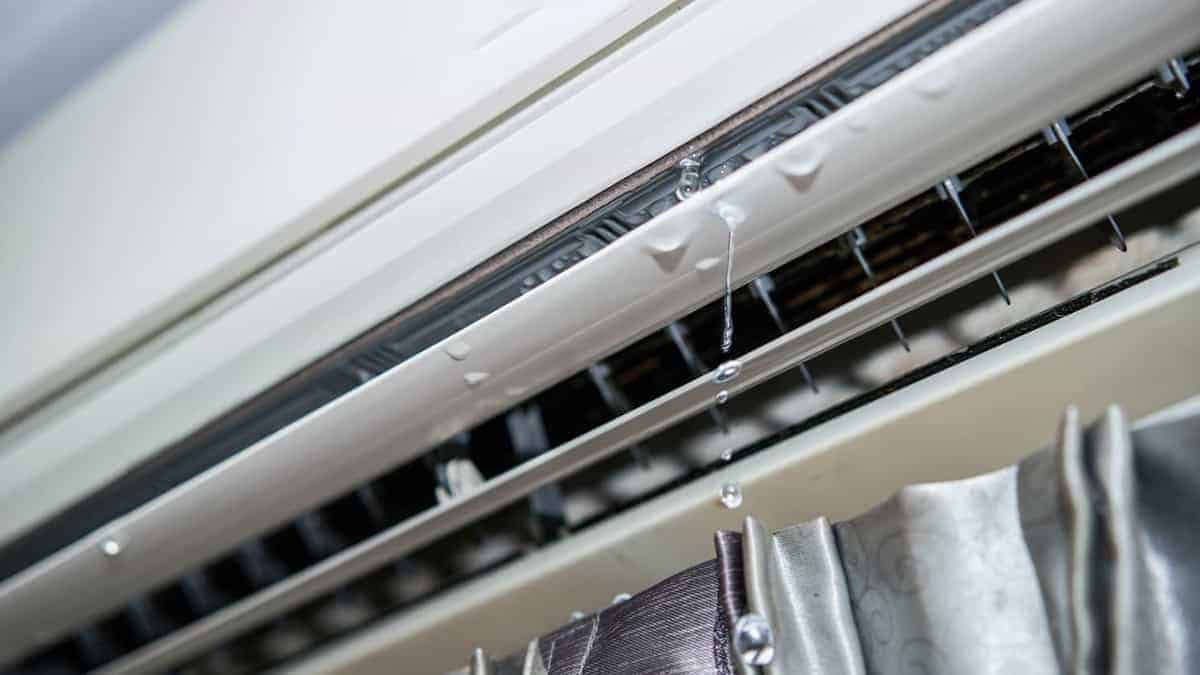
Before diving into troubleshooting, it's essential to understand why your AC unit might be leaking water indoors. Air conditioners cool the air by passing it over a cold evaporator coil. This process causes condensation, just like a cold glass of water on a hot day. This condensation is typically collected in a drain pan and then channeled outside through a drain line. When this system malfunctions, water can back up and leak into your home.
Here are the most common reasons for AC unit leaks:
- Clogged Drain Line: This is the most frequent culprit. Algae, mold, dust, and debris can accumulate in the drain line, creating a blockage that prevents water from flowing freely.
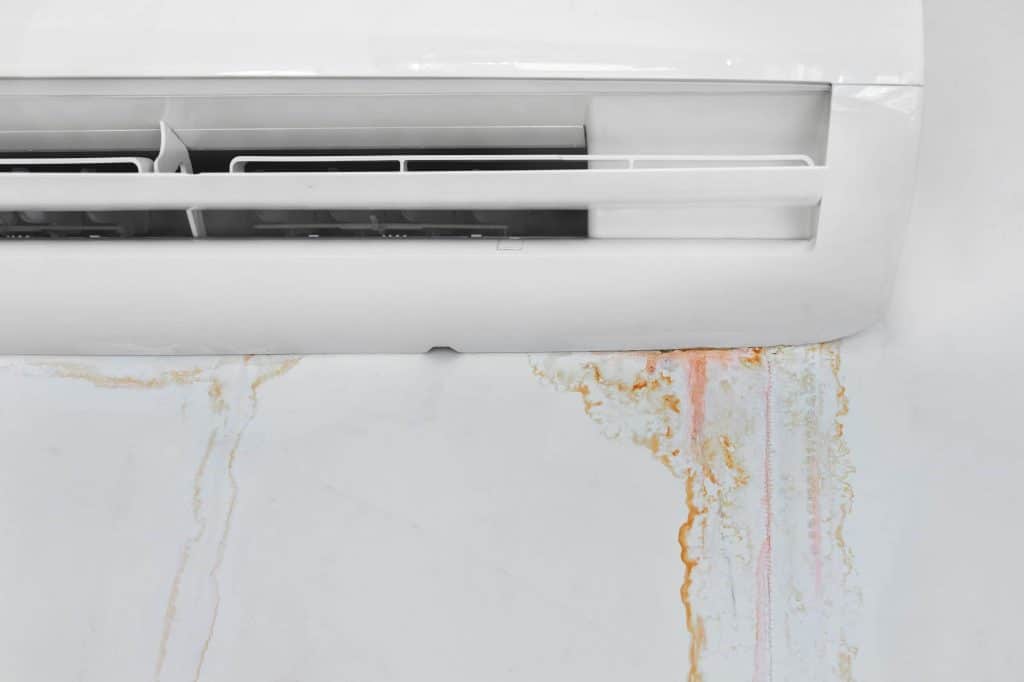
- Cracked or Rusted Drain Pan: Over time, the drain pan can corrode or crack, especially in humid environments. This allows water to escape.
- Frozen Evaporator Coil: If the evaporator coil freezes, it will melt and overflow when the AC is turned off, leading to a large amount of water leaking.
- Dirty Air Filter: A dirty air filter restricts airflow, which can cause the evaporator coil to freeze.
- Low Refrigerant: Low refrigerant levels can also lead to a frozen evaporator coil.
- Improper Installation: If the AC unit wasn't installed correctly, the drain line might not be properly sloped, or the drain pan might not be level.
Step-by-Step Troubleshooting Guide
Step 1: Safety First!
Before you start any troubleshooting, always turn off the power to your AC unit at the breaker box. This is crucial to prevent electrical shock. Ensure the power is off before touching any components or water near the unit.
Step 2: Inspect the Air Filter
A dirty air filter is a common cause of AC problems, including leaks. Locate the air filter, typically behind a return air grille. Remove the filter and examine it. If it's visibly dirty or clogged with dust, replace it with a new one. Most filters have an arrow indicating the direction of airflow – make sure to install the new filter with the arrow pointing in the correct direction (usually towards the AC unit). Replacing a dirty air filter is a simple and inexpensive task that can significantly improve your AC's performance.
Step 3: Check the Drain Pan
Locate the drain pan, usually situated underneath the indoor unit (air handler). If it's easily accessible, visually inspect it for cracks, rust, or overflowing water. If the pan is full of water, that indicates a blockage in the drain line. Even if it's not overflowing, examine the pan closely for signs of corrosion or damage.
- If the pan is cracked or rusted, it will need to be replaced. This is often a job best left to a professional, especially if the pan is difficult to access or integrated into the unit.
- If the pan is overflowing, proceed to the next step to check the drain line.
Step 4: Clear the Condensate Drain Line
The condensate drain line is usually a PVC pipe that runs from the drain pan to the outside of your house. This is the most common area for clogs to occur. Here are several methods to clear it:
- Wet/Dry Vacuum: Disconnect the drain line where it exits the house (usually near the outdoor unit) or at an accessible point near the indoor unit. Use a wet/dry vacuum to suck out any blockage. Place the vacuum hose over the end of the drain line and seal the connection with your hand or a rag. Run the vacuum for several minutes to dislodge any debris. You may need to repeat this process several times.
- Pouring Hot Water: After vacuuming, try pouring a cup or two of hot (not boiling) water down the drain line to help dissolve any remaining debris. Be careful not to scald yourself.
- Using a Wire or Stiff Brush: Carefully insert a flexible wire (like a coat hanger) or a stiff brush into the drain line to break up any clogs. Be gentle to avoid damaging the pipe.
- Vinegar Flush: Pour a cup of white vinegar down the drain line. Vinegar is a natural disinfectant and can help break down mold and algae. Let it sit for about 30 minutes, then flush with water. Regular vinegar flushes (every few months) can help prevent future clogs.
After attempting to clear the drain line, reassemble any disconnected parts and check if the water is now draining properly. Monitor the drain pan to see if the water level is decreasing.
Step 5: Check for a Frozen Evaporator Coil
If the drain line is clear, but the leak persists, a frozen evaporator coil might be the issue. This can happen due to restricted airflow (dirty filter), low refrigerant, or a malfunctioning blower motor.
- Visually Inspect the Coil: If possible, visually inspect the evaporator coil. This might require removing an access panel on the indoor unit. Look for ice buildup on the coil. If you are not comfortable removing access panels or working around electrical components, skip this step and call a professional.
- Turn Off the AC and Run the Fan: If you suspect a frozen coil, turn off the AC unit at the thermostat but keep the fan running. This will help thaw the ice. It may take several hours for the coil to completely thaw. Place towels or a bucket under the unit to catch the melting water.
- Replace the Air Filter (Again): Even if you just replaced the air filter, double-check that it's clean and properly installed. A dirty filter is a common cause of frozen coils.
If the evaporator coil freezes repeatedly, even after replacing the filter and thawing the coil, it's likely a sign of a more serious problem, such as low refrigerant. Low refrigerant should only be handled by a licensed HVAC technician.
Step 6: Check the Condensate Pump (If Applicable)
Some AC systems use a condensate pump to pump the water uphill or over a longer distance. If your system has a condensate pump, locate it and check if it's working correctly. The pump usually has a small reservoir that fills with water and then automatically pumps it out. If the pump is not running or is making unusual noises, it might be malfunctioning.
- Check the Power Supply: Ensure the pump is plugged in and receiving power. Check the circuit breaker to make sure it hasn't tripped.
- Clean the Pump: Sometimes, debris can clog the pump. Try cleaning the pump according to the manufacturer's instructions.
- Test the Float Switch: The pump usually has a float switch that activates the pump when the water level rises. Make sure the float switch is moving freely.
If the condensate pump is faulty, it will need to be replaced. Consider consulting a professional for pump replacement, especially if you are not familiar with electrical work.
Step 7: Inspect the Unit's Leveling
While less common, an improperly leveled AC unit can cause drain pan overflow. Use a level to check if the indoor unit and the drain pan are level. If not, you may need to shim the unit to correct its position. This is more critical for window units but can affect central AC systems if the foundation has shifted.
When to Call a Professional
While many AC leaks can be resolved with DIY troubleshooting, there are situations where calling a professional is necessary. Never attempt repairs involving refrigerant or complex electrical components unless you are a qualified HVAC technician.
Here are some instances when you should contact a professional:
- Low Refrigerant: If you suspect low refrigerant, do not attempt to add refrigerant yourself. Refrigerant handling requires specialized equipment and training. Leaking refrigerant is also an environmental hazard.
- Electrical Issues: If you suspect electrical problems with the AC unit (e.g., a faulty blower motor, compressor, or wiring), leave the repairs to a qualified electrician or HVAC technician.
- Cracked or Rusted Drain Pan (Complex Replacement): If the drain pan is difficult to access or integrated into the unit, professional replacement is recommended.
- Compressor Problems: The compressor is the heart of the AC unit. If you suspect compressor issues (e.g., unusual noises, failure to start), call a professional.
- Persistent Leaks: If you've tried all the DIY troubleshooting steps and the leak persists, there may be a more complex underlying problem that requires professional diagnosis and repair.
- You're Uncomfortable: If at any point during the troubleshooting process you feel uncomfortable or unsure about what you're doing, it's always best to err on the side of caution and call a professional.
Preventative Maintenance Tips
Regular preventative maintenance can help prevent AC leaks and other problems. Here are some tips:
- Change the Air Filter Regularly: This is the most important preventative maintenance task. Replace the air filter every 1-3 months, depending on usage and the type of filter.
- Flush the Drain Line Annually: Pour a cup of white vinegar down the drain line every year to prevent clogs.
- Clean the Outdoor Unit: Remove any debris (leaves, grass clippings) from around the outdoor unit to ensure proper airflow.
- Schedule Professional Maintenance: Have your AC unit professionally inspected and serviced at least once a year. A technician can identify and address potential problems before they become major issues.
By following this troubleshooting guide and implementing preventative maintenance practices, you can effectively address and prevent AC leaks, keeping your home cool and dry while avoiding costly repairs.