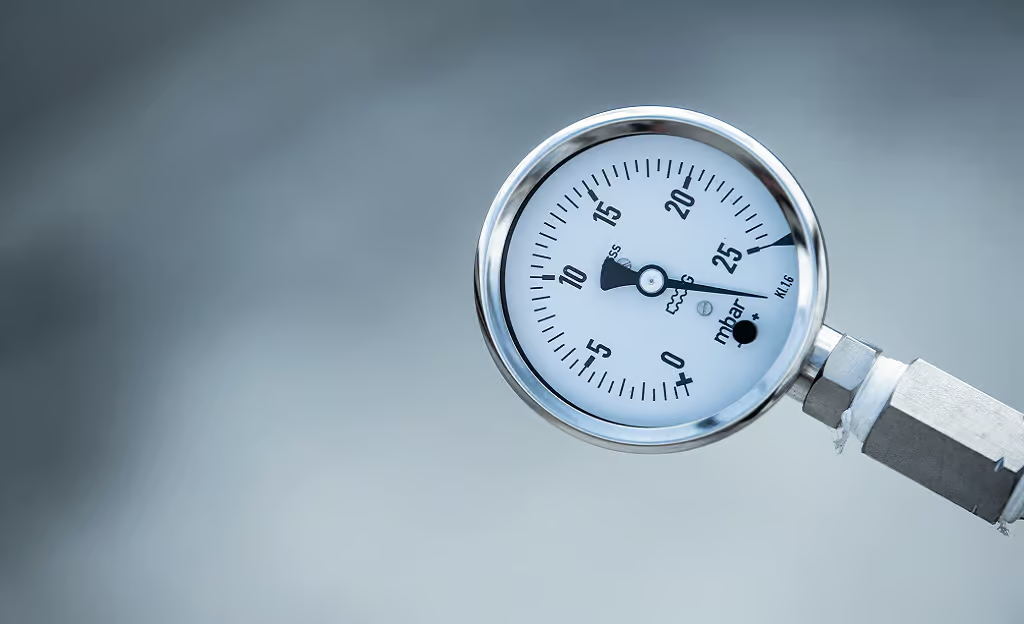
Natural Gas Inches Of Water Column
One of the most frustrating and potentially dangerous issues homeowners face is inconsistent or weak performance from their natural gas appliances. You might notice your furnace struggles to heat your home, your stove burners are producing a weak flame, or your water heater takes longer to heat water. These issues often stem from problems with the natural gas pressure, specifically, an improper reading in inches of water column (WC).
But what exactly is "inches of water column," and why is it important? It's simply a measurement of gas pressure. Natural gas systems in homes operate at relatively low pressure, and WC is a convenient unit for measuring it. If the pressure is too low or fluctuates too much, your appliances won't function correctly, and you could even be facing a safety hazard.
Understanding the Problem: Low Gas Pressure
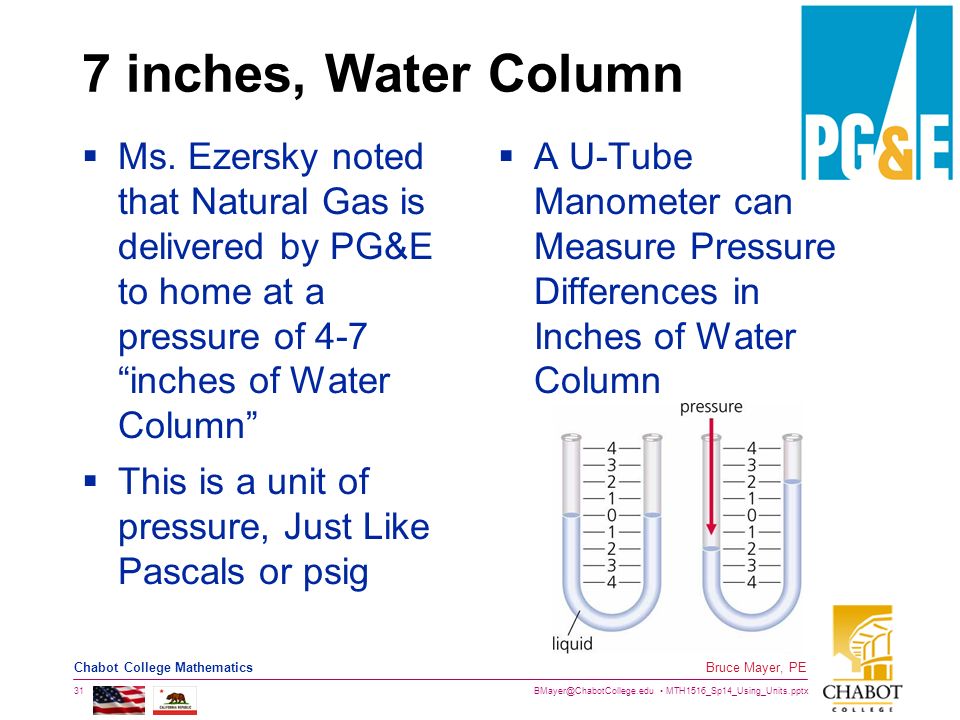
Before you start troubleshooting, it's vital to understand what a normal gas pressure reading should be. Typically, residential natural gas systems operate between 5 and 7 inches of water column. This pressure is maintained by your gas utility provider. Deviations from this range can indicate a problem.
Symptoms of low gas pressure often include:
- Weak appliance flames: Your stove burners might have smaller, weaker flames than usual.
- Furnace not heating properly: The furnace might cycle on and off frequently or not reach the desired temperature.
- Water heater issues: The water heater may take longer to heat water, or you might experience inconsistent hot water supply.
- Pilot light problems: Pilot lights might be difficult to light or keep lit.
- Gas appliance shutdown: In severe cases, appliances might shut down completely due to insufficient gas supply.
Important Safety Note: If you smell a strong odor of natural gas, DO NOT attempt any troubleshooting. Evacuate your home immediately and call your gas utility company or 911 from a safe location. Gas leaks are extremely dangerous and require professional attention.
Step-by-Step Troubleshooting Guide
Now, let's get into diagnosing the problem. We'll start with some simple checks you can perform yourself.
Step 1: Check Other Gas Appliances
The first step is to determine if the problem is affecting all of your gas appliances or just one. Turn on multiple gas appliances simultaneously (stove, furnace, water heater) and observe their performance. If all appliances are exhibiting the same symptoms of low gas pressure, it suggests a problem with the main gas supply.
If only one appliance is affected, the problem is likely isolated to that appliance's gas supply line or the appliance itself.
Step 2: Inspect the Gas Meter and Regulator
Locate your gas meter, which is usually located outside your home. Look for the gas regulator, which is typically a bell-shaped device connected to the meter.
- Visual Inspection: Carefully examine the meter and regulator for any signs of damage, corrosion, or leaks. Look for bubbling liquid or listen for a hissing sound. If you spot anything suspicious, do not touch anything and call your gas company immediately.
- Snow and Ice: In cold climates, check for snow or ice accumulation around the regulator. Excessive buildup can sometimes interfere with its operation. Carefully remove any snow or ice, being careful not to damage the regulator.
- Obstructions: Ensure that nothing is obstructing the meter or regulator. Bushes, debris, or other objects should be cleared away.
Important: Never attempt to adjust or repair the gas meter or regulator yourself. These are the property of the gas company and should only be handled by trained professionals.
Step 3: Check Appliance Shut-Off Valves
Each gas appliance should have its own shut-off valve, typically located on the gas supply line near the appliance. Make sure these valves are fully open.
- Location: Identify the shut-off valve for the appliance experiencing problems.
- Operation: The valve is usually a lever or a knob. Ensure it is turned fully parallel with the gas pipe, indicating that it is in the "open" position.
- Obstructions: Sometimes, items can be accidentally placed against these valves, partially closing them. Clear any obstructions.
Step 4: Inspect Gas Appliance Connectors
Carefully examine the flexible gas connectors that connect your appliances to the gas supply lines. Look for:
- Kinks or Bends: Ensure the connectors are not kinked or bent sharply, as this can restrict gas flow. Gently straighten any minor kinks.
- Corrosion or Damage: Check for signs of corrosion, rust, or physical damage. If you find any damage, the connector needs to be replaced by a qualified technician.
- Proper Connection: Make sure the connectors are securely attached to both the appliance and the gas supply line. Loose connections can cause leaks and reduce gas pressure.
Step 5: Check the Furnace Filter (if applicable)
A dirty furnace filter can restrict airflow, causing the furnace to work harder and potentially affecting gas pressure. Replace the filter with a clean one.
- Location: Locate the furnace filter compartment, usually near the blower motor.
- Inspection: Remove the filter and inspect it for dirt and debris. If it's visibly dirty, replace it.
- Replacement: Install a new filter of the correct size and type. Refer to your furnace's manual for specifications.
Step 6: Bleed the Gas Line (if applicable and safe)
Caution: Bleeding a gas line requires caution and should only be attempted if you are comfortable and confident in your ability to do so safely. If you are unsure, call a professional.
If you have recently had work done on your gas lines, or if an appliance has been disconnected and reconnected, air may have entered the lines. This air can interfere with gas flow and reduce pressure.
Here's how to carefully bleed a gas line:
- Turn off the appliance: Ensure the appliance's gas supply is turned off at the shut-off valve.
- Locate the bleeder valve: Most gas appliances have a small bleeder valve or fitting, often located near the gas inlet. Consult your appliance's manual for its location.
- Prepare a container: Have a small container ready to catch any gas that is released.
- Loosen the bleeder valve: Carefully loosen the bleeder valve using a wrench. You should hear a slight hissing sound as air escapes.
- Allow air to escape: Allow the air to escape until you smell gas. This indicates that the air has been purged from the line.
- Tighten the valve: Carefully tighten the bleeder valve. Do not overtighten.
- Turn on the appliance: Turn the appliance's gas supply back on and attempt to light it.
Important: If you smell a strong odor of natural gas during this process, immediately tighten the bleeder valve, turn off the gas supply, and evacuate the area. Call your gas company or 911.
When to Call a Professional
While these DIY steps can resolve many minor gas pressure issues, there are times when professional intervention is absolutely necessary. Do not hesitate to call a qualified HVAC technician or your gas utility company in the following situations:
- You smell a strong odor of natural gas: This is a serious safety hazard. Evacuate and call for help immediately.
- You suspect a gas leak: If you see bubbling liquid or hear a hissing sound near gas lines or appliances, it could indicate a leak.
- The gas meter or regulator appears damaged: Do not attempt to repair or adjust these components yourself.
- You are uncomfortable working with gas lines: If you lack experience or confidence, it's best to leave the work to a professional.
- The problem persists after trying the DIY steps: If you've tried the troubleshooting steps above and the gas pressure issues continue, it's likely a more complex problem that requires professional diagnosis and repair.
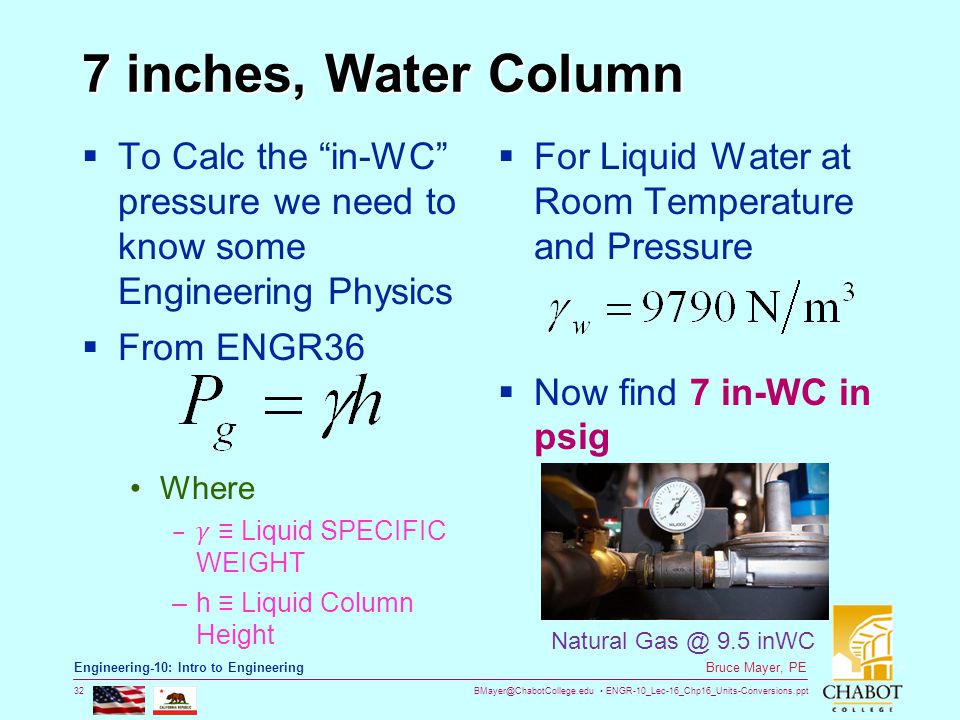
- Your gas appliances require pressure testing: Accurately measuring gas pressure requires specialized equipment, such as a manometer, which most homeowners don't have. A technician can perform a pressure test to ensure your system is operating within the correct range.
- You suspect a problem with the main gas line: Issues with the gas line running from the street to your home are the responsibility of the gas company.
Professional Gas Pressure Testing
A qualified technician will use a manometer to accurately measure the gas pressure in your system. They will typically test the pressure at the gas meter and at various appliances to identify any pressure drops or inconsistencies.
The technician will also inspect the gas lines for leaks and other potential problems. They may use a gas leak detector, which is a device that can sense even small amounts of natural gas in the air.
Based on their findings, the technician will recommend the necessary repairs or adjustments to restore proper gas pressure and ensure the safe and efficient operation of your gas appliances.
Prevention is Key
Regular maintenance can help prevent gas pressure problems and ensure the longevity of your gas appliances.
- Annual appliance checkups: Have your gas appliances inspected and serviced annually by a qualified technician.
- Regular filter changes: Change your furnace filter regularly to maintain proper airflow.
- Keep gas meter and regulator clear: Ensure that the gas meter and regulator are free from obstructions and debris.
- Address any issues promptly: Don't ignore minor gas pressure problems. Addressing them early can prevent them from escalating into more serious and costly repairs.
By following these troubleshooting steps and knowing when to call a professional, you can keep your natural gas system running safely and efficiently, ensuring your home is warm, comfortable, and secure.