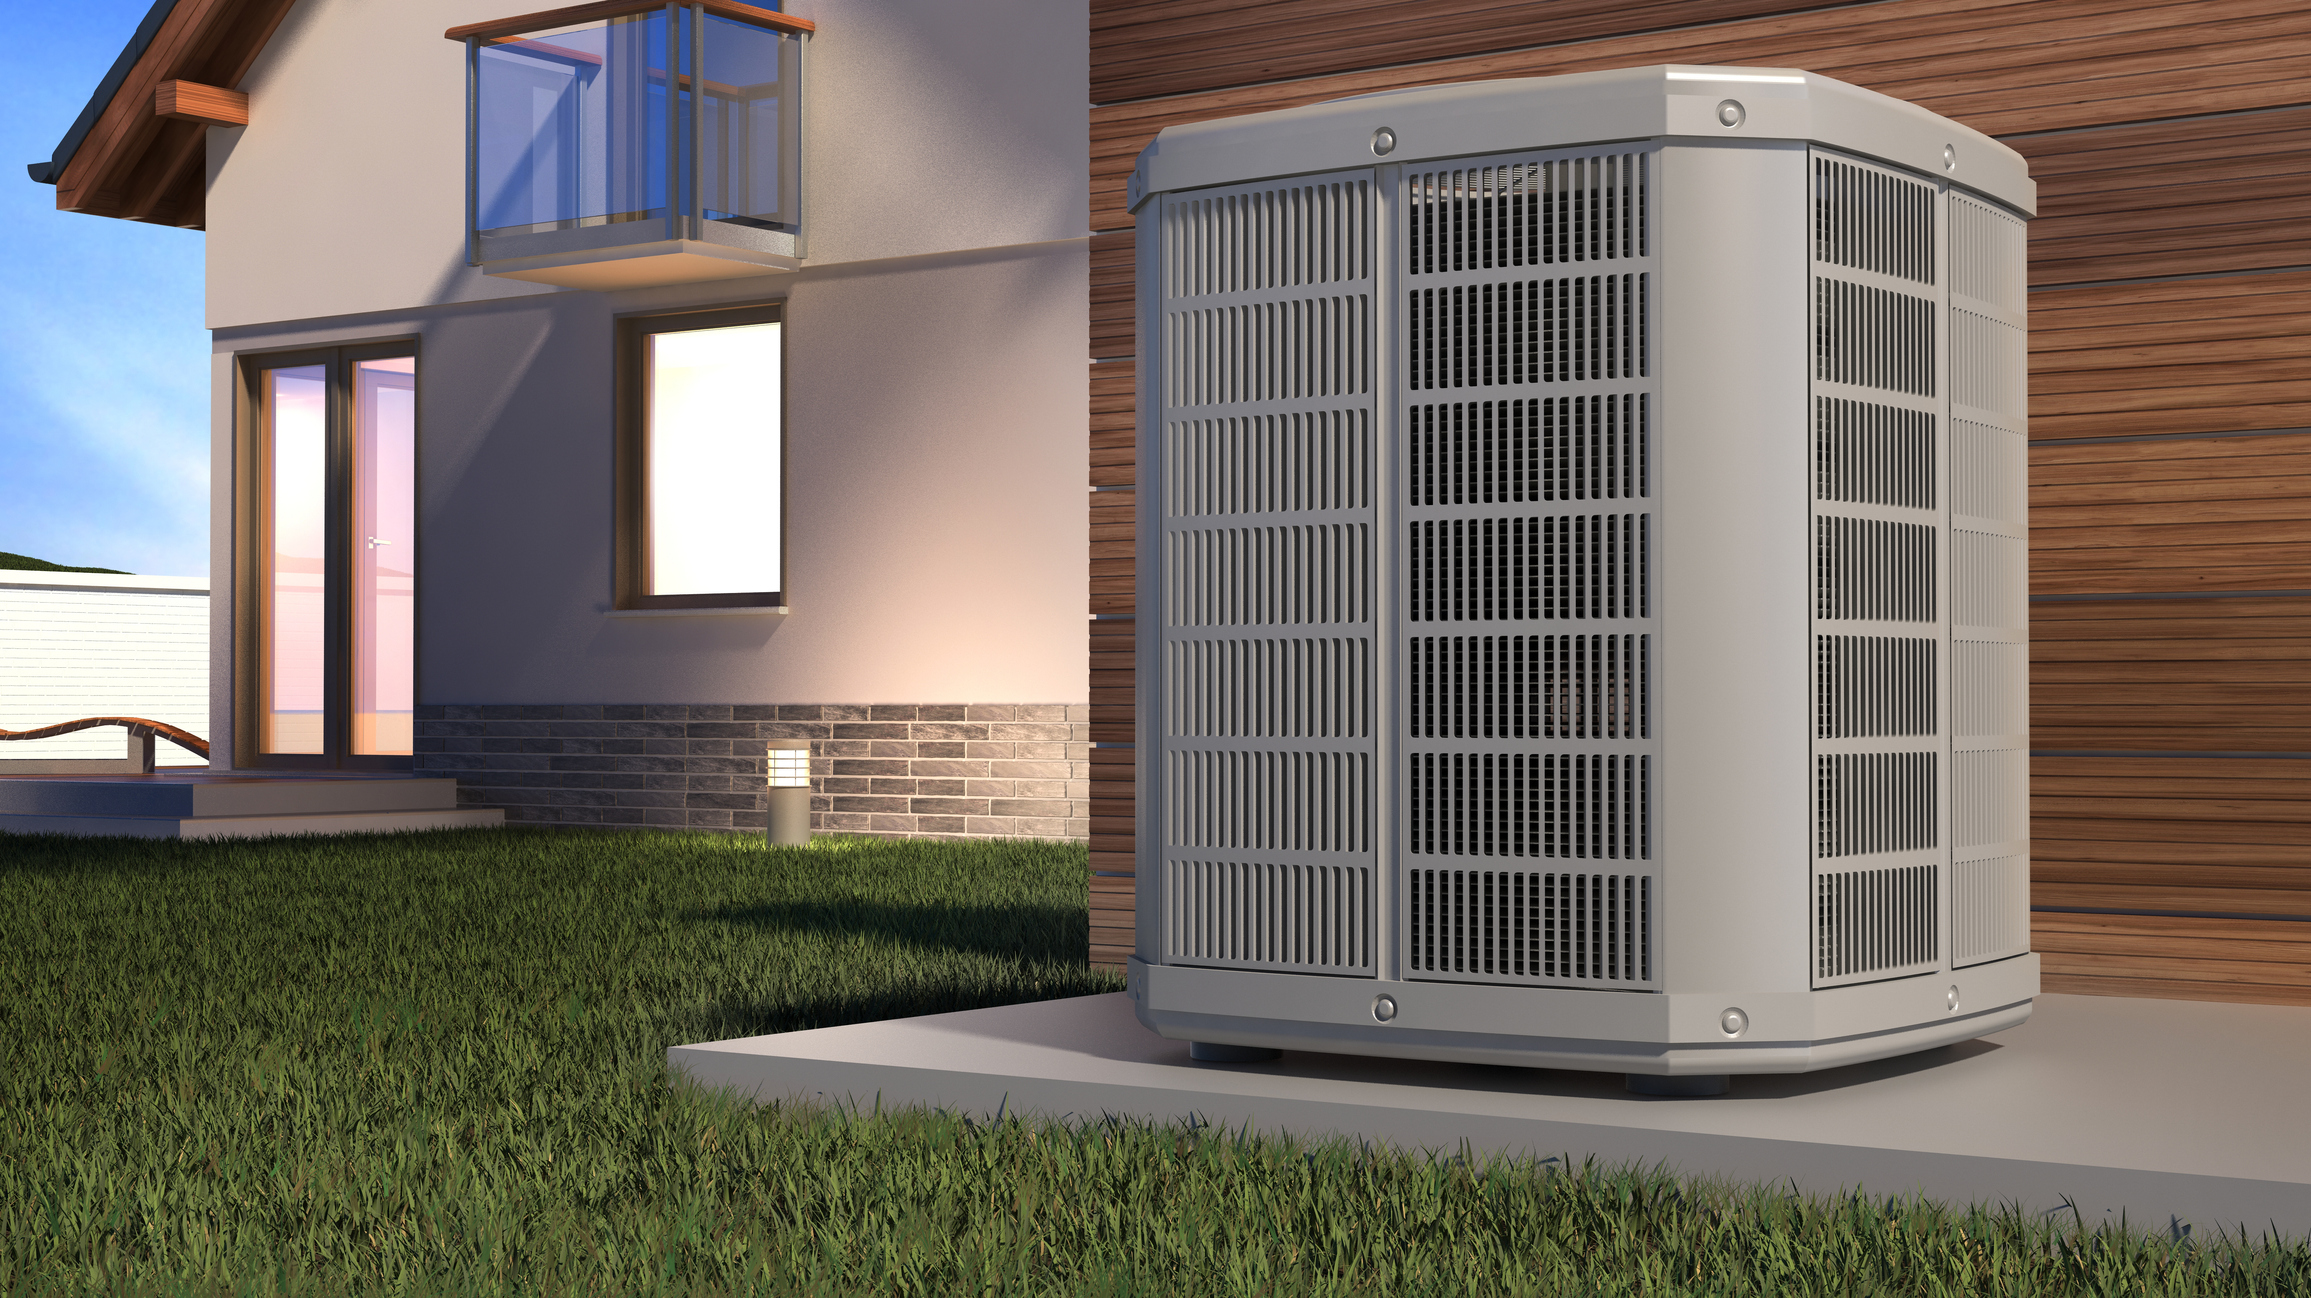
New Home Heating And Cooling Systems

Welcome to the wonderful world of new homeownership! A comfortable home often hinges on a smoothly running heating and cooling system. While modern HVAC systems are generally reliable, occasional hiccups can occur. Let's tackle a common issue: uneven heating or cooling.
Imagine this: one room is freezing while another is sweltering. This inconsistent temperature across your home is frustrating and a sign that something isn't quite right. This article will guide you through diagnosing and resolving some common causes, empowering you to take control of your comfort (and potentially save on repair bills).
Diagnosing the Uneven Heating/Cooling Problem
Before calling a professional, let's investigate. A systematic approach is key. Start with the easiest and most obvious checks, working your way towards more complex possibilities.
Step 1: The Obvious Checks (No Tools Required)
First, let's rule out the simple fixes. These checks require absolutely no tools and can often pinpoint the culprit quickly.
- Check Your Thermostat Settings: Ensure your thermostat is set to "Heat" or "Cool", depending on the season, and that the target temperature is appropriate. Is it possible someone accidentally adjusted it? Also, check the program settings. Is it programmed to lower the temperature significantly overnight, causing unevenness in the morning?
- Verify Thermostat Location: Is your thermostat located in a place where it's unduly influenced by drafts, sunlight, or appliances? A thermostat near a sunny window or a drafty doorway can give inaccurate readings, leading to uneven heating/cooling. Consider relocating the thermostat if necessary (this might require professional help for wiring).
- Inspect Air Vents and Registers: Are any vents or registers blocked by furniture, rugs, or curtains? Even partial blockage can significantly reduce airflow to a room. Make sure all vents are fully open. Check for any obstructions *inside* the vent as well.
- Assess Window and Door Seals: Poorly sealed windows and doors are major culprits for drafts and heat loss. Feel around the edges of windows and doors for air leaks. You can often feel a noticeable draft, even a slight one, if the seal is compromised.
- Observe Airflow: Stand near each vent when the system is running. Is the airflow strong and consistent? Compare the airflow between different rooms. A noticeable difference in airflow is a key indicator of a problem.
Step 2: Basic Equipment Checks (Minimal Tools)
If the obvious checks don't reveal the issue, a few simple tools can help you dig deeper. You'll need:
- A Screwdriver (Phillips and Flathead): For removing vent covers and accessing filters.
- A Flashlight: For inspecting ducts and hard-to-reach areas.
- A Thermometer (Optional): To accurately measure the temperature at different vents.
Now, let's proceed with the following checks:
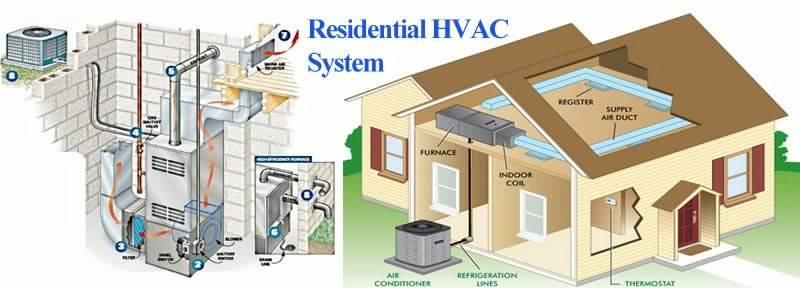
- Inspect the Air Filter: This is *crucial*. A dirty air filter restricts airflow, making your system work harder and leading to uneven heating/cooling. Locate the air filter (usually near the furnace or air handler) and remove it. Hold it up to the light. If you can't see light through it easily, it's dirty. Replace it with a new filter of the correct size. This is a very simple and inexpensive fix that can make a big difference. Aim to replace your filter every 1-3 months, depending on usage and air quality.
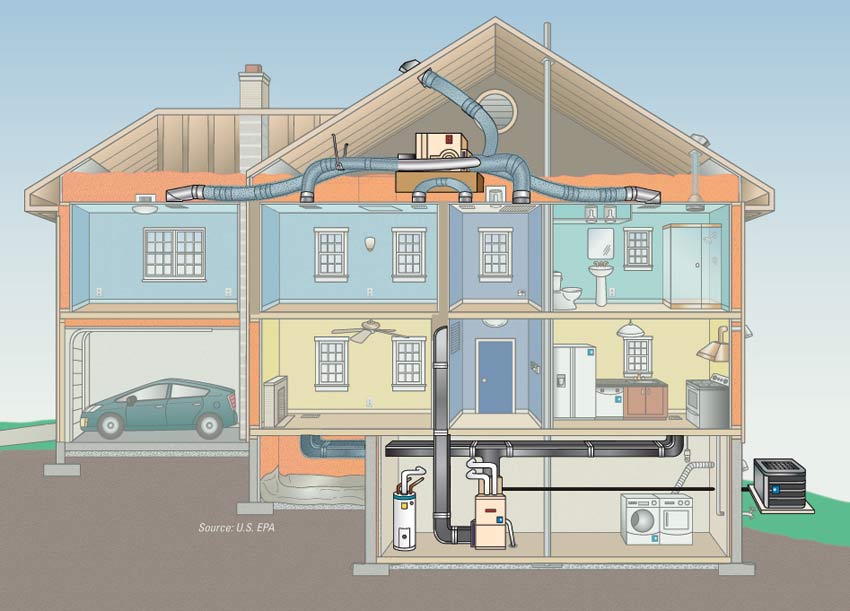
- Check Accessible Ductwork (Visually): If you have exposed ductwork in your basement or attic, visually inspect it for any obvious damage, such as disconnected sections, holes, or crushed areas. Even small leaks can significantly reduce airflow to certain areas. If you find any minor damage, you *might* be able to seal it with aluminum foil tape (specifically designed for ductwork – *don't use duct tape!*). However, for significant damage, it's best to call a professional.
- Inspect Registers More Closely: Remove the vent covers (using your screwdriver) and inspect the duct opening. Are there any obstructions inside the duct, such as debris or insulation? A flashlight is helpful here. Remove any visible obstructions.
- Test Vent Temperatures (Optional): Use your thermometer to measure the temperature of the air coming out of different vents. Significant temperature differences (more than 5-10 degrees Fahrenheit) between vents could indicate a problem with airflow or ductwork. Note these differences down to share with a professional, if necessary.
Step 3: Understanding Zoning Systems (If Applicable)
If your new home is equipped with a zoning system, understanding how it works is crucial. Zoning systems divide your home into different temperature zones, each controlled by its own thermostat and dampers in the ductwork.
- Verify Zone Settings: Make sure the thermostat for each zone is set appropriately. A common mistake is having zones set to different temperatures unintentionally.
- Check Damper Operation (Visually): If you can access the dampers (usually located in the ductwork near the air handler), visually inspect them to ensure they are opening and closing correctly when the thermostat calls for heating or cooling in that zone. You might hear a slight motor noise when the dampers adjust. However, this usually requires professional knowledge, proceed with caution.
- Consult the Zoning System Manual: Your home's manual should contain information about your specific zoning system, including troubleshooting tips.
When to Call a Professional HVAC Technician
While many minor HVAC issues can be resolved with DIY troubleshooting, some problems are beyond the scope of a homeowner's abilities and require the expertise of a qualified HVAC technician. Safety is paramount! If you're uncomfortable with any of these checks, or if you suspect a more serious problem, don't hesitate to call a professional.
Here are some scenarios where professional help is definitely needed:
- Refrigerant Leaks: Refrigerant is a hazardous substance, and handling it requires specialized equipment and training. If you suspect a refrigerant leak (e.g., hissing sound, ice buildup on the coils, weak cooling), do not attempt to fix it yourself.
- Electrical Issues: Working with electrical components can be extremely dangerous. If you suspect an electrical problem (e.g., tripped breakers, burning smell, sparking), immediately turn off the power to the unit at the breaker box and call a professional.
- Gas Leaks: A gas leak is a serious safety hazard. If you smell gas near your furnace or gas lines, immediately evacuate your home and call your gas company and the fire department.
- Major Ductwork Damage: Significant damage to ductwork requires specialized tools and expertise to repair properly. If you find large holes, collapsed sections, or extensive mold growth in your ductwork, call a professional.
- Compressor Problems: The compressor is the heart of your air conditioning system. Diagnosing and repairing compressor problems requires specialized knowledge and equipment. If you suspect a compressor issue, call a professional.
- Zoning System Malfunctions: If you've checked the basics of your zoning system and are still experiencing problems, a professional HVAC technician with zoning system experience is needed. These systems are complex and require specialized diagnostic tools.
- You're Unsure: If you've gone through the troubleshooting steps and are still unsure what's causing the uneven heating/cooling, it's always best to err on the side of caution and call a professional.
Preventative Maintenance: The Key to a Happy HVAC System
The best way to avoid HVAC problems is to perform regular preventative maintenance. Here are some key tasks you can do yourself:
- Change Air Filters Regularly: As mentioned earlier, this is *the most important* thing you can do.
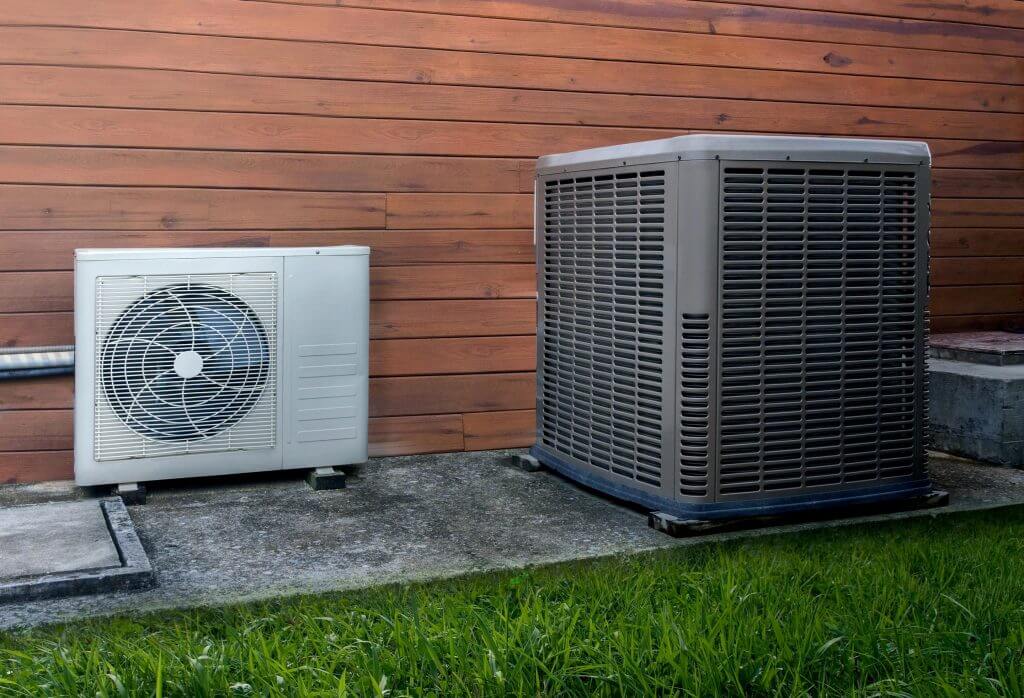
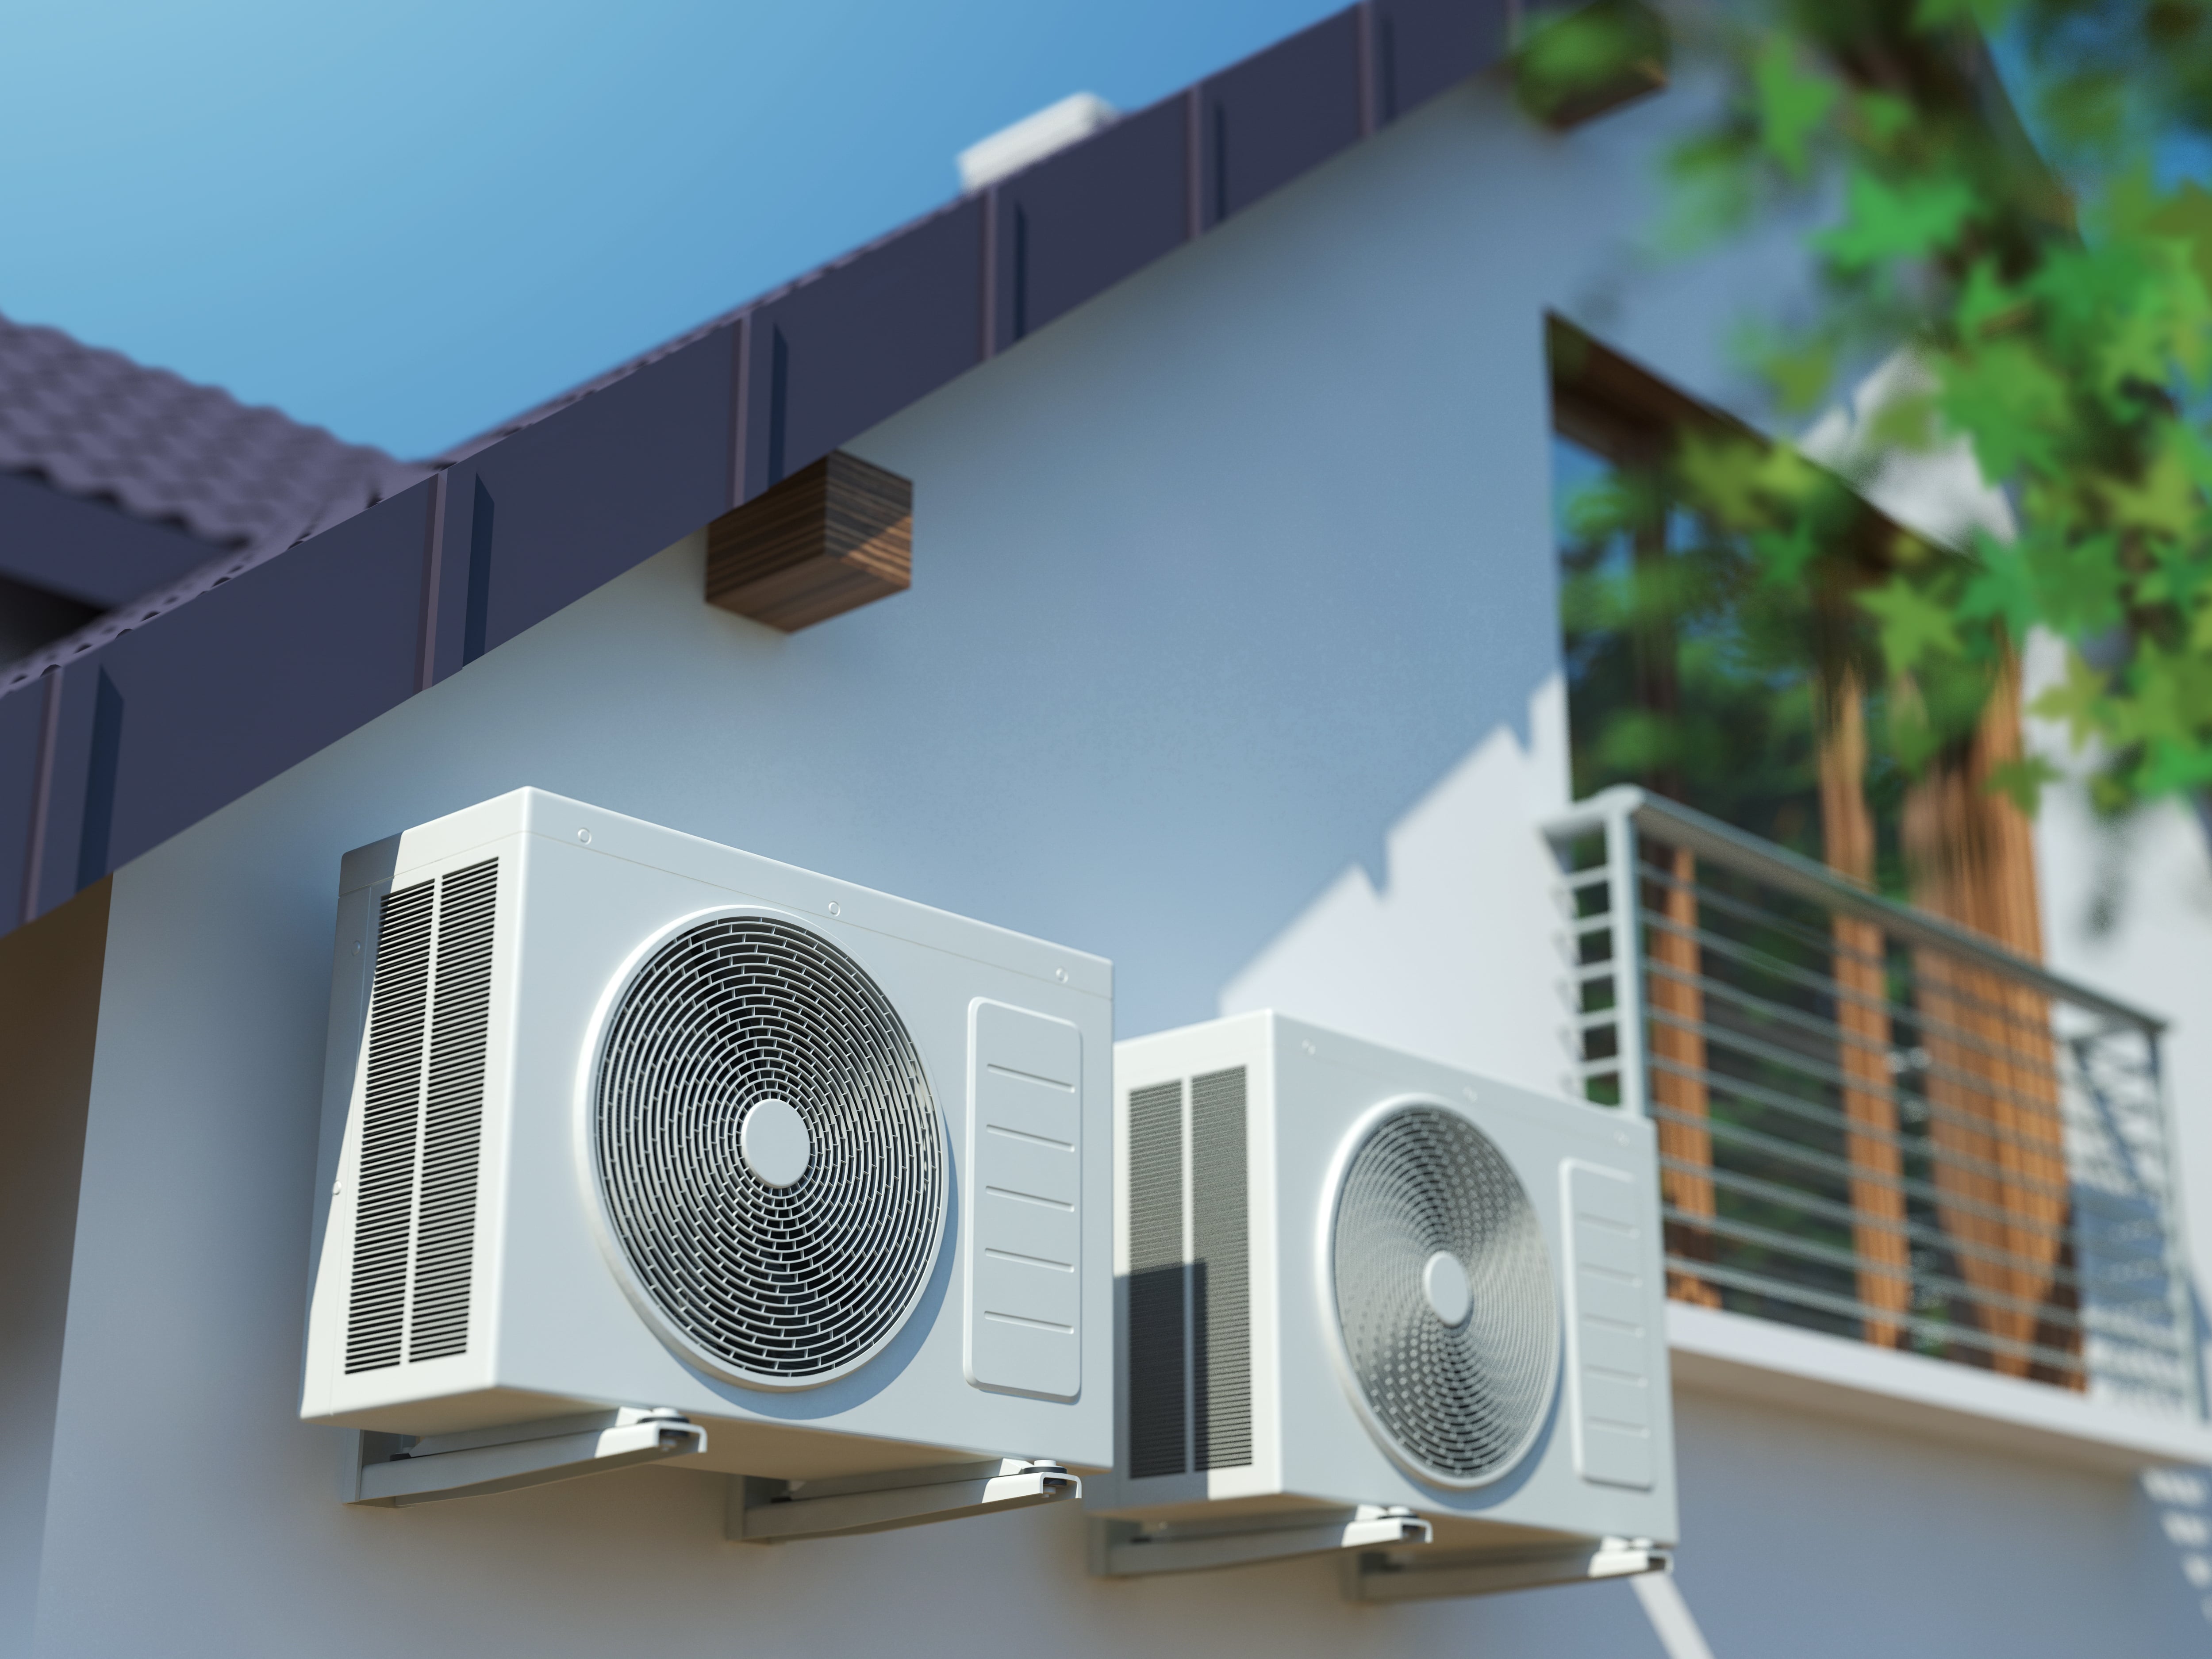
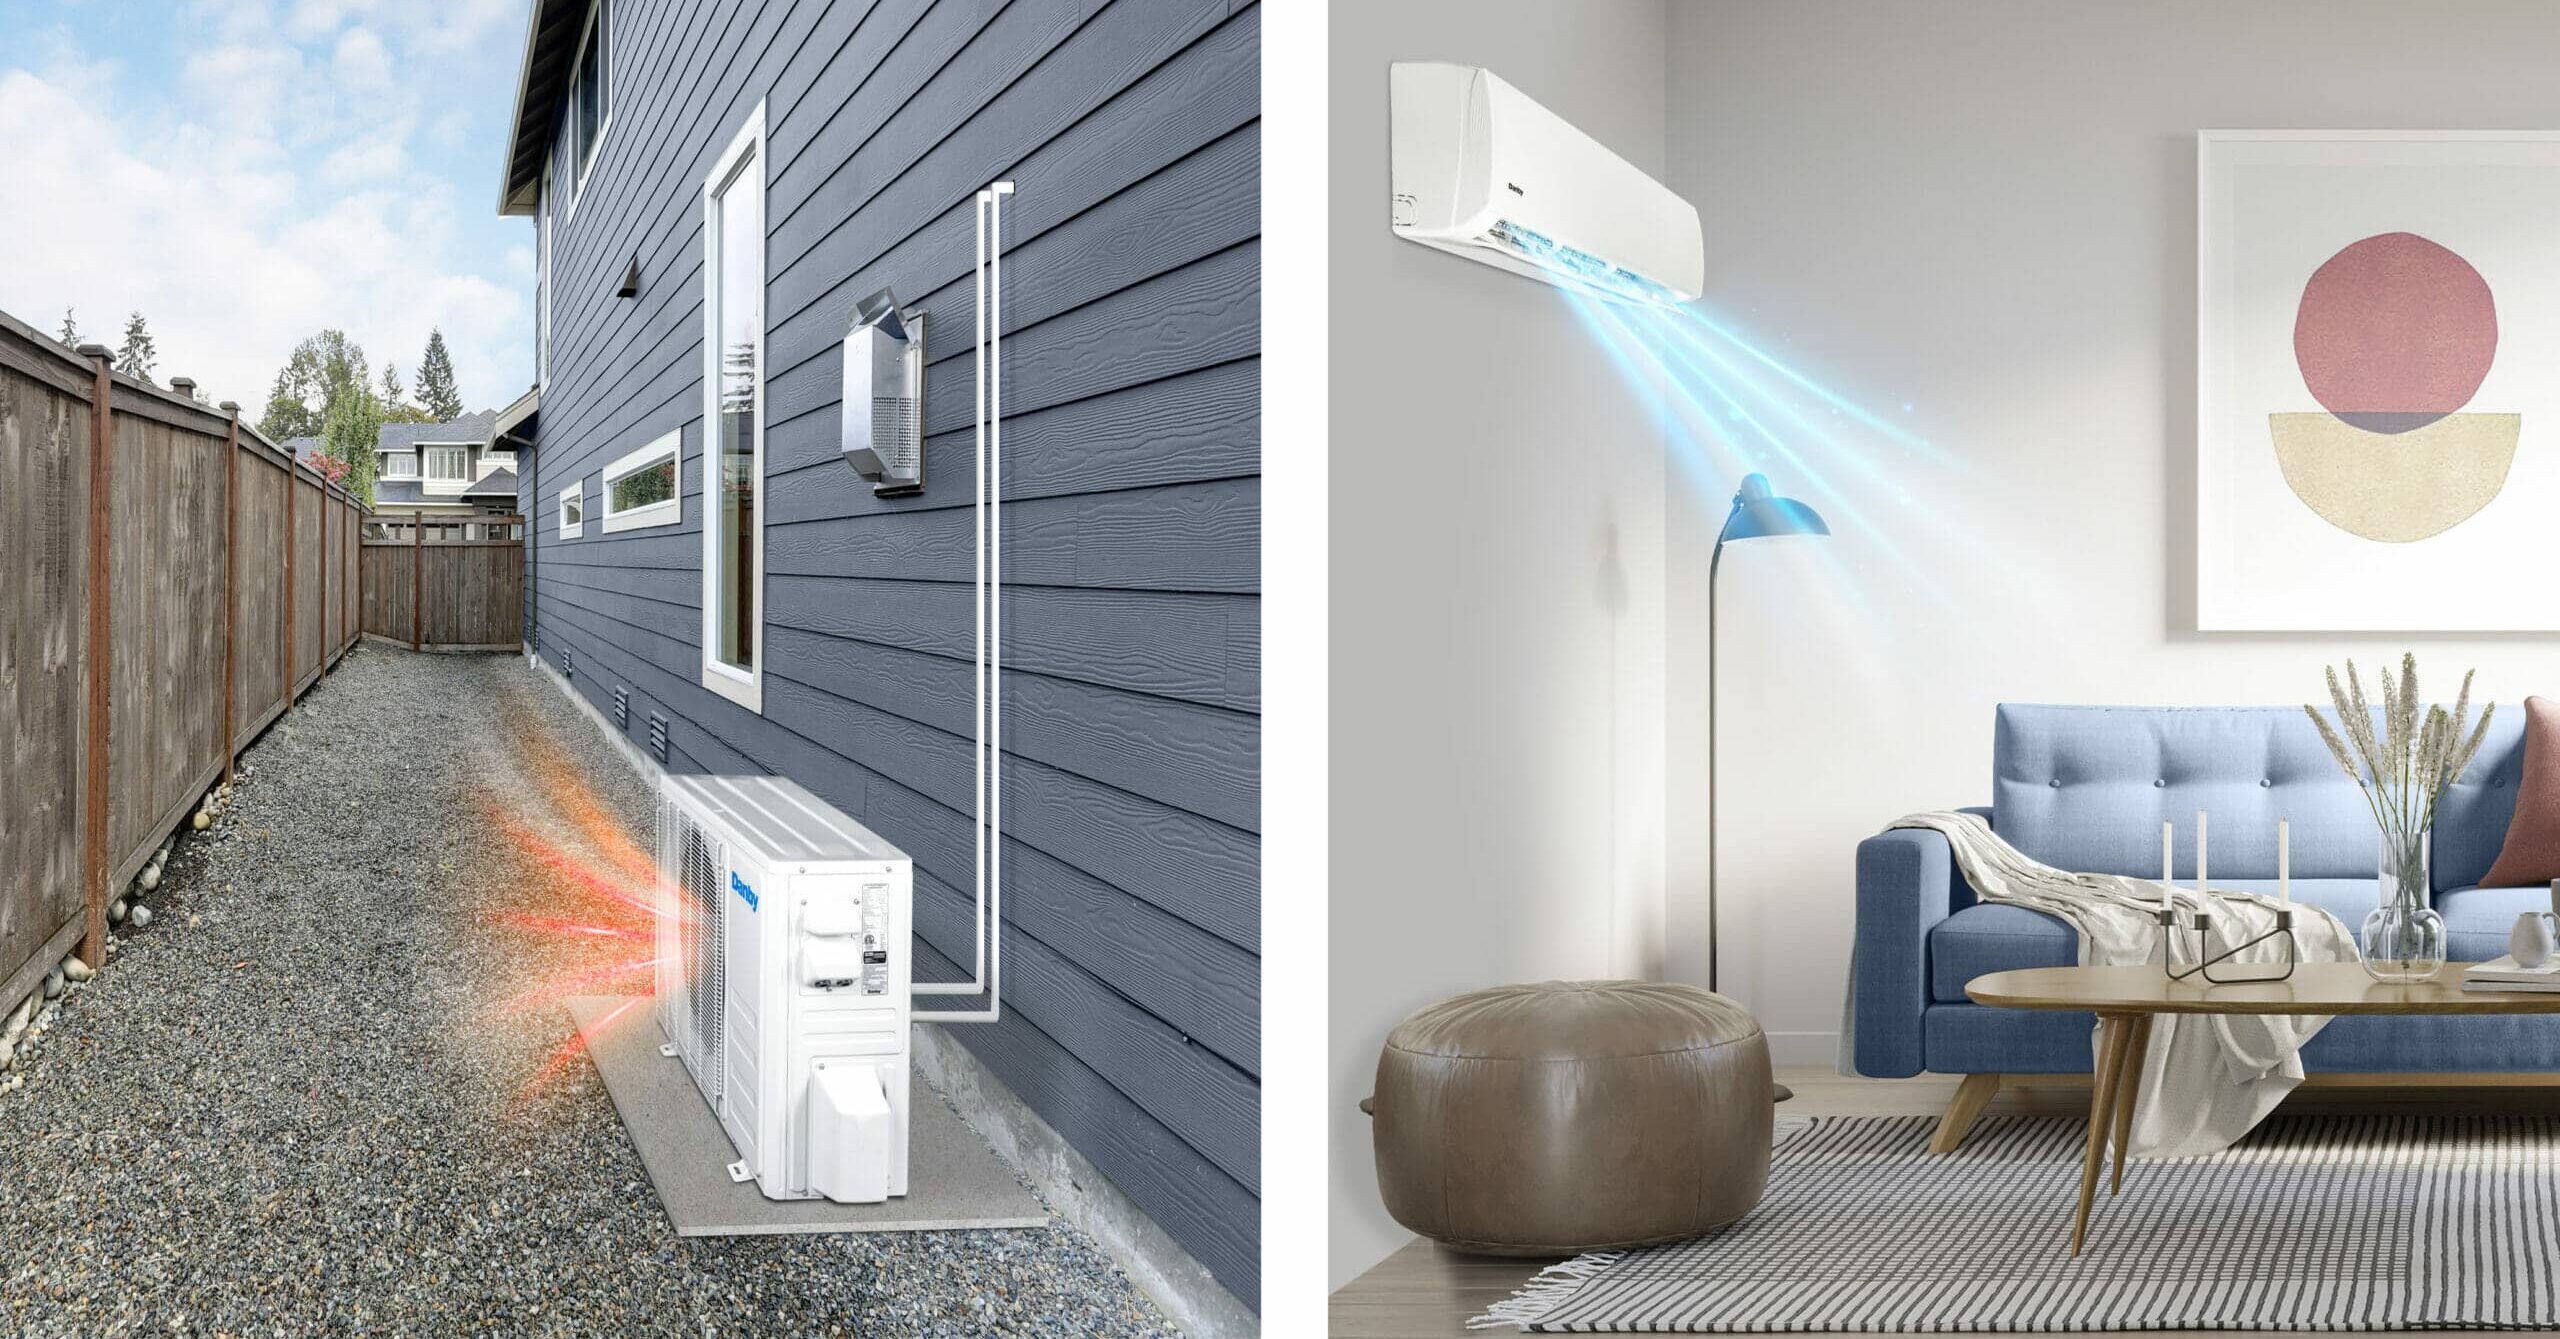
- Keep Outdoor Unit Clear: Remove any leaves, grass clippings, or other debris from around the outdoor unit. Ensure there's at least 2-3 feet of clearance around the unit.
- Schedule Professional Maintenance: Have your HVAC system professionally inspected and tuned up annually. This will help identify potential problems before they become major issues.
- Monitor System Performance: Pay attention to how your system is operating. Note any unusual noises, smells, or performance changes.
By following these troubleshooting steps and performing regular preventative maintenance, you can keep your new home's heating and cooling system running smoothly and efficiently for years to come. Remember, when in doubt, always consult a qualified HVAC professional.
Enjoy the comfort of your new home!