No Power To Oil Boiler

No Power to Your Oil Boiler? Troubleshooting Guide for Homeowners
Finding your oil boiler completely unresponsive can be frustrating, especially during colder months. Before calling a professional, there are several checks you can perform to diagnose the problem and potentially restore power. This guide provides a step-by-step approach for troubleshooting a powerless oil boiler, balancing DIY solutions with the understanding of when professional help is necessary.
Safety First!
Working with electrical systems and fuel-burning appliances can be dangerous. Always prioritize safety:
- Turn off the main power switch to the boiler before attempting any repairs.
- Never work on your boiler if you smell oil or gas. Evacuate the area immediately and call your fuel supplier or fire department.
- If you're uncomfortable with any of these steps, contact a qualified HVAC technician.
Step 1: Check the Obvious – Power Supply Inspection
Begin with the simplest possibilities. Sometimes, the solution is surprisingly straightforward.
Checking the Power Switch
Ensure the main power switch to the boiler is in the "ON" position. It might seem simple, but accidental shut-offs happen.
Circuit Breakers and Fuses
Locate the circuit breaker panel for your home. Identify the breaker labeled "Boiler," "Furnace," or something similar. If the breaker is tripped (in the OFF or middle position), reset it by switching it fully OFF and then back ON. If it trips immediately again, there's a short circuit that requires professional attention. If you are using older fuses, you may need to replace any blown fuses.
If resetting the breaker restores power, monitor it closely. Frequent tripping indicates an underlying issue needing diagnosis.
Emergency Shut-Off Switch
Most oil boilers have an emergency shut-off switch, often located near the boiler or at the top of the basement stairs. Ensure this switch is in the "ON" position.
Step 2: Boiler Reset Button
Many oil boilers have a reset button, typically red or clearly labeled. This button addresses burner lockouts, which can occur due to various issues like flame failure. Look for the reset button. Press it once and wait a few minutes to see if the boiler restarts. Be careful not to press the reset button more than twice. Multiple lockouts signal an unresolved problem requiring professional diagnosis.
Step 3: Inspect the Oil Tank
If the boiler is receiving power but still not firing, the problem might be related to fuel supply. Check the oil level in your tank. If it's empty or very low, the boiler won't run. Call your oil supplier for a delivery.
Important: Running out of oil can also cause air to enter the fuel lines, requiring the system to be primed by a professional.
Step 4: Oil Supply Line Inspection
Examine the oil supply line from the tank to the boiler. Look for any visible damage, such as kinks, cracks, or leaks. Also, check the oil filter for clogs. A clogged filter can restrict fuel flow. If you're comfortable, you can replace the oil filter yourself, following these steps:
- Turn off the boiler's power switch and the oil supply valve (if available).
- Place a container under the filter to catch any spilled oil.
- Carefully unscrew the old filter.
- Lubricate the gasket of the new filter with clean oil.
- Screw on the new filter hand-tight, then tighten it another half-turn.
- Open the oil supply valve (if closed).
- Turn on the boiler's power switch.
- Bleed the oil line to remove any trapped air. (Note: This may require specific tools and knowledge. If unsure, call a professional.)
Step 5: Check the Thermostat
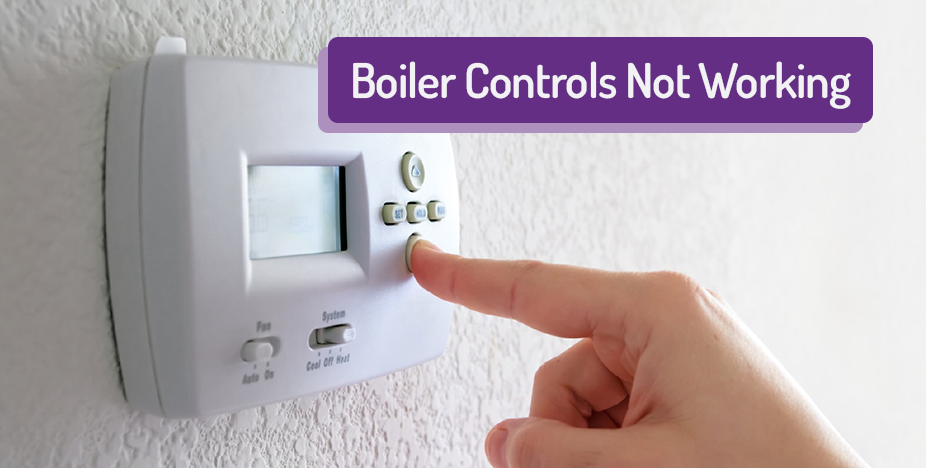
Ensure your thermostat is set to "Heat" and that the temperature is set above the current room temperature. A malfunctioning thermostat can prevent the boiler from turning on, even if it has power. If you have a programmable thermostat, ensure the settings are correct and the batteries are fresh. Test the thermostat by raising the temperature setting significantly and see if the boiler fires up.
Step 6: Inspect Wiring Connections
This step requires extreme caution. With the power to the boiler OFF, carefully inspect the wiring connections at the boiler's terminal block. Look for loose wires, corrosion, or burned connections. Tighten any loose connections with a screwdriver. If you see signs of significant corrosion or damage, it's best to call a professional electrician or HVAC technician.
When to Call a Professional
While many of these steps are DIY-friendly, some issues require the expertise of a qualified HVAC technician:
- Repeated Breaker Tripping: Indicates a serious electrical problem.
- Oil Leaks: A potential fire hazard and environmental concern.
- Unfamiliar Sounds: Banging, hissing, or gurgling noises can indicate internal problems.
- Soot Buildup: Suggests inefficient combustion and potential burner issues.
- Difficulty Priming the Oil Line: Requires specialized tools and knowledge.
- Any Uncertainty: If you're uncomfortable with any of these steps, don't hesitate to call a professional.
Estimated Repair Costs
The cost of repairing an oil boiler can vary widely depending on the problem. Here are some rough estimates:
- Replacing a Thermostat: $150 - $400
- Replacing an Oil Filter: $50 - $150 (DIY cost is lower)
- Replacing a Burner Motor: $300 - $700
- Replacing an Oil Pump: $400 - $800
- Replacing a Control Board: $200 - $600
- Emergency Service Call: $75 - $200 (plus hourly labor)
Note: These are just estimates. Always get a quote from a qualified HVAC technician before proceeding with any repairs.
Preventive Maintenance for Oil Boilers
Regular maintenance can help prevent many of the problems that lead to boiler failures. Consider these preventive measures:
- Annual Tune-Up: Schedule a professional tune-up each year. This includes cleaning the burner, inspecting the heat exchanger, checking the combustion efficiency, and testing safety controls.
- Clean Chimney: Ensure your chimney is clean and free of obstructions. A blocked chimney can cause dangerous carbon monoxide buildup.
- Regular Oil Filter Changes: Replace the oil filter annually, even if it doesn't appear clogged.
- Monitor Boiler Pressure: Check the boiler's pressure gauge regularly and maintain the recommended pressure level.
Troubleshooting Checklist
Use this checklist as a quick reference guide:
- [ ] Check the power switch.
- [ ] Reset the circuit breaker.
- [ ] Check the emergency shut-off switch.
- [ ] Press the reset button (once or twice only).
- [ ] Check the oil level in the tank.
- [ ] Inspect the oil supply line.
- [ ] Check the thermostat settings.
- [ ] Inspect wiring connections (with power OFF).
By following these steps, you can often diagnose and resolve simple power issues with your oil boiler. However, remember that safety is paramount, and when in doubt, always consult a qualified HVAC technician.