Nordyne Furnace Thermostat Wiring
Decoding Nordyne Furnace Thermostat Wiring: A Homeowner's Guide
A malfunctioning thermostat can throw your entire heating system into disarray, leaving you shivering in the cold or wasting energy unnecessarily. Understanding your Nordyne furnace's thermostat wiring is the first step towards troubleshooting common issues and potentially saving yourself a service call. This guide provides a homeowner-friendly breakdown of the process, covering essential steps, safety precautions, and when to call a professional.
Safety First: Disconnecting Power
Before touching any wires, always disconnect the power to your furnace. Locate the circuit breaker labeled "Furnace" or "HVAC" in your electrical panel and switch it to the "OFF" position. Double-check with a non-contact voltage tester to ensure no power is flowing to the furnace. This simple step is crucial for your safety.
Tools You'll Need
Having the right tools on hand will make the process smoother and safer. Here's a basic list:
- Screwdrivers (Phillips and flathead)
- Wire strippers/crimpers
- Needle-nose pliers
- Non-contact voltage tester
- Multimeter (for testing voltage and continuity – optional but recommended)
- Digital camera or smartphone (to take pictures of existing wiring)
- Labels or masking tape and a pen (for marking wires)
- New thermostat wire (if needed)
Identifying Your Wiring Configuration
Different Nordyne furnace models and thermostat types use varying wiring configurations. The most common configurations are:
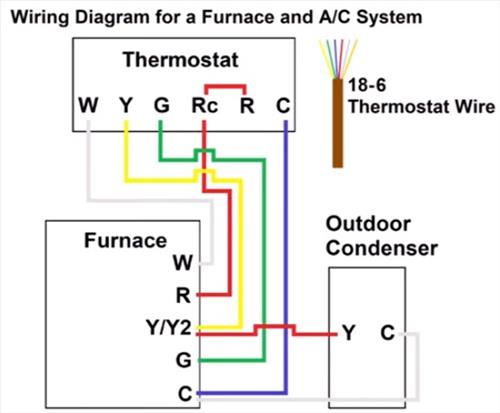
- Conventional Systems (Gas/Oil Furnace): These typically use 4-5 wires: R (power), W (heat), Y (cooling – if applicable), G (fan), and C (common – sometimes optional).
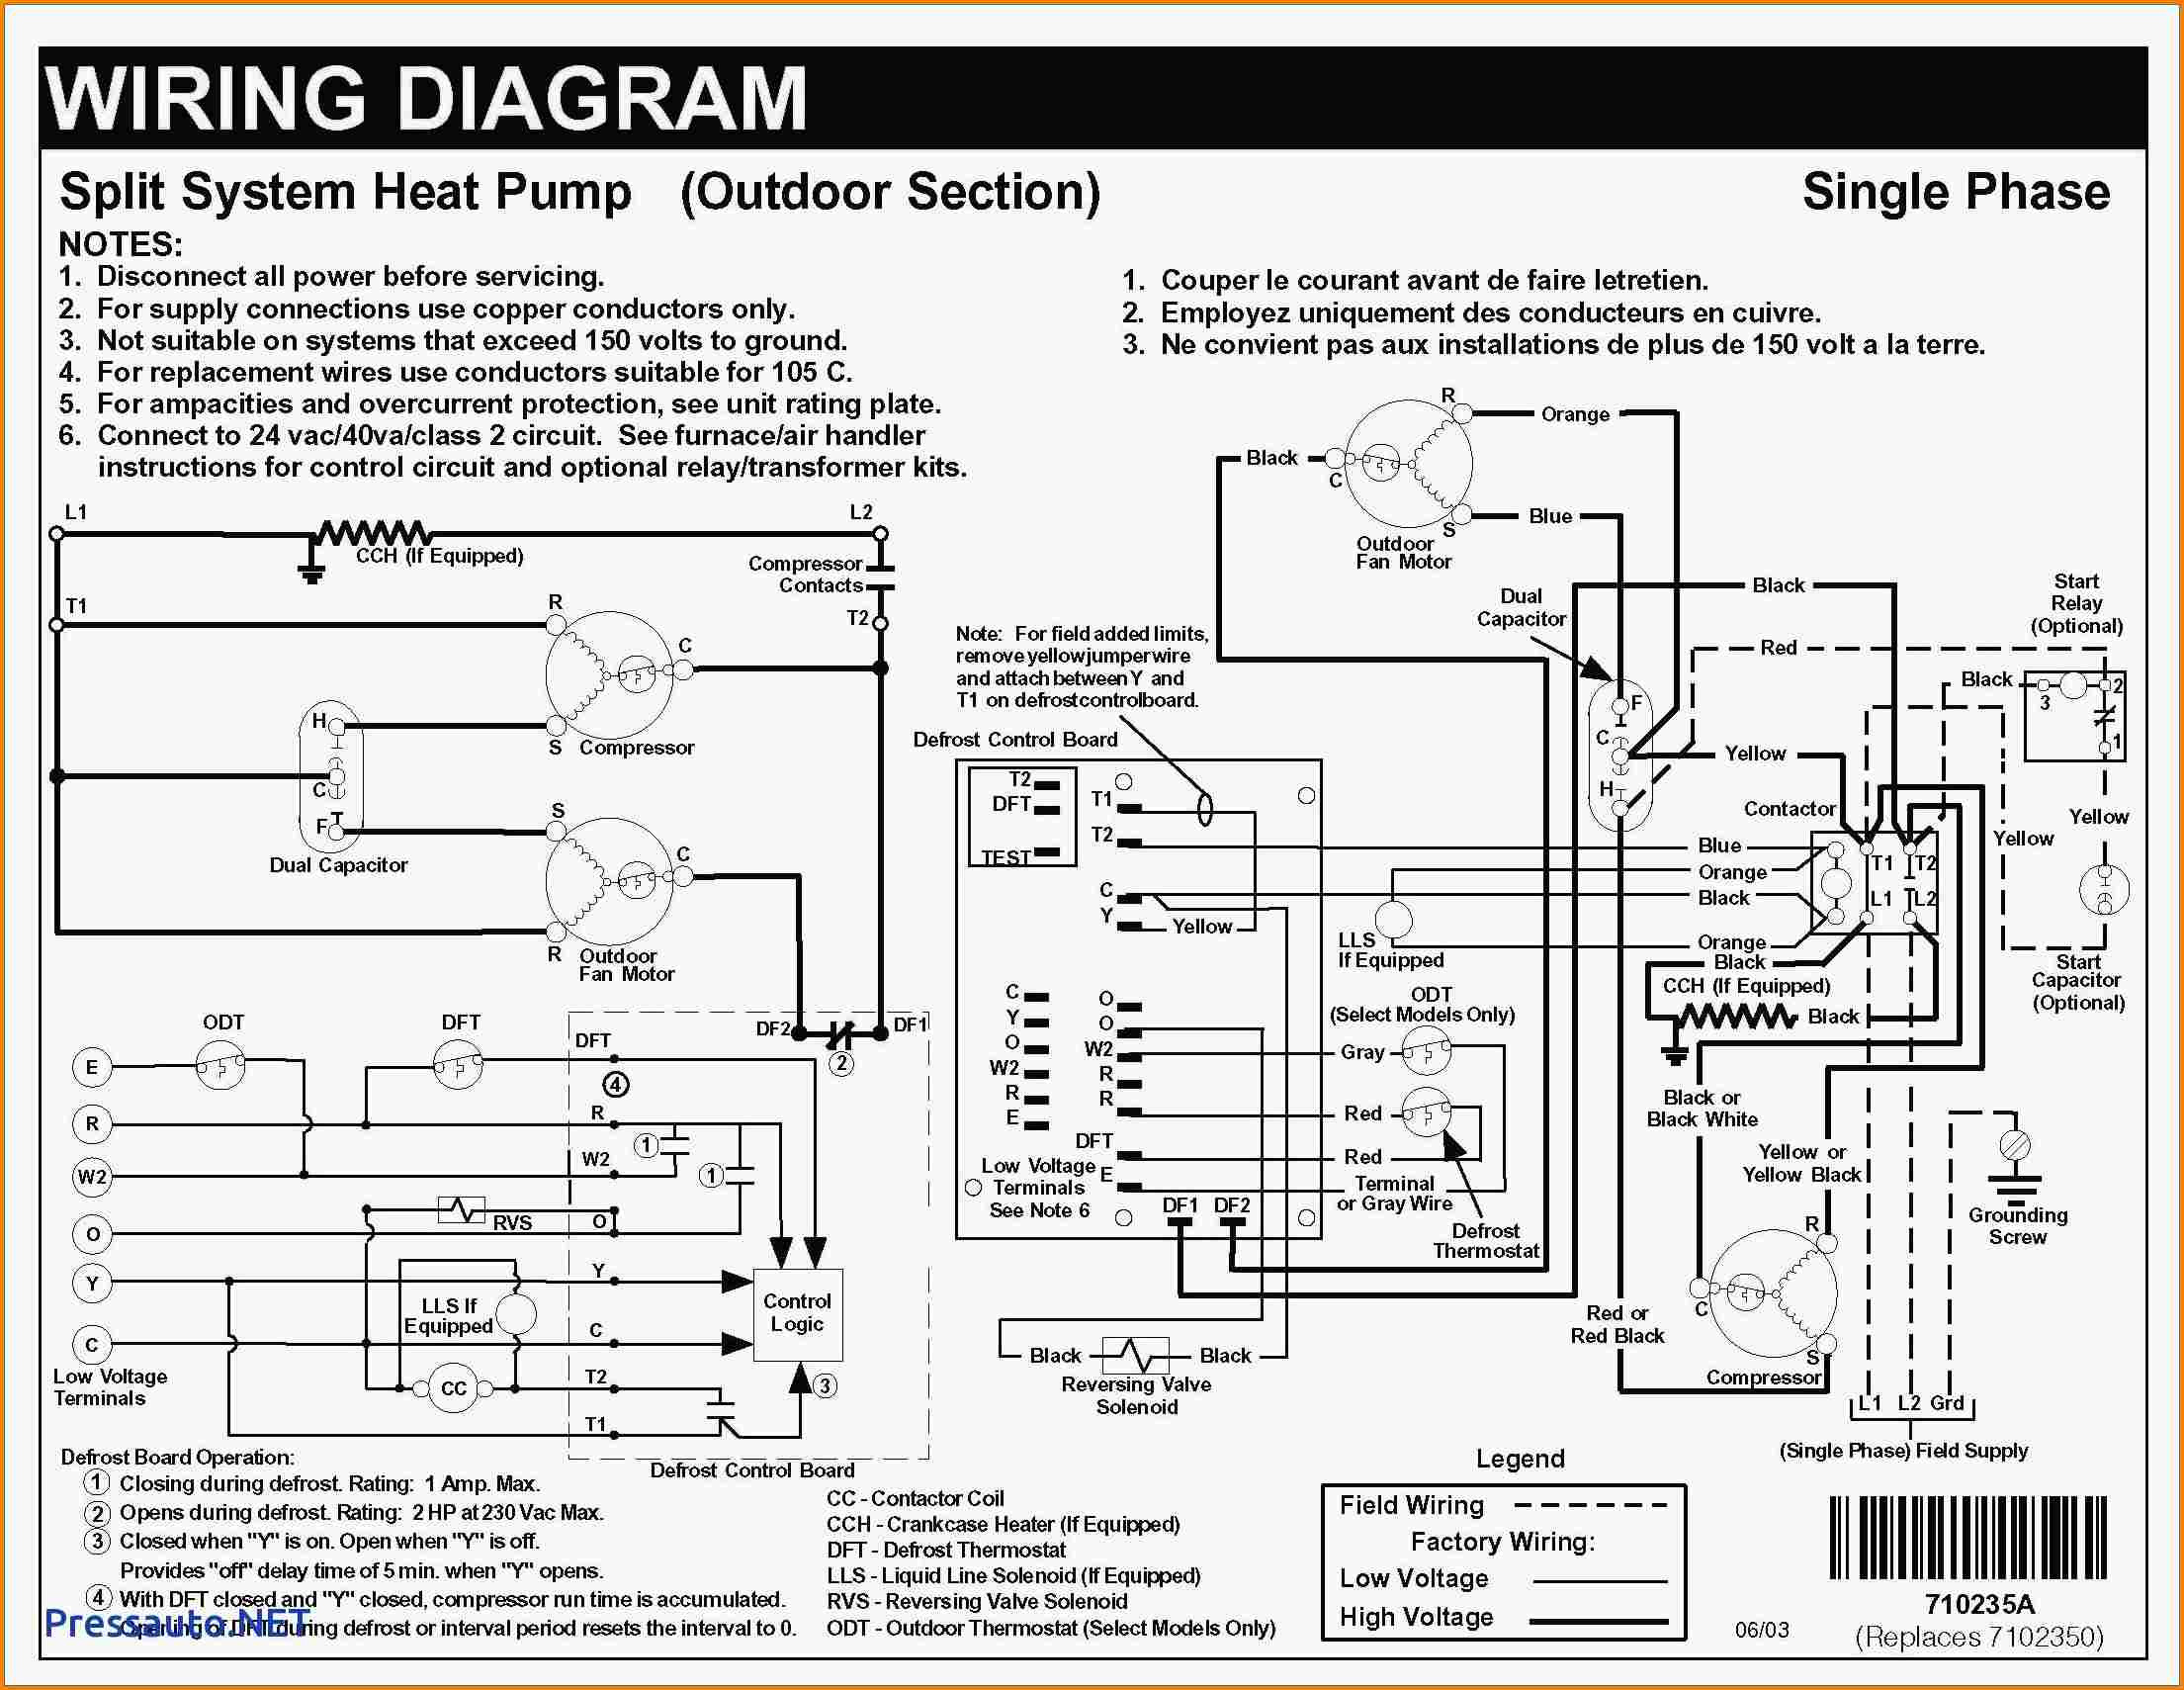
- Heat Pump Systems: Heat pumps usually require more wires for reversing valve control, auxiliary heat, and other functions. Common wires include R, Y, G, O/B (reversing valve), W (auxiliary heat), and C.
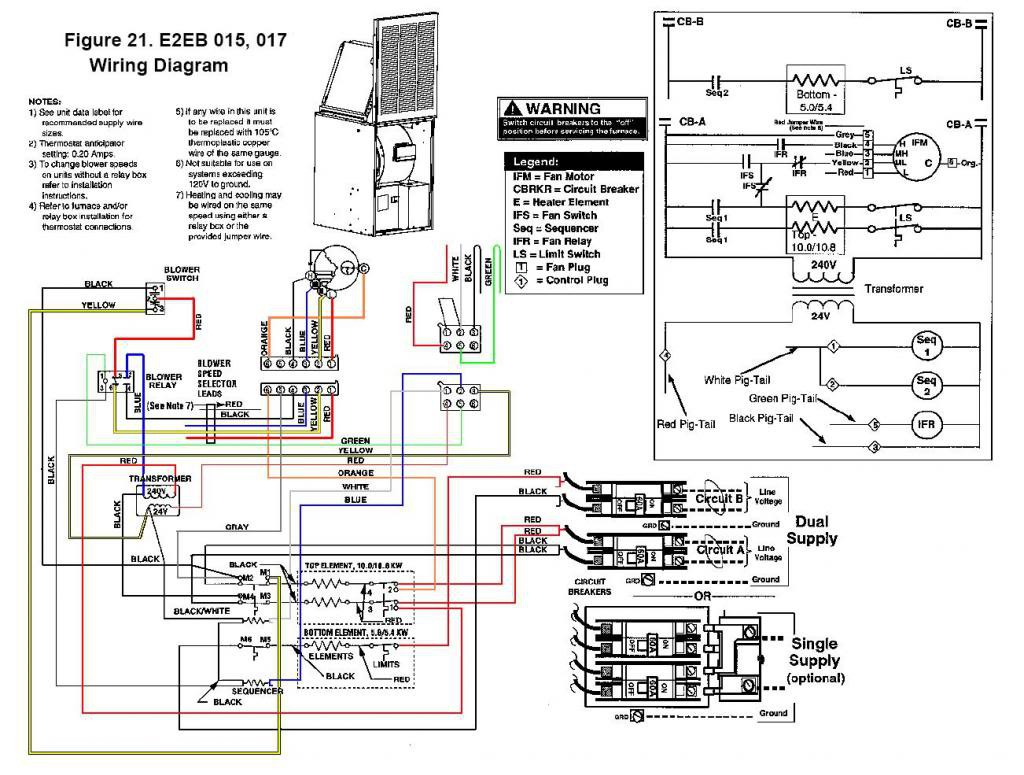
Carefully examine the wiring at both the thermostat and the furnace control board. Take clear pictures before disconnecting anything! Note the color of each wire and where it's connected. This will be your reference point for re-wiring.
Understanding Terminal Designations
Thermostats and furnace control boards use standard terminal designations. Here's a breakdown of the most common ones:
- R: 24V power (usually red wire). Some systems use Rh (heat) and Rc (cool) terminals. If you have separate Rh and Rc wires, they might need to be jumpered together if you only have one R terminal on your thermostat.
- W: Heat (usually white wire). Activates the furnace for heating.
- Y: Cooling (usually yellow wire). Activates the air conditioner.
- G: Fan (usually green wire). Controls the blower fan.
- C: Common (usually blue or black wire). Provides a return path for the 24V power. Not always required, but can improve thermostat performance, especially with smart thermostats.
- O/B: Reversing Valve (orange or brown wire). Used in heat pump systems to switch between heating and cooling modes. The specific designation (O or B) depends on whether the reversing valve is energized in heating (B) or cooling (O) mode.
- Aux/E: Auxiliary/Emergency Heat (usually white or black wire). Activates backup electric resistance heating in heat pump systems.
Wiring a New Thermostat to Your Nordyne Furnace
Step 1: Disconnect power (as described above).
Step 2: Remove the old thermostat. Carefully disconnect the wires one at a time, labeling each wire with its corresponding terminal designation (e.g., "R," "W," "G"). Your pictures from earlier will be invaluable here.
Step 3: Mount the new thermostat baseplate to the wall. Ensure it's level.
Step 4: Connect the wires to the corresponding terminals on the new thermostat baseplate, using your labels and pictures as a guide. Ensure each wire is securely connected.
Step 5: At the furnace control board, verify that the wires are connected to the correct terminals. If you're adding a C wire, connect it to the "C" terminal on the furnace control board and the "C" terminal on the thermostat.
Step 6: Reattach the thermostat display to the baseplate.
Step 7: Restore power to the furnace by switching the circuit breaker back to the "ON" position.
Step 8: Test the system. Set the thermostat to "Heat" and "Cool" modes to ensure the furnace and air conditioner (if applicable) are functioning correctly. Also, test the fan by setting the thermostat to "Fan On" mode.
Troubleshooting Common Wiring Issues
Even with careful planning, you might encounter issues during the wiring process. Here are some common problems and potential solutions:
- No Heat or Cool:
- Check the wiring connections at both the thermostat and the furnace.
- Ensure the thermostat is set to the correct mode (Heat or Cool) and the temperature is set appropriately.
- Verify that the circuit breaker for the furnace is not tripped.
- If you have a heat pump, ensure the O/B wire is connected correctly (check your thermostat manual for the correct setting).
- Check the furnace filter. A dirty filter can restrict airflow and prevent the furnace from operating correctly.
- Fan Runs Constantly:
- Check the G wire connection.
- Ensure the thermostat is not set to "Fan On" mode.
- A faulty fan relay on the furnace control board could also be the culprit.
- Thermostat Not Turning On:
- Check the R wire connection for power. Use a multimeter to verify that you have 24V AC between the R and C terminals (if a C wire is connected) or between R and a known ground.
- Ensure the thermostat batteries (if applicable) are fresh.
- A blown fuse on the furnace control board can also prevent the thermostat from powering on.
- Short Cycling (Furnace Turns On and Off Quickly):
- A short cycle can be caused by a dirty flame sensor, overheating, or improper wiring. Call a professional to inspect the furnace and identify the issue.
- My Thermostat Needs a C-Wire, But I Don't Have One:
- Modern thermostats, especially smart thermostats, often require a C-wire for consistent power. If you don't have a C-wire, you have a few options:
- Use a C-wire adapter. These adapters allow you to repurpose an existing wire (usually the G wire) as a C-wire. Follow the manufacturer's instructions carefully.
- Run a new thermostat wire with enough conductors (wires) to include a C-wire. This can be more challenging, especially if the wire run is long or complex.
- Consider a thermostat that doesn't require a C-wire. Some models are battery-powered or use power stealing technology.
When to Call a Professional
While some thermostat wiring issues are simple enough for a DIYer to handle, others require the expertise of a qualified HVAC technician. Call a professional if:
- You're uncomfortable working with electrical wiring.
- You suspect a problem with the furnace control board or other internal furnace components.
- You're experiencing persistent problems after attempting to troubleshoot the wiring yourself.
- You smell gas or suspect a gas leak.
- Your furnace is making unusual noises.
Estimating Repair Costs
The cost of repairing or replacing a thermostat can vary depending on the problem and the type of thermostat. Here's a general idea of what you can expect:
- Simple Wiring Repair: $75 - $150
- New Thermostat Installation (Basic): $100 - $300 (including the cost of the thermostat)
- Smart Thermostat Installation: $150 - $400 (including the cost of the thermostat)
- Furnace Control Board Repair/Replacement: $200 - $600 (requires professional diagnosis and repair)
These are just estimates, and the actual cost may vary depending on your location, the complexity of the job, and the contractor you choose. Always get multiple quotes from qualified HVAC professionals before proceeding with any repairs.
Final Thoughts
Understanding your Nordyne furnace's thermostat wiring can empower you to troubleshoot common issues and potentially save money on service calls. However, always prioritize safety and don't hesitate to call a professional when needed. With careful planning and execution, you can ensure your heating system operates efficiently and reliably for years to come.