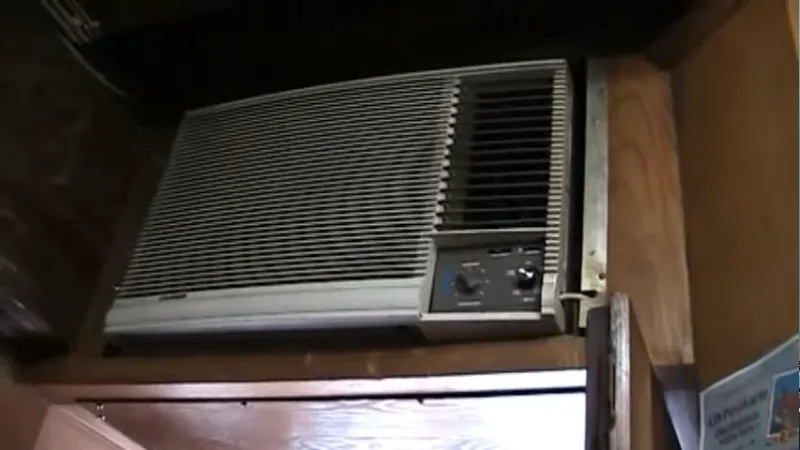
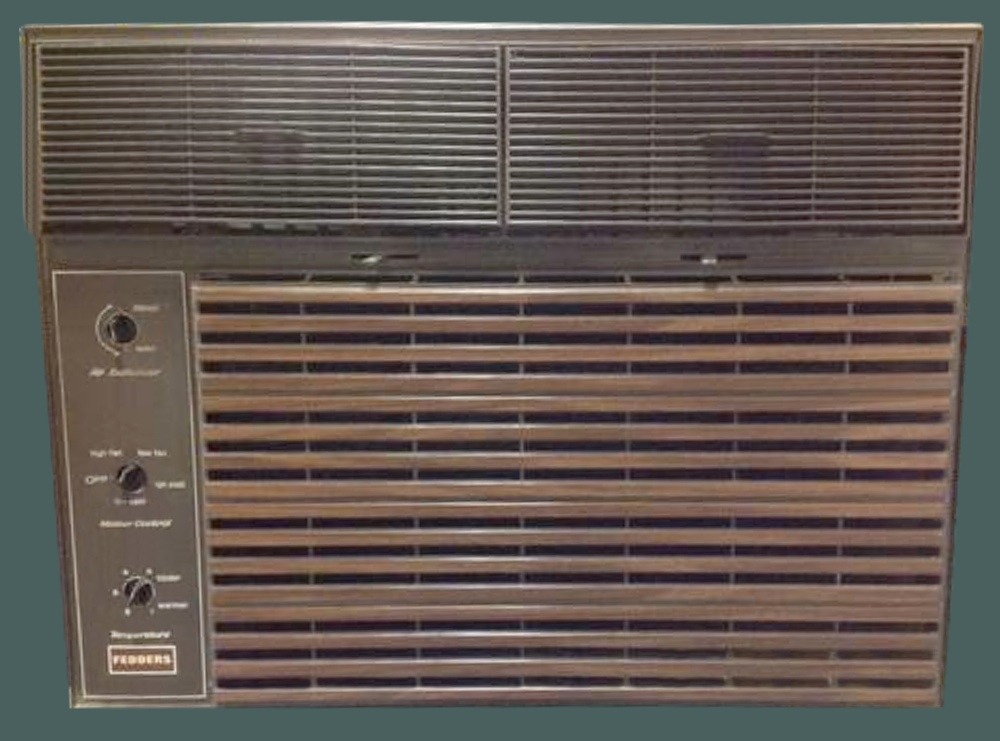
Old Carrier Wall Air Conditioner
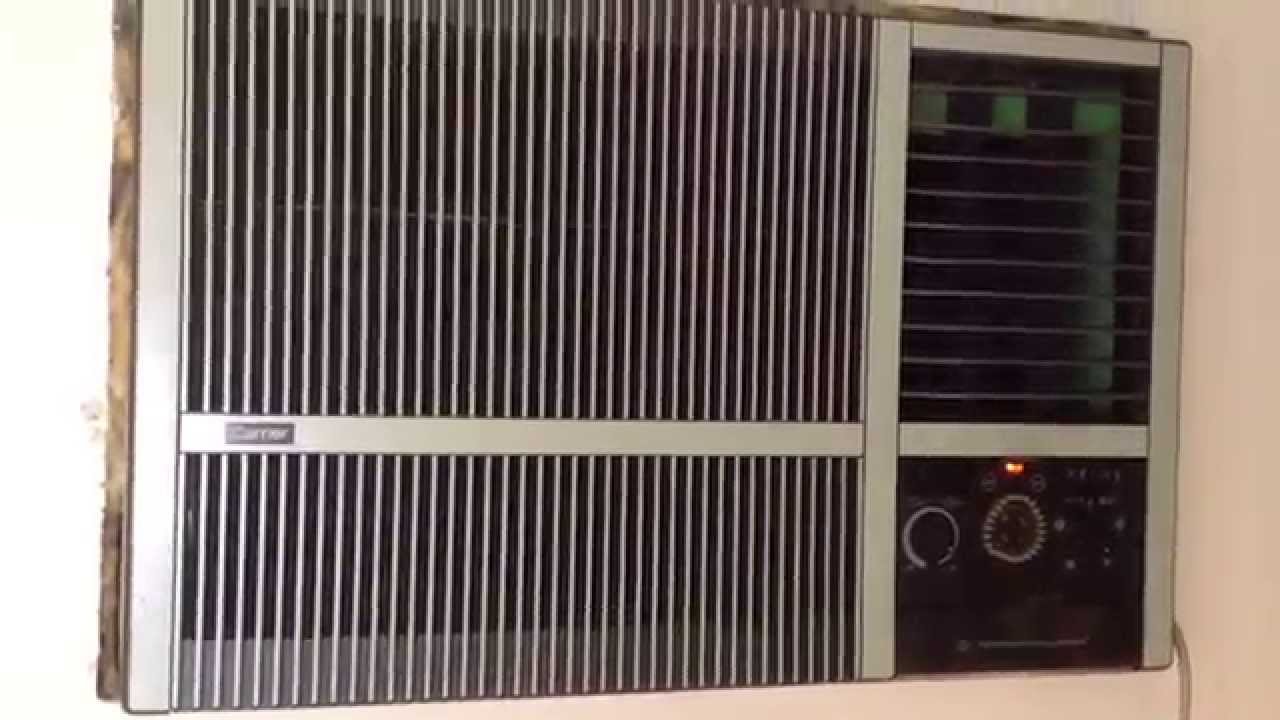
A wall air conditioner, especially an older Carrier model, can be a lifesaver during hot weather. But like any appliance, it can occasionally experience problems. This guide aims to help you troubleshoot common issues with your old Carrier wall AC unit safely and effectively. Remember, when in doubt, always consult a qualified HVAC technician. Your safety is paramount!
Understanding Common Wall AC Problems
Before diving into troubleshooting, let's look at some typical complaints:
- AC not turning on: This is often related to power issues, thermostat settings, or a tripped circuit breaker.
- AC blowing warm air: This could indicate a refrigerant leak, a dirty filter, or a compressor problem.
- AC running but not cooling effectively: Similar to the above, this may also involve airflow restrictions or coil issues.
- AC making unusual noises: Rattling, buzzing, or hissing sounds can signal various mechanical or electrical problems.
- AC leaking water: This usually points to a clogged drain line.
Safety First!
Before attempting any troubleshooting steps, please adhere to the following safety precautions:
- Disconnect the power: Unplug the AC unit from the wall outlet or turn off the circuit breaker that supplies power to it. This prevents electric shock.
- Wait before touching: If the unit has been running, allow it to cool down for a few minutes before handling any parts.
- Wear appropriate protection: Use gloves and eye protection when handling potentially dirty or sharp components.
- Never work on refrigerant lines: Refrigerant handling requires specialized tools and training. Leave this to a licensed professional.
- Know your limits: If you're uncomfortable with any step, or if you suspect a more complex issue, call a qualified technician.
Step-by-Step Troubleshooting Guide
1. Power Supply Check
The first thing to verify is whether the AC unit is receiving power.
- Check the power cord: Ensure the power cord is securely plugged into the wall outlet. If it's loose or damaged, do not use it. Replace it with a new one of the same type and amperage.
- Test the outlet: Use a known working appliance (like a lamp) to test the outlet. If the outlet doesn't work, check the circuit breaker.
- Circuit breaker: Locate the circuit breaker in your electrical panel that controls the AC unit. If the breaker is tripped (in the "off" or middle position), reset it by flipping it all the way to the "off" position and then back to the "on" position. If the breaker trips again immediately, there's likely a short circuit, and you should call an electrician.
- Voltage: Use a multimeter to check the voltage at the outlet to ensure it matches the requirements of the AC unit. If the voltage is incorrect, contact an electrician. Never attempt to adjust the voltage yourself.
2. Thermostat Settings
Sometimes the simplest solutions are the most overlooked.
- Check the mode: Make sure the thermostat is set to "cool" and not "fan" or "heat".
- Set the temperature: Ensure the temperature setting is lower than the current room temperature. A common mistake is setting the thermostat to a temperature that's too high.
- Fan speed: Try different fan speed settings. Sometimes a higher fan speed can improve cooling.
- Timer/Delay settings: Check if there are any timer or delay settings programmed on the thermostat that might be preventing the AC from turning on immediately.
3. Air Filter Inspection and Cleaning
A dirty air filter is a common cause of reduced cooling efficiency and can even damage the AC unit.
- Locate the filter: The air filter is usually located behind a removable panel on the front of the AC unit. Consult your owner's manual if you're unsure where it is.
- Remove the filter: Carefully remove the filter.
- Inspect the filter: If the filter is visibly dirty, clogged with dust, or damaged, it needs to be cleaned or replaced.
- Clean the filter: If the filter is washable (check the manufacturer's instructions), rinse it thoroughly with water. Let it dry completely before reinstalling it.
- Replace the filter: If the filter is disposable, replace it with a new one of the correct size and type. It’s crucial to use the correct filter type specified by the manufacturer.
- Regular filter changes: Clean or replace the air filter at least once a month, or more frequently if you have pets or live in a dusty environment. A clean filter improves efficiency and extends the lifespan of your AC unit.
4. Cleaning the Coils
Dirty evaporator (indoor) and condenser (outdoor) coils can significantly reduce cooling performance.
- Evaporator coils: Accessing and cleaning the evaporator coils usually requires removing the front panel of the AC unit. Disconnect the power first! Gently brush away any dust or debris with a soft brush or vacuum cleaner with a brush attachment. You can also use a commercially available coil cleaner, following the product instructions carefully.
- Condenser coils: The condenser coils are located on the outside of the AC unit. Remove any debris, such as leaves, grass clippings, or cobwebs, from around the unit. Use a garden hose with a gentle spray nozzle to rinse the coils from the inside out. Be careful not to bend the fins. Never use a high-pressure washer, as it can damage the fins.
- Fin comb: If the fins are bent, you can straighten them with a fin comb, which is a specialized tool available at most hardware stores. Straightening the fins improves airflow and cooling efficiency.
5. Checking the Drain Line
A clogged drain line can cause water to leak from the AC unit.
- Locate the drain line: The drain line is usually a small plastic tube that exits the back or bottom of the AC unit.
- Check for clogs: Look for any kinks or blockages in the drain line.
- Clear the clog: You can try clearing the clog with a wet/dry vacuum. Attach the vacuum hose to the end of the drain line and turn on the vacuum to suck out any debris. You can also use a stiff wire or pipe cleaner to gently probe the drain line and dislodge any obstructions.
- Flush the drain line: After clearing the clog, pour a cup of water mixed with a small amount of bleach into the drain pan to help prevent future clogs.
6. Fan Motor and Blades
If the fan isn't working properly, it can affect the AC unit's cooling performance.
- Check the fan blades: Ensure the fan blades are not obstructed by anything. Remove any debris that may be blocking the blades.
- Spin the fan blades: With the power off, try spinning the fan blades by hand. They should spin freely. If they are stiff or make noise, the fan motor may be failing.
- Lubricate the motor: Some fan motors have oil ports. If yours does, apply a few drops of lightweight machine oil to the ports.
- Fan motor replacement: Replacing a fan motor can be a DIY project for experienced homeowners. However, it involves working with electrical components, so if you're not comfortable with this, it's best to call a professional.
7. Capacitor Check (Leave to Professionals if Unsure!)
The capacitor helps start and run the AC unit's compressor and fan motor. A failing capacitor is a common cause of AC problems.
- WARNING: Capacitors store electricity even when the AC unit is turned off. Discharging a capacitor can be dangerous and can result in electric shock. If you are not comfortable working with electrical components, leave this step to a qualified HVAC technician.
- Visually inspect the capacitor: After safely disconnecting the power and discharging the capacitor (a procedure best left to professionals), check the capacitor for any signs of damage, such as bulging, leaking, or corrosion.
- Test the capacitor: A multimeter with a capacitance function can be used to test the capacitor. If the capacitance reading is significantly lower than the rated value, the capacitor needs to be replaced.
- Capacitor replacement: Replacing a capacitor requires matching the correct voltage and capacitance ratings. It's important to disconnect the power and discharge the capacitor before replacing it. If you're not comfortable with this, call a professional.
When to Call a Professional
While many AC problems can be resolved with basic troubleshooting, some issues require the expertise of a qualified HVAC technician.
- Refrigerant leaks: Refrigerant handling requires specialized tools and training. If you suspect a refrigerant leak, do not attempt to repair it yourself.
- Compressor problems: The compressor is the heart of the AC unit. Repairing or replacing a compressor is a complex and expensive job that should be left to professionals.
- Electrical problems: If you suspect a serious electrical problem, such as a short circuit or faulty wiring, do not attempt to repair it yourself. Call a qualified electrician.
- Complex repairs: If you're uncomfortable with any step, or if you suspect a more complex issue, it's always best to err on the side of caution and call a professional.
Preventative Maintenance
Regular maintenance can help prevent many AC problems and extend the lifespan of your unit.
- Clean or replace the air filter regularly.
- Clean the coils annually.
- Inspect the drain line for clogs.
- Keep the area around the outdoor unit clear of debris.
- Schedule an annual tune-up with a qualified HVAC technician. This can help identify potential problems early on and ensure that your AC unit is running efficiently.
By following these troubleshooting steps and preventative maintenance tips, you can keep your old Carrier wall AC unit running smoothly for years to come. Remember to prioritize safety and call a professional when necessary. Good luck!