Old Furnace Humidifier
Is your home feeling dry as a desert, despite having a furnace humidifier? Or, perhaps you're noticing excessive condensation on your windows, indicating too much humidity? Many homeowners struggle with inconsistent humidity levels during heating season, often without realizing their furnace humidifier is the culprit. This article will guide you through troubleshooting your old furnace humidifier, helping you restore comfortable humidity levels in your home.
Understanding the Problem: Dryness or Excessive Humidity
Before diving into troubleshooting, let's define the two primary issues related to furnace humidifiers:
- Dry Air: Symptoms include dry skin, chapped lips, static electricity, and increased susceptibility to colds and respiratory problems. This indicates your humidifier isn't adding enough moisture.
- Excessive Humidity: Signs include condensation on windows (especially in colder weather), mold growth, a musty odor, and a general feeling of clamminess. This suggests your humidifier is adding too much moisture or is malfunctioning.
Now, let's systematically diagnose the problem. Remember safety first! Always turn off the power to your furnace before attempting any repairs or inspections. Locate the breaker for your furnace in your electrical panel and switch it to the "off" position.
Diagnosis: A Step-by-Step Approach
Step 1: Initial Visual Inspection (No Tools Required)
Start with a thorough visual inspection of your humidifier and its surrounding area. This can often reveal obvious problems.
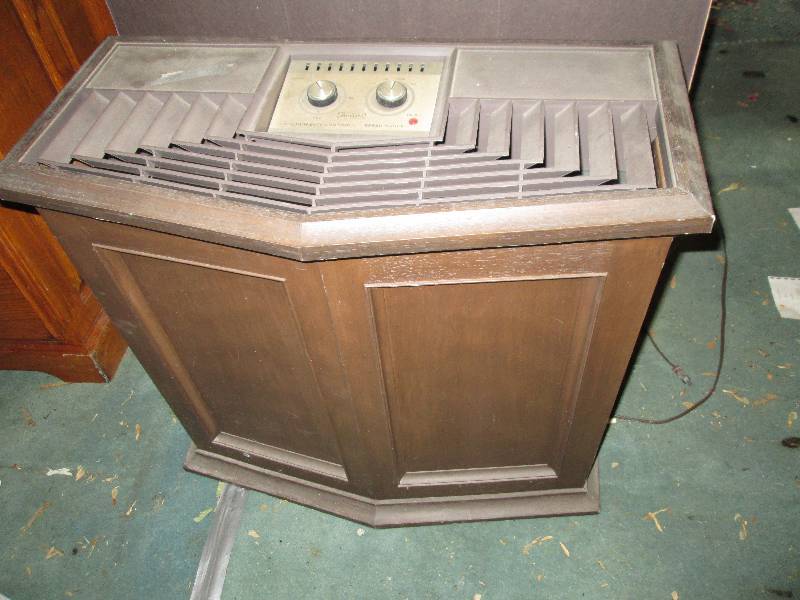
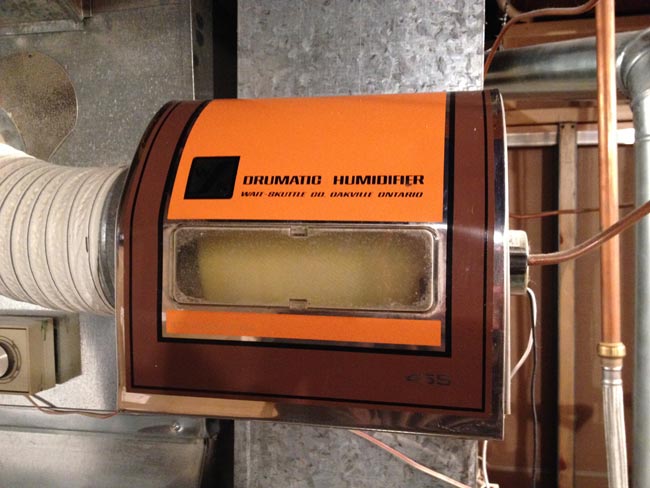
- Identify Humidifier Type: There are two main types: drum humidifiers (with a rotating drum that picks up water) and flow-through humidifiers (with a pad that water flows over). Knowing your type will help you understand the components we'll be checking.
- Check for Water Leaks: Look for water stains, puddles, or signs of corrosion around the humidifier, water supply line, and drain line. Leaks can indicate loose connections, cracks, or a failing component. If you see a significant leak, immediately shut off the water supply to the humidifier at the shut-off valve (usually a small valve located on the water supply line near the humidifier).
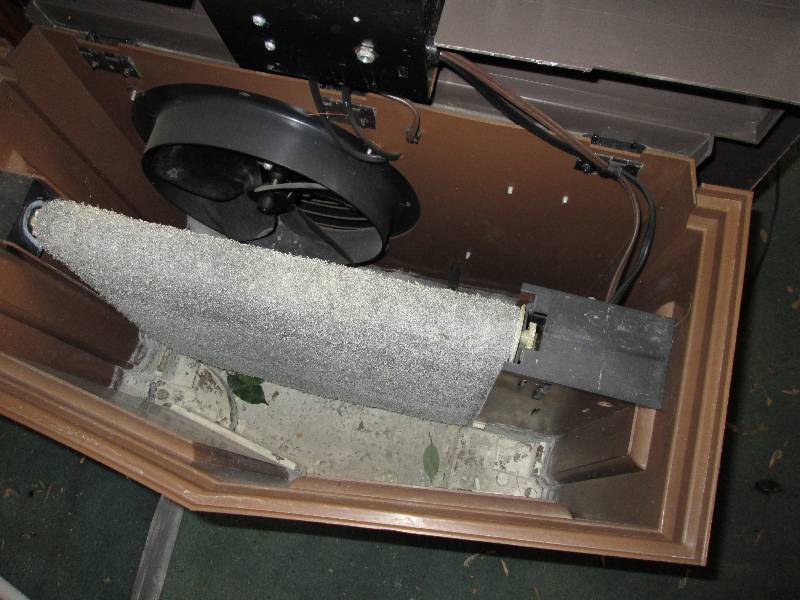
- Inspect the Humidifier Pad or Drum: For flow-through humidifiers, examine the humidifier pad. Is it visibly dirty, clogged with mineral deposits, or damaged? For drum humidifiers, check the drum for scale buildup, mineral deposits, or signs of wear and tear.
- Observe the Water Supply Line: Ensure the water supply line (usually a small copper or plastic tube) is properly connected and doesn't have any kinks or obvious damage.
- Check the Drain Line: Verify the drain line is properly connected and isn't clogged or pinched. A clogged drain line can cause water to back up and prevent the humidifier from functioning correctly.
Step 2: Checking Basic Functionality (No Tools Required)
Next, let's check some basic functions to see if the humidifier is responding as it should.
- Turn the Furnace Back On: Restore power to your furnace by flipping the breaker back to the "on" position.
- Set the Humidistat: Locate the humidistat, which is the control that regulates the humidity level. It's often mounted on the furnace ductwork or a nearby wall. Turn the humidistat up to a higher setting than the current humidity level in your home. This should activate the humidifier.
- Observe the Humidifier in Operation: Watch the humidifier closely for a few minutes.
- Flow-Through Humidifier: You should see water flowing over the pad.
- Drum Humidifier: The drum should be rotating and picking up water.
Step 3: Using Basic Tools for Further Diagnosis
For the following steps, you'll need a few basic tools:
- Screwdriver (Phillips and flathead)
- Multimeter (for testing voltage)
- Pliers
- Small bucket or container
- Check the Water Supply Valve: Even if you didn't see a leak initially, the water supply valve might be partially or fully closed. Locate the shut-off valve on the water supply line and ensure it's fully open. If it's an old valve, it might be corroded or stuck. Try gently turning it back and forth to free it up.
- Inspect and Clean the Water Supply Line: Disconnect the water supply line at both ends (the humidifier and the water supply valve). Carefully inspect the line for any kinks, blockages, or mineral buildup. You can try blowing through the line to clear any obstructions. If the line is severely clogged or damaged, replace it.
- Test the Solenoid Valve (If Applicable): Some humidifiers use a solenoid valve to control the flow of water. The solenoid valve is usually a small, cylindrical device with wires connected to it.
- Safety Note: Before testing the solenoid valve, turn off the power to the furnace again!
- Testing with a Multimeter: Set your multimeter to measure voltage (AC voltage). Connect the multimeter probes to the wires connected to the solenoid valve. Turn the furnace back on and turn up the humidistat. You should read approximately 24 volts AC (check your humidifier's manual for the correct voltage). If you don't read any voltage, the problem could be with the wiring, the humidistat, or the furnace control board.
- Testing for Function: If you have voltage and the furnace is OFF, you can carefully remove the solenoid valve from its housing. Have a small bucket ready, and turn the water supply back on *just a crack*. Energize the solenoid and you should hear a click and see water flowing. If not, the solenoid valve is likely faulty and needs replacement.
- Clean or Replace the Humidifier Pad or Drum: If the humidifier pad (flow-through) or drum (drum humidifier) is dirty or clogged, clean it thoroughly with a brush and water. You can also use a descaling solution to remove mineral deposits. If the pad or drum is severely damaged or worn, replace it.
- Inspect the Float Valve (Drum Humidifiers): Drum humidifiers often use a float valve to maintain the correct water level in the reservoir. Check the float valve to ensure it's moving freely and isn't stuck in the open or closed position. Clean any debris or mineral deposits that may be interfering with its operation.
DIY Repairs: What You Can Handle
Based on your diagnosis, here are some DIY repairs you can likely tackle:
- Cleaning or replacing the humidifier pad or drum.
- Replacing a clogged or damaged water supply line.
- Cleaning a clogged drain line.
- Replacing a faulty solenoid valve (if you are comfortable working with electricity and have confirmed the valve is the issue).
- Adjusting the humidistat setting.
When replacing parts, be sure to purchase the correct replacement parts for your specific humidifier model. You can usually find these parts at your local hardware store or online.
When to Call a Professional HVAC Technician
Some humidifier problems are beyond the scope of DIY repairs and require the expertise of a qualified HVAC technician. Do not attempt these repairs yourself, as they can be dangerous or could damage your furnace. Here are some situations where you should call a pro:
- Electrical Problems: If you suspect a problem with the furnace's electrical wiring, the control board, or the humidistat wiring, call a professional. Working with electricity can be dangerous, and you could damage your furnace or injure yourself.
- Gas Leaks: If you smell gas, immediately turn off the gas supply to your furnace and call your gas company or an HVAC technician. Gas leaks are extremely dangerous.
- Refrigerant Leaks (Heat Pumps): If your furnace is part of a heat pump system and you suspect a refrigerant leak, call a professional. Handling refrigerants requires specialized equipment and training.
- Furnace Malfunctions: If you suspect a problem with the furnace itself (e.g., burner problems, blower motor issues), call a professional. These repairs require specialized knowledge and equipment.
- Complex Humidifier Problems: If you've tried the troubleshooting steps above and are still unable to resolve the issue, it's best to call a professional. They have the experience and expertise to diagnose and repair complex humidifier problems.
- You are uncomfortable or unsure about any step. It's always better to be safe than sorry.
Specifically, if you suspect any issue with the furnace control board or other major component, do not attempt DIY repairs. These components are expensive and easily damaged.
Preventative Maintenance
To prevent humidifier problems in the future, it's important to perform regular maintenance.
- Annual Inspection and Cleaning: Schedule an annual inspection and cleaning of your humidifier with an HVAC technician.
- Regularly Clean or Replace the Humidifier Pad or Drum: Follow the manufacturer's recommendations for cleaning or replacing the humidifier pad or drum. This will help prevent mineral buildup and ensure optimal performance.
- Monitor Humidity Levels: Use a hygrometer to monitor the humidity level in your home and adjust the humidistat setting accordingly. The ideal humidity level is typically between 30% and 50%.
- Ensure Proper Ventilation: Proper ventilation can help prevent excessive humidity. Use exhaust fans in bathrooms and kitchens to remove moisture-laden air.
By following these troubleshooting steps and performing regular maintenance, you can keep your furnace humidifier running smoothly and maintain comfortable humidity levels in your home throughout the heating season. Remember, when in doubt, consult a qualified HVAC technician.