Open Cell Spray Foam In Attic

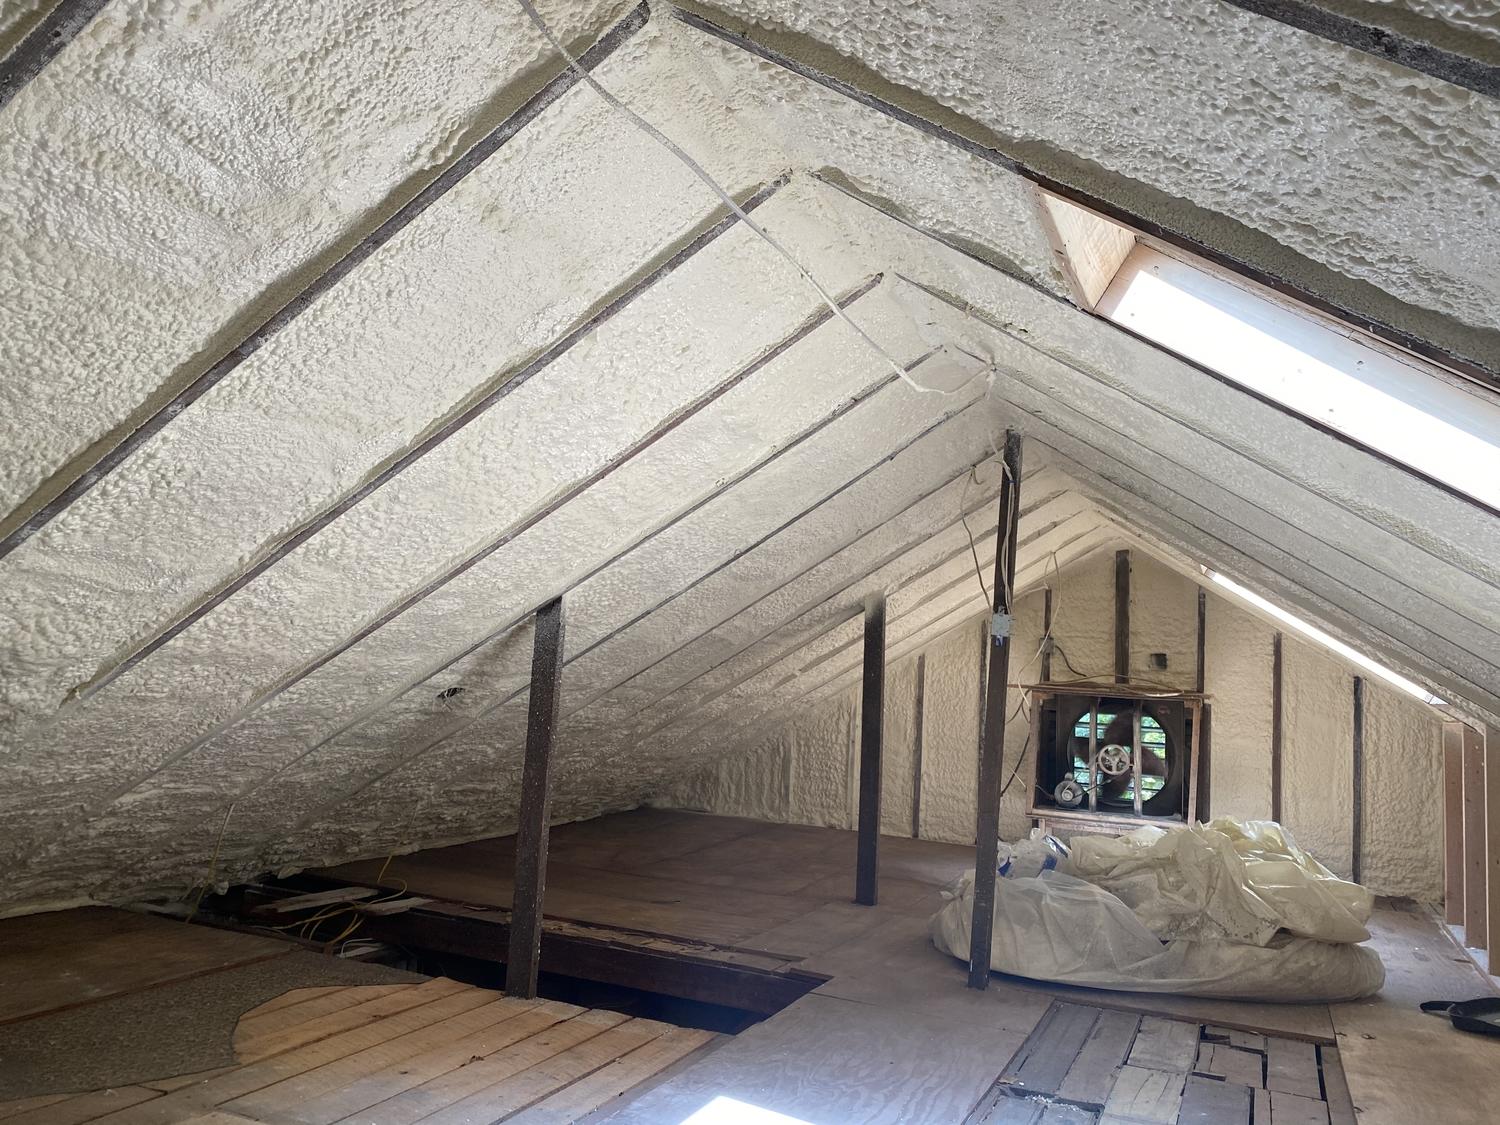
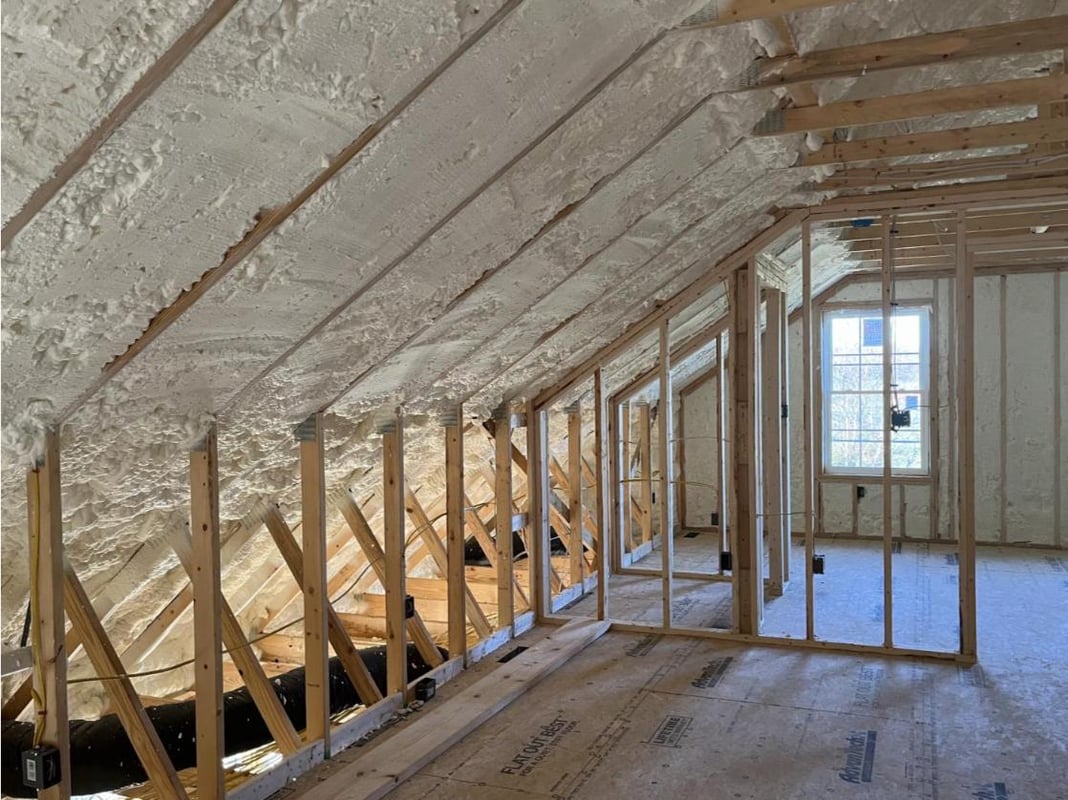
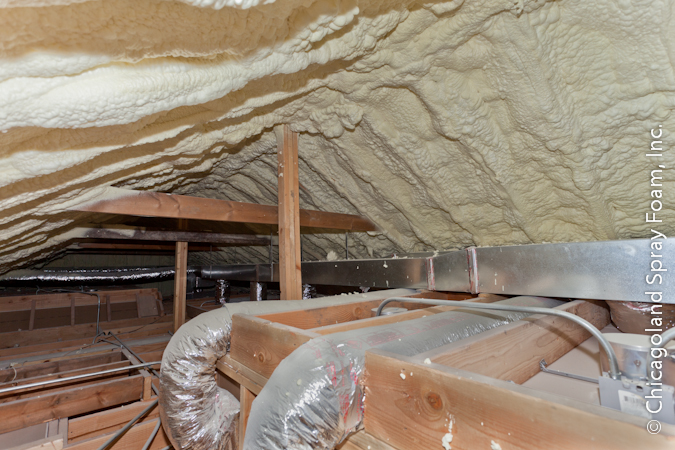
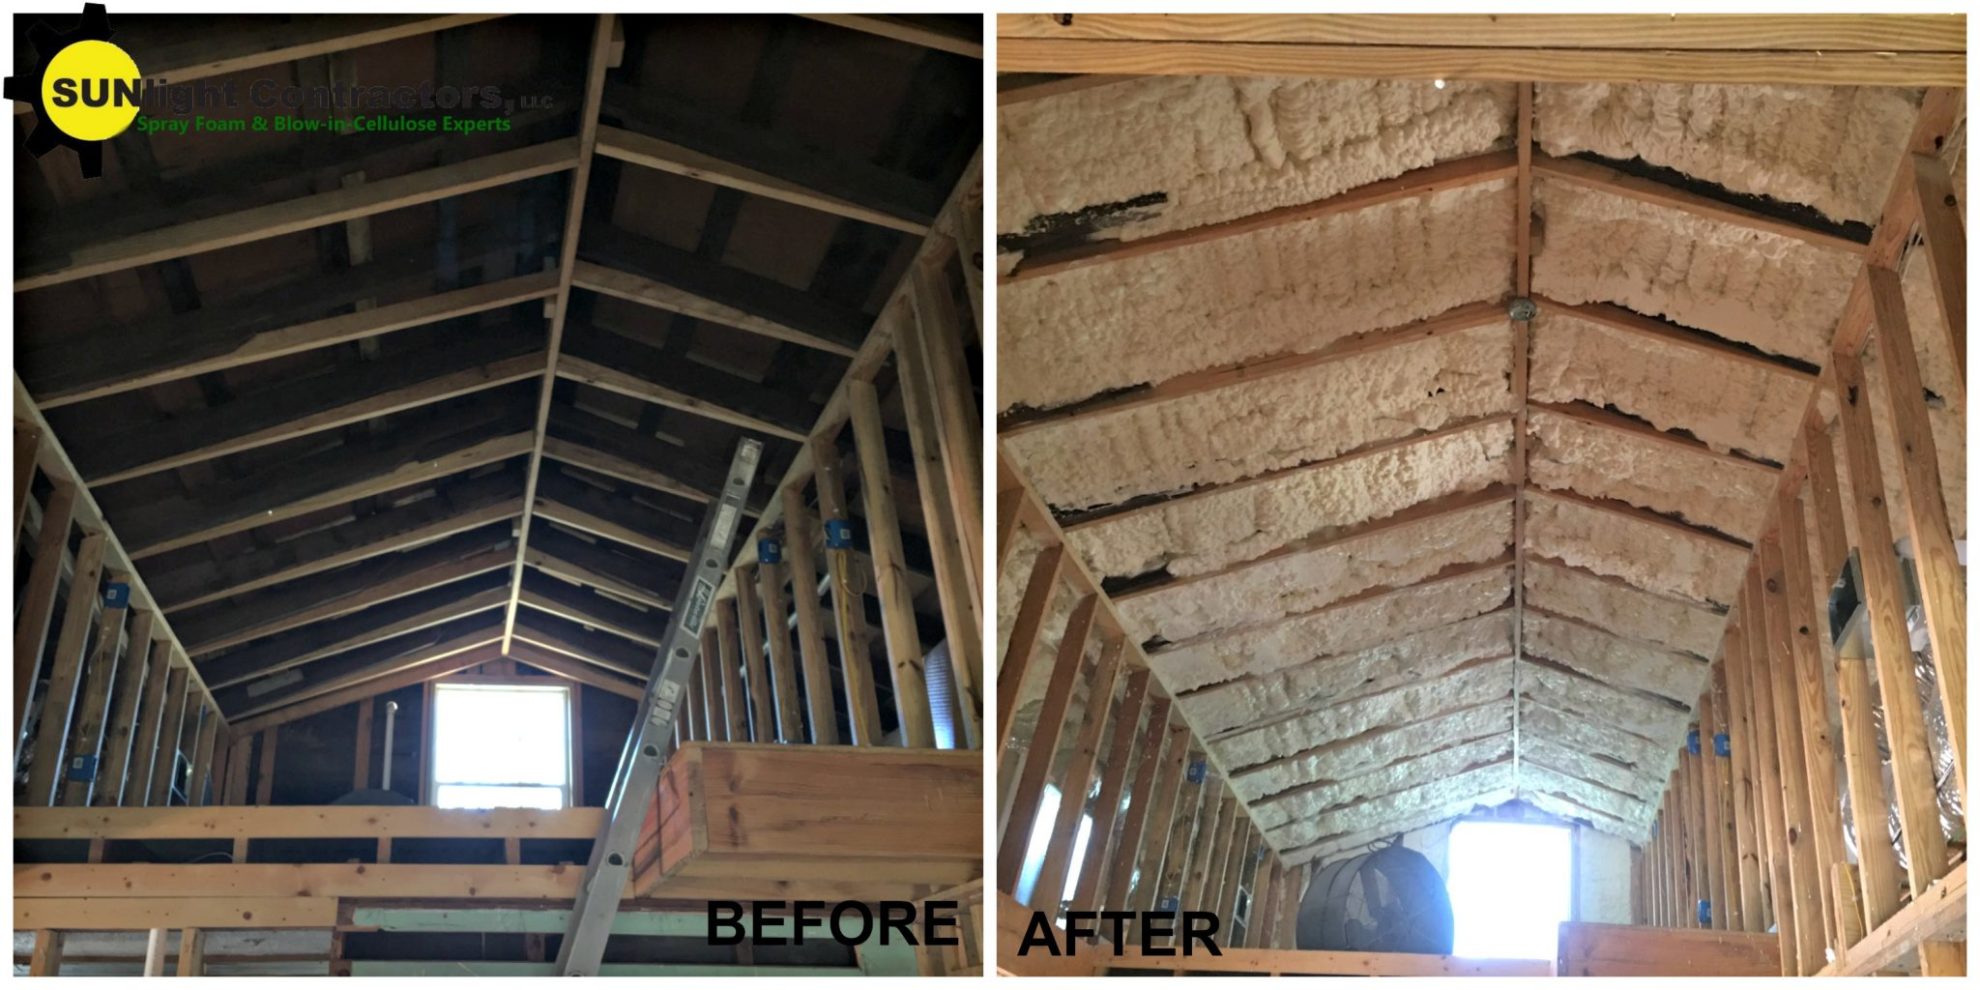
Many homeowners choose open-cell spray foam insulation for their attics due to its excellent air sealing and sound dampening qualities. However, sometimes things don't go as planned. A common problem experienced after installation is persistent dampness, musty odors, or even visible mold growth in the attic. This article provides a step-by-step troubleshooting guide for addressing these issues and determining when professional help is needed.
Understanding the Problem: Why is My Open-Cell Foam Attic Damp?
Open-cell spray foam is *permeable*, meaning it allows water vapor to pass through it. This isn't inherently a problem, but it does mean that proper moisture management is crucial. Problems arise when:
- There's excessive moisture being generated *inside* the house that migrates to the attic.
- The attic isn't properly ventilated, trapping moisture.
- Leaks are present in the roof.
- The initial installation was flawed.
Before jumping to conclusions, it's important to systematically investigate the potential causes. Let’s get started. Remember to prioritize your safety during the inspection. Always wear a mask and gloves when dealing with insulation, and use caution when navigating the attic space.
Step 1: Visual Inspection - The First Line of Defense
Begin with a thorough visual inspection of the attic. Look for the following:
1.1. Obvious Water Stains:
Scan the *entire* attic space, paying close attention to:
- The underside of the roof decking.
- Areas around vents and chimneys.
- Anywhere pipes or wires penetrate the roof.
- The foam insulation itself, especially near the roofline.
Water stains will appear as darker areas on the wood or foam. If you find any, mark the location for further investigation. Take pictures; they’re helpful for remembering details later.
1.2. Mold or Mildew:
Look for visual signs of mold or mildew growth. This often appears as:
- Black, green, or white patches on the foam, wood, or other surfaces.
- A *musty or earthy odor*. This can be a telltale sign even if you don't see visible growth.
Note the extent of the mold or mildew. A small patch is different from widespread growth.
1.3. Gaps or Cracks in the Foam:
Examine the spray foam for any:
- Large cracks or gaps. These can allow air and moisture to bypass the insulation.
- Areas where the foam is pulling away from the roof decking.
- Inconsistent application – thin spots or areas that appear poorly applied.
Small hairline cracks are generally not a cause for concern, but larger gaps or areas of separation should be addressed.
1.4. Condensation:
On a cold day, check for condensation:
- On the *surface* of the foam.
- On any *exposed wood* in the attic.
Condensation indicates high humidity levels and inadequate ventilation.
Step 2: Identifying Potential Moisture Sources
Once you've completed the visual inspection, try to pinpoint the source of the moisture. Consider these possibilities:
2.1. Roof Leaks:
Roof leaks are a common culprit. Look for telltale signs:
- Dripping water during or after rain.
- Water stains that *align with specific shingles or roofing materials*.
- Damaged or missing shingles. (This will require an exterior inspection of the roof.)
If you suspect a roof leak, try to trace the water path back to its entry point.
2.2. Ventilation Issues:
Poor attic ventilation can trap moisture. Check your attic ventilation system:
- Are the soffit vents clear of insulation? (Soffit vents are located under the eaves of your roof.)
- Is there a ridge vent along the peak of your roof? If so, is it clear of obstructions?
- Are there gable vents? If so, are they open and unobstructed?
- Do you have any powered attic ventilators? If so, are they functioning correctly?
Adequate ventilation is crucial for removing moisture from the attic. Aim for a balance between intake vents (soffit vents) and exhaust vents (ridge vents, gable vents, or powered ventilators).
2.3. Indoor Humidity:
Excessive indoor humidity can contribute to attic moisture problems. Consider these factors:
- Are you running humidifiers frequently?
- Do you take long, hot showers without proper ventilation in the bathroom?
- Do you have a crawl space with exposed soil? (Moisture can migrate from the crawl space into the house and then into the attic.)
- Are you drying clothes indoors frequently without proper ventilation?
Reducing indoor humidity can help alleviate moisture problems in the attic.
2.4. Plumbing Leaks:
Check for any plumbing pipes running through the attic.
- Look for any signs of leaks around pipe joints or fittings.
- Inspect the insulation around the pipes for any signs of dampness.
Even small plumbing leaks can introduce significant amounts of moisture into the attic space.
Step 3: DIY Fixes (When Appropriate)
Depending on the severity of the problem and your comfort level, you may be able to address some issues yourself. **Always prioritize your safety and wear appropriate protective gear.**
3.1. Clearing Ventilation Obstructions:
If you find that soffit vents are blocked by insulation:
- Use a stiff piece of cardboard or a vent chute to create a clear air channel between the soffit vent and the attic space.
- Ensure that the insulation is not blocking the airflow.
If gable vents are blocked:
- Remove any obstructions, such as debris or nesting materials.
3.2. Sealing Small Gaps and Cracks:
For small gaps and cracks in the spray foam:
- You can use a can of low-expansion spray foam specifically designed for sealing gaps.
- Apply the foam sparingly, following the manufacturer's instructions.
- Avoid over-applying the foam, as it can expand excessively and cause damage.
This is only appropriate for small, localized areas. Larger areas of damage require professional attention.
3.3. Addressing Minor Mold Growth:
**Important:** Only address *minor* mold growth. If the mold is widespread (more than a few square feet), *call a professional.*
For small patches of mold:
- Mix a solution of bleach and water (1 part bleach to 10 parts water).
- Wear gloves and a mask to protect yourself.
- Apply the solution to the affected area with a sponge or cloth.
- Allow the solution to sit for 10-15 minutes.
- Wipe the area clean with a damp cloth.
- Ensure the area is *completely dry* afterward. Using a fan to circulate air can help.
**Never mix bleach with ammonia or other cleaning products.**
**Be cautious when using bleach near spray foam, as it can potentially degrade the material over time.**
3.4. Reducing Indoor Humidity:
Implement strategies to reduce indoor humidity:
- Use exhaust fans in bathrooms and kitchens.
- Ensure proper ventilation when drying clothes indoors.
- Consider using a dehumidifier in areas with high humidity.
- Address any crawl space moisture issues by encapsulating the crawl space or installing a vapor barrier.
Step 4: When to Call a Professional
There are certain situations where DIY fixes are not sufficient, and professional intervention is necessary. **It’s always better to err on the side of caution.** Call a professional in the following cases:
4.1. Widespread Mold Growth:
If the mold covers a large area (more than a few square feet) or if you are experiencing respiratory problems, *do not attempt to clean it yourself*. Mold remediation professionals have the equipment and expertise to safely and effectively remove mold.
4.2. Roof Leaks:
Any significant roof leak requires professional repair. Ignoring roof leaks can lead to serious structural damage.
4.3. Major Foam Installation Issues:
If you find significant gaps or cracks in the foam, or if the foam is pulling away from the roof decking in large areas, it indicates a problem with the initial installation. Contact the insulation contractor who installed the foam or another qualified insulation professional for an assessment and repair plan.
4.4. Unidentified Moisture Source:
If you have followed all the steps in this guide and are still unable to identify the source of the moisture, it is time to call a professional. They may have specialized equipment, such as moisture meters and thermal imaging cameras, to help pinpoint the problem.
4.5. Suspected Structural Damage:
If you suspect that the moisture has caused structural damage to the roof or other parts of the attic, consult with a qualified building contractor or structural engineer. Structural damage can compromise the safety of your home.
Conclusion
Troubleshooting moisture problems in an attic with open-cell spray foam requires a systematic approach. By following these steps, you can often identify the source of the problem and implement simple fixes. However, it's crucial to recognize when professional help is needed to avoid further damage and ensure your safety. Remember that proper moisture management is key to maintaining a healthy and efficient home.