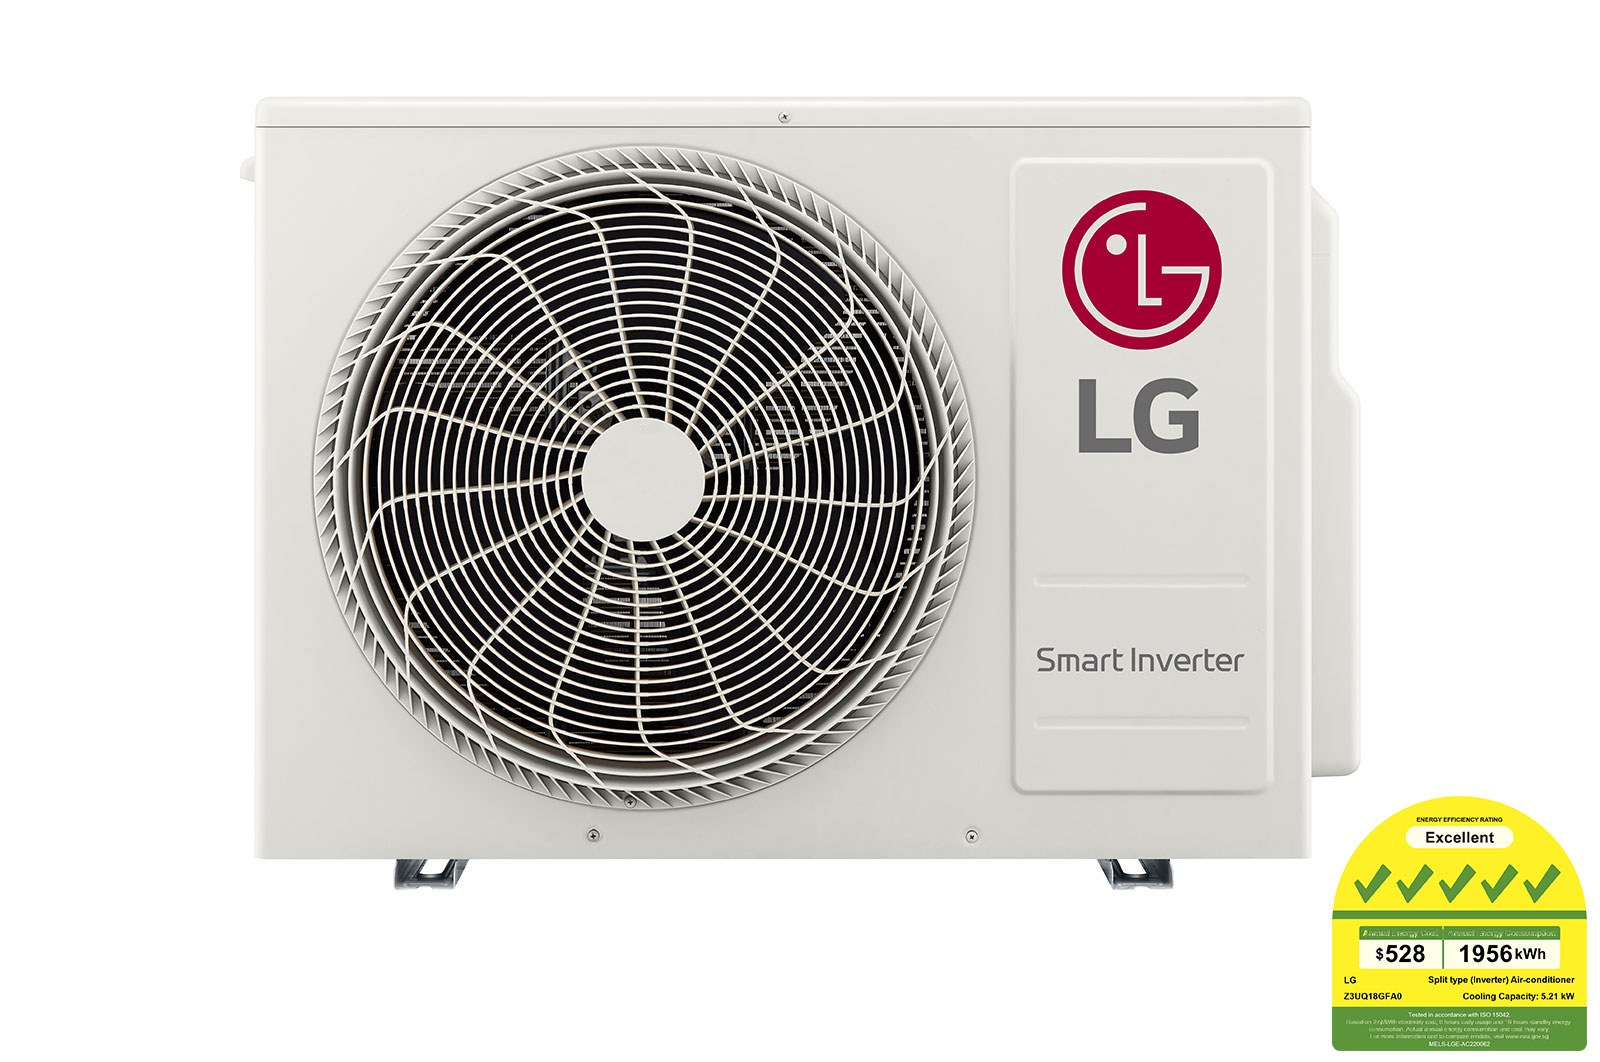
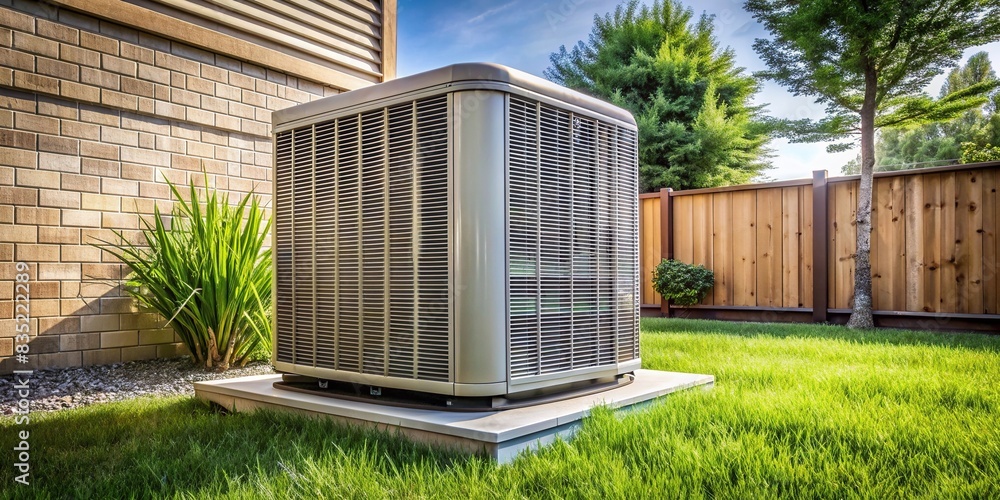
Outside Air Conditioning Units For Sale

Summer's heat can be unbearable, and a malfunctioning air conditioner can quickly turn your home into an uncomfortable sauna. While there are many outside air conditioning units for sale, sometimes a simple fix can restore your existing unit to working order, saving you time and money. Before you rush to purchase a new AC, let's explore some basic troubleshooting steps you can safely attempt.
Common Air Conditioner Issues
One of the most common household appliance failures during the summer months is a broken or inefficient outside AC unit. Symptoms can range from blowing warm air to making unusual noises or not turning on at all. Often, the solution is less complex than you might think.
Safety First!
Before you begin any troubleshooting, turn off the power to the AC unit at the circuit breaker. This is a crucial safety step to prevent electrical shock. Never work on the unit during wet conditions. If you are unsure about any part of the process, always consult a qualified HVAC technician.
Troubleshooting Guide: Step-by-Step
Follow these steps in order, checking if the AC unit is working after each step. This will help you isolate the problem efficiently.
Step 1: Check the Power Supply
The first and simplest thing to check is the power supply. This seems obvious, but it's surprising how often this is the issue.
- Verify the Circuit Breaker: Go to your electrical panel and ensure the circuit breaker for the AC unit is switched to the "ON" position. If it's tripped (in the middle or "OFF" position), flip it all the way to the "OFF" position and then back to "ON". Try running the AC again.
- Inspect the Disconnect Switch: Most outside AC units have a disconnect switch located near the unit. This is a safety switch that allows you to quickly cut power. Make sure it's in the "ON" position. Sometimes these switches can corrode or become loose. If it looks damaged, call a qualified electrician.
- Check for Blown Fuses: Some disconnect switches also contain fuses. Inspect these fuses for any signs of breakage. If a fuse is blown, replace it with a fuse of the exact same amperage. Using the wrong amperage fuse can be dangerous.
Step 2: Inspect the Thermostat Settings
Believe it or not, incorrect thermostat settings are a frequent cause of perceived AC failure.
- Ensure Correct Mode: Make sure your thermostat is set to "COOL" mode, not "HEAT" or "FAN ONLY."
- Lower the Temperature: Set the thermostat temperature several degrees lower than the current room temperature. Give the unit a few minutes to respond.
- Check the Batteries: If you have a digital thermostat, check the batteries. Low batteries can cause erratic behavior. Replace them with fresh batteries.
- Examine the Thermostat Wiring: If you're comfortable doing so, carefully remove the thermostat cover and inspect the wiring connections. Make sure the wires are securely attached to their terminals. If you see any loose or corroded wires, call a qualified HVAC technician. Thermostat wiring can be complex and incorrect wiring can damage your HVAC system.
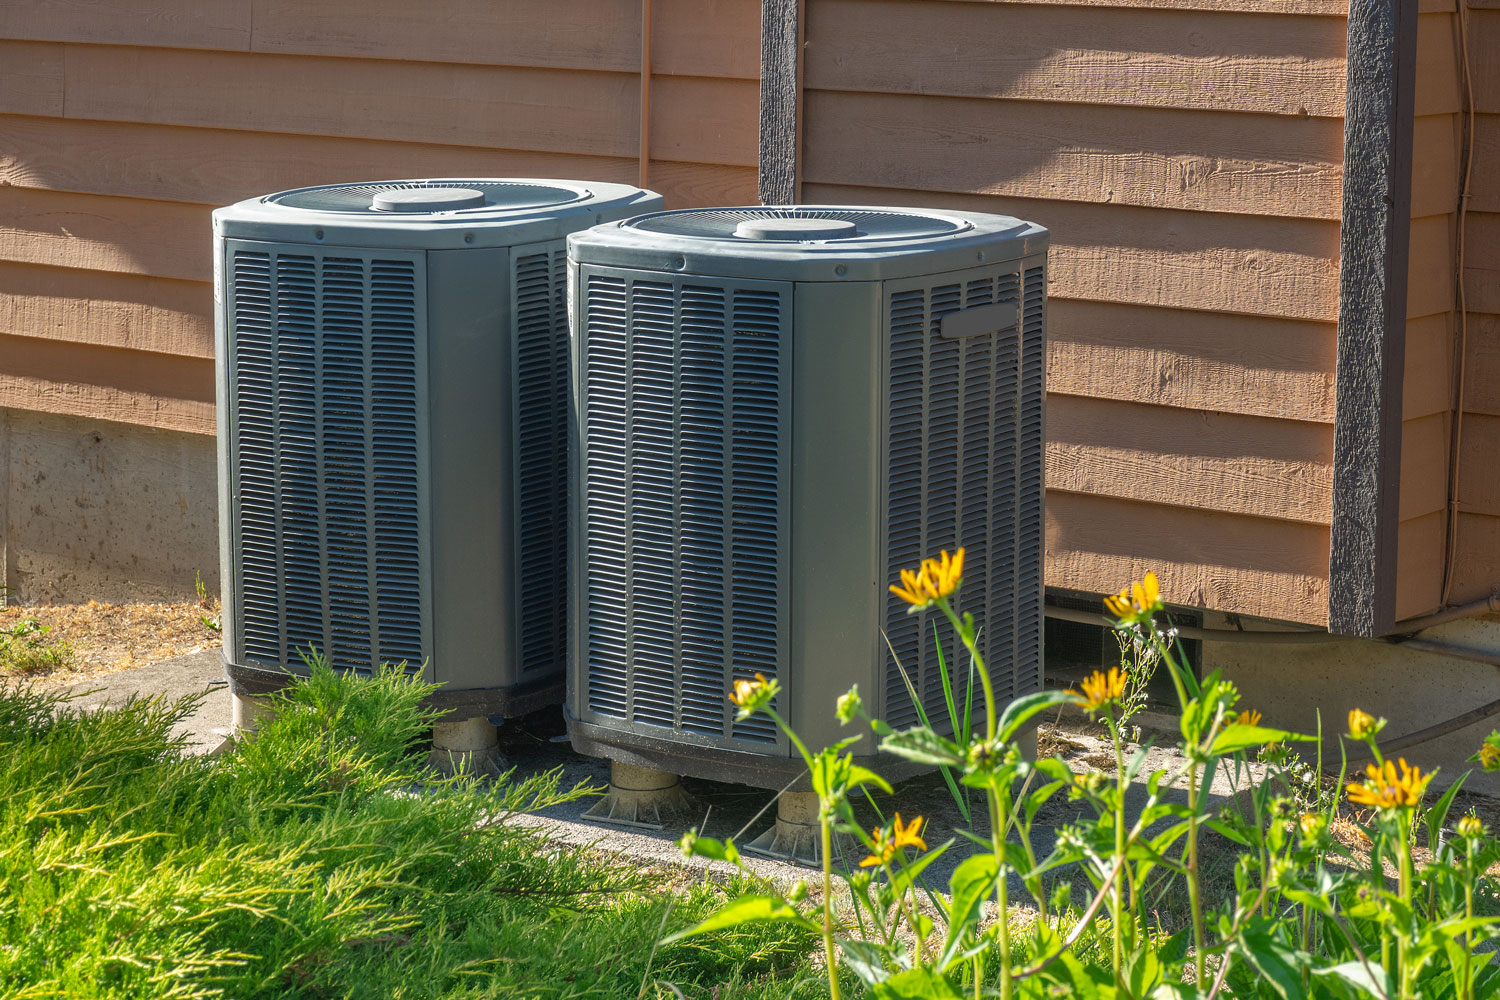
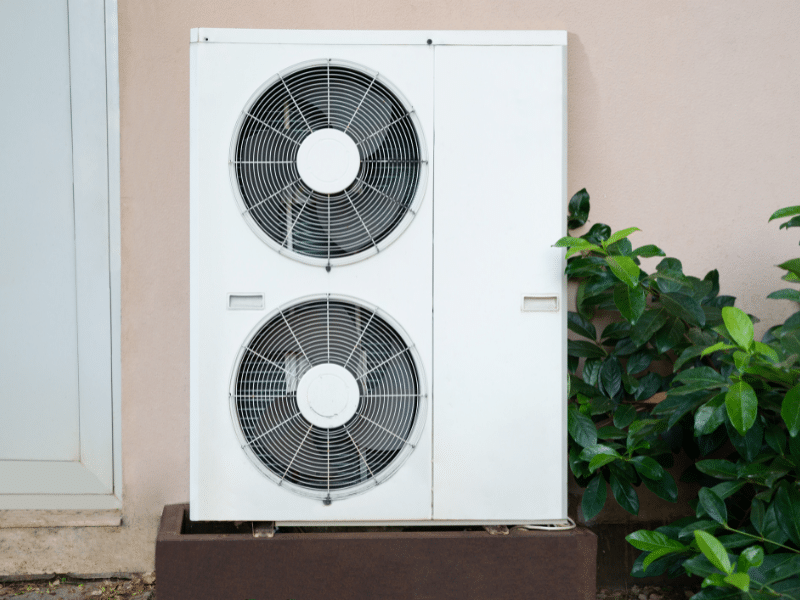
Step 3: Clean the Outdoor Unit
The outdoor unit can become clogged with dirt, leaves, grass clippings, and other debris, which restricts airflow and reduces efficiency.
- Turn Off the Power: Always disconnect power at the circuit breaker before cleaning the unit.
- Remove Debris: Carefully remove any visible debris from the outside of the unit, including leaves, branches, and grass clippings.
- Clean the Fins: The fins are the thin metal slats that surround the unit. Use a garden hose with a gentle spray nozzle to clean the fins from the inside out. Avoid using a pressure washer, as it can damage the delicate fins. You can also use a fin comb, a specialized tool designed to straighten bent fins.
- Clear the Area Around the Unit: Make sure there is at least two feet of clearance around the unit to allow for proper airflow. Trim any bushes or vegetation that may be blocking the unit.
Step 4: Check the Air Filter (Indoor Unit)
While technically not part of the outside unit, a dirty air filter in your indoor unit restricts airflow throughout the entire system, reducing cooling efficiency and potentially causing the outside unit to work harder and overheat.
- Locate the Air Filter: The air filter is typically located in the indoor unit, either in the furnace, air handler, or a wall-mounted return vent.
- Inspect the Air Filter: Remove the air filter and hold it up to the light. If you can't see light through the filter, it's dirty and needs to be replaced.
- Replace the Air Filter: Replace the dirty air filter with a new filter of the correct size and type. Check your owner's manual or the old filter for the correct specifications.
- Establish a Regular Replacement Schedule: Change your air filter every 1-3 months, depending on usage and air quality.
Step 5: Inspect the Condensate Drain Line
The AC unit produces condensation, which is drained away through a drain line. A clogged drain line can cause water to back up, potentially damaging your unit and even causing water leaks inside your home.
- Locate the Condensate Drain Line: The drain line is typically a PVC pipe that exits the indoor unit.
- Check for Clogs: Look for any signs of clogs, such as water dripping from the unit or standing water around the drain line.
- Clear the Clog: You can try to clear the clog by using a wet/dry vacuum to suck out any debris. Attach the vacuum hose to the end of the drain line outside the house and run the vacuum for a few minutes. You can also try pouring a cup of white vinegar down the drain line to dissolve any buildup.
- Consider a Condensate Drain Tablet: These tablets help prevent future clogs by slowly releasing chemicals that dissolve buildup.
Step 6: Check the Capacitor
The capacitor is an electrical component that helps start and run the AC motor. A failing capacitor is a common cause of AC problems.
- Locate the Capacitor: The capacitor is located inside the outdoor unit, typically in a small compartment near the motor.
- Visual Inspection: Before opening the compartment, ensure the power is OFF at the breaker. Once the power is off and you've waited a few minutes, carefully open the compartment and inspect the capacitor for any signs of damage, such as bulging, leaking, or cracking.
- Warning: Capacitors store an electrical charge even after the power is turned off. Do not touch the capacitor terminals. Capacitors can deliver a dangerous electrical shock.
- If you suspect the capacitor is faulty, do not attempt to replace it yourself. Call a qualified HVAC technician. This repair involves electricity and requires specialized knowledge and tools.
When to Call a Professional
While these troubleshooting steps can resolve many common AC problems, some issues require the expertise of a qualified HVAC technician. It's time to call a professional when:
- You suspect a refrigerant leak. Refrigerant leaks require specialized equipment and knowledge to repair. Handling refrigerant is also regulated by environmental laws.
- The compressor is not working. The compressor is the heart of the AC unit, and repairs are complex and expensive.
- You suspect an electrical problem beyond a tripped breaker or blown fuse. Electrical repairs can be dangerous and should only be performed by a qualified electrician.
- You are uncomfortable working with electricity or mechanical components. Safety is paramount. Don't hesitate to call a professional if you're unsure about any part of the process.
- Your AC unit is old and inefficient. Sometimes, the cost of repairs outweighs the benefits, and it's more cost-effective to replace the unit with a new, energy-efficient model. This is especially true if your existing unit uses R-22 refrigerant, which is being phased out. Considering outside air conditioning units for sale might be a better long-term solution.
- The unit is making loud or unusual noises that persist after cleaning and basic checks.
Preventative Maintenance
Regular preventative maintenance can help keep your AC unit running smoothly and efficiently, preventing costly repairs down the road.
- Schedule Annual Maintenance: Have a qualified HVAC technician inspect and service your AC unit at least once a year.
- Clean the Unit Regularly: Keep the outdoor unit free of debris and clean the fins regularly.
- Change the Air Filter Regularly: Change your air filter every 1-3 months.
- Monitor Performance: Pay attention to how your AC unit is performing. If you notice any changes, such as reduced cooling, unusual noises, or increased energy bills, address the problem promptly.
Conclusion
Troubleshooting a malfunctioning air conditioner can seem daunting, but by following these simple steps, you can often identify and resolve common issues yourself. Remember to always prioritize safety and never hesitate to call a qualified professional when needed. By taking a proactive approach to maintenance and troubleshooting, you can keep your AC unit running efficiently and comfortably for years to come, and avoid the need to purchase outside air conditioning units for sale prematurely. However, if your unit is old or beyond repair, exploring new, energy-efficient options might be the most sensible choice.