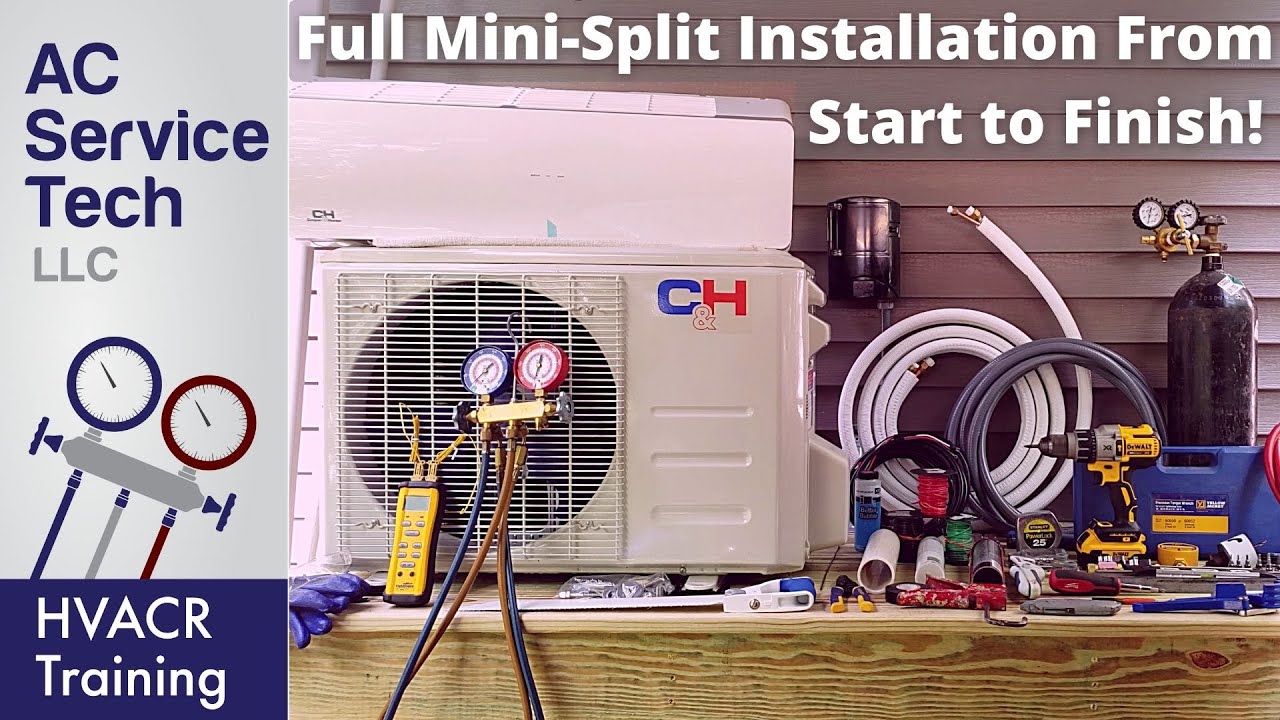
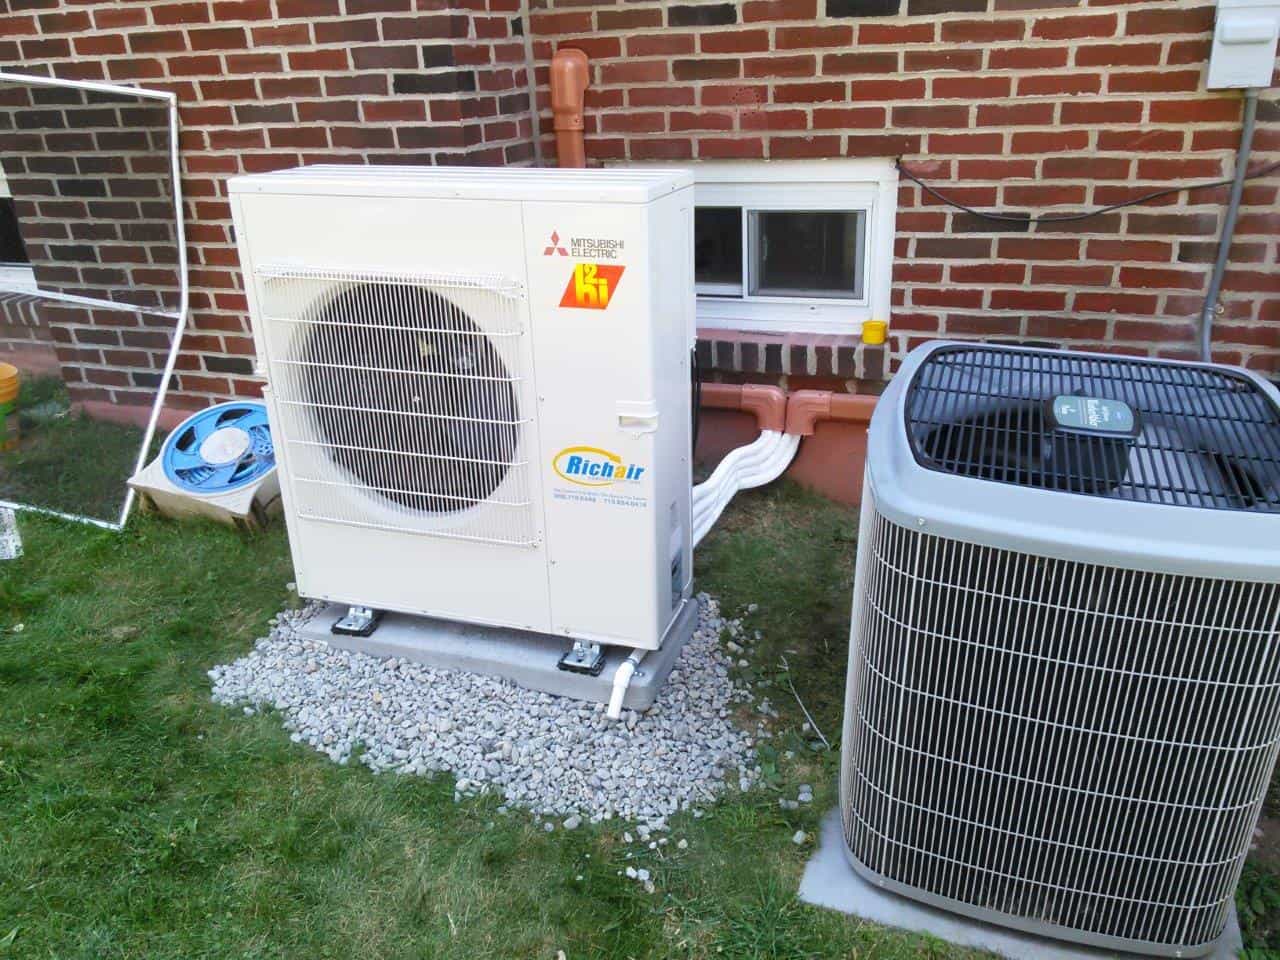
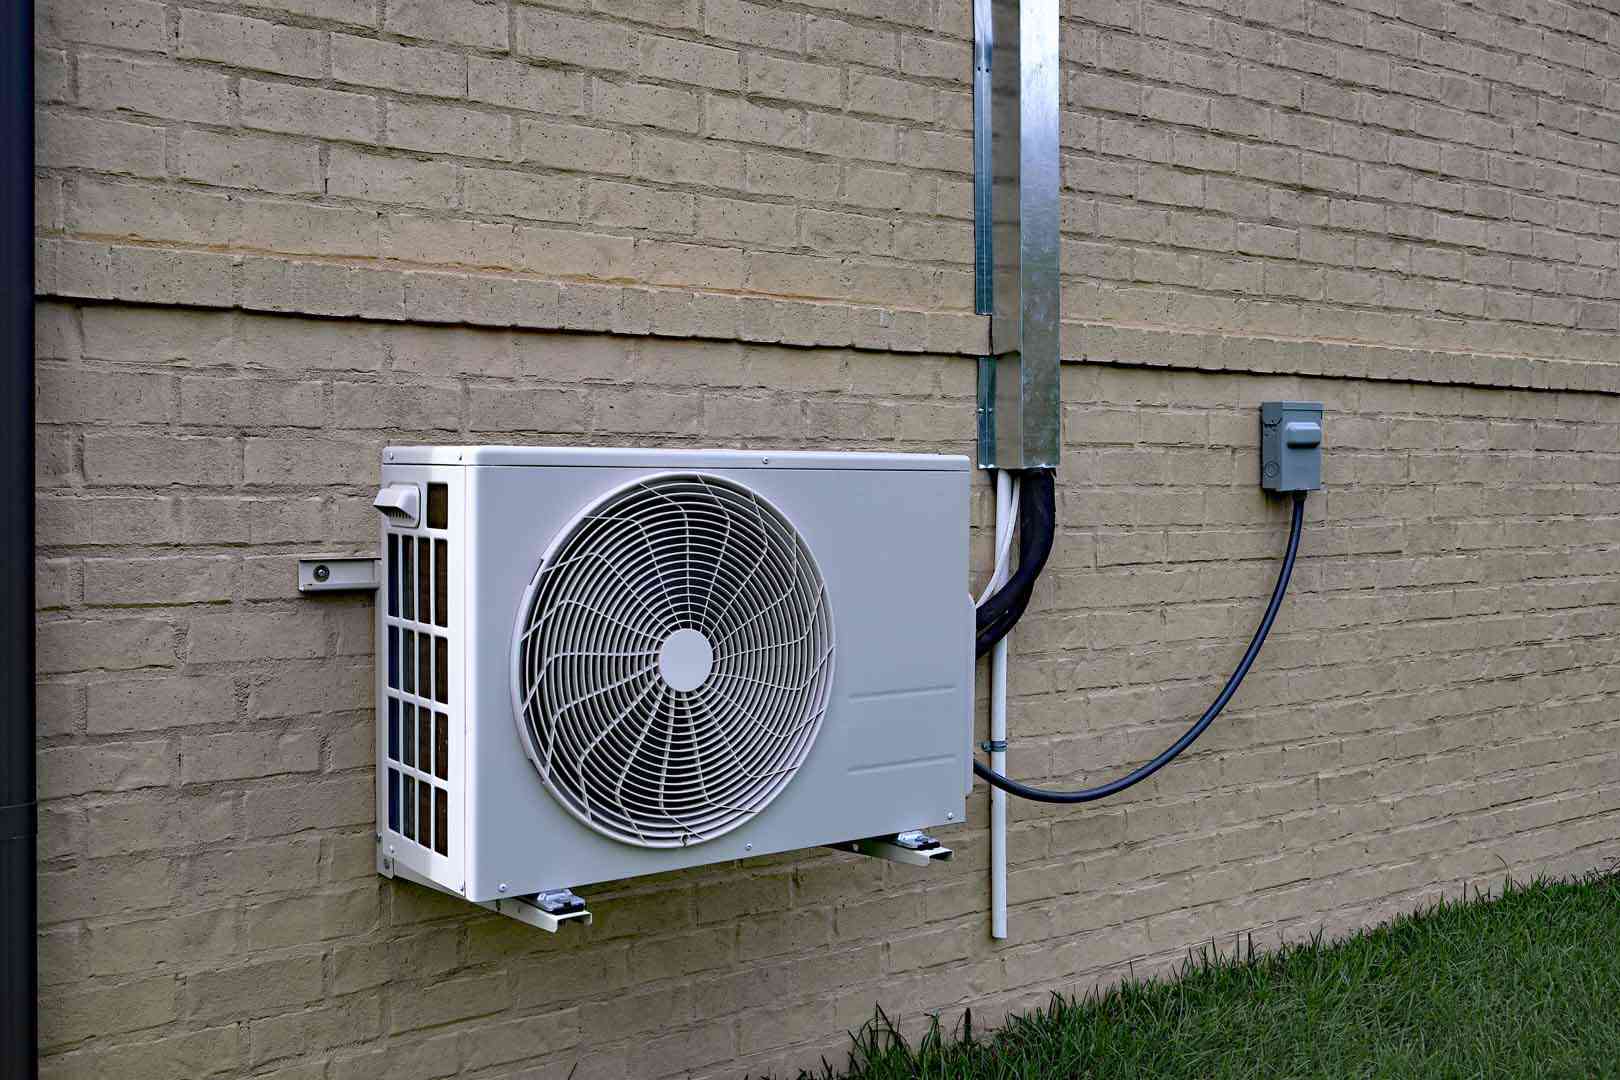
Pictures Of Mini Split Systems Installed

Mini-split systems, also known as ductless air conditioners, are a popular choice for heating and cooling individual rooms or small spaces. They are generally reliable, but like any appliance, they can occasionally experience problems. This article offers a step-by-step troubleshooting guide for common mini-split issues, focusing on what homeowners can safely check and potentially fix themselves, as well as when to call in a professional.
Understanding the Basics: Mini-Split Components
Before diving into troubleshooting, it's helpful to understand the basic components of a mini-split system. Typically, a mini-split system comprises of two units:
- Outdoor Unit: Contains the compressor, condenser coil, and fan. This unit is responsible for releasing heat in cooling mode and absorbing heat in heating mode.
- Indoor Unit: Contains the evaporator coil, air filter, and fan. This unit circulates the air in the room and provides the cooled or heated air.
The two units are connected by refrigerant lines and electrical wiring. Remember that working with refrigerant requires specialized tools and knowledge and should *always* be done by a licensed HVAC technician.
Common Mini-Split Problems and Troubleshooting Steps
Here's a breakdown of common problems and troubleshooting steps you can take. Safety first! Always turn off the power to the unit at the circuit breaker before attempting any internal checks.
1. Unit Not Turning On
This is often the simplest problem to diagnose and fix.
* Check the Power Supply: * Breaker: Go to your electrical panel and ensure the breaker for the mini-split is not tripped. If it is, reset it. If it trips again immediately, do not keep resetting it; call an electrician or HVAC technician. Repeatedly tripping a breaker indicates a more serious electrical problem. * Power Cord: Ensure the power cord is securely plugged into the outlet. If it’s plugged in, try a different outlet to rule out a faulty outlet. (For units directly wired, this step doesn't apply.) * Remote Batteries: Replace the batteries in the remote control. Sometimes, the unit won't respond if the remote battery is low. * Check the Remote Control: * On/Off Button: Make sure you're pressing the on/off button firmly and pointing the remote directly at the indoor unit. * Remote Display: Verify the remote display is working. If it's blank even with new batteries, the remote itself may be faulty and need replacement. * Remote Settings: Ensure the remote is set to the correct mode (cool, heat, auto, etc.) and temperature. * Check the Unit's Control Panel (if applicable): * Some indoor units have a manual on/off button or a small control panel. Check if this is turned off accidentally. * Wait a Few Minutes: Some units have a built-in delay after being turned off before they can be turned back on.When to Call a Pro: If none of these steps work, there may be an internal electrical problem within the unit itself. Do not attempt to disassemble the unit to diagnose the problem. Call a qualified HVAC technician.
2. Unit Not Cooling or Heating Properly
This is a more common issue, and there are several potential causes.
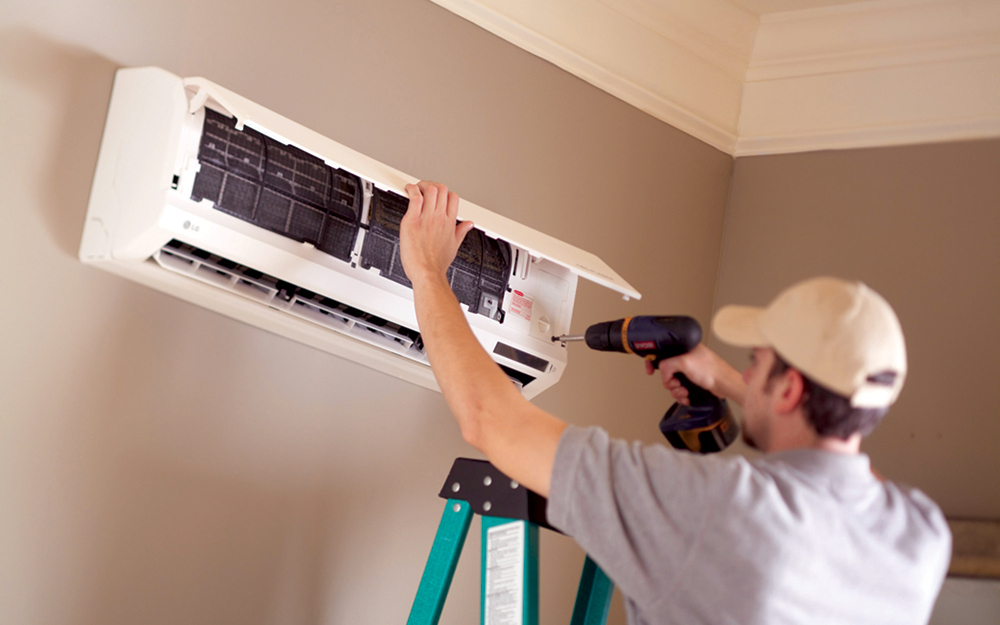
* Check the Air Filter: * A dirty air filter is the most frequent culprit for reduced cooling or heating performance. Locate the air filter (usually behind a removable panel on the indoor unit), remove it, and inspect it. * If the filter is dirty, clean or replace it. Most filters are washable, but some are disposable. Check the manufacturer's instructions. * A clogged filter restricts airflow, reducing the unit's efficiency and potentially causing it to overheat. * Check the Thermostat Settings: * Ensure the thermostat is set to the correct mode (cool or heat) and the desired temperature. * Make sure the temperature setting is significantly lower than the room temperature for cooling and higher for heating. * Verify the thermostat isn't in "fan only" mode. * Check for Obstructions: * Indoor Unit: Ensure furniture, curtains, or other objects aren't blocking the airflow from the indoor unit. * Outdoor Unit: Make sure the outdoor unit is free from obstructions like leaves, snow, or overgrown vegetation. Clear away any debris that could be blocking airflow around the unit. * Check for Leaks Around Windows and Doors: * Even a perfectly functioning mini-split won't cool or heat effectively if there are significant air leaks in the room. Seal any gaps around windows and doors with weather stripping or caulk. * Check the Outdoor Unit Fan: * Carefully observe the outdoor unit fan. Is it running smoothly? If it's not running at all or is making unusual noises, there might be a problem with the fan motor or other components. *Turn off the power before inspecting the fan closely.* * Check for Ice Buildup on the Outdoor Unit: * In heating mode, ice can sometimes form on the outdoor unit, especially in cold weather. If the unit has a defrost cycle, it should automatically remove the ice. If ice is excessive or doesn't melt during the defrost cycle, it could indicate a problem.When to Call a Pro: If you've checked the air filter, thermostat settings, and obstructions, and the unit is still not cooling or heating properly, the problem could be more complex. Potential issues include:
* Refrigerant Leak: Refrigerant leaks require specialized equipment and expertise to locate and repair. * Compressor Problems: The compressor is the heart of the system, and if it's failing, the unit won't function properly. * Faulty Fan Motor: A malfunctioning fan motor in either the indoor or outdoor unit can affect performance. * Defrost Cycle Issues: Problems with the defrost cycle can lead to ice buildup and reduced heating efficiency. * Electrical Issues: Internal electrical problems can affect various components of the unit.These issues should only be addressed by a qualified HVAC technician.
3. Unit Making Unusual Noises
Unusual noises can indicate a variety of problems, ranging from minor to serious.
* Rattling: * Loose Panels: Check for loose panels or screws on both the indoor and outdoor units. Tighten any loose fasteners. * Debris: Debris inside the unit can cause rattling. Turn off the power and carefully inspect the units for any foreign objects. * Clicking: * Normal Operation: Some clicking sounds are normal, especially when the unit starts up or shuts down. * Relay Switch: A frequent clicking sound could indicate a problem with a relay switch. * Humming: * Normal Operation: A low humming sound is usually normal, especially from the outdoor unit when the compressor is running. * Compressor Issues: A loud or unusual humming sound could indicate a problem with the compressor. * Hissing or Bubbling: * Refrigerant Leak: These sounds often indicate a refrigerant leak. Refrigerant is harmful and should not be handled.When to Call a Pro: Any loud, persistent, or unusual noises, especially hissing or bubbling sounds, should be investigated by a qualified HVAC technician. Ignoring these noises can lead to further damage and more costly repairs. Never attempt to repair a refrigerant leak yourself.
4. Water Leaking from the Indoor Unit
Water leaking from the indoor unit can be caused by a clogged drain line.
* Clogged Drain Line: * The indoor unit has a drain line that carries away condensation. This line can become clogged with dust, algae, or other debris. * Locate the Drain Line: The drain line is usually a small PVC pipe that exits the indoor unit and leads to an outside drain or a condensate pump. * Clear the Drain Line: There are several ways to clear the drain line: * Wet/Dry Vacuum: Use a wet/dry vacuum to suck out any blockage from the end of the drain line. * Wire or Pipe Cleaner: Carefully insert a flexible wire or pipe cleaner into the drain line to break up any clogs. * Flush with Water: Use a small funnel to pour a cup of warm water mixed with a little bleach into the drain line to flush out any remaining debris. * Check the Drain Pan: Inspect the drain pan beneath the indoor unit for any cracks or damage. If the pan is cracked, it will need to be replaced.When to Call a Pro: If you've cleared the drain line and the unit is still leaking, there may be a more serious problem, such as a cracked drain pan or a problem with the condensate pump (if your system has one). Call an HVAC technician to diagnose and repair the problem.
5. Error Codes on the Display Panel
Many mini-split systems have a digital display panel that shows error codes when a problem occurs.
* Consult the Owner's Manual: The owner's manual will list the meaning of each error code and provide troubleshooting steps. * Basic Troubleshooting: Some error codes can be resolved by simply turning the unit off and back on. * Note the Error Code: If the error code persists, write it down and provide it to the HVAC technician when you call for service. This will help them diagnose the problem more quickly.When to Call a Pro: Most error codes require professional diagnosis and repair. Do not attempt to repair the unit yourself based solely on the error code without proper training and knowledge.
Preventative Maintenance
Regular maintenance can help prevent many of these problems from occurring in the first place.
* Clean the Air Filter Regularly: Clean or replace the air filter every 1-3 months, depending on usage and air quality. * Clean the Outdoor Unit: Periodically clean the outdoor unit to remove debris and ensure proper airflow. Turn off the power before cleaning. * Inspect the Drain Line: Check the drain line for clogs and clear it as needed. * Schedule Professional Maintenance: Have a qualified HVAC technician inspect and service your mini-split system annually. This will help identify potential problems early and ensure the unit is running efficiently.Safety Precautions
* Turn Off the Power: Always turn off the power to the unit at the circuit breaker before performing any internal checks or cleaning. * Avoid Water and Electricity: Never use water to clean electrical components. * Refrigerant: Do not attempt to handle refrigerant. Refrigerant is harmful and requires specialized equipment and knowledge to handle safely. * When in Doubt, Call a Pro: If you're not comfortable performing any of these troubleshooting steps, or if you suspect a more serious problem, call a qualified HVAC technician.Empowering DIY, Knowing When to Call a Pro
By following these steps, you can troubleshoot many common mini-split problems yourself. Remember to prioritize safety and know your limits. When dealing with electricity, refrigerant, or complex components, it's always best to call a qualified HVAC technician. With a little knowledge and preventative maintenance, you can keep your mini-split system running smoothly for years to come.