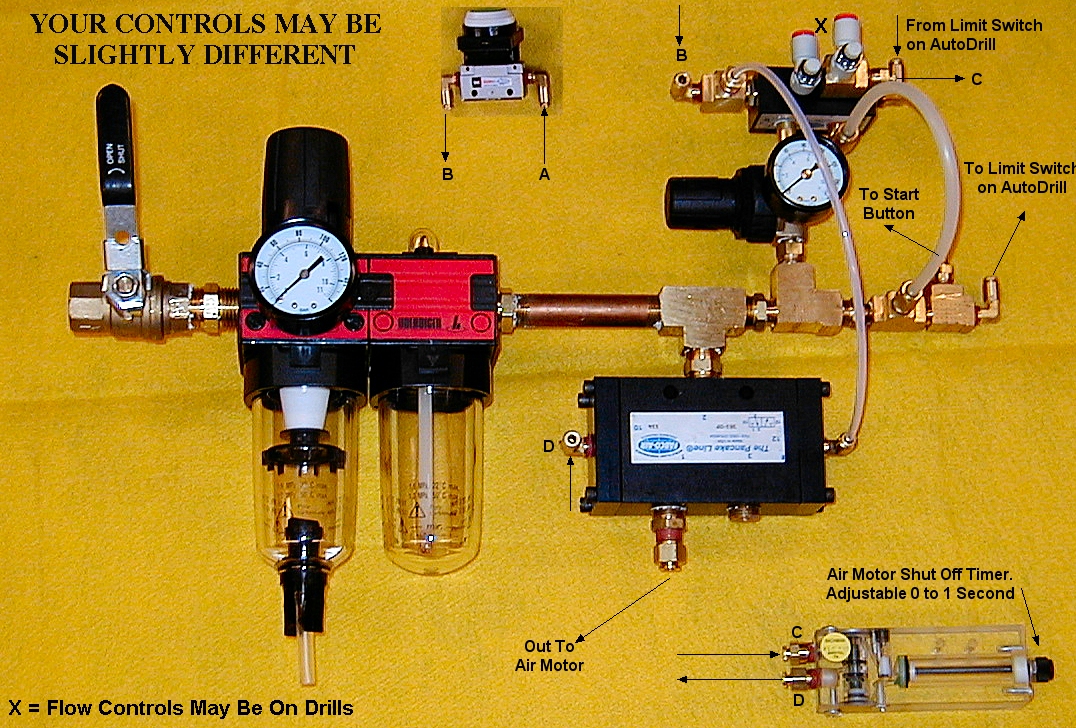
Pneumatic Controls Are Most Commonly Used
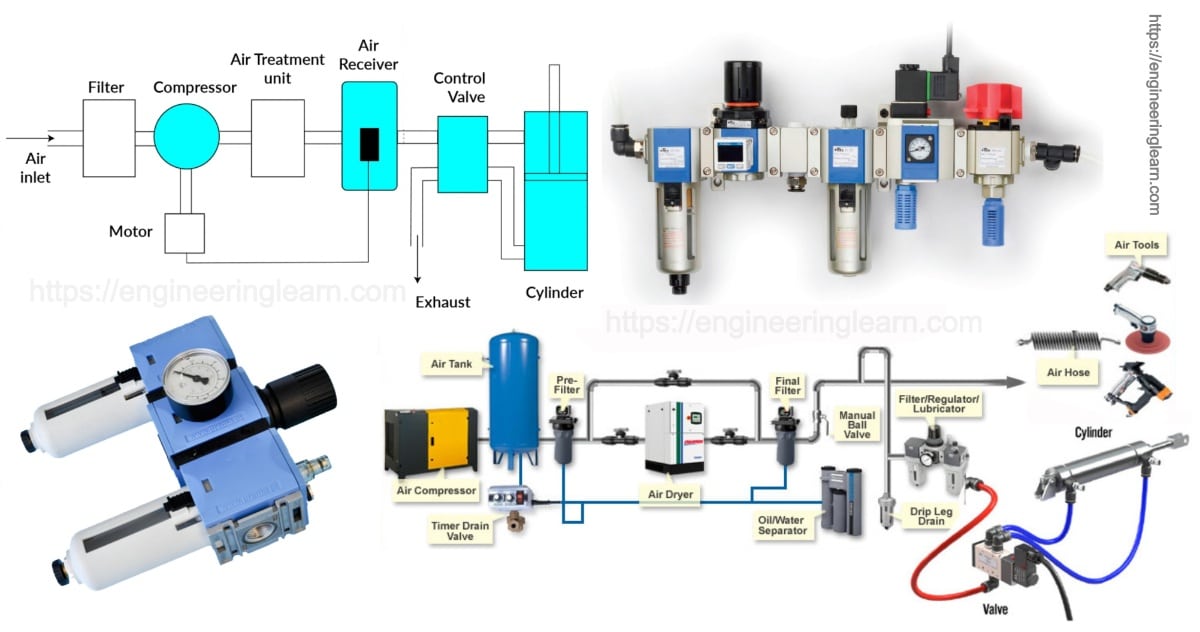
Experiencing inconsistent heating or cooling in your home? You're not alone. A frequent complaint from homeowners is that some rooms are too hot while others are too cold, even when the thermostat is set at a comfortable temperature. While several factors can contribute to this, the culprit could very well be related to the pneumatic controls within your HVAC system, especially if you have an older, larger building. Let's explore how to troubleshoot this issue methodically.
Understanding Pneumatic Controls in HVAC
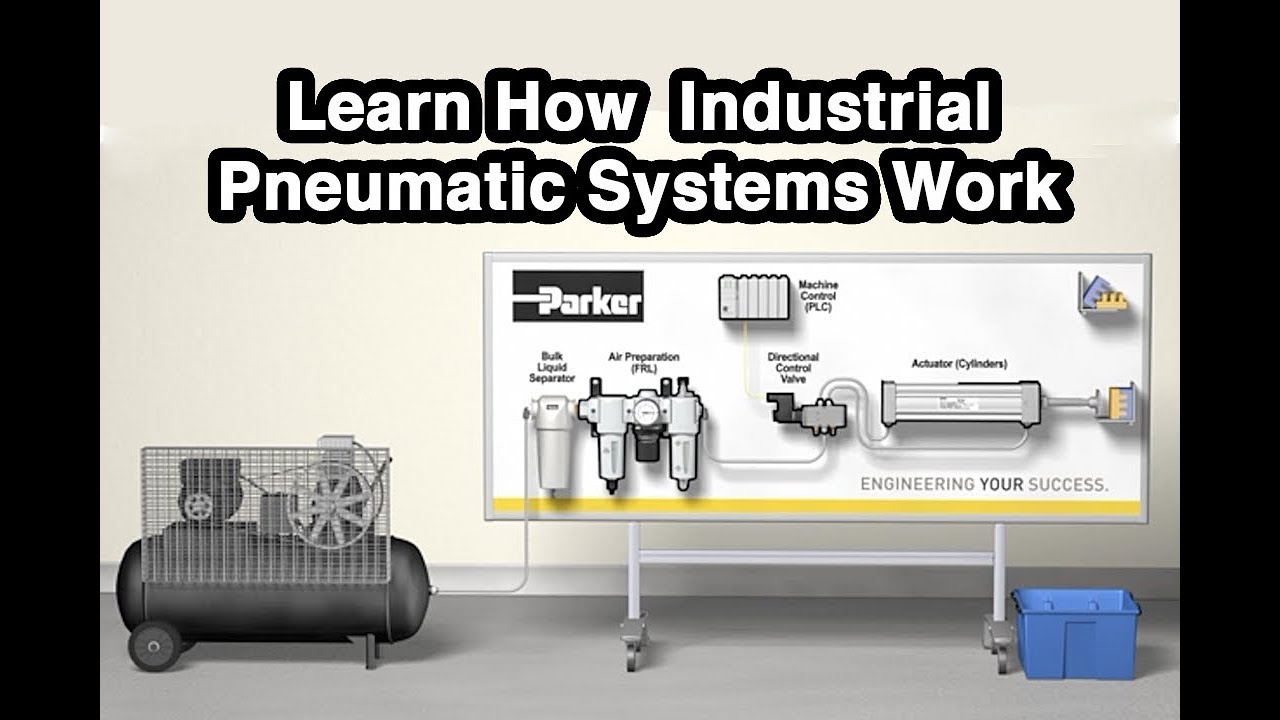
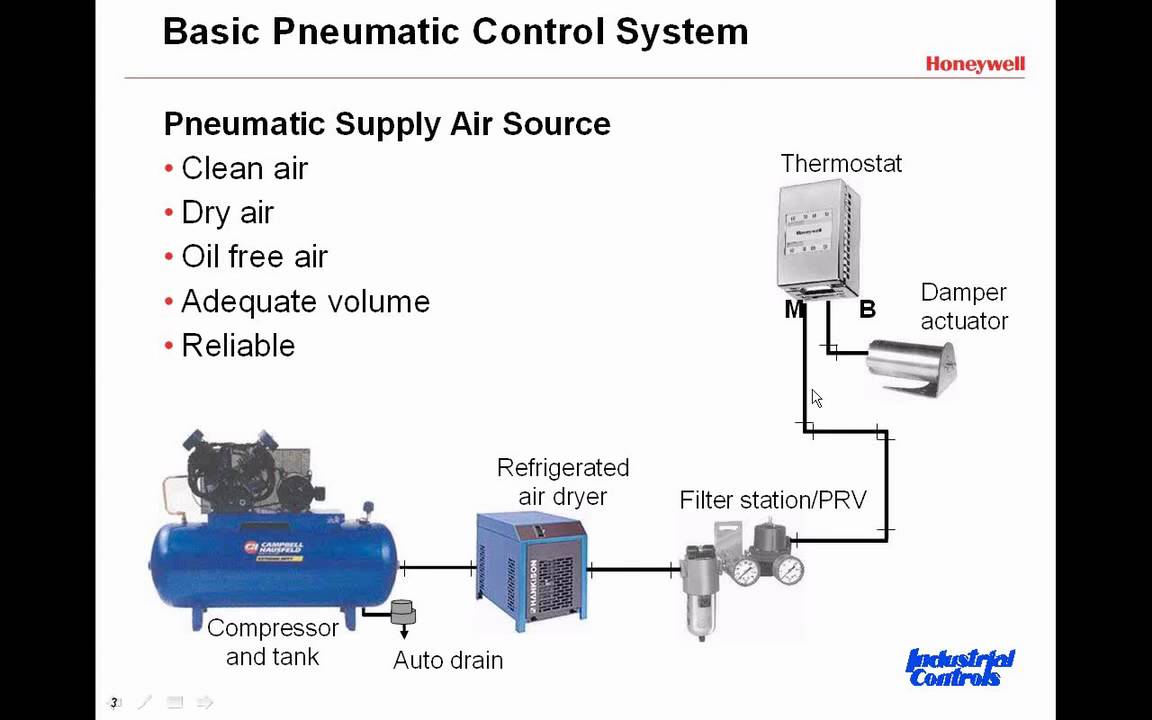
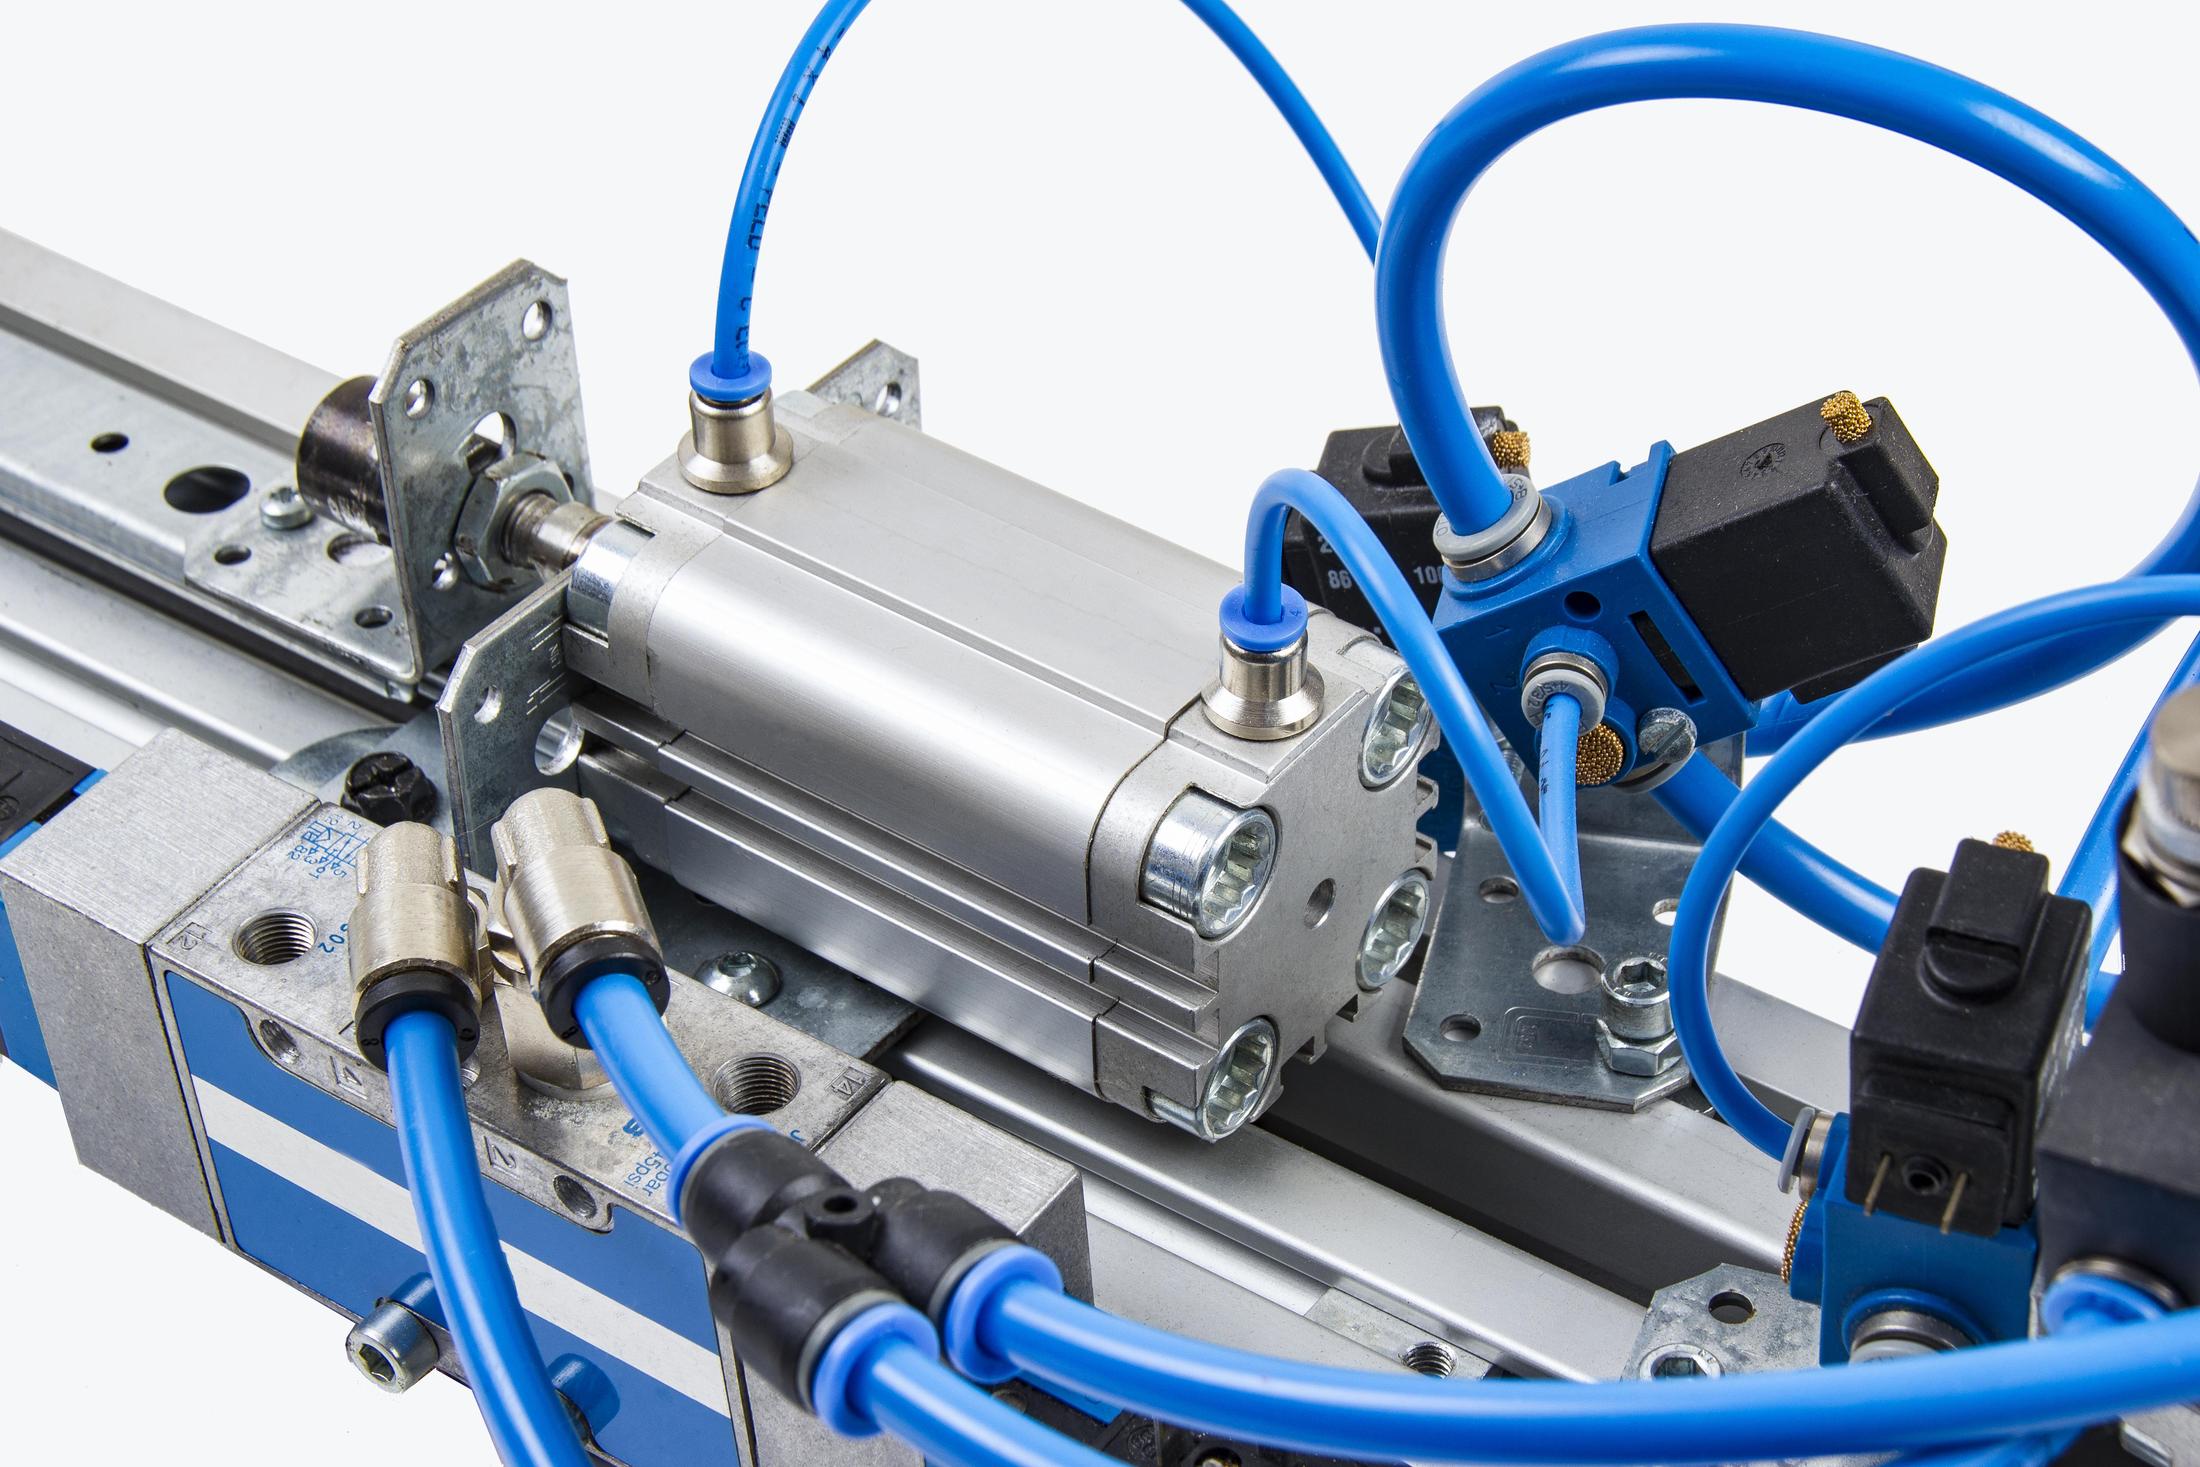
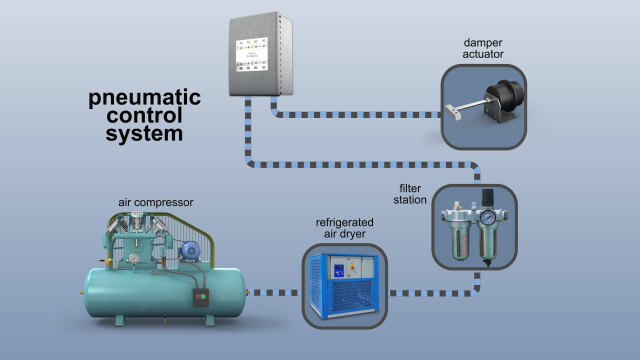
Before we dive into troubleshooting, it’s crucial to understand what pneumatic controls are. Pneumatic controls use compressed air to operate dampers, valves, and other components in your heating, ventilation, and air conditioning (HVAC) system. They are often found in larger buildings and older homes that feature more complex HVAC setups. Essentially, a central air compressor supplies compressed air through a network of tubing to various control devices. These devices, in turn, regulate the flow of heated or cooled air to different zones or areas within the building.
If you hear a faint hissing sound near your HVAC equipment, or if your system seems to be struggling to maintain a consistent temperature, a problem with your pneumatic controls might be the cause. However, it is also important to check the age of your system and if it has been regularly serviced.
Step-by-Step Troubleshooting Guide
This guide will walk you through the process of diagnosing common pneumatic control problems that might cause uneven heating or cooling. Remember to always prioritize safety and if you are not comfortable working on your HVAC system, call a professional.
Step 1: Initial Assessment (No Tools Required)
Start with a simple visual inspection and some basic observation.
- Check the Thermostat: Ensure the thermostat is set correctly and that the batteries (if any) are functioning. Sometimes a low battery can cause erratic behavior.
- Inspect Air Vents and Registers: Make sure that all the vents and registers in the affected rooms are fully open and not obstructed by furniture, rugs, or other items. Obstructed vents can significantly restrict airflow.
- Listen for Unusual Noises: Pay attention to any unusual hissing sounds coming from the HVAC unit, control panels, or pneumatic tubing. A hissing sound could indicate an air leak.
- Observe Damper Positions: If you can access the dampers (often located in ductwork), visually inspect their positions. Are they moving as expected when you adjust the thermostat? Do they seem to be stuck in one position?
- Check Air Filter: A clogged air filter can restrict airflow and impact system performance. A dirty filter causes the HVAC system to work harder, leading to inconsistent heating or cooling.
DIY Action: Replace the air filter if it is dirty. This is a simple maintenance task that can often improve airflow and system efficiency. Standard filters should be changed every 1-3 months depending on usage and air quality.
Step 2: Checking the Air Compressor (Basic Equipment Needed)
The air compressor is the heart of your pneumatic control system. It's responsible for providing the compressed air needed to operate the controls. Problems with the compressor can lead to system-wide issues.
- Locate the Air Compressor: The compressor is typically located near the main HVAC unit. It might be a separate unit or integrated into the main unit.
- Check Power Supply: Ensure the compressor is receiving power. Verify that the circuit breaker is not tripped. Use a multimeter to confirm voltage at the compressor's power terminals. (Safety Warning: If you're not comfortable working with electricity, skip this step and call a professional.)
- Inspect Air Lines: Examine the air lines connected to the compressor for any visible signs of damage, such as cracks, leaks, or kinks. Use a soapy water solution to check for air leaks at connections. Spray the solution on fittings and look for bubbles.
- Check Air Pressure: Use an air pressure gauge to check the output pressure of the compressor. Compare the reading to the manufacturer's specifications. Low pressure could indicate a compressor problem or a significant air leak.
- Listen to the Compressor: Pay attention to the sound the compressor makes when running. Unusual noises, such as grinding, rattling, or excessive vibration, could indicate internal damage.
DIY Action: If you identify a loose air line connection, carefully tighten it. If you find a small leak in an air line, you may be able to temporarily patch it with specialized pneumatic tubing repair tape. However, this is only a temporary fix, and the damaged line should be replaced as soon as possible.
Step 3: Examining Pneumatic Tubing and Connections (Basic Equipment Needed)
The pneumatic tubing carries compressed air from the compressor to the various control devices. Leaks or blockages in the tubing can disrupt the system's operation.
- Trace the Tubing: Follow the pneumatic tubing from the compressor to the dampers, valves, and other control devices. Look for any signs of damage, such as cracks, kinks, or breaks.
- Check Connections: Inspect all the connections between the tubing and the control devices. Ensure that the connections are tight and secure. Use a wrench or pliers to tighten any loose fittings, but be careful not to overtighten them.
- Test for Leaks: Use a soapy water solution to test for air leaks along the tubing and at the connections. Spray the solution on the tubing and fittings and look for bubbles.
- Inspect for Blockages: Disconnect the tubing at various points and blow compressed air through it to check for blockages. Use an air compressor with a nozzle attachment.
DIY Action: Replace damaged sections of pneumatic tubing if you are comfortable doing so. Purchase replacement tubing from a reputable HVAC supply store. Ensure that the replacement tubing is the correct size and material. Be sure to turn off the air compressor before disconnecting any tubing.
Step 4: Investigating Dampers and Actuators (Basic Observation)
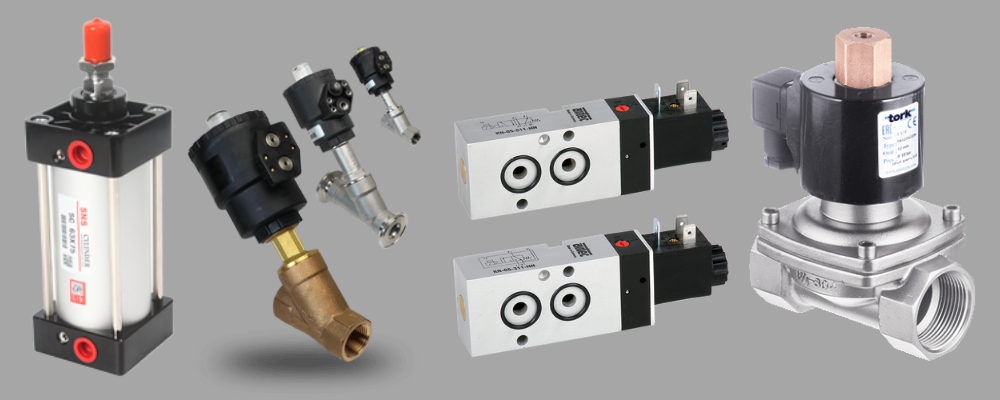
Dampers control the flow of air through the ductwork. They are typically operated by pneumatic actuators, which use compressed air to move the dampers open or closed. Malfunctioning dampers or actuators can cause uneven heating or cooling.
- Locate the Dampers: Dampers are typically located in the ductwork near the vents or registers. They may be visible or hidden behind access panels.
- Observe Damper Movement: Adjust the thermostat and observe the movement of the dampers. Do they move smoothly and predictably? Do they seem to be stuck in one position?
- Check Actuator Connections: Inspect the connections between the pneumatic tubing and the actuators. Ensure that the connections are tight and secure.
- Listen for Actuator Operation: Listen for the sound of the actuators as they operate. A hissing sound could indicate an air leak in the actuator.
DIY Action: You can manually try to move a damper that appears stuck, but do so gently. If it moves freely with slight pressure, it may just need lubrication with a silicone-based lubricant. If it's firmly stuck, don't force it, as you could damage the actuator.
Step 5: Checking Control Valves (More Advanced - Proceed with Caution)
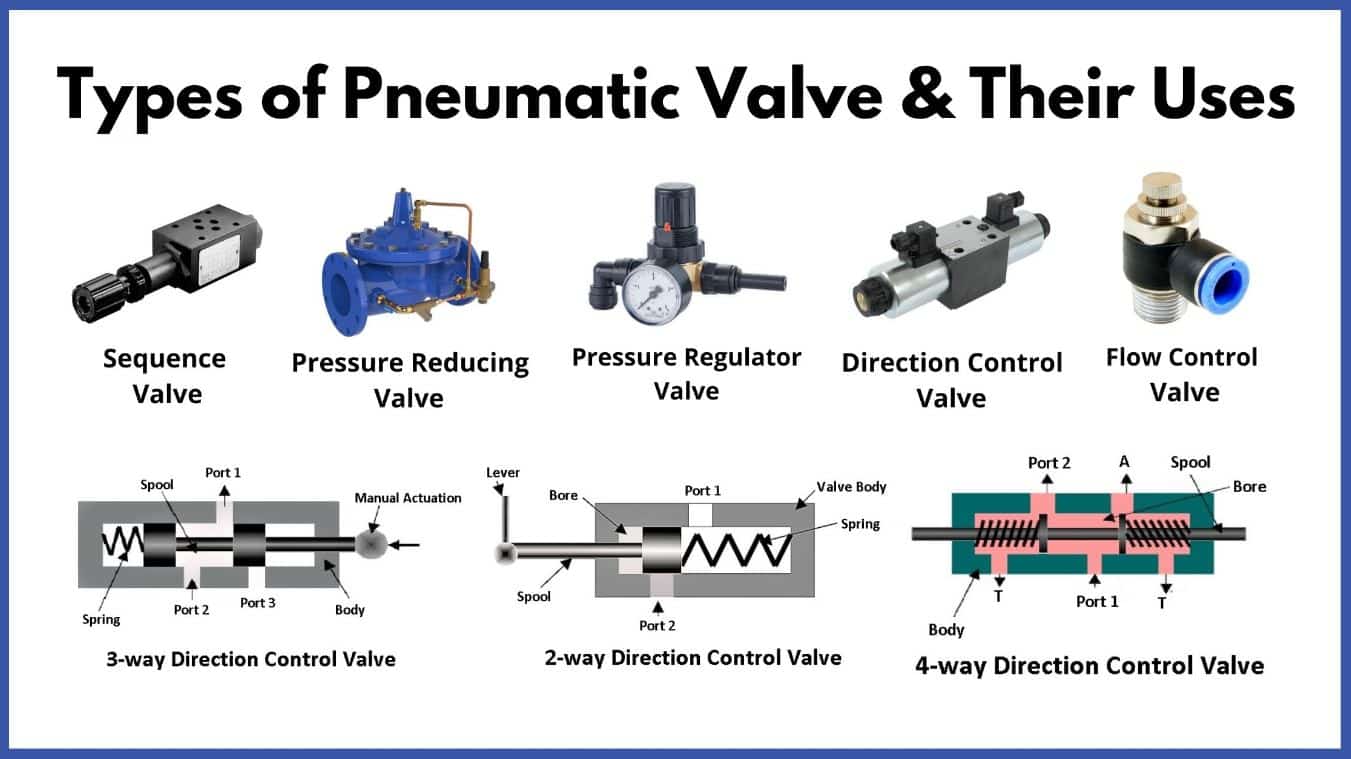
Control valves regulate the flow of hot or chilled water to heating or cooling coils. These are more likely found in commercial buildings or larger residential systems.
- Locate the Control Valves: Control valves are usually located near the HVAC unit or heating/cooling coils.
- Inspect Valve Operation: Observe the valve stem as the thermostat calls for heating or cooling. The stem should move smoothly and predictably.
- Check for Leaks: Look for signs of leaks around the valve body and connections.
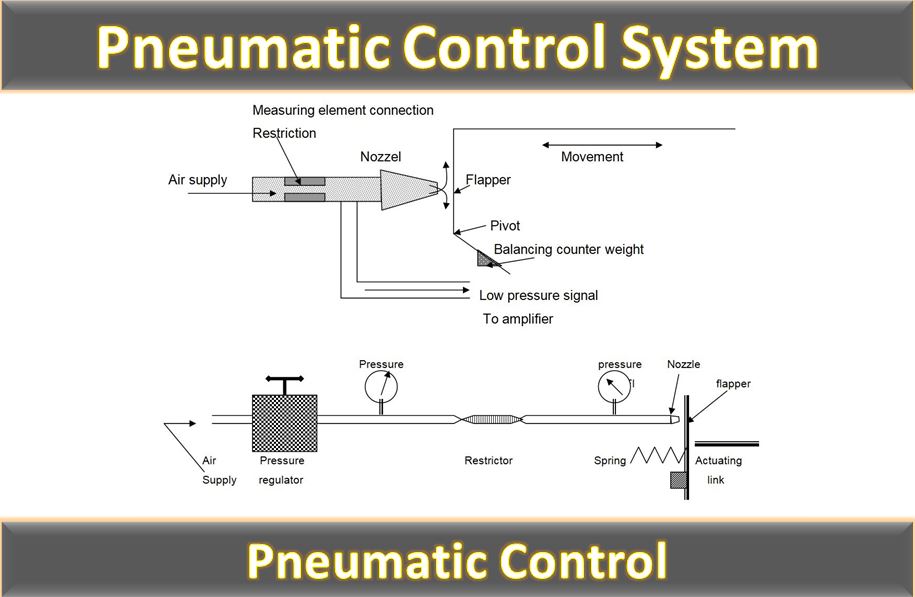
- Test Valve Calibration: If you have the appropriate tools and knowledge, you can test the calibration of the control valve. This involves measuring the output pressure of the pneumatic controller and comparing it to the valve's setpoint.
DIY Action: If you find a minor leak at a valve connection, you might be able to tighten the fitting. However, do not attempt to disassemble or repair the valve itself. This is a complex task that requires specialized knowledge and tools.
When to Call a Professional HVAC Technician
While some pneumatic control problems can be addressed with DIY solutions, others require the expertise of a qualified HVAC technician. It’s time to call a pro if:
- You are not comfortable working with electricity or compressed air.
- You suspect a refrigerant leak.
- You cannot locate the source of the problem.
- You have tried the DIY solutions and the problem persists.
- You are dealing with complex control systems or components (e.g., control valves, pneumatic controllers).
- The air compressor is making unusual noises or not functioning properly.
- You notice ice buildup on the evaporator coil.
- Your system is old and outdated and needs a full system evaluation.
Attempting to repair complex pneumatic control systems without proper training and experience can be dangerous and can potentially damage your equipment. Professionals have the knowledge, skills, and tools necessary to diagnose and repair these systems safely and effectively.
Preventative Maintenance
Regular preventative maintenance is key to keeping your pneumatic control system in good working order. Consider these steps:
- Schedule regular HVAC system tune-ups: A professional technician can inspect and maintain your entire system, including the pneumatic controls.
- Replace air filters regularly: A clean air filter ensures proper airflow and reduces strain on the system.
- Check air lines and connections periodically: Look for any signs of damage or leaks.
- Lubricate dampers and actuators: Keep moving parts lubricated to ensure smooth operation.
By following these steps, you can help prevent problems with your pneumatic control system and ensure consistent heating and cooling throughout your home. Remember, safety first, and don't hesitate to call a professional if you're unsure about anything.