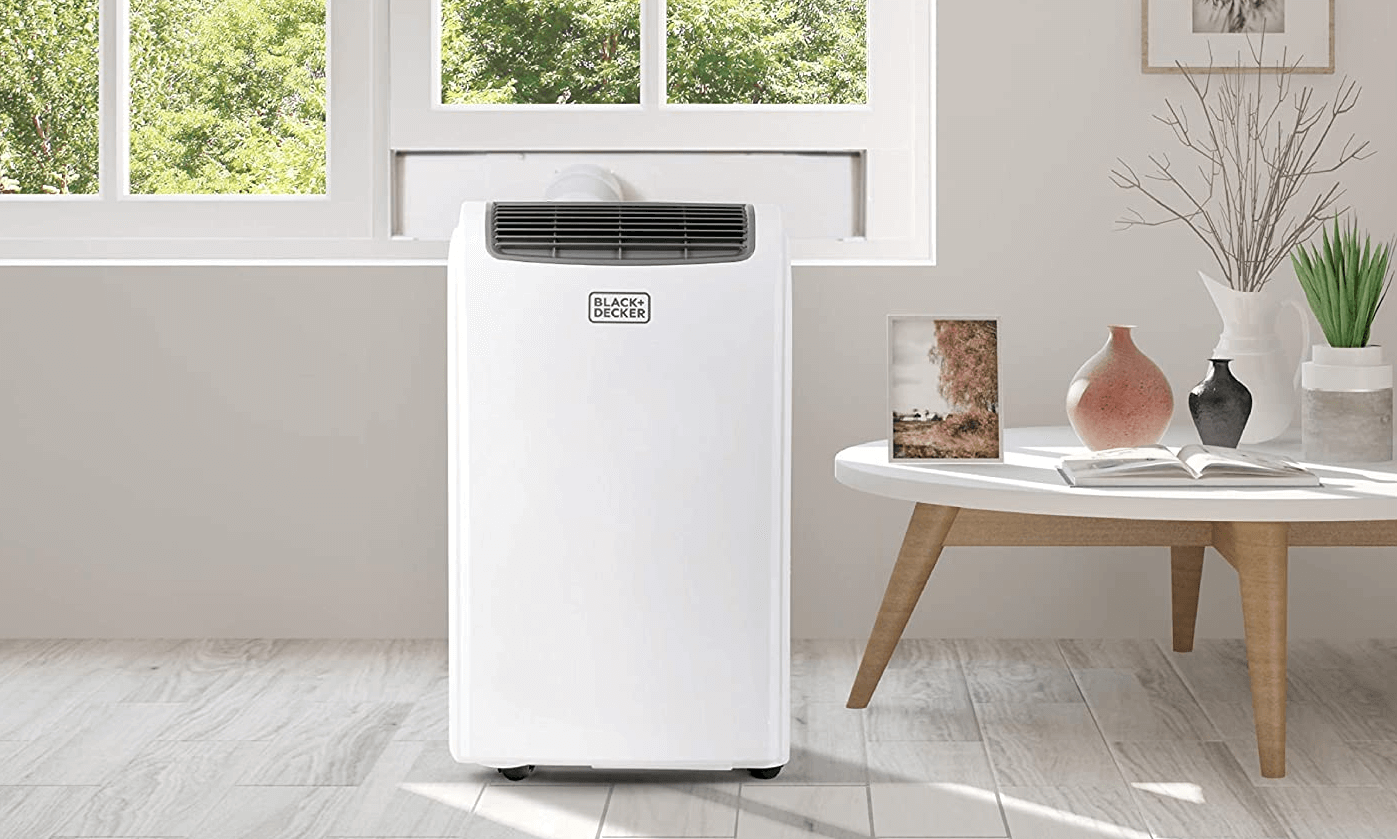
Portable Ac Unit For Room With No Window
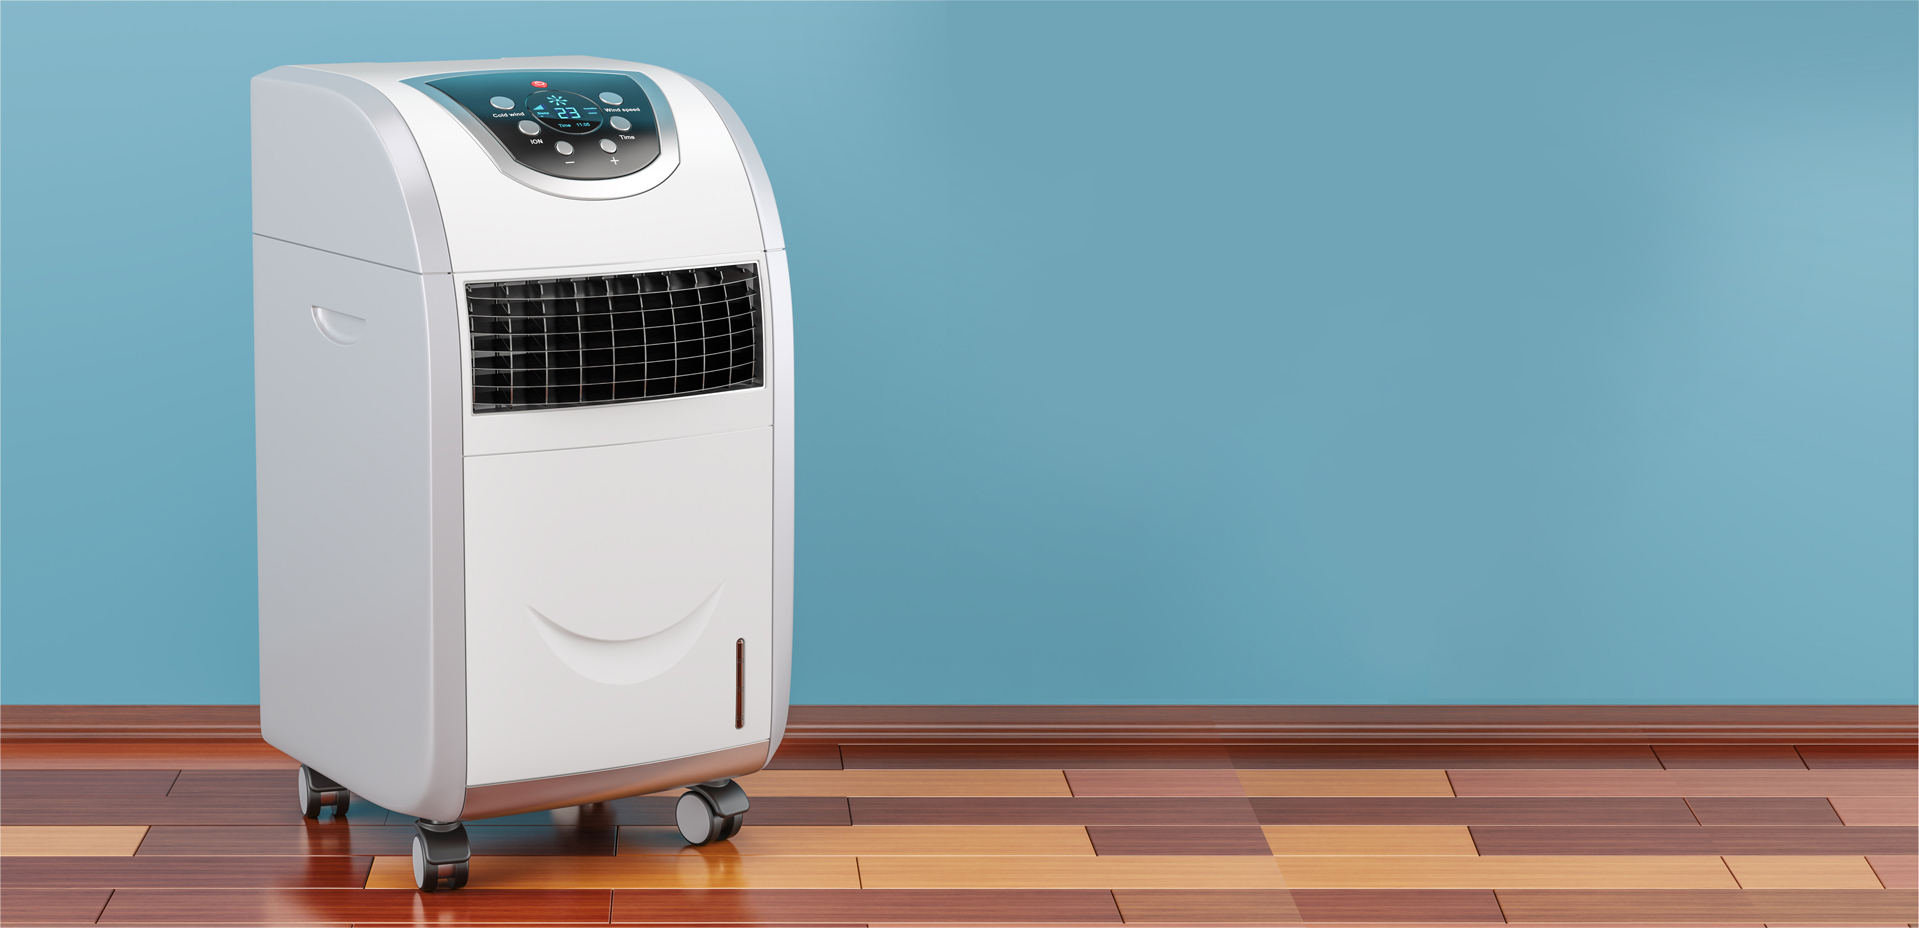
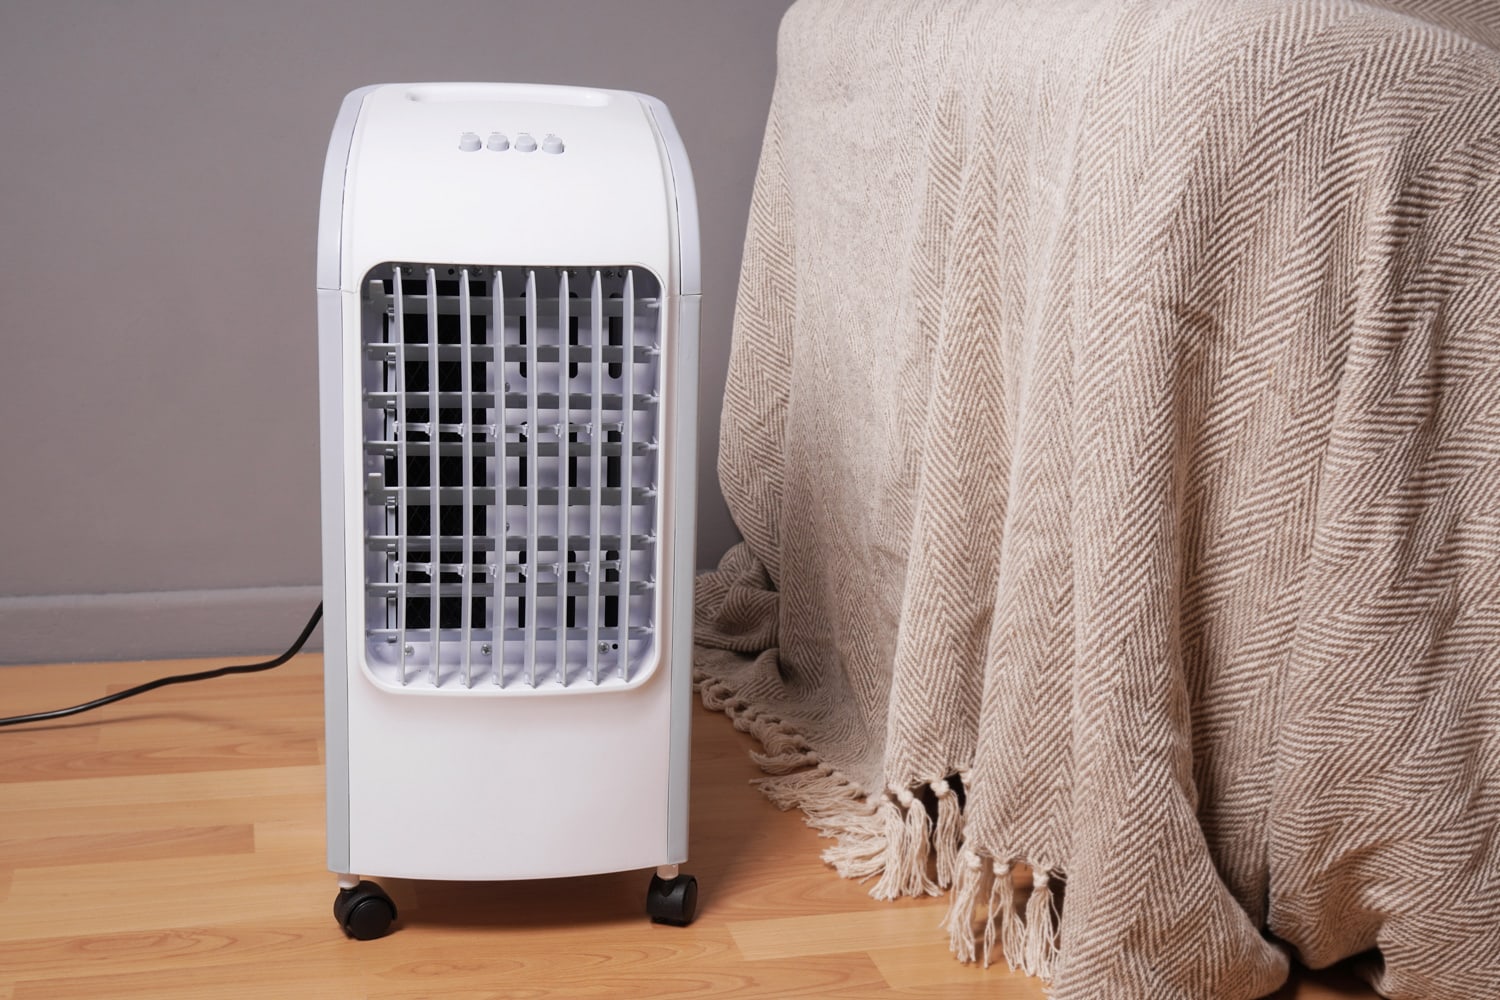
Many homeowners face a frustrating situation: wanting to cool a room with no window using a portable AC unit. While these units are marketed as versatile, their primary function – expelling hot air – requires a vent. Without a window, you're essentially blowing hot air back into the room, negating the cooling effect. This article aims to help you troubleshoot common issues arising from this situation and explore practical solutions.
Understanding the Problem: Why Your Windowless Room Isn't Cooling
The core issue lies in the heat exchange process. Portable AC units don't magically make air cold. They use refrigerant to absorb heat from the room air, then exhaust that heat outside. Without a proper exhaust, the hot air recirculates, making the unit inefficient and potentially increasing the room temperature.
Before diving into troubleshooting, let's clearly define the scenarios we're addressing:
- No Window at All: This is the most challenging, requiring alternative venting strategies.
- Poorly Sealed Venting: Even with a window vent, gaps and leaks can render the unit ineffective.
Step-by-Step Troubleshooting Guide
Step 1: Verify the Obvious - Power and Basic Functionality
Start with the basics. It sounds simple, but overlooking these can waste your time.
- Power Cord: Ensure the AC unit is plugged securely into a functioning outlet. Try a different outlet to rule out electrical issues.
- Power On: Confirm the unit turns on and the fan operates.
- Settings: Double-check that the unit is set to "Cool" and not just "Fan." Set the temperature to a noticeably lower setting than the current room temperature.
- Air Filter: A clogged air filter restricts airflow, reducing cooling efficiency. Clean or replace the filter according to the manufacturer's instructions. Most filters can be vacuumed or washed with mild soap and water. Allow the filter to dry completely before reinstalling.
DIY Fix: Clean or replace the air filter. Ensure proper power connection.
When to Call a Pro: If the unit doesn't power on at all, even after checking the power cord and outlet, it may have a more significant electrical problem requiring professional repair.
Step 2: Assess Existing Venting (Even if it's "Alternative")
Even if you don't have a window, you might be using an alternative venting method. Let's analyze its effectiveness.
- Alternative Vent Location: Are you venting into a drop ceiling, another room, or through a makeshift setup? Evaluate if this venting allows proper hot air removal. Venting into another small, enclosed space will simply heat that space.
- Vent Hose Integrity: Check the vent hose for kinks, bends, or damage. A constricted hose significantly restricts airflow. Replace the hose if it's damaged.
- Seal around the Vent: Ensure a tight seal around the vent opening, regardless of its location. Use weather stripping, duct tape, or foam to seal any gaps. The goal is to prevent hot air from leaking back into the room.
DIY Fix: Straighten the vent hose, replace a damaged hose, and improve the seal around the vent opening using weather stripping or duct tape. Consider relocating the vent if the current location is clearly ineffective.
When to Call a Pro: If you've improved the venting to the best of your ability and the unit still isn't cooling, the issue may lie within the AC unit itself, requiring a technician to diagnose and repair internal components.
Step 3: Evaluate Room Size and Unit BTU Rating
BTU (British Thermal Units) is a measure of the cooling capacity of an AC unit. A unit with insufficient BTU for the room size will struggle to cool effectively, regardless of venting.
- Room Size Calculation: Measure the length and width of the room in feet. Multiply these values to determine the square footage.
- BTU Chart: Use a BTU chart (easily found online) to determine the appropriate BTU rating for your room size. A general guideline is 20 BTU per square foot. For example, a 150 sq ft room might need 3000 BTU. Consider increasing the BTU rating if the room is heavily shaded, has high ceilings, or is located in a very hot climate.
- Unit BTU Rating: Check the AC unit's specifications (usually found on a label on the unit or in the owner's manual) to determine its BTU rating.
DIY Fix: If the AC unit's BTU rating is significantly lower than what's recommended for your room size, the only effective solution is to purchase a unit with a higher BTU rating. In the meantime, consider using fans to circulate the air and improve cooling.
When to Call a Pro: A professional cannot increase the BTU rating of your existing AC unit. This is a limitation of the unit's design. They can, however, help you choose the appropriate BTU rating for your specific needs if you're unsure.
Step 4: Address Heat Sources in the Room
Even with adequate venting and BTU, significant heat sources can overwhelm the AC unit's cooling capacity.
- Sunlight: Direct sunlight through windows (even small ones) can significantly heat a room. Use curtains, blinds, or reflective window film to block sunlight.
- Electronics: Computers, televisions, and other electronic devices generate heat. Minimize their use or relocate them to a cooler part of the house.
- Lighting: Incandescent light bulbs produce more heat than LED or fluorescent bulbs. Switch to cooler lighting options.
- Appliances: Avoid using heat-generating appliances like ovens, stoves, and clothes dryers during the hottest part of the day.
DIY Fix: Block sunlight, minimize electronics use, switch to cooler lighting, and avoid using heat-generating appliances during peak heat.
When to Call a Pro: A professional cannot eliminate heat sources in your room. This requires lifestyle changes or appliance upgrades on your part.
Step 5: Condensate Drainage (If Applicable)
Some portable AC units require manual draining of condensate (water that collects as the unit cools). If the condensate tank is full, the unit may shut down or operate inefficiently.
- Check the Condensate Tank: Locate the condensate tank (usually at the bottom of the unit). Check if it's full or nearing capacity.
- Drain the Tank: Carefully drain the tank according to the manufacturer's instructions. Some units have a drain plug; others require removing the entire tank.
- Continuous Drain Option: Some units offer a continuous drain option, allowing you to connect a hose to drain the condensate continuously into a sink or drain.
DIY Fix: Drain the condensate tank and consider using the continuous drain option if available.
When to Call a Pro: If the unit is constantly producing excessive condensate, or if the condensate drainage system is clogged or leaking, a professional may need to inspect the unit for internal problems.
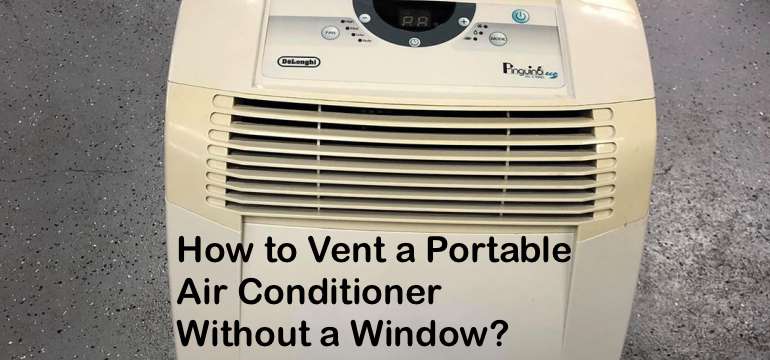
Step 6: Exploring Alternative Venting Options (for Windowless Rooms)
This is where things get tricky, as there's no ideal solution for venting a portable AC in a windowless room. These options involve compromises and may not be as effective as window venting.
- Venting into Another Room: This is the most common approach. Vent the AC into a larger, well-ventilated room (ideally one with a window or good airflow). This merely shifts the heat to another location. The success depends on the size and ventilation of the receiving room. Important: Make sure that the receiving room is not also someone else's primary living or sleeping area.
- Dryer Vent Adapter: If you have a clothes dryer vent in the room, you *might* be able to adapt it for the AC vent. *However*, this is not recommended due to potential safety hazards (backdrafting, lint buildup, and fire risk). Consult a professional HVAC technician before attempting this. Never vent into a gas dryer vent.
- Drop Ceiling Venting (Not Recommended): Venting into a drop ceiling is generally ineffective and can lead to moisture buildup and mold growth in the ceiling space. It's also unlikely to provide sufficient airflow.
DIY Fix: Experiment with venting into another room, ensuring good airflow in the receiving room. Seal the vent hose securely to prevent leaks.
When to Call a Pro: Before attempting to vent into a dryer vent, consult a qualified HVAC technician. They can assess the safety and feasibility of this option and advise on proper installation. Do not attempt this without professional guidance.
Advanced Troubleshooting (Requires Professional Intervention)
If you've exhausted all the DIY troubleshooting steps and your portable AC unit still isn't cooling effectively, the problem likely lies within the unit itself. These issues require professional diagnosis and repair:
- Refrigerant Leaks: Low refrigerant levels significantly reduce cooling capacity. Refrigerant leaks require specialized equipment and expertise to locate and repair.
- Compressor Problems: The compressor is the heart of the AC unit. If it's failing, the unit won't cool properly. Compressor repairs are complex and expensive.
- Electrical Problems: Internal electrical issues can prevent the unit from functioning correctly. Troubleshooting electrical problems requires specialized knowledge and tools.
- Faulty Thermostat or Sensors: If the thermostat or sensors are malfunctioning, the unit may not accurately detect the room temperature, leading to incorrect cooling.
Important Safety Note: Never attempt to repair refrigerant leaks or electrical problems yourself. These repairs require specialized training and equipment and can be dangerous.
Final Thoughts
Troubleshooting a poorly performing portable AC unit, especially in a windowless room, requires a methodical approach. Start with the simple steps and gradually work your way through the more complex possibilities. By following this guide, you can identify and resolve many common issues and improve the cooling efficiency of your unit. Remember to prioritize safety and consult a professional when dealing with refrigerant, electrical components, or dryer vent modifications. Good luck staying cool!