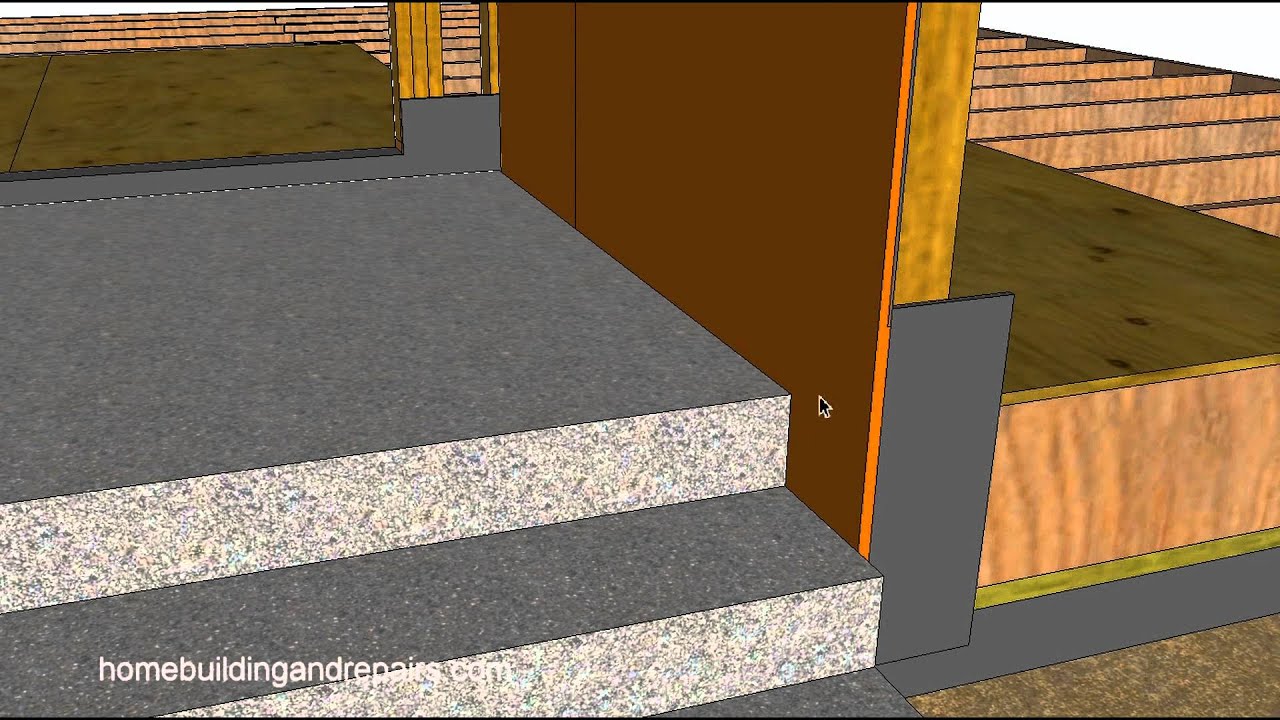
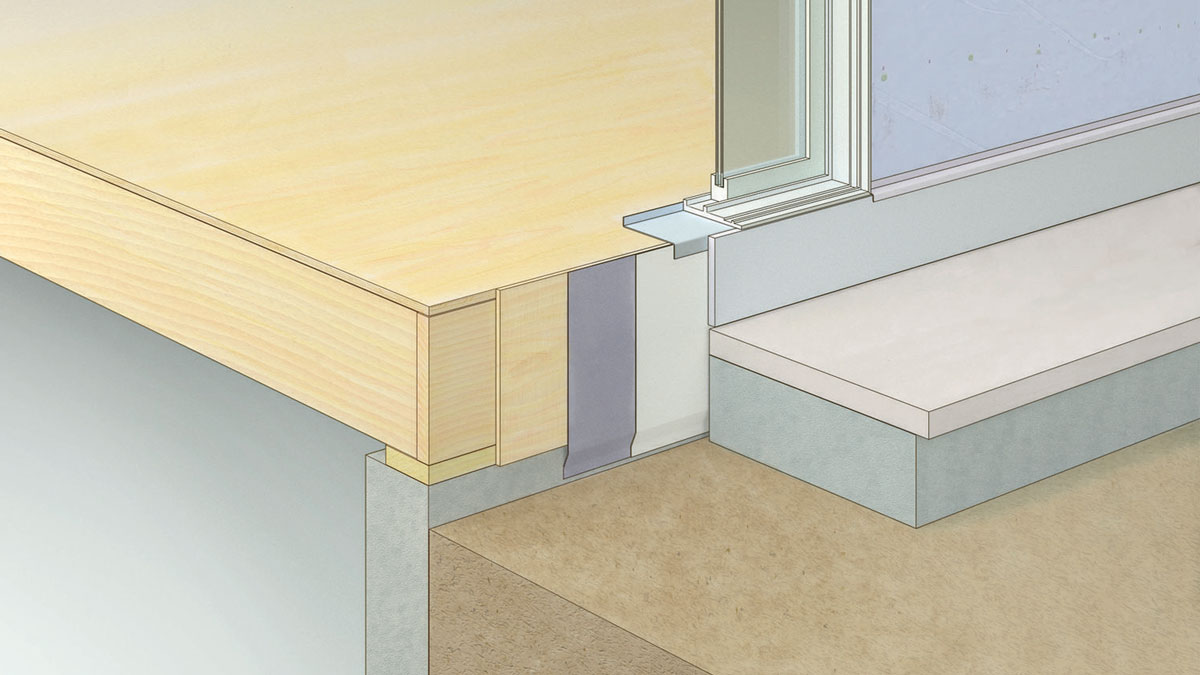
Pouring Concrete Against Wood Siding

Many homeowners face a frustrating issue: persistent drafts and temperature fluctuations near their foundations, especially where concrete patios, walkways, or steps have been poured directly against wood siding. This seemingly small contact point can lead to significant energy loss and potentially costly damage. Let's break down how to troubleshoot this issue and what steps you can take to address it.
Diagnosing the Problem: Concrete vs. Wood Siding Drafts
The core problem stems from the inherent differences in how concrete and wood interact with moisture and temperature. Concrete is porous and can wick moisture from the ground, while wood siding, particularly if not properly sealed, can absorb moisture and rot. Direct contact creates a pathway for moisture intrusion, drafts, and ultimately, heat loss in the winter and heat gain in the summer. Let's get to diagnosing!
Step 1: Initial Visual Inspection (No Tools Required)
Start with a thorough visual inspection of the area where the concrete meets the wood siding. Look for the following:
- Gaps and Cracks: Carefully examine the joint between the concrete and the siding. Are there visible gaps or cracks where air can infiltrate? Even hairline cracks can contribute to drafts.
- Wood Rot: Inspect the siding for signs of rot, decay, or discoloration. Soft, spongy wood is a clear indication of moisture damage. Pay close attention to the bottom edges of the siding where it meets the concrete.
- Efflorescence: This is a white, powdery substance that can appear on the concrete surface. It's caused by mineral salts being drawn to the surface by moisture and can indicate water wicking through the concrete and potentially affecting the siding.
- Vegetation: Are there weeds, grass, or other vegetation growing directly against the siding or in the joint? These can trap moisture and accelerate decay.
- Standing Water: After rain, does water tend to pool at the base of the siding where it meets the concrete? This is a major red flag.
Make notes of your observations. The more detailed you are, the better equipped you'll be to address the problem.
Step 2: The Draft Test (No Tools Required)
On a cold or windy day, perform a simple draft test. You can use a few different methods:
- The Hand Test: Simply run your hand along the joint between the concrete and the siding. Can you feel a noticeable draft?
- The Incense Test: Light an incense stick and hold it near the joint. Observe the smoke. If the smoke wavers or is pulled towards the joint, it indicates a draft.
- The Candle Test: (Use with extreme caution and only in a safe, controlled environment away from flammable materials). Light a candle and hold it near the joint. Similar to the incense test, a flickering flame indicates a draft. Never leave a lit candle unattended.
Repeat this test at various points along the joint to identify the areas where drafts are most prevalent.
Step 3: Moisture Meter Assessment (Requires Basic Equipment)
If you suspect moisture intrusion, a moisture meter is an invaluable tool. These are relatively inexpensive and can be purchased at most hardware stores. Follow these steps:
- Calibrate the Meter: Ensure your moisture meter is properly calibrated according to the manufacturer's instructions.
- Take Readings: Place the probes of the moisture meter directly against the wood siding near the point of contact with the concrete. Take multiple readings at different locations.
- Compare Readings: Compare the readings to the recommended moisture content levels for wood siding in your region. Generally, a reading above 20% indicates excessive moisture and potential rot.
- Document Readings: Record your readings and the locations where they were taken. This will help you track the severity of the problem and monitor the effectiveness of any repairs.
Important Note: Different types of moisture meters exist (pin-type and pinless). Choose the type that is appropriate for your siding material. Pin-type meters require inserting small pins into the wood, which can leave tiny holes. Pinless meters use electromagnetic waves to measure moisture content without penetrating the surface.
Step 4: Inspecting the Concrete (No Tools Required Initially, Hammer & Chisel if Necessary)
Examine the concrete slab itself. Look for:
- Cracks: Are there significant cracks in the concrete? Cracks can allow water to penetrate and undermine the siding.
- Settlement: Has the concrete slab settled or shifted over time? This can create gaps between the concrete and the siding.
- Spalling: Is the surface of the concrete flaking or crumbling? This indicates water damage and freeze-thaw cycles.
If you suspect that the concrete is contributing to the problem, you might need to carefully remove a small section of damaged concrete to inspect the underlying soil. This would involve using a hammer and chisel. Wear safety glasses and gloves when using these tools. If you're uncomfortable with this step, it's best to consult a professional.
DIY Actions: Addressing the Problem
Based on your diagnosis, here are some DIY actions you can take to address the issue.
Action 1: Cleaning and Removing Debris (No Tools Required)
This is the simplest and most immediate step you can take.
- Clear Vegetation: Remove any weeds, grass, or other vegetation growing against the siding or in the joint.
- Remove Debris: Clean away any dirt, leaves, or other debris that has accumulated in the joint.
- Wash the Area: Use a mild detergent and water to wash the siding and the concrete. Rinse thoroughly.
This simple cleaning can improve airflow and reduce moisture retention.
Action 2: Caulking and Sealing (Requires Basic Equipment)
Caulking and sealing are essential for preventing drafts and moisture intrusion.
- Choose the Right Caulk: Use a high-quality, exterior-grade caulk that is designed for use with both concrete and wood. Silicone or polyurethane caulk are good choices.
- Prepare the Surface: Ensure the surface is clean, dry, and free of debris. Remove any old caulk with a utility knife or caulk removal tool.
- Apply the Caulk: Apply a bead of caulk along the joint between the concrete and the siding. Use a caulk gun to ensure a consistent and even application.
- Smooth the Caulk: Use a wet finger or a caulk smoothing tool to create a smooth, professional-looking finish.
Pay close attention to any gaps or cracks that you identified during your initial inspection.
Action 3: Improving Drainage (Requires Basic Equipment, Potentially Shovel)
Poor drainage can exacerbate the problem. Here are some ways to improve drainage:
- Ensure Proper Grading: The ground should slope away from the foundation to prevent water from pooling. If the grading is incorrect, you may need to add soil to create a positive slope. A shovel and some basic landscaping skills are required.
- Clean Gutters and Downspouts: Clogged gutters and downspouts can cause water to overflow and run down the siding. Clean them regularly.
- Install a French Drain: (This is a more advanced project). A French drain is a trench filled with gravel and a perforated pipe that helps to divert water away from the foundation. This may require professional assistance.
Action 4: Sealing the Concrete (Requires Basic Equipment)
Sealing the concrete can help to prevent moisture from wicking through the concrete and affecting the siding.
- Choose the Right Sealer: Use a concrete sealer that is designed for exterior use and is compatible with your type of concrete.
- Prepare the Surface: Ensure the surface is clean and dry. Remove any dirt, debris, or efflorescence.
- Apply the Sealer: Apply the sealer according to the manufacturer's instructions. You may need to apply multiple coats.
Important Note: Some concrete sealers can change the appearance of the concrete. Test the sealer in an inconspicuous area before applying it to the entire surface.
Action 5: Replace Damaged Siding (Requires Advanced Skills and Equipment)
If you find significant wood rot, the affected siding boards will need to be replaced. This is a more complex project that requires some carpentry skills and tools.
- Remove the Damaged Siding: Carefully remove the damaged siding boards. Use a pry bar or a flat bar to gently pry the boards away from the wall.
- Inspect the Underlying Framing: Inspect the underlying framing for any signs of rot or damage. Repair or replace any damaged framing members.
- Install New Siding: Install new siding boards that match the existing siding. Use nails or screws to secure the boards to the framing.
- Caulk and Seal: Caulk and seal the joints between the new siding and the existing siding.
Important Note: Matching the existing siding can be challenging. You may need to consult with a siding supplier to find a close match.
When to Call a Professional
While many of these troubleshooting steps and DIY actions can be performed by homeowners, there are situations where it's best to call a professional.
- Extensive Rot: If you find extensive rot in the siding or the underlying framing, it's best to call a carpenter or a siding contractor.
- Foundation Issues: If you suspect that there are problems with the foundation itself, such as cracks or settlement, it's best to call a foundation specialist.
- Drainage Problems: If you have significant drainage problems that you can't resolve on your own, it's best to call a landscaping contractor or a drainage specialist.
- Asbestos Siding: If your home has asbestos siding, do not attempt to remove or repair it yourself. Asbestos is a hazardous material, and it must be handled by a trained professional.
- You're Uncomfortable: If you're uncomfortable performing any of these DIY actions, it's always best to err on the side of caution and call a professional.
Remember: Safety should always be your top priority. If you're not sure how to do something safely, don't do it.
Preventive Measures
Once you've addressed the immediate problem, take steps to prevent it from recurring.
- Regular Inspections: Inspect the area where the concrete meets the siding regularly, especially after heavy rain or snow.
- Maintain Gutters and Downspouts: Keep your gutters and downspouts clean and free of debris.
- Proper Grading: Ensure that the ground slopes away from the foundation.
- Trim Vegetation: Keep vegetation trimmed away from the siding.
- Reapply Caulk and Sealer: Reapply caulk and sealer as needed.
By taking these preventive measures, you can help to protect your home from moisture damage and drafts.
By following these steps, you can effectively troubleshoot drafts where concrete meets wood siding, implement practical DIY solutions, and understand when professional help is necessary. Addressing these issues promptly can save you money on energy bills and prevent costly damage in the long run. Good luck!