Pressure Relief Valve For Water Heater

Many homeowners eventually encounter a frustrating issue with their water heater: a continuously leaking or dripping Pressure Relief Valve (PRV), also sometimes called a Temperature and Pressure Relief Valve (TPR valve). This isn't just annoying; it can waste water, damage your home, and indicate a potentially serious problem within your water heater. But before you panic, let’s walk through a systematic troubleshooting process to determine the cause and see if you can resolve it yourself.
Understanding Your Water Heater's Pressure Relief Valve
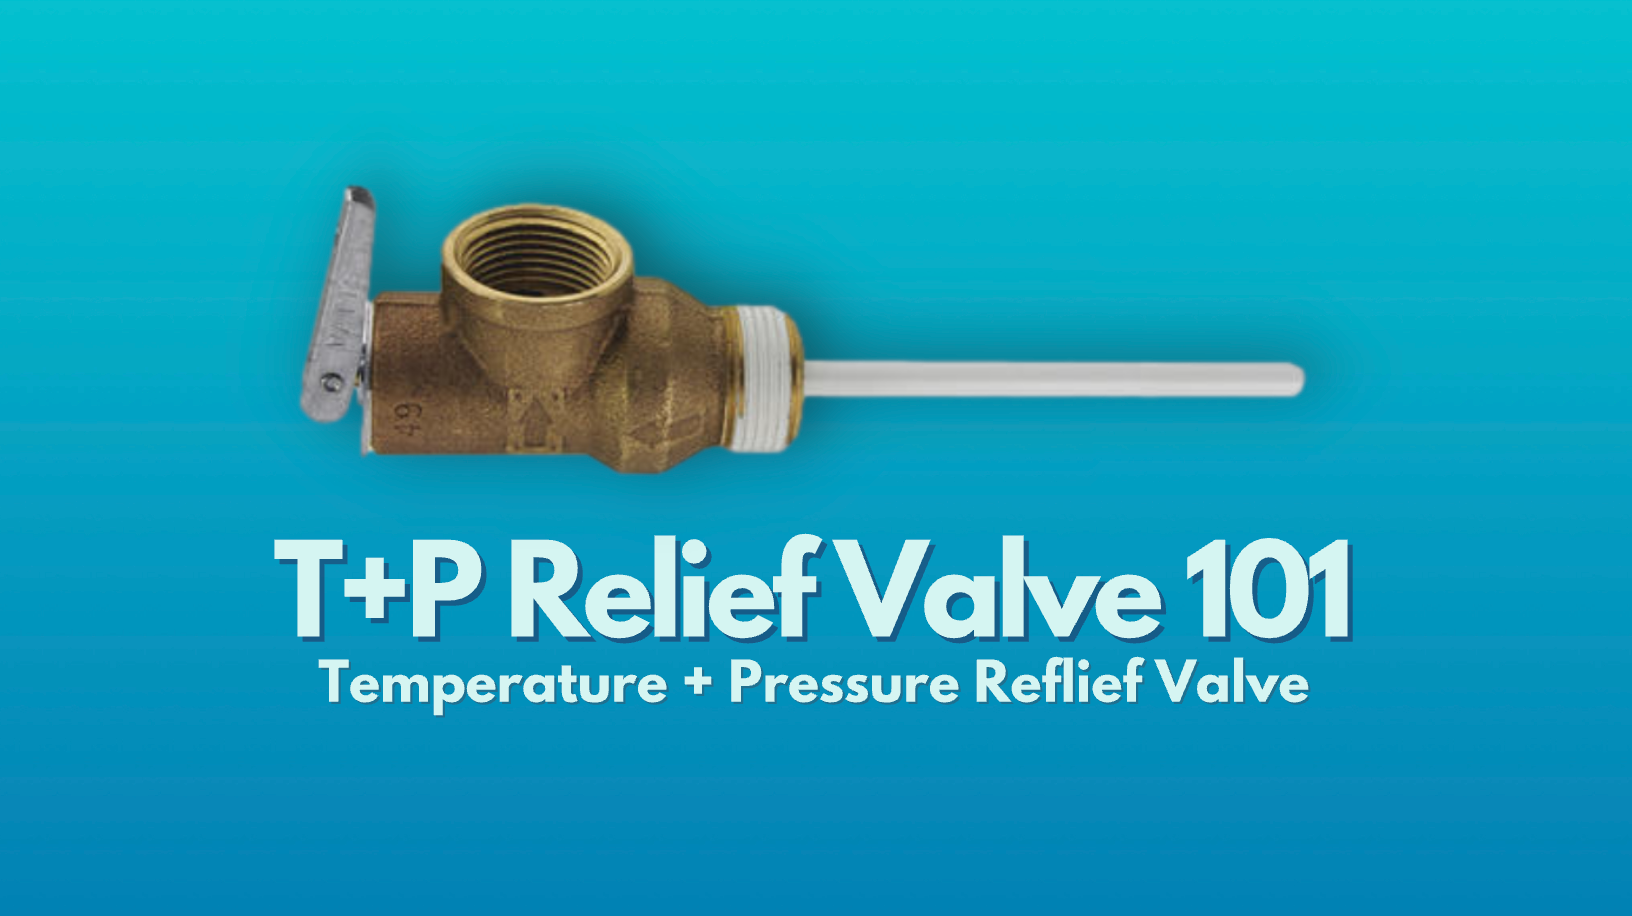
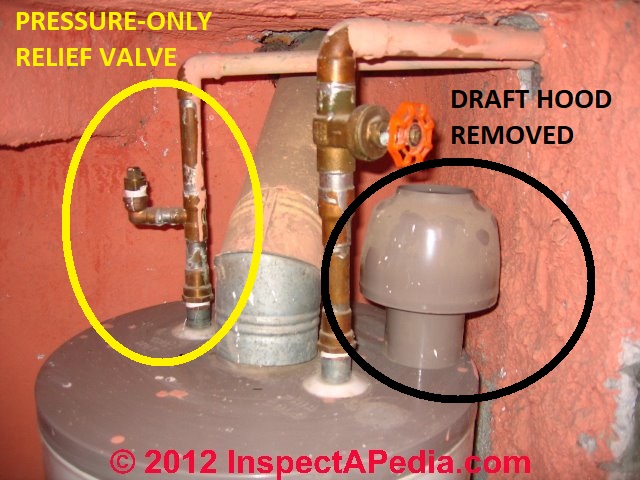
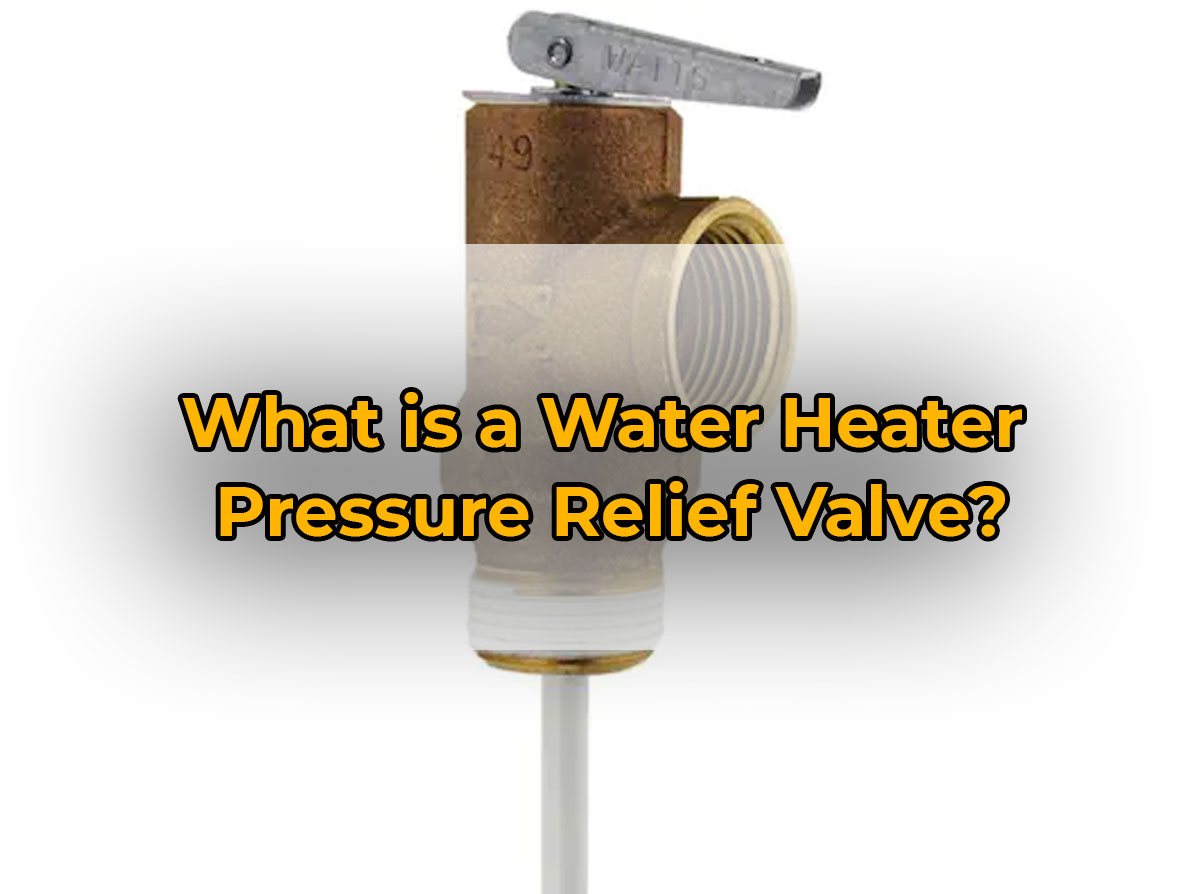
The PRV is a critical safety device designed to protect your water heater from excessive pressure or temperature buildup. It's usually located near the top of the tank, often with a discharge pipe extending downwards to within a few inches of the floor. If the pressure or temperature inside the tank exceeds safe limits, the valve opens, releasing water to relieve the pressure and prevent a potential explosion. Think of it as a safety valve ensuring the water heater doesn't become a pressurized bomb.
Common Causes of a Leaking PRV
There are several reasons why your PRV might be leaking:
- High Water Pressure: Excessive water pressure coming from your municipal water supply can cause the PRV to drip.
- High Water Heater Temperature: If the thermostat is set too high, the water can overheat, triggering the valve.
- Sediment Buildup: Sediment in the tank can interfere with the valve's sealing mechanism.
- Faulty Thermostat: A malfunctioning thermostat can cause the water to overheat even if it's set at a reasonable temperature.
- Mineral Deposits: Mineral deposits around the valve seat can prevent a proper seal.
- Expansion Tank Issues: If you have a thermal expansion tank, a failure can cause pressure fluctuations.
- Aged or Defective Valve: Like any mechanical device, PRVs can wear out and fail over time.
Troubleshooting: A Step-by-Step Guide
Now, let's get down to business. Follow these steps in order to diagnose and potentially fix the problem:
Step 1: Safety First!
Before you begin, turn off the power to your water heater at the circuit breaker. For gas water heaters, also turn the gas control valve to the "Pilot" position or completely off. This is crucial for your safety. Also, be careful handling hot water.
Step 2: Check Your Water Pressure
High water pressure is a common culprit. You'll need a water pressure gauge, which you can purchase at any hardware store. Screw the gauge onto an outside faucet or a laundry machine connection. Turn on the water fully and read the gauge.
- Acceptable Range: The ideal water pressure is between 40 and 60 psi (pounds per square inch).
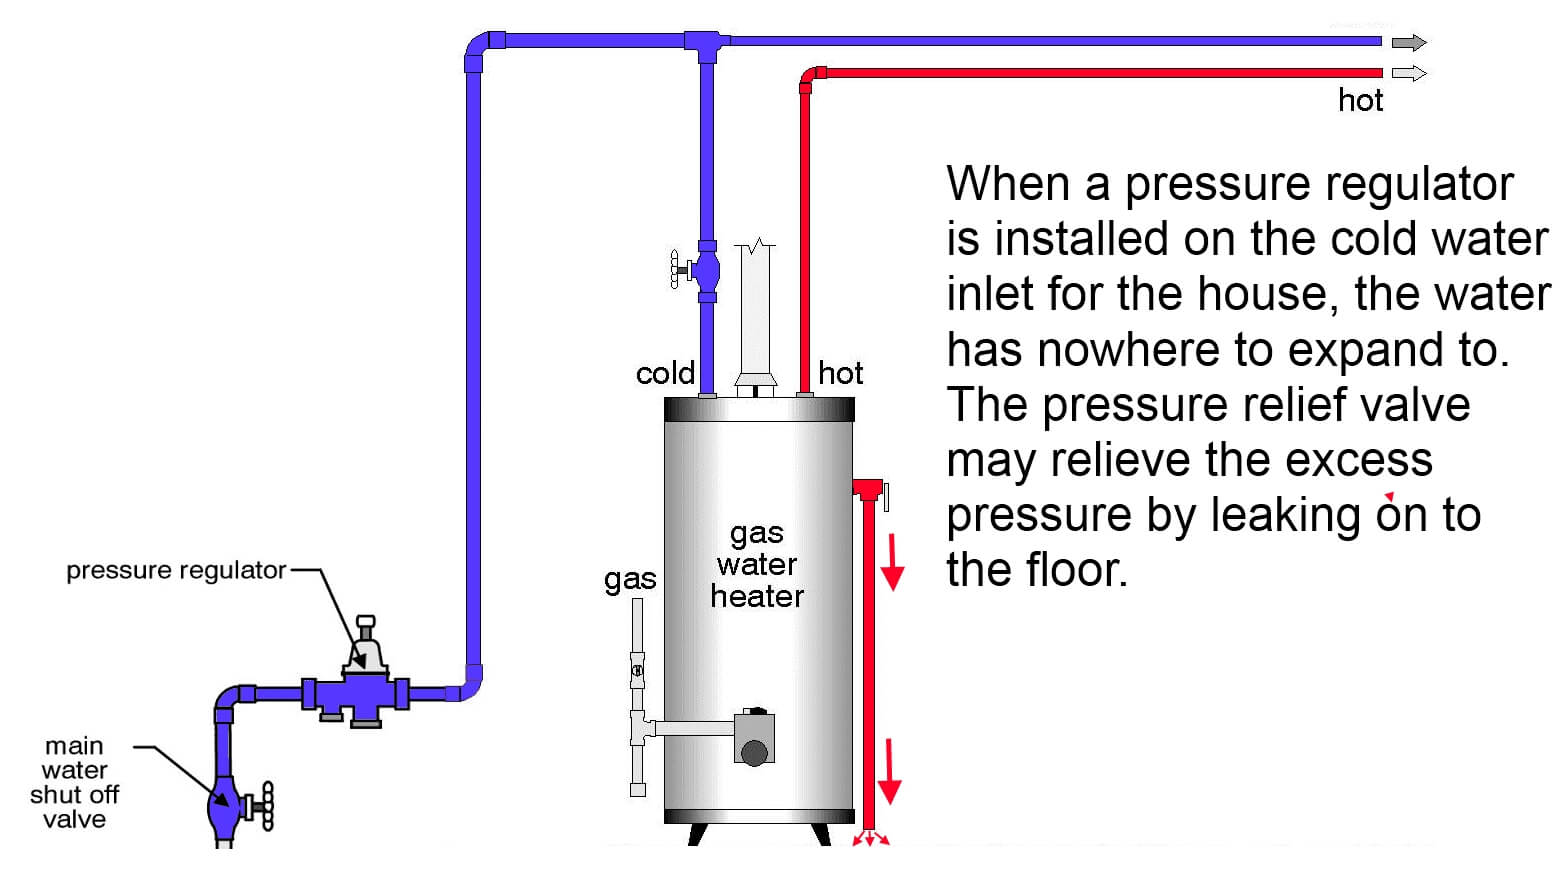
- Too High: If the pressure is consistently above 80 psi, you likely have excessive water pressure. A pressure regulator might be required.
DIY Fix (If Pressure is Too High): Sometimes, debris can clog the pressure regulator, causing it to malfunction. Locate your pressure regulator (usually near your main water shut-off valve) and try flushing it. Most regulators have a screw or bolt that you can loosen to allow water to flush through. Retighten it and recheck your water pressure. If the pressure remains high, a plumber needs to inspect or replace the regulator.
Step 3: Inspect the Water Heater Thermostat
Locate the thermostat access panel(s) on your water heater. Remove the panel(s) and insulation carefully. (Remember you have turned off the power to the water heater). Use a screwdriver to adjust the thermostat to a lower setting, such as 120°F (49°C). Wait a few hours and see if the leaking stops. Mark the original settings before you move the dial.
Warning: Do not touch any electrical components while the power is on. If you are unsure about working with electrical components, call a qualified electrician.
Step 4: Manually Test the Pressure Relief Valve
Exercise extreme caution as hot water will be expelled. Place a bucket under the PRV discharge pipe. Carefully lift the test lever on the PRV. Allow water to flow for a few seconds, then release the lever. The valve should snap closed completely, and the water flow should stop.
- If the valve continues to drip after releasing the lever: This suggests the valve seat is damaged or there's sediment interfering with the seal. Try repeating the test a few more times. Sometimes, this can flush out any debris. If it still drips, the valve likely needs replacement.
- If the valve doesn't release any water when you lift the lever: The valve might be completely blocked and needs replacement. A non-functioning PRV is a serious safety hazard. Call a plumber immediately.
Step 5: Check for Sediment Buildup by Draining the Tank
Sediment buildup is a common cause of water heater problems, including a leaky PRV. Draining the tank can help remove sediment and improve its performance. Follow these steps:
- Turn off the power and gas (as outlined in Step 1).
- Attach a garden hose to the drain valve at the bottom of the water heater.
- Run the hose to a safe drainage location (a floor drain, outside, etc.).
- Open a hot water faucet somewhere in your house to allow air to enter the tank and prevent a vacuum.
- Open the drain valve. Allow the tank to drain completely. Be prepared for murky water filled with sediment.
- Flush the tank: Once the tank is empty, briefly turn the cold water supply back on to flush out any remaining sediment. Repeat this process several times until the water runs clear.
- Close the drain valve, disconnect the hose, and slowly refill the tank by turning the cold water supply back on.
- Once the tank is full, close the hot water faucet you opened earlier.
- Turn the power and gas back on.
Important Note: Refilling the tank too quickly can stir up remaining sediment. Fill it slowly to minimize this.
Step 6: Inspect the Thermal Expansion Tank (If Applicable)
Many modern homes, especially those with check valves on the main water line, have a thermal expansion tank installed near the water heater. This tank absorbs the increased water volume caused by heating, preventing pressure buildup.
Testing the Expansion Tank:
- Locate the expansion tank. It's usually a small, sealed tank connected to the cold water line near the water heater.
- Tap on the top and bottom of the tank. The top should sound hollow, while the bottom should sound solid (because it's filled with water).
- If the entire tank sounds solid: The bladder inside the tank may have failed and filled with water. This means the tank is no longer functioning correctly and needs replacement.
- Check the air pressure: Locate the Schrader valve (like a tire valve) on the top of the tank. Use a tire pressure gauge to check the pressure. It should match the incoming water pressure (usually around 40-60 psi). If the pressure is low, you can add air with a bicycle pump or air compressor. If water comes out of the valve when you press it, the bladder has failed, and the tank needs to be replaced.
Step 7: Check the Discharge Pipe
Ensure the discharge pipe is properly installed. It must terminate within 6 inches of the floor, without any threads on the end. If the end of the discharge pipe is threaded, it could allow someone to cap the line, creating a safety hazard. Also, the pipe should be made of the appropriate material (copper or CPVC).
When to Call a Professional
While these DIY steps can resolve many PRV issues, there are situations where you absolutely need to call a qualified plumber:
- If the water pressure is consistently high even after attempting to flush the pressure regulator. This may indicate a more serious problem with your municipal water supply or the regulator itself.
- If the PRV continues to leak after trying all the DIY fixes described above. This likely indicates a faulty valve that needs replacement.
- If the PRV doesn't release any water when you manually test it. This means the valve is blocked and could fail to protect your water heater from overpressure. This is a critical safety issue.
- If you are uncomfortable working with plumbing or electrical components. Safety should always be your top priority.
- If you suspect a problem with the water heater's thermostat or heating element (e.g., the water is not heating properly or is overheating). These repairs often require specialized knowledge and tools.
- If the thermal expansion tank has failed. While you can technically replace this yourself, it's generally recommended to have a professional handle it to ensure proper installation and compliance with local codes.
- If you are unsure about any step in the troubleshooting process. It's always better to err on the side of caution and call a professional.
- If you see any signs of corrosion or damage to the water heater itself. This could indicate a more serious problem that requires immediate attention.
Replacing the Pressure Relief Valve (Proceed with Caution!)
Replacing the PRV is a more involved DIY project, and you should only attempt it if you're comfortable with plumbing repairs. If you're not, call a plumber.
Here's a general overview of the process (but remember, safety first!):
- Turn off the power and gas to the water heater.
- Turn off the cold water supply to the water heater.
- Drain the water heater completely (as described in Step 5).
- Use a pipe wrench to carefully unscrew the old PRV. Be prepared for some residual water to spill.
- Clean the threads on the water heater tank outlet.
- Apply Teflon tape to the threads of the new PRV.
- Carefully screw in the new PRV by hand until it's snug, then tighten it with a pipe wrench. Don't overtighten, as this can damage the threads. The discharge outlet of the PRV should be facing downwards.
- Refill the water heater slowly.
- Turn the power and gas back on.
- Check for leaks around the new PRV. If you see any leaks, tighten the connection slightly.
Important Considerations:
- Use the correct replacement PRV. Match the pressure and temperature ratings of the old valve.
- Ensure proper thread sealing with Teflon tape.
- Properly support the water heater while removing and installing the valve to prevent stress on the plumbing connections.
Prevention is Key
To minimize the chances of future PRV problems, consider these preventative measures:
- Regularly test the PRV (at least once a year) to ensure it's functioning correctly.
- Flush the water heater tank annually to remove sediment buildup.
- Have your water pressure checked periodically.
- Consider installing a water softener if you have hard water to reduce mineral buildup.
- Consider a whole house water filter to reduce sediment entering your water heater.
By understanding how your water heater's pressure relief valve works and following these troubleshooting steps, you can often resolve minor issues yourself, saving time and money. However, always prioritize safety and don't hesitate to call a qualified plumber when needed.