Price Of A Central Air Conditioning Unit

One of the most frustrating experiences for any homeowner is when their central air conditioning system starts blowing warm air – or no air at all – on a sweltering summer day. Before you resign yourself to a costly replacement or expensive repair bill, let’s explore some common culprits and troubleshooting steps you can take. This guide will help you diagnose the issue, perform simple fixes, and determine when it's time to call in the professionals.
Diagnosing the Warm Air Problem
Before diving into potential solutions, it’s crucial to accurately pinpoint the source of the problem. Don't just assume the unit is dead. A systematic approach can save you time and money. Here’s a step-by-step diagnostic process:
Step 1: The Obvious Checks (No Tools Required)
Start with the basics – often, the issue is a simple oversight.
- Check the Thermostat: Is it set to "Cool"? Is the temperature set lower than the current room temperature? Ensure it's not in "Fan Only" mode. This sounds simple, but it's a common mistake!
- Inspect the Air Filter: A dirty air filter is the #1 cause of reduced airflow and cooling inefficiency. A clogged filter restricts airflow, forcing your AC unit to work harder and potentially overheat. A visibly dirty filter should be replaced immediately.
- Examine the Circuit Breaker: Locate your electrical panel and check the breaker for your AC unit. Look for a tripped breaker (it will be in the "off" or middle position). If tripped, reset it by switching it fully off and then back on. If it trips again immediately, do not keep resetting it – this indicates a more serious electrical problem requiring professional attention.
- Assess Airflow from Vents: Walk through your home and check the airflow coming from each vent. Is the airflow weak in certain rooms, or is it weak everywhere? Weak airflow can indicate ductwork issues or a blockage.
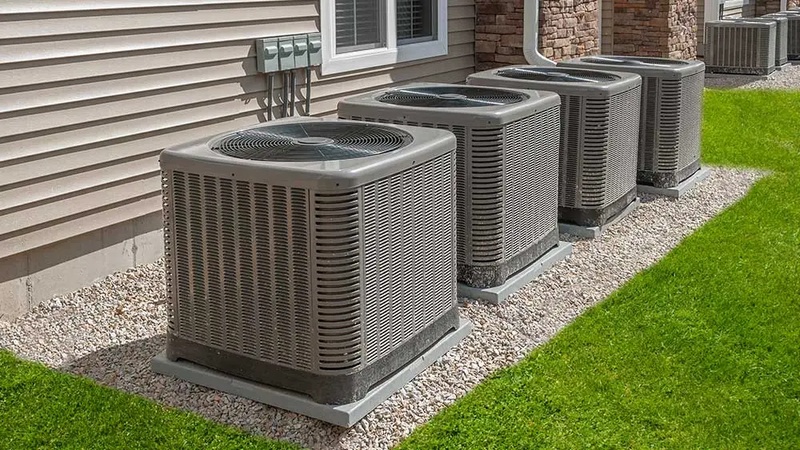
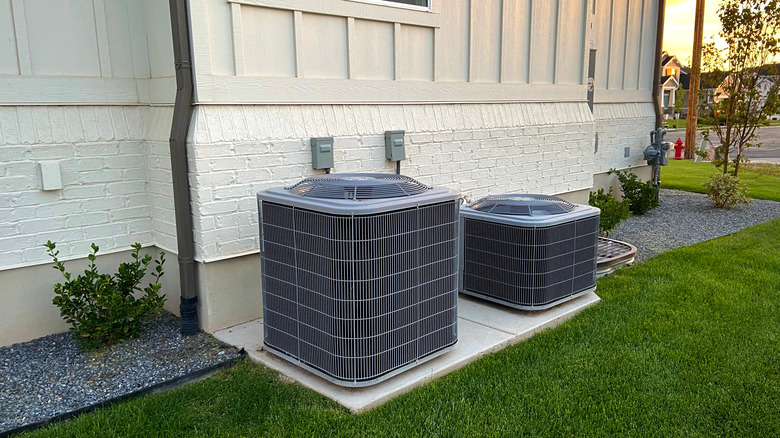
Step 2: Inspecting the Outdoor Unit (Compressor/Condenser)
The outdoor unit plays a critical role in cooling your home. Here's what to look for:
- Visual Inspection: Is the unit physically damaged? Are there bent fins, debris buildup, or signs of leaks?
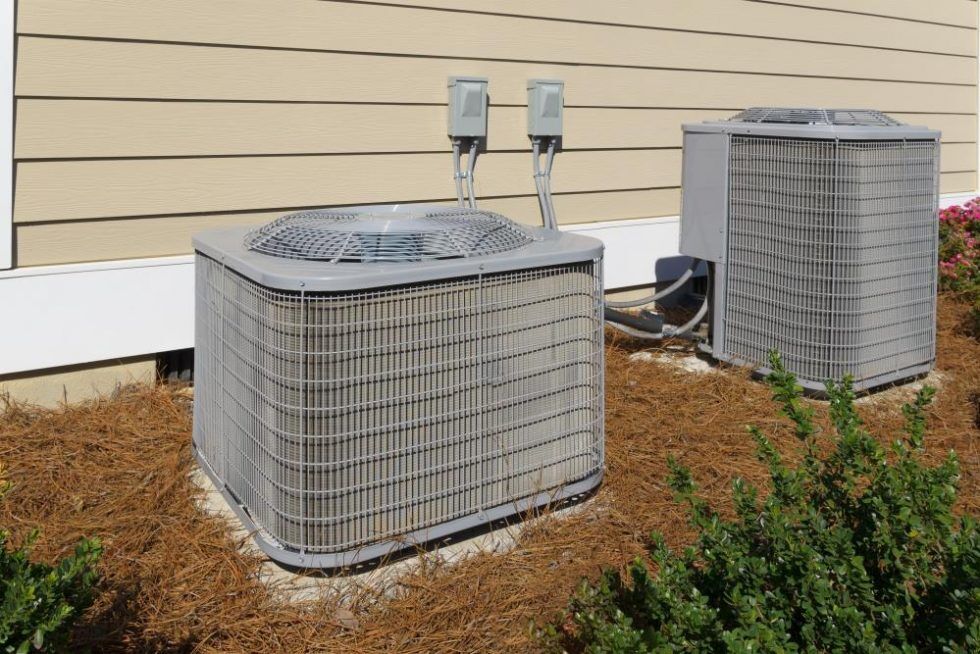
- Obstructions: Is the unit surrounded by bushes, weeds, or other obstructions? There should be at least 2-3 feet of clear space around the unit to allow for proper airflow. Blocked airflow can cause the unit to overheat and fail.
- Listen for Unusual Noises: When the unit is running, listen carefully for any unusual noises such as grinding, rattling, or hissing. These sounds can indicate mechanical problems.
- Feel the Airflow: When the unit is running, feel the air being discharged from the top of the unit. It should be warm. If it’s not, this is another sign there may be a problem with the refrigerant or compressor.
Step 3: Checking the Indoor Unit (Evaporator Coil)
The indoor unit, typically located within your furnace or air handler, contains the evaporator coil. This coil cools the air before it’s circulated throughout your home.
- Access and Visual Check: Locate the access panel for your evaporator coil. With the system OFF, carefully remove the panel (you may need a screwdriver). Inspect the coil for excessive dirt, dust, or ice buildup. A dirty or frozen coil can severely restrict airflow and prevent proper cooling.
- Condensate Drain Line: Check the condensate drain line (a PVC pipe leading away from the indoor unit). Ensure it’s not clogged. A clogged drain line can cause water to back up and potentially damage your system or your home.
DIY Actions: Simple Fixes You Can Try
After completing the diagnostic steps, you might identify a problem you can fix yourself. Here are some simple DIY solutions:
- Replace the Air Filter: This is the easiest and most frequently needed maintenance task. Replace the filter with a new one of the correct size and type. Aim to do this every 1-3 months, depending on your environment and the filter type.
- Clear Obstructions: Remove any bushes, weeds, or debris obstructing the outdoor unit. Ensure proper airflow around the unit.
- Clean the Outdoor Unit Fins: Gently clean the outdoor unit fins with a fin comb or a soft brush. Be careful not to bend or damage the fins. You can also use a garden hose with a gentle spray nozzle to rinse away dirt and debris. Turn the power off to the unit at the breaker before cleaning!
- Thaw a Frozen Evaporator Coil: If you find ice buildup on the evaporator coil, the first step is to turn off the AC unit and set the thermostat to "Fan Only." This will allow the fan to circulate air over the coil and help it thaw. You can also use a hairdryer on a low setting to gently melt the ice. Never use sharp objects to chip away at the ice, as you could damage the coil. Once the ice is melted, identify the underlying cause of the freezing (usually a dirty air filter or low refrigerant).
- Clear a Clogged Condensate Drain Line: Locate the condensate drain line and try to clear any clogs. You can use a wet/dry vacuum to suck out any debris from the drain line opening. Alternatively, you can try pouring a cup of diluted bleach or vinegar into the drain line to dissolve any buildup.
Tools You Might Need (Basic Equipment)
While many of the initial checks don't require tools, some DIY tasks might benefit from a few basic items:
- Screwdrivers: For removing access panels.
- Fin Comb: For straightening bent fins on the outdoor unit.
- Wet/Dry Vacuum: For clearing clogged condensate drain lines.
- Air Filter: Always have a spare on hand!
- Multimeter (Optional): For testing voltage and continuity (use with extreme caution and only if you are comfortable working with electricity). Improper use can be dangerous.
When to Call a Professional HVAC Technician
While some AC problems can be resolved with simple DIY fixes, certain issues require the expertise of a qualified HVAC technician. Attempting to repair complex problems yourself can be dangerous and could potentially void your warranty. Here are some situations where professional help is essential:
- Refrigerant Leaks: Refrigerant is a controlled substance, and handling it requires specialized equipment and training. If you suspect a refrigerant leak (hissing sound, oily residue), do not attempt to repair it yourself.
- Compressor Problems: The compressor is the heart of the AC unit, and repairs are complex and require specialized knowledge. Any unusual noises coming from the compressor warrant a professional inspection.
- Electrical Issues: If you encounter any electrical problems, such as a tripped breaker that repeatedly trips, do not attempt to fix it yourself. Electrical repairs should always be performed by a qualified electrician or HVAC technician.
- Frozen Evaporator Coil (Recurring): If your evaporator coil freezes repeatedly, even after thawing and replacing the air filter, this indicates an underlying problem that needs to be diagnosed and repaired by a professional. This could be low refrigerant, a malfunctioning metering device, or other issues.
- Ductwork Issues: Problems with your ductwork, such as leaks or collapses, can significantly reduce cooling efficiency and require professional inspection and repair.
- Unit Age: If your AC unit is over 10-15 years old and requires frequent repairs, it might be more cost-effective to replace it with a new, energy-efficient model. A professional HVAC technician can assess your system and provide recommendations for replacement.
- You're Uncomfortable or Uncertain: If at any point you feel uncomfortable or uncertain about performing a repair, always err on the side of caution and call a professional. Your safety and the proper functioning of your AC system are paramount.
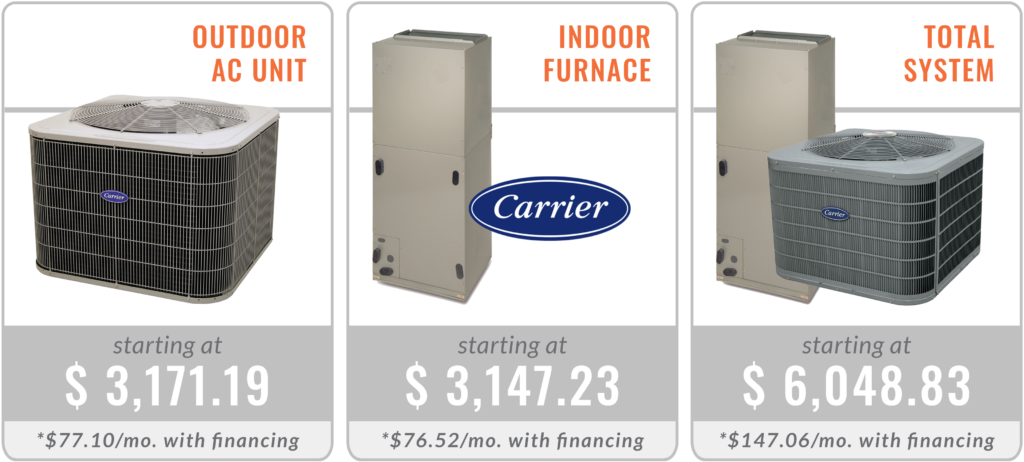
Price of a New Central Air Conditioning Unit
The price of a new central air conditioning unit can vary widely based on several factors. Understanding these factors can help you budget and make an informed decision when considering a replacement.
- Size (BTU): The cooling capacity of an AC unit is measured in British Thermal Units (BTUs). A larger home requires a unit with a higher BTU rating, which will be more expensive. Properly sizing your unit is critical for efficiency and comfort.
- SEER Rating: The Seasonal Energy Efficiency Ratio (SEER) measures the efficiency of an AC unit. Higher SEER ratings indicate greater energy efficiency, but also come with a higher initial cost. However, a higher SEER rating can save you money on energy bills over the long run.
- Brand: Different brands have different reputations for reliability and performance. Well-known brands often come with a higher price tag, but may offer better warranty coverage and a wider selection of features.
- Features: Features such as variable-speed compressors, smart thermostats, and zoning systems can add to the cost of the unit.
- Installation Costs: Installation costs can vary depending on the complexity of the job, the location of the unit, and the contractor you choose. Be sure to get multiple quotes from reputable HVAC contractors.
- Permits and Inspections: Depending on your local regulations, you may need to obtain permits and inspections for the installation of a new AC unit. These costs should be factored into your budget.
- Location: Prices can vary depending on your geographic location, due to differences in labor costs, material costs, and local regulations.
As a general guideline, the cost of a new central air conditioning unit, including installation, can range from $3,000 to $7,000 or more. It's essential to get quotes from multiple HVAC contractors to compare prices and services. Request a detailed breakdown of all costs involved, including the cost of the unit, installation labor, permits, and any additional fees.
Remember to consider not just the initial cost of the unit, but also the long-term operating costs. A more energy-efficient unit may have a higher upfront cost, but can save you money on energy bills over the life of the system. Consulting with a qualified HVAC professional can help you choose the right unit for your needs and budget.
Conclusion
Troubleshooting a warm air problem with your central AC can seem daunting, but by following these steps, you can often identify and resolve simple issues yourself. Remember to prioritize safety and never hesitate to call a professional when dealing with complex or potentially dangerous problems. By understanding the basics of AC operation and maintenance, you can keep your system running smoothly and efficiently, ensuring a comfortable and cool home all summer long.