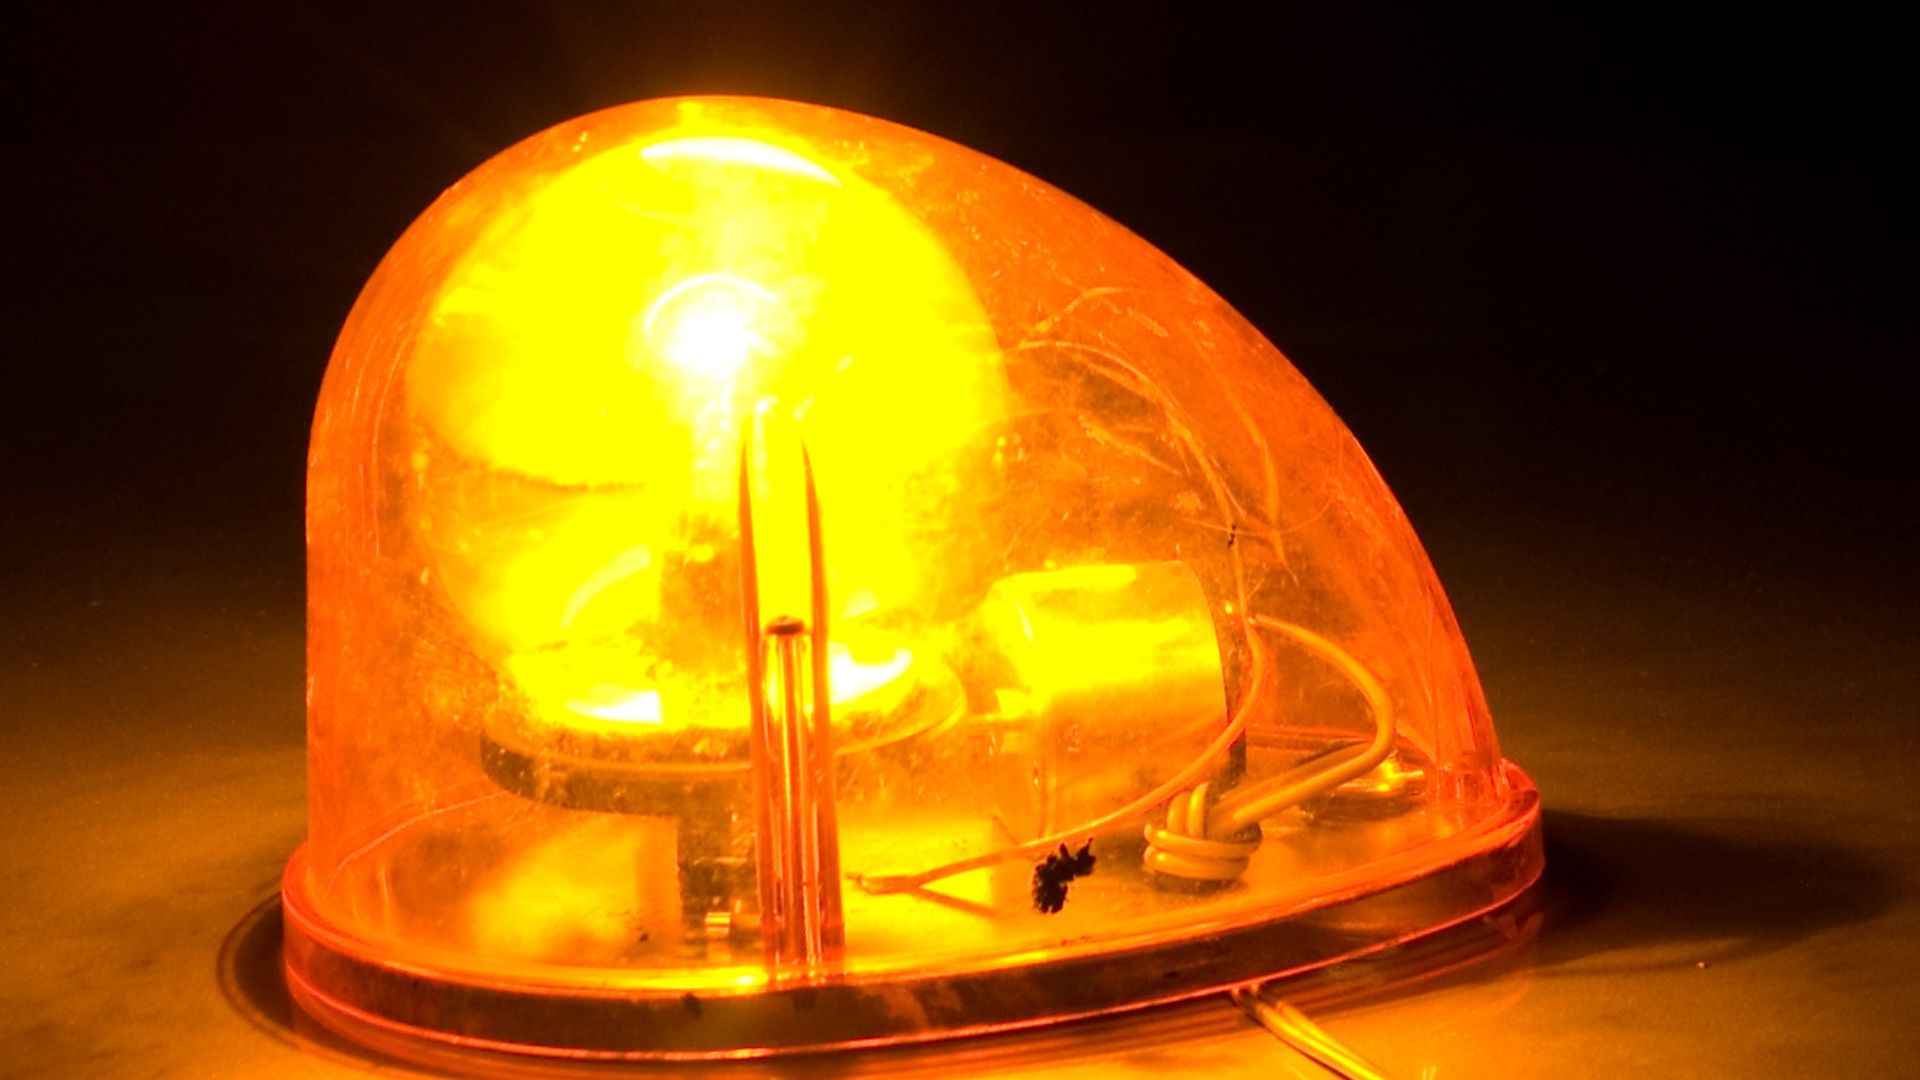
Purge Light On Furnace

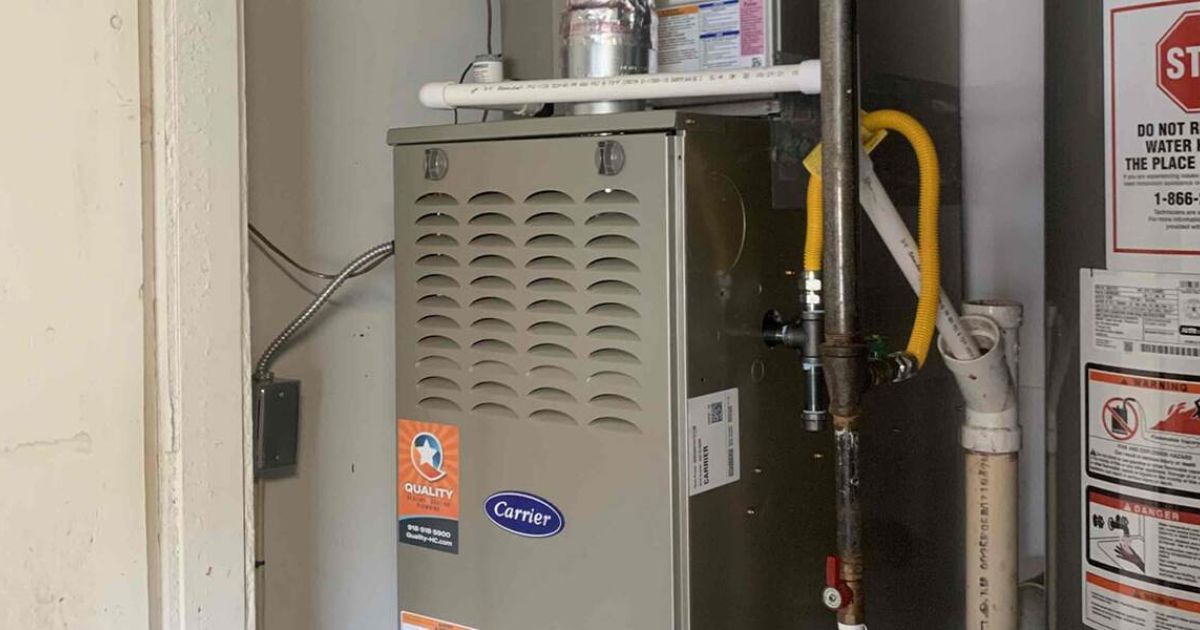
Many homeowners experience the frustration of a furnace that simply won't kick on, especially on a cold winter day. One common symptom of this is the dreaded "purge light" or "fault light" on the furnace control board. This light, often blinking in a specific pattern, is your furnace's way of telling you something is wrong. While it can be tempting to panic, a systematic approach can often help you diagnose and potentially resolve the issue yourself.
Understanding the Purge Light
First, it's crucial to understand what the purge light signifies. It's essentially an error code indicator. The specific meaning of the light (steady on, blinking, or a certain number of blinks) varies depending on the manufacturer and model of your furnace. You'll need to consult your furnace's manual to decipher the code.
Don't have the manual? Many manufacturers have them available online. Search for the model number (usually found on a sticker inside the furnace cabinet) on the manufacturer's website. Look for a "troubleshooting" or "error code" section. Once you find the corresponding error code for your purge light's behavior, you'll have a much better understanding of the potential problem.
Initial Checks (No Tools Required)
Before diving into anything complex, let's start with some basic, no-tool-required checks. These are the most common culprits and the easiest to address:
1. Check the Thermostat
It sounds obvious, but ensure your thermostat is set to "heat" and the temperature is higher than the current room temperature. A simple oversight here can save you a lot of headaches. Also, make sure the thermostat is properly powered – check the batteries if it's battery-operated. A low battery can cause erratic behavior.
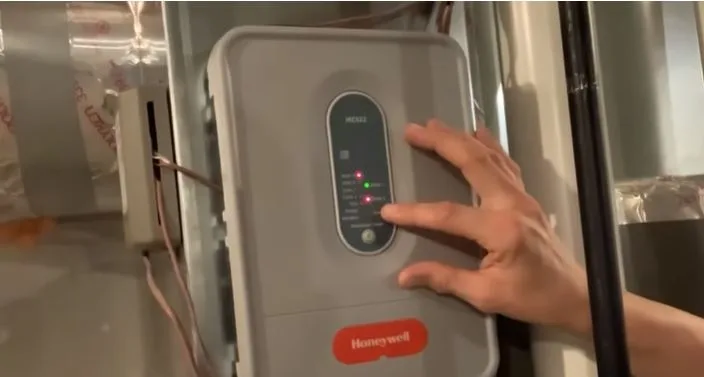
2. Check the Power Switch
Most furnaces have a dedicated power switch (it often looks like a standard light switch) located on or near the furnace itself. Make sure this switch is in the "on" position. It's surprising how often this gets accidentally switched off.
3. Check the Circuit Breaker
Go to your electrical panel and locate the circuit breaker for your furnace (it should be labeled). Ensure the breaker is not tripped. If it is, flip it all the way to the "off" position and then back to the "on" position. If it trips again immediately, there's likely a more serious electrical issue requiring professional attention.
4. Check the Furnace Filter
A dirty or clogged air filter is one of the most common reasons for furnace problems. A restricted airflow can cause the furnace to overheat and shut down, triggering the purge light. Visually inspect your filter. If it looks dirty or dusty, replace it with a new one of the correct size. Regular filter replacement is crucial for furnace efficiency and longevity.
5. Check the Air Vents
Ensure that your air vents aren't blocked by furniture, rugs, or other obstructions. Blocked vents restrict airflow and can cause the furnace to overheat.
After performing these checks, reset the furnace. This usually involves turning off the power switch to the furnace for a few minutes and then turning it back on. Observe if the purge light clears and the furnace starts normally. If it does, great! You've solved the problem. If the purge light persists, move on to the next section.
Diagnosis with Basic Tools (Proceed with Caution)
If the initial checks didn't resolve the issue, you can proceed with some more advanced troubleshooting steps using basic tools. Remember to always turn off the power to the furnace at the breaker before attempting any of these steps. Safety first! You'll need a screwdriver (likely a Phillips head), a multimeter, and potentially a shop vacuum.
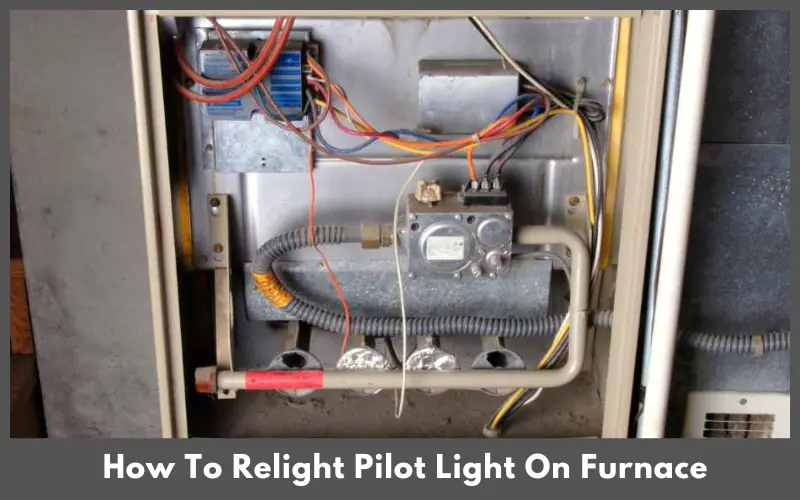
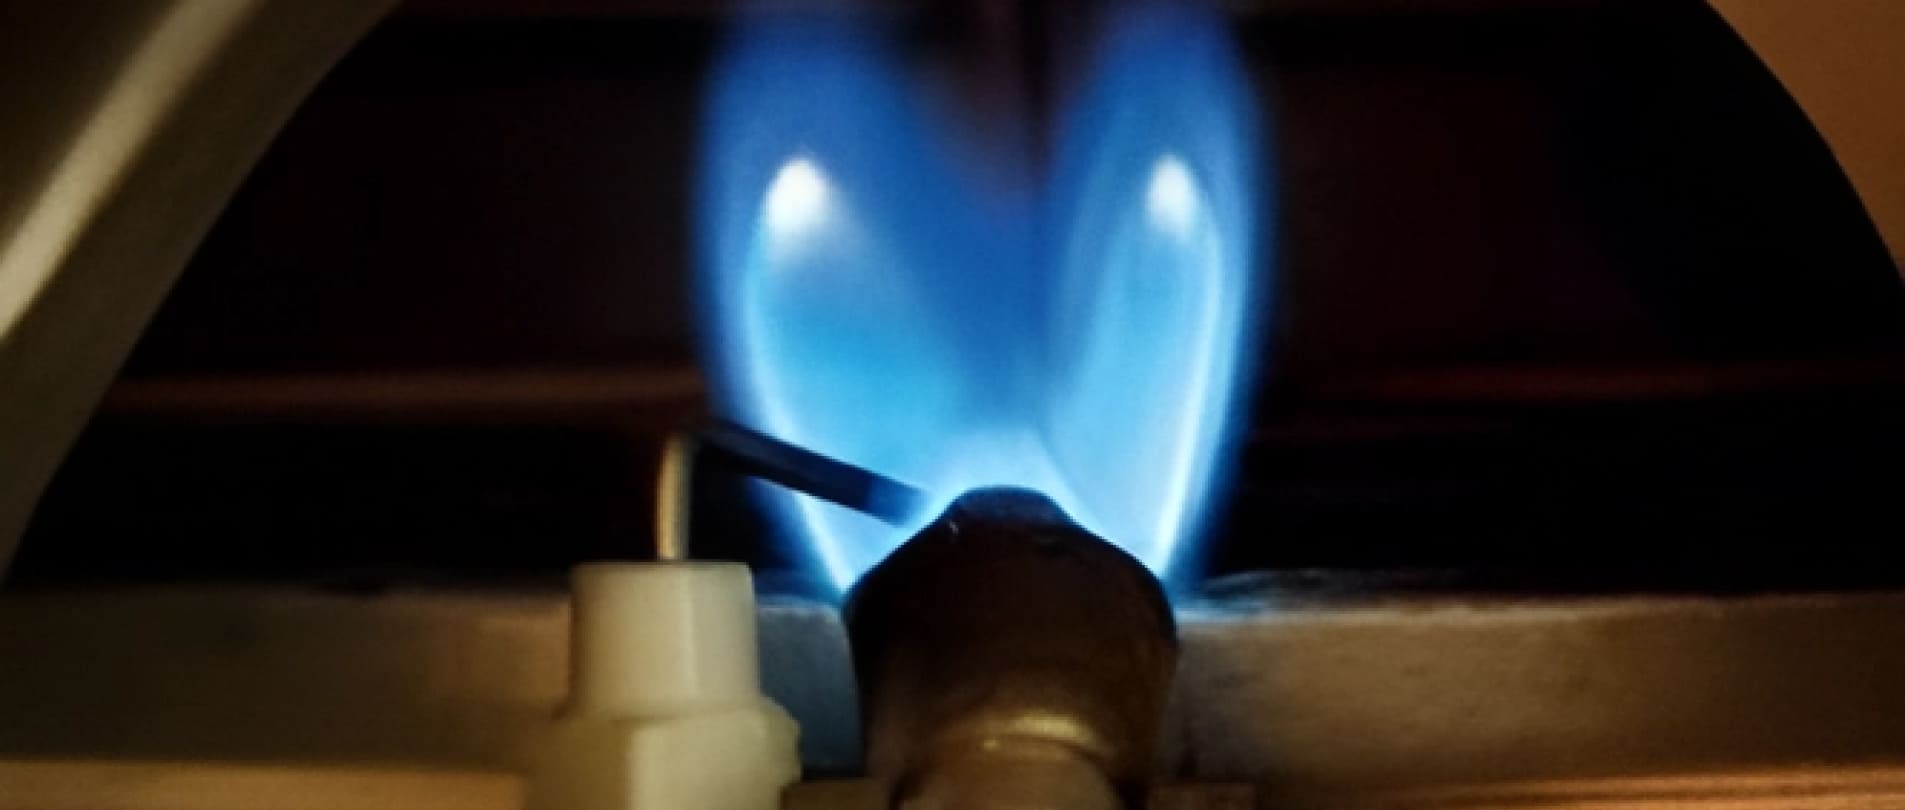
1. Inspect the Flame Sensor
The flame sensor is a small metal rod located near the burner. Its job is to detect the presence of a flame. If it doesn't detect a flame, it shuts down the gas valve as a safety precaution, triggering the purge light.
To inspect the flame sensor:
- Turn off the power to the furnace at the breaker.
- Locate the flame sensor (refer to your furnace's manual for its exact location).
- Carefully remove the flame sensor. It's usually held in place by a single screw.
- Inspect the sensor for any signs of carbon buildup or corrosion. If it's dirty, clean it with a piece of fine steel wool or sandpaper.
- Reinstall the flame sensor and tighten the screw.
- Turn the power back on and see if the furnace starts.
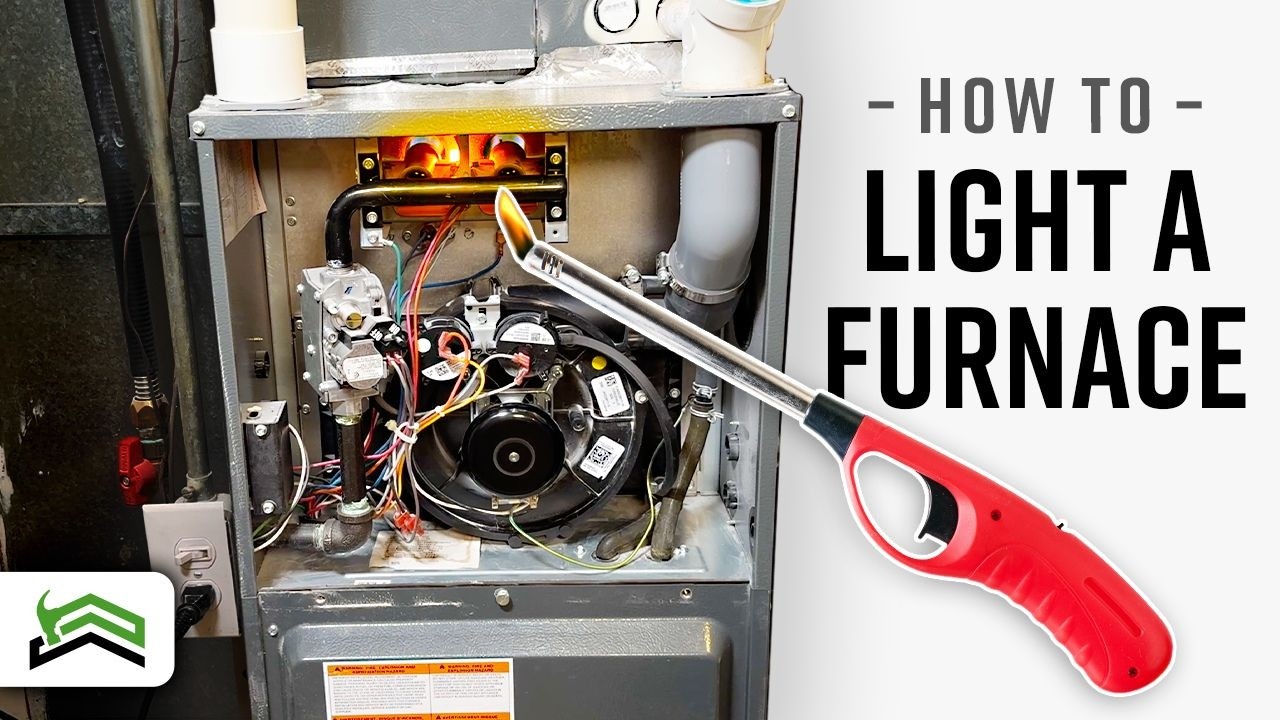
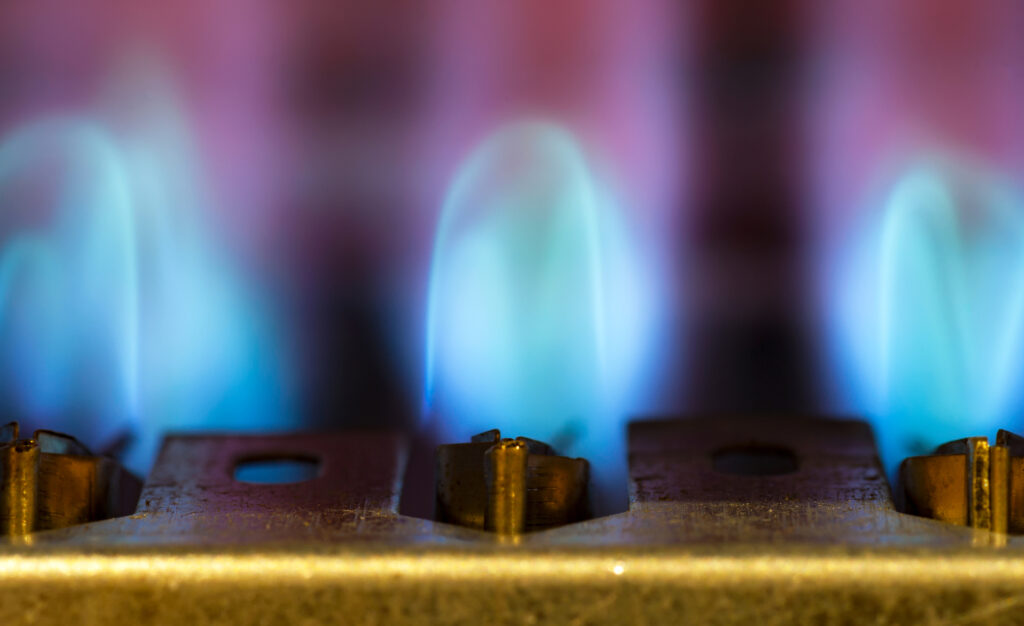
2. Check the Igniter
The igniter is responsible for igniting the gas in the burner. There are two common types: hot surface igniters and spark igniters. A faulty igniter will prevent the furnace from starting.
To check the igniter (Hot Surface Igniter):
- Turn off the power to the furnace at the breaker.
- Locate the hot surface igniter (refer to your furnace's manual). It usually looks like a small, thin rod.
- Visually inspect the igniter. If it's cracked or broken, it needs to be replaced.
- Test the igniter with a multimeter. Set the multimeter to measure ohms (resistance). Disconnect one of the igniter wires. Touch the multimeter probes to the igniter terminals. You should get a reading between 50 and 400 ohms (refer to your furnace's manual for the specific range). If the reading is 0 or infinite, the igniter is likely bad.
- If the igniter is bad, it needs to be replaced. This often requires a specific part for your furnace model.
To check the igniter (Spark Igniter):
- Turn off the power to the furnace at the breaker.
- Locate the spark igniter (refer to your furnace's manual). It usually consists of two electrodes with a small gap between them.
- Visually inspect the igniter. Check for cracks or damage to the electrodes or the ceramic insulator.
- Observe the igniter during startup (with the furnace power on – be extremely cautious!). You should see a spark jumping across the gap between the electrodes. If there's no spark, the igniter is likely faulty.
- Spark igniters often require professional replacement.
3. Check the Pressure Switch
The pressure switch ensures that the draft motor (inducer motor) is working correctly and venting exhaust gases safely. If the pressure switch doesn't detect the proper draft, it will prevent the furnace from firing up.
To check the pressure switch:
- Turn off the power to the furnace at the breaker.
- Locate the pressure switch (refer to your furnace's manual). It's usually a small, round device with one or two small hoses connected to it.
- Visually inspect the hoses connected to the pressure switch. Make sure they are not cracked, disconnected, or blocked.
- Remove the hoses from the pressure switch. Carefully blow into the hoses to ensure they are clear.
- Use a multimeter to test the pressure switch. Set the multimeter to measure continuity. Disconnect the wires from the pressure switch. Touch the multimeter probes to the terminals on the pressure switch. With the furnace off, the switch should be open (no continuity). When the draft motor starts, the switch should close (continuity). If the switch doesn't change state, it may be faulty.
- A faulty pressure switch may require professional replacement, especially if the problem lies within the switch itself rather than the hoses.
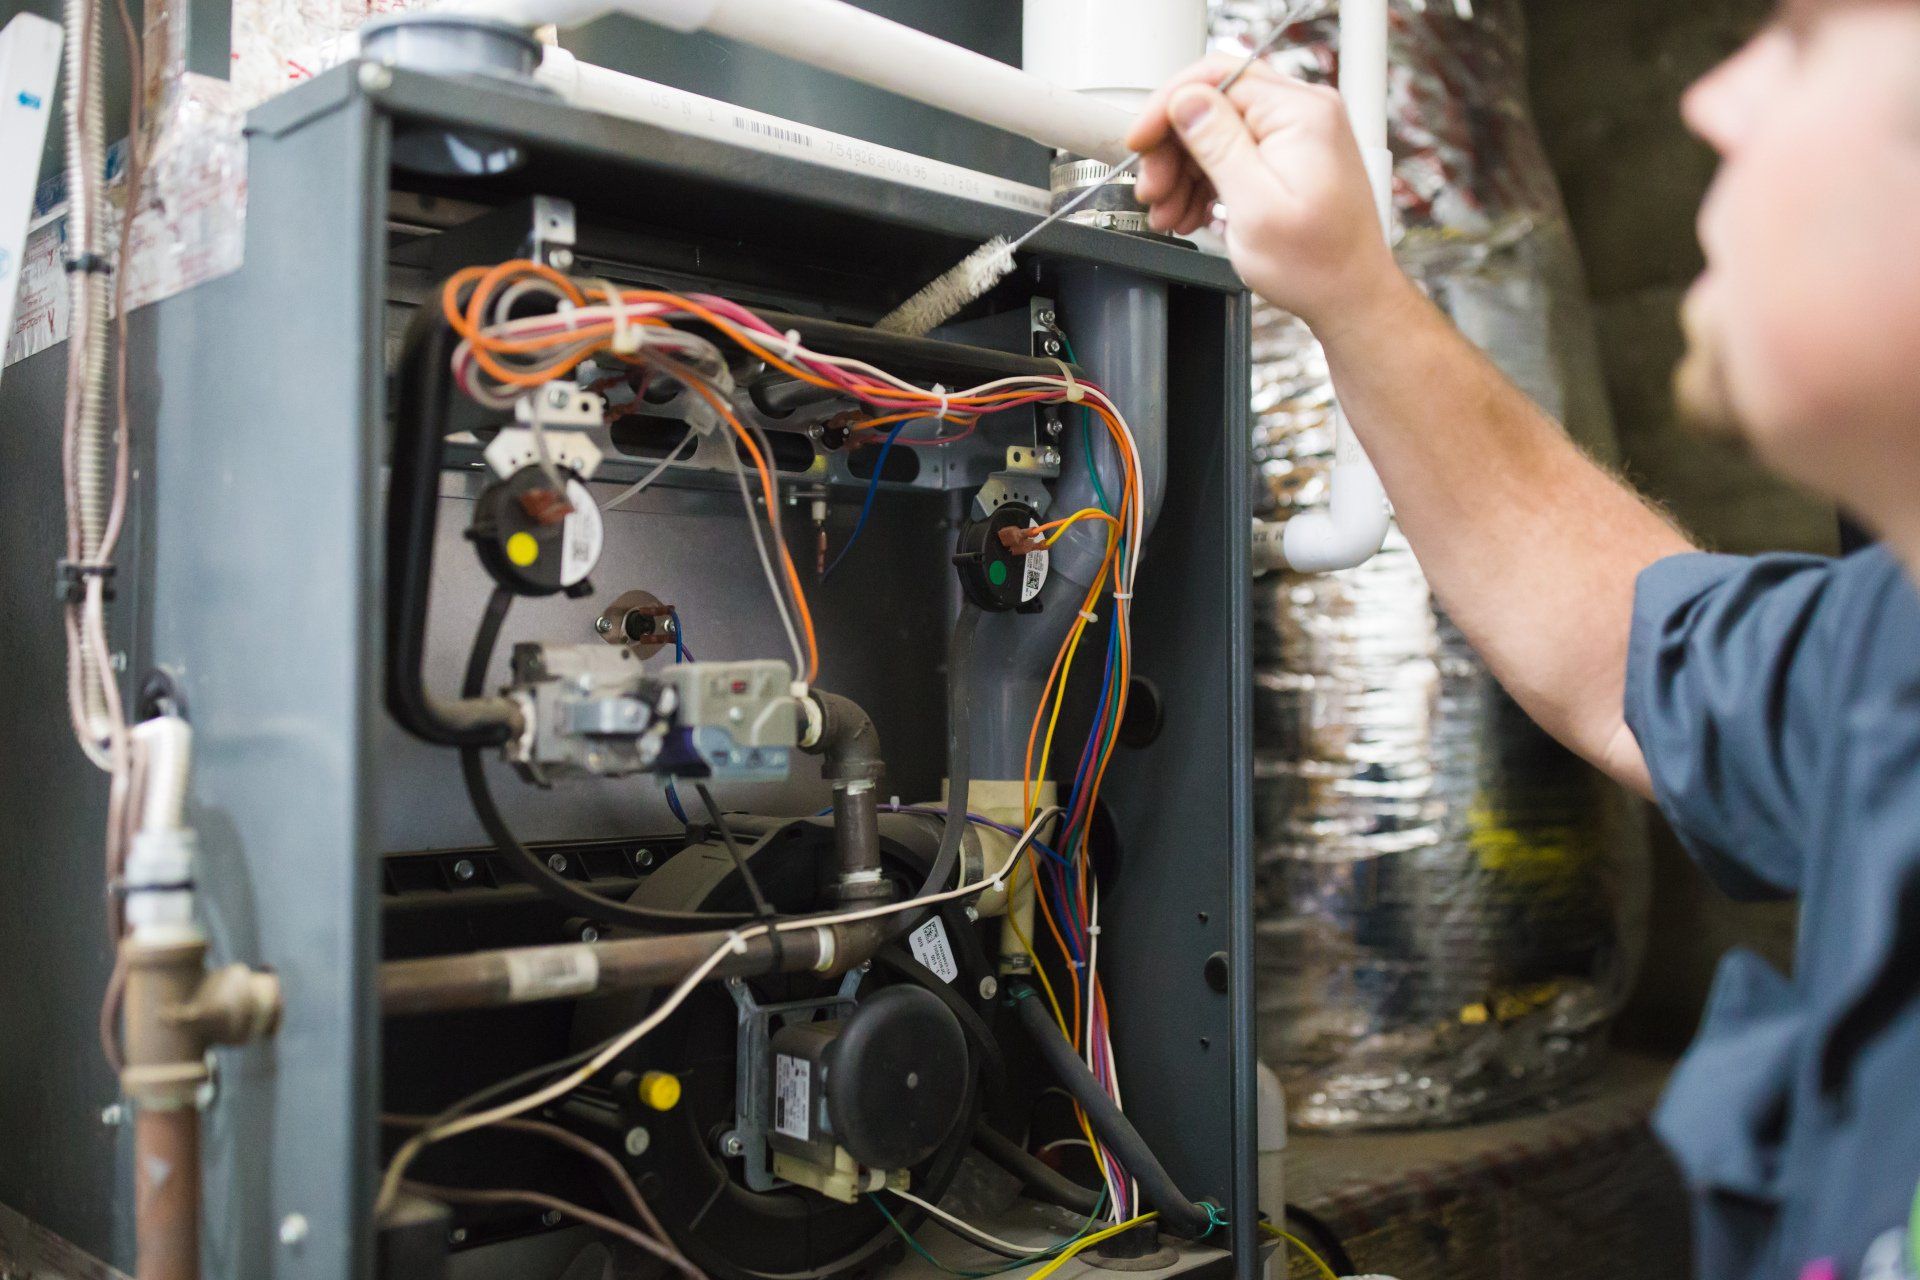
4. Check the Draft Motor (Inducer Motor)
The draft motor, also known as the inducer motor, is responsible for venting exhaust gases safely outside your home. If the draft motor isn't working properly, the furnace won't start.
To check the draft motor:
- Turn off the power to the furnace at the breaker.
- Visually inspect the draft motor. Look for any signs of damage, such as broken fan blades or loose wires.
- Check for obstructions in the exhaust vent. Birds nests or other debris can block the vent and prevent the draft motor from working properly.
- With the power on (exercise extreme caution!), listen to the draft motor when the furnace attempts to start. You should hear it running. If it's not running, it may be faulty.
- Testing the draft motor thoroughly often requires specialized tools and knowledge.
When to Call a Professional
While many furnace issues can be resolved with DIY troubleshooting, some problems are best left to the professionals. Call a qualified HVAC technician if:
- You are uncomfortable working with electricity or gas.
- You suspect a gas leak.
- You smell gas near the furnace.
- The purge light indicates a complex error code that you can't diagnose.
- You have tried the troubleshooting steps above and the problem persists.
- You are unsure about any aspect of the troubleshooting process.
- You need to replace the gas valve, control board, or other major components.
Working with gas and electricity can be dangerous. It's always better to err on the side of caution and call a professional when in doubt. An experienced HVAC technician has the tools, knowledge, and expertise to diagnose and repair your furnace safely and effectively.
Preventative Maintenance
The best way to avoid furnace problems is to perform regular preventative maintenance. Here are some tips:
- Change your air filter regularly (every 1-3 months, depending on the type of filter and the air quality in your home).
- Schedule an annual furnace inspection with a qualified HVAC technician.
- Keep the area around your furnace clean and free of debris.
- Ensure that your air vents are not blocked.
By following these tips, you can help keep your furnace running smoothly and efficiently for years to come. Remember, understanding your furnace's purge light and taking a systematic approach to troubleshooting can save you time, money, and frustration. But always prioritize safety and don't hesitate to call a professional when needed.

:max_bytes(150000):strip_icc()/checking-the-furnace-77890266-5c50db64c9e77c0001d76385.jpg)