Purpose Of Capacitor In Ac Unit

Understanding the Vital Role of Capacitors in Your AC Unit
If your air conditioner is acting up, and you're looking to diagnose the issue yourself, understanding the function of the capacitor is critical. It's a small component with a big job: providing the electrical jolt needed to start and run the motors that keep your home cool. Let's dive into what capacitors do, how to identify problems, and when to call a professional.
What is a Capacitor and What Does It Do?
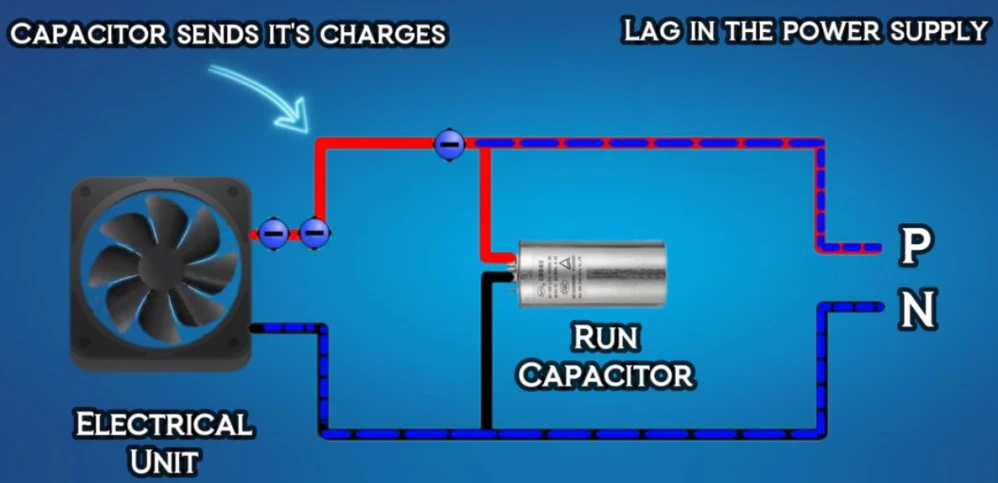
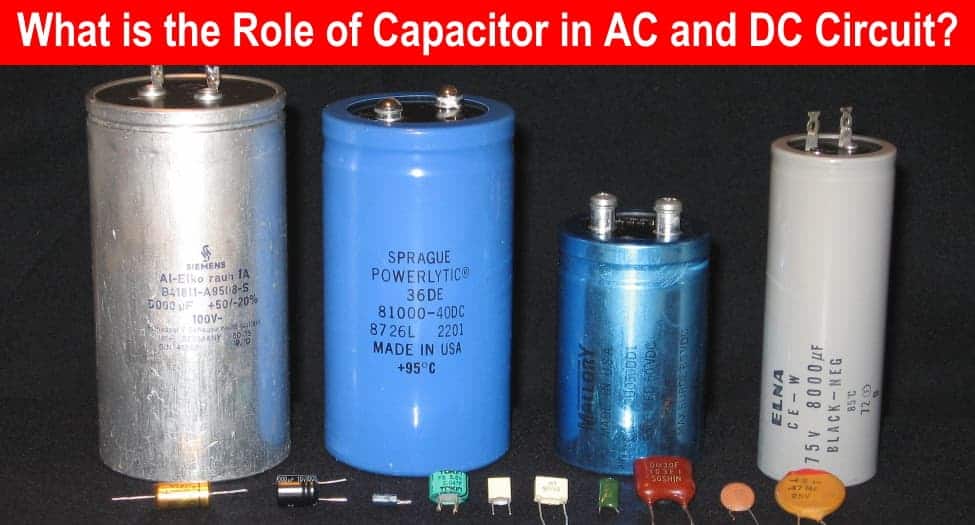
A capacitor is essentially a temporary electrical storage device. Think of it as a battery, but one designed for quick bursts of energy. In your AC unit, you'll typically find two types of capacitors:
- Start Capacitor: This provides a high-voltage jolt to get the compressor motor or fan motor turning. It's only in use for a very short period during startup.
- Run Capacitor: This helps the motor run efficiently and smoothly once it's started, by providing a continuous boost to the voltage.
Without a properly functioning capacitor, the motor may struggle to start, run inefficiently, or not run at all. This can lead to a hot house, increased energy bills, and potential damage to your AC unit.
Locating the Capacitor in Your AC Unit
Safety First! Before doing ANYTHING, turn off the power to your AC unit at the breaker box. This is crucial to avoid electric shock.
The capacitor(s) are usually located inside the outdoor condenser unit. Here's how to find them:
- Remove the access panel on the side of the condenser unit. You'll likely need a screwdriver or nut driver.
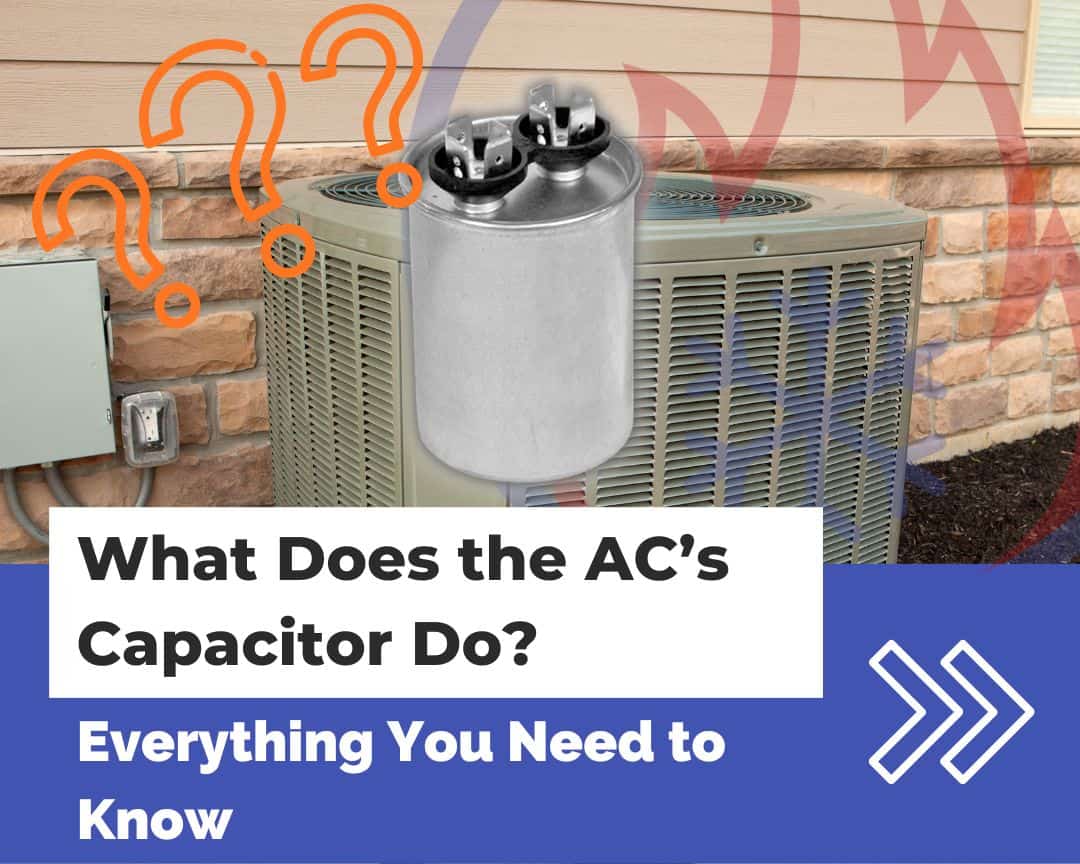
- Look for cylindrical metal cans. These are the capacitors. They are usually blue, gray, or brown.
- You may see one or two capacitors. One larger one (or a dual capacitor) controls both the fan and the compressor. Smaller capacitors control other motors, like the blower motor.
Warning: Capacitors store electricity even after the power is turned off. Touching the terminals can result in a dangerous electric shock. Use extreme caution! It is best practice to discharge the capacitor before handling it. However, if you are not comfortable with this procedure, call a qualified HVAC technician.
Symptoms of a Failing Capacitor
Here are some common signs that your AC capacitor might be failing:
- Humming Noise: The AC unit hums but the fan or compressor doesn't start. This indicates the motor is trying to start but doesn't have enough power.
- Delayed Start: The AC unit takes a long time to start up.
- Clicking Noise: You hear a clicking sound from the AC unit, which could be the compressor trying to start repeatedly.
- Fan Blades Spin Slowly: The fan blades on the outdoor unit spin very slowly, or not at all.
- AC Shuts Down: The AC unit runs for a short time and then shuts down.
- Increased Energy Bills: A failing capacitor can cause the motor to work harder, leading to higher energy consumption.
- Bulging or Leaking Capacitor: Visually inspect the capacitor. If it's bulging, leaking fluid, or has any signs of physical damage, it's definitely bad.
Testing a Capacitor (Proceed with Extreme Caution!)
Warning: Testing a capacitor can be dangerous if you're not familiar with electrical safety. If you are uncomfortable, call a professional.
You'll need a multimeter that can measure capacitance (typically in microfarads - µF). Here's a simplified process:
- Safety First: Turn off the power to the AC unit at the breaker.
- Discharge the Capacitor: Use a well-insulated screwdriver with a insulated handle to short across the capacitor terminals. Be careful!
- Disconnect the Capacitor: Carefully disconnect the wires from the capacitor terminals. Take a picture or label the wires so you know where to reconnect them.
- Set the Multimeter: Set your multimeter to the capacitance setting (µF).
- Test the Capacitor: Connect the multimeter probes to the capacitor terminals.
- Compare Readings: Compare the reading on the multimeter to the rated capacitance printed on the capacitor label. A capacitor is generally considered bad if the reading is more than 10% below the rated value.
Replacing a Capacitor: A DIY Guide (With Cautions)
Replacing a capacitor is a relatively straightforward repair for experienced DIYers. However, it's crucial to follow these steps carefully and prioritize safety.
Tools and Parts You'll Need:
- New capacitor (with the same voltage and capacitance rating)
- Screwdriver or nut driver
- Multimeter (optional, for testing the new capacitor)
- Wire strippers
- Wire connectors (if needed)
- Pliers
- Camera or pen and paper (for labeling wires)
- Safety glasses
- Work gloves
Step-by-Step Replacement:
- Safety First: Turn off the power to the AC unit at the breaker. Double-check with a multimeter that the power is off.
- Discharge the Old Capacitor: Use a well-insulated screwdriver with a insulated handle to short across the capacitor terminals. Be careful!
- Document the Wiring: Before disconnecting anything, take a picture or draw a diagram of how the wires are connected to the old capacitor. This is extremely important for proper reconnection.
- Disconnect the Wires: Carefully disconnect the wires from the old capacitor terminals.
- Remove the Old Capacitor: Remove the old capacitor from its mounting bracket.
- Install the New Capacitor: Place the new capacitor in the mounting bracket.
- Reconnect the Wires: Carefully reconnect the wires to the new capacitor terminals, making sure they match the diagram or picture you took earlier.
- Secure the Capacitor: Make sure the capacitor is securely mounted in its bracket.
- Replace the Access Panel: Reinstall the access panel on the condenser unit.
- Turn on the Power: Turn the power back on at the breaker.
- Test the AC Unit: Turn on the AC unit and observe its operation. Make sure the fan and compressor start and run smoothly.
Important Considerations:
- Matching Specifications: Always replace a capacitor with one that has the exact same voltage and capacitance rating (µF). Using the wrong capacitor can damage your AC unit.
- Terminal Identification: Pay close attention to the terminal labels on the capacitor. Some capacitors have terminals labeled "C" (common), "FAN," and "HERM" (compressor). Connect the wires to the correct terminals.
- Proper Wiring: Ensure all wire connections are secure and properly insulated. Loose connections can cause arcing and electrical problems.
When to Call a Professional
While replacing a capacitor can be a DIY project, there are situations where it's best to call a qualified HVAC technician:
- Uncertainty: If you're not comfortable working with electricity or you're unsure about any of the steps involved.
- Complex Wiring: If the wiring is complex or you can't easily identify the correct connections.
- Other Issues: If replacing the capacitor doesn't solve the problem, there may be other underlying issues with your AC unit that require professional diagnosis and repair.
- Warranty Concerns: Replacing components yourself may void the warranty on your AC unit.
- Dual Run Capacitor: If your unit has a dual run capacitor and you suspect the compressor or fan motor itself might be faulty.
Cost of Capacitor Replacement
The cost of replacing a capacitor can vary depending on several factors, including the type of capacitor, the brand, and whether you hire a professional.
- DIY Replacement: The cost of the capacitor itself can range from $20 to $100, depending on the size and type.
- Professional Replacement: If you hire a professional, the total cost can range from $150 to $400 or more, including the cost of the capacitor, labor, and service call fees.
Cost Factors:
- Type of Capacitor: Dual capacitors are generally more expensive than single capacitors.
- Location: Labor costs can vary depending on your geographic location.
- HVAC Company: Different HVAC companies have different pricing structures. Get quotes from multiple companies before making a decision.
Preventative Maintenance
Regular maintenance can help extend the life of your capacitor and your AC unit. Here are some tips:
- Annual Inspections: Have your AC unit inspected by a qualified technician at least once a year.
- Clean the Condenser Coils: Keep the outdoor condenser coils clean to ensure proper airflow and prevent overheating.
- Replace Air Filters Regularly: Clogged air filters can restrict airflow and cause the AC unit to work harder, putting stress on the capacitor.
- Monitor Performance: Pay attention to the performance of your AC unit and address any issues promptly.
By understanding the role of the capacitor and taking proactive steps to maintain your AC unit, you can help keep your home cool and comfortable while avoiding costly repairs. Remember, when in doubt, consult with a qualified HVAC professional.