Pvc Drain Lines On Rooftop Units Should Be Insulated
Are you experiencing inconsistent cooling, a noticeably warmer house than you've set your thermostat to, or water stains appearing inside your home? These are often signs of problems with your HVAC system. While many issues can contribute to these symptoms, one often overlooked culprit, especially for homes with rooftop units, is uninsulated PVC drain lines.
This article will guide you through a practical troubleshooting process to identify if uninsulated PVC drain lines are contributing to your HVAC woes, and offer simple DIY solutions you can undertake to improve the efficiency and lifespan of your system. We'll also emphasize when it's crucial to call in a professional HVAC technician.
Diagnosing the Problem: Uninsulated PVC Drain Lines
Before you start, remember to always turn off the power to your HVAC unit at the breaker box before inspecting anything directly related to the unit itself. Safety first!
Step 1: Locating Your Rooftop Unit and PVC Drain Lines
First, you'll need to locate your rooftop unit. If you're uncomfortable accessing your roof, do not proceed and contact a qualified HVAC professional. Safety is paramount.
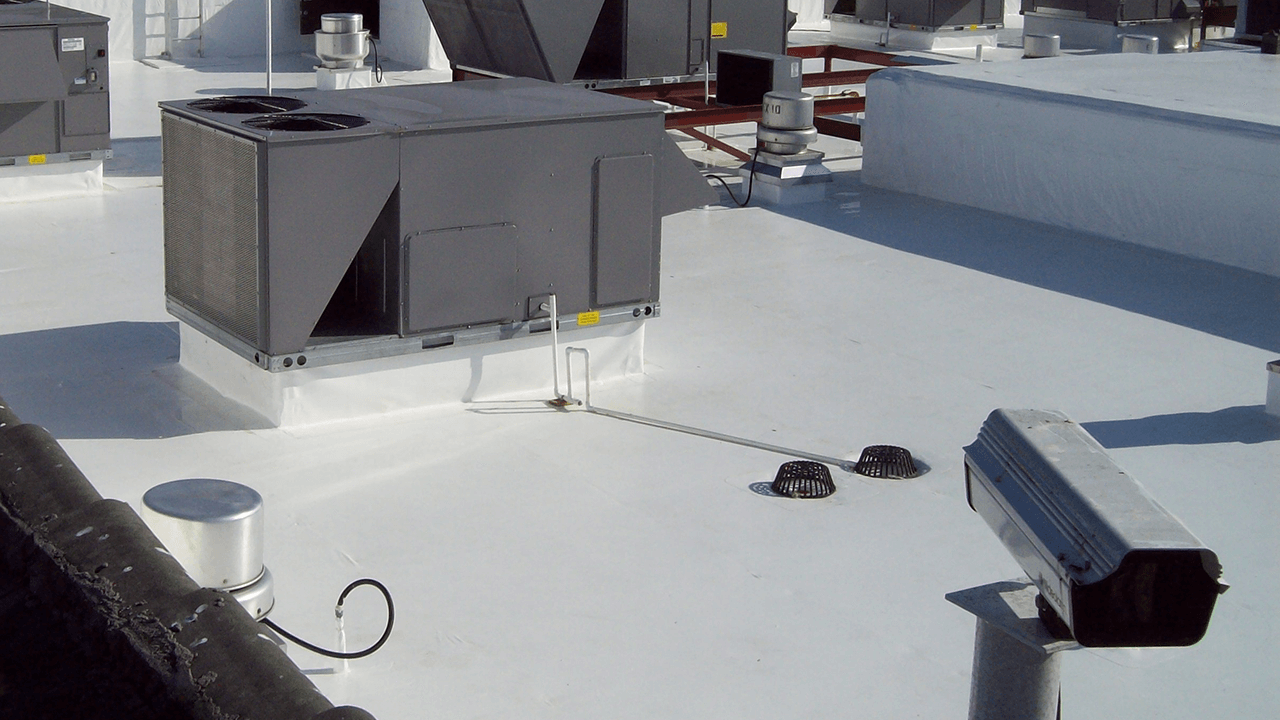
Once you've safely accessed your roof and located your HVAC unit, look for the PVC drain lines. These are usually white or gray plastic pipes extending from the unit. There will typically be two drain lines: a primary drain and a secondary (or emergency) drain. The primary drain is the one that usually handles the condensate. The secondary drain is there as a backup in case the primary drain becomes clogged.
Step 2: Visual Inspection (No Tools Required)
This is where your eyes are your most important tool. Carefully inspect the following:
- Insulation: Are the PVC drain lines insulated? If they are, is the insulation damaged, missing sections, or waterlogged? Uninsulated lines are the primary concern.
- Condensation: On a hot day when your AC is running, are the uninsulated PVC drain lines covered in condensation? A significant amount of condensation is a strong indicator of a problem.
- Leaks: Are there any visible leaks or water stains around the drain lines, either on the roof or on any ceilings below where the drain lines run?
- Sagging: Are the drain lines properly supported? Sagging lines can trap water and debris, leading to clogs.
- Discharge Point: Where do the drain lines discharge? Ideally, they should drain safely away from the building foundation. Is there evidence of excessive water accumulation at the discharge point?
Step 3: Assessing Drain Line Flow (No Tools Required Initially)
This step helps determine if your drain lines are clogged. Before testing, ensure you have a clear path to safely deal with any overflowing water.
- Primary Drain Test: Locate the primary drain line outlet. If possible, gently insert a small, flexible wire or stiff piece of tubing (like a weed trimmer line) into the drain opening to see if you can dislodge any obvious obstructions. Do not force anything too hard, as you could damage the line.
- Secondary Drain Test: Check the secondary drain line. If it's dripping or has standing water even when the primary drain is functioning, it indicates a backup or a problem with the primary drain.
- Observe Discharge: With the AC running, observe the primary drain outlet. You should see a steady trickle or flow of water. If there's no water or only intermittent drips, it suggests a potential clog or inefficient drainage.
Step 4: Advanced Inspection (Requires Basic Tools)
If the visual inspection and flow assessment indicate a problem, these steps require basic tools and a bit more caution.
- Wet/Dry Vacuum Test: This is a good method for clearing minor clogs. First, disconnect the power to the AC unit. Use a wet/dry vacuum to attempt to suction out any clogs from the drain line. Seal the vacuum hose tightly around the drain line opening and run the vacuum for several minutes. Caution: Be prepared for a large amount of water to be sucked out!
- Pouring Water Test: If the vacuum test fails, you can try pouring a cup of water (mixed with a small amount of white vinegar) directly into the drain line opening on the rooftop unit. Observe how quickly the water drains. If it drains slowly or not at all, a clog is likely. Do not use harsh chemicals like drain cleaner, as they can damage the HVAC unit components and are harmful to the environment.
- Insulation Measurement (Optional): If you have insulated drain lines, use a utility knife to carefully cut a small slit in the insulation to check for moisture underneath. Soggy insulation loses its effectiveness and can even contribute to corrosion.
DIY Actions: Simple Solutions for Uninsulated PVC Drain Lines
If you've determined that uninsulated PVC drain lines are a contributing factor to your HVAC problems, here are some DIY actions you can take:
1. Insulating the Drain Lines
This is the most crucial step. You'll need the following materials:
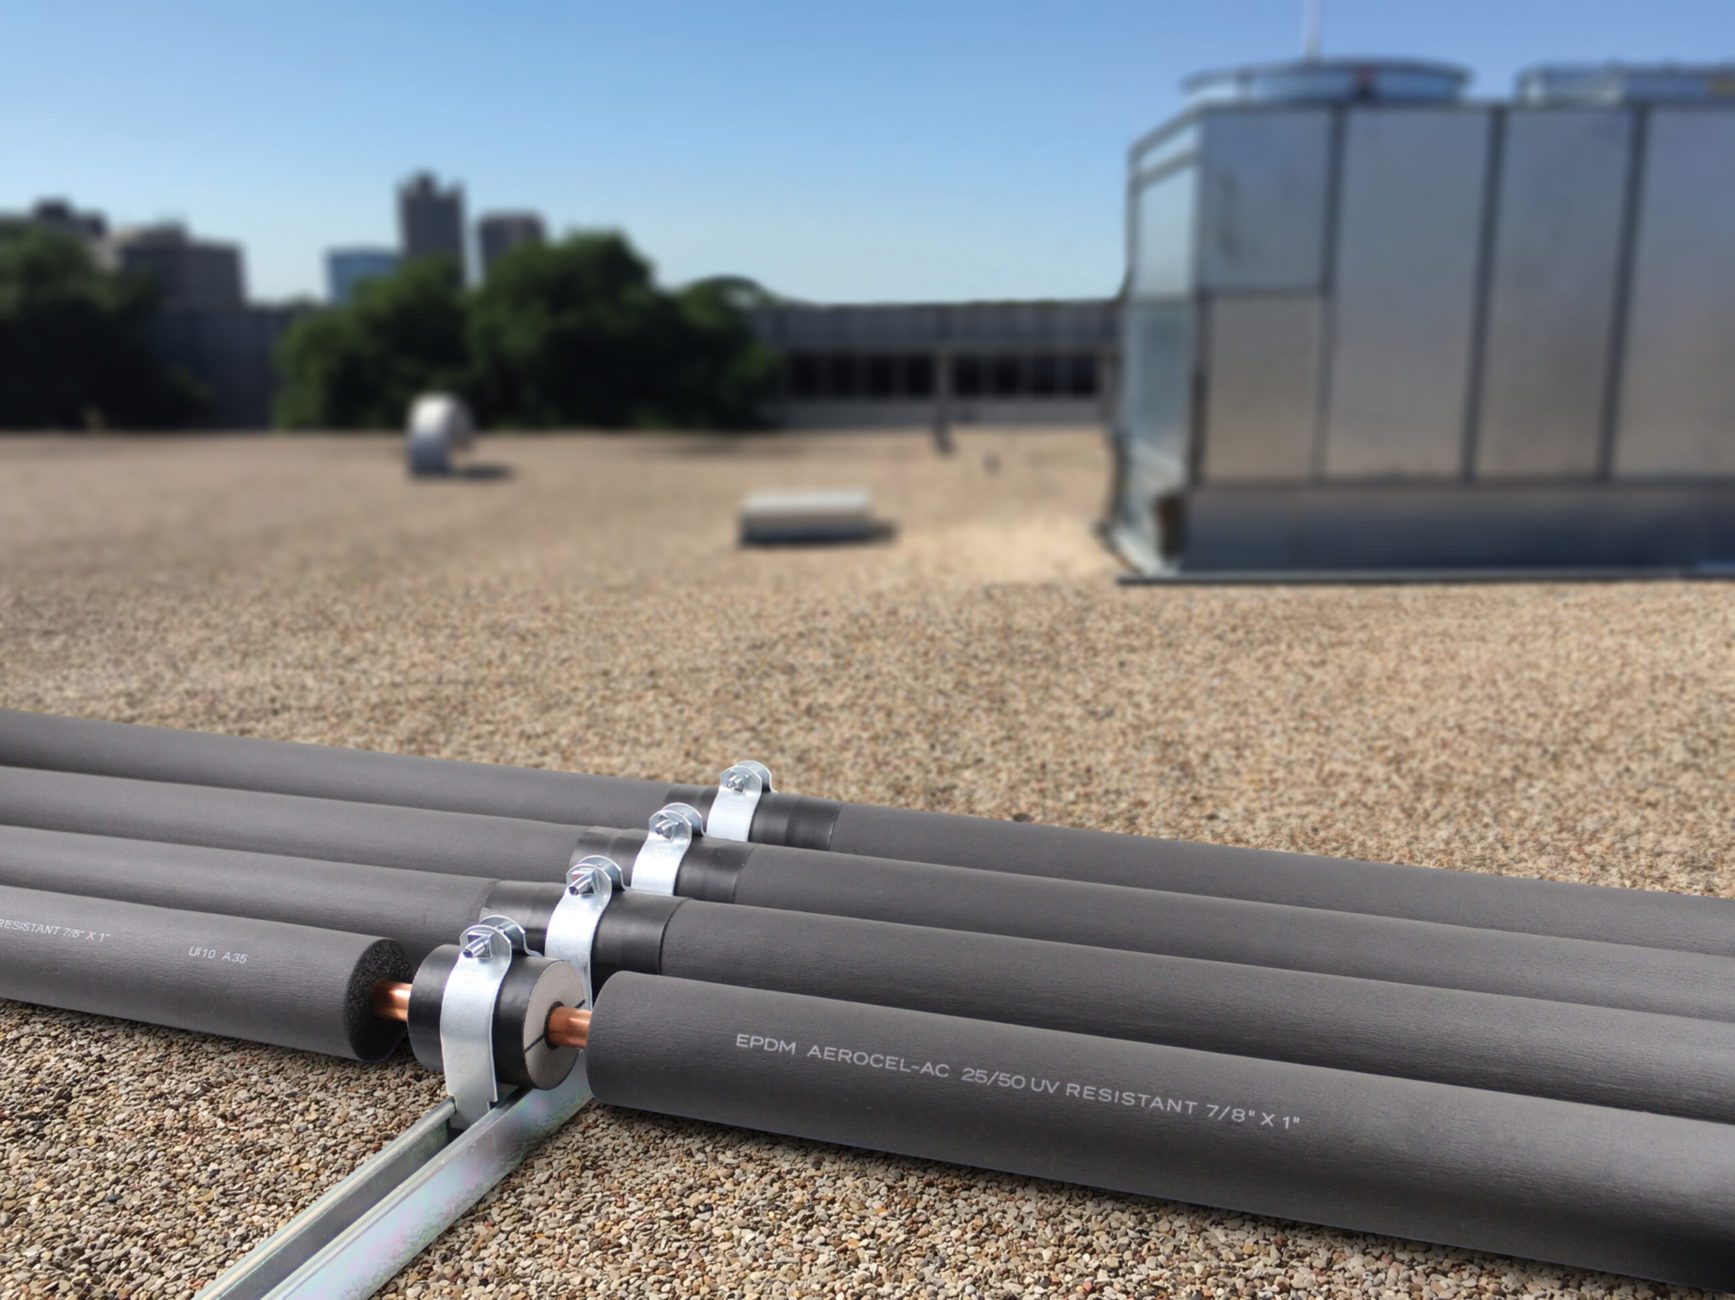
- Foam Pipe Insulation: Purchase foam pipe insulation with the correct inner diameter to fit snugly around your PVC drain lines. Measure the outer diameter of your pipes before buying the insulation. Self-sealing insulation is easiest to install.
- Measuring Tape and Utility Knife: For measuring and cutting the insulation to the correct lengths.
- Insulation Tape or Zip Ties: To secure the insulation in place.
Instructions:
- Measure and Cut: Measure the length of the exposed PVC drain lines that need insulation. Cut the foam pipe insulation to the appropriate lengths using a utility knife.
- Install the Insulation: Carefully open the slit in the foam pipe insulation and wrap it around the PVC drain line. If using self-sealing insulation, peel off the adhesive backing and press the edges together to seal. If using regular insulation, secure it with insulation tape or zip ties every 6-12 inches.
- Seal Gaps: Pay close attention to sealing any gaps between sections of insulation, especially at elbows and joints. Use insulation tape to thoroughly seal these areas. This prevents condensation from forming underneath the insulation.
- Inspect Regularly: Periodically inspect the insulation for damage or deterioration and replace it as needed.
2. Supporting Sagging Drain Lines
Sagging drain lines can be easily remedied with pipe hangers or supports. You can purchase these at most hardware stores.
Instructions:
- Install Pipe Hangers: Attach pipe hangers to the roof structure or any suitable support above the drain lines. Ensure the hangers are properly spaced to prevent future sagging (every 4-6 feet is generally sufficient).
- Secure Drain Lines: Gently lift the sagging drain lines and secure them within the pipe hangers. Ensure the drain lines have a slight downward slope to facilitate proper drainage.
3. Clearing Minor Drain Line Clogs
If you suspect a minor clog, you can try these methods after attempting the wet/dry vacuum test:
- Vinegar Flush: Pour a cup of white vinegar down the drain line. Vinegar is a natural cleaner that can help dissolve minor clogs. Let it sit for 30 minutes, then flush with water.
- Wire/Tubing Again: Gently try to dislodge any remaining debris with a flexible wire or tubing. Again, be careful not to force anything and potentially damage the drain line.
When to Call a Professional HVAC Technician
While these DIY solutions can address many issues related to uninsulated PVC drain lines, some problems require the expertise of a qualified HVAC technician. Contact a professional immediately if:
- You are uncomfortable working on your roof. Never risk your safety.
- You suspect a refrigerant leak. Refrigerant is harmful and requires specialized equipment to handle safely.
- You are unable to clear a drain line clog after attempting the DIY methods. A persistent clog could indicate a more serious problem within the HVAC unit.
- Your HVAC unit is making unusual noises. This could indicate a mechanical problem requiring professional attention.
- You notice ice buildup on the evaporator coil. This is a sign of a more complex issue that requires professional diagnosis and repair.
- You are unsure about any aspect of the troubleshooting or repair process. It's always better to be safe than sorry.
- You suspect mold growth. Mold is a serious health hazard and should be addressed by a professional.
- Your unit is old. If the unit is getting older, it might be time to have a professional examine the system to see if it needs more than just insulation or minor fixes.
Ignoring these warning signs can lead to more serious damage to your HVAC system and potentially costly repairs.
Preventative Maintenance: Ensuring Long-Term Efficiency
Once you've addressed the immediate problem of uninsulated PVC drain lines, it's important to implement a preventative maintenance plan to ensure long-term efficiency and prevent future issues.
- Regular Inspections: Periodically inspect your PVC drain lines for signs of damage, sagging, or clogs.
- Annual Cleaning: Have your HVAC system professionally cleaned and inspected at least once a year. This includes cleaning the evaporator coil, condenser coil, and drain lines.
- Filter Replacement: Replace your air filter regularly (every 1-3 months, depending on usage) to maintain proper airflow and prevent dust and debris from clogging the drain lines.
- Professional Tune-Ups: Schedule regular tune-ups with a qualified HVAC technician to ensure your system is operating at peak efficiency and identify any potential problems early on.
By taking these preventative measures, you can help ensure that your HVAC system operates efficiently and reliably for years to come.
By following these troubleshooting steps and implementing the DIY solutions, you can significantly improve the efficiency of your HVAC system and potentially save money on your energy bills. Remember to prioritize safety and don't hesitate to call a professional when needed. Good luck!