Radiant Floor Heating Concrete Slab Insulation
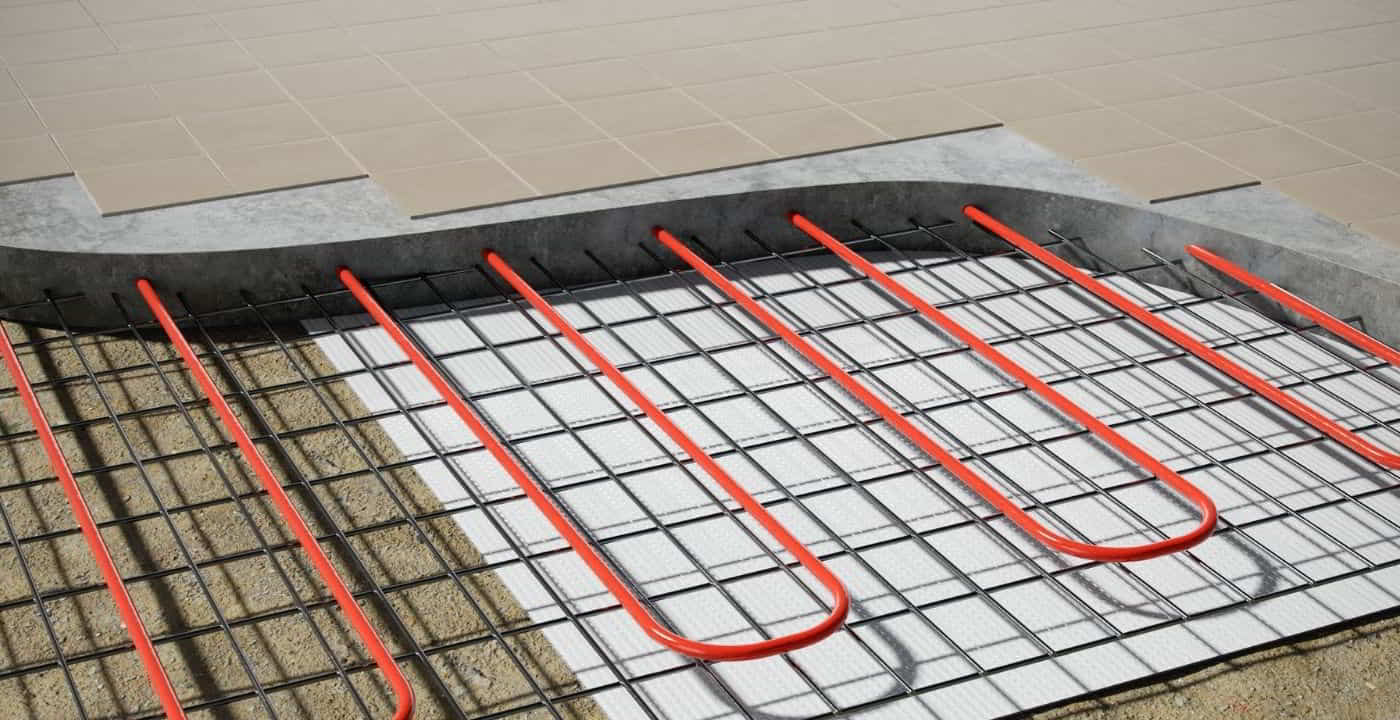
Imagine stepping onto your radiant floor on a chilly morning, expecting that comforting warmth, only to find it…lukewarm. Or even worse, ice cold in some spots while blazing hot in others. Inconsistent floor temperature is a common complaint with radiant floor heating systems embedded in concrete slabs. It can be incredibly frustrating and uncomfortable. The culprit? Often, problems stem from issues related to insulation around the concrete slab.
Troubleshooting Your Radiant Floor: Is Insulation the Problem?
Before calling in a professional, let’s explore how to diagnose whether insulation issues are contributing to your radiant floor heating woes. We'll walk through a systematic approach, separating simple checks from those requiring basic tools, and, most importantly, when it's time to call the pros.
Step 1: Initial Assessment (No Tools Needed)
This stage involves careful observation and memory-jogging. You're looking for clues that point towards potential insulation problems.
- Assess the Floor Temperature Uniformity: Walk barefoot (or with thin socks) across the entire heated area. Note any significant temperature differences. Are certain areas consistently colder than others? Are the edges of the room noticeably cooler? Document these cool spots – they're vital clues.
- Check for Recent Changes: Has the floor heating system always been this inconsistent? Or is this a recent development? If it's new, think about anything that might have changed recently. Did you rearrange furniture, adding large rugs that could be blocking heat? Did you recently do any landscaping or excavation work near the foundation? Such activities could potentially compromise insulation.
- Consider Your Home's Age and Construction: Radiant floor heating in concrete slabs has been around for decades, but installation techniques and insulation standards have improved significantly. If you have an older home (built before, say, the late 1980s), it's more likely that the original insulation is either inadequate or has degraded over time.
- Listen Carefully: When the system is actively heating, listen for unusual sounds coming from the slab. Gurgling, hissing, or even a faint clicking can indicate air trapped in the system, which can impact heat distribution and be related to uneven expansion/contraction due to insulation deficiencies.
What to do if you find something: Write everything down! Detailed notes are your best friend when troubleshooting or explaining the issue to a professional.
Step 2: Visual Inspection (Still No Tools Needed – For Now!)
This step involves visually examining the accessible areas around your foundation, looking for clues about the state of your insulation. This is more about external observations.
- Exterior Foundation Inspection: Walk around the perimeter of your house, paying close attention to the visible foundation. Look for:
- Cracks in the foundation: Cracks, especially larger ones, can allow cold air and moisture to penetrate, reducing the effectiveness of any insulation.
- Signs of water damage: Look for efflorescence (a white, powdery deposit), staining, or mold growth on the foundation. These indicate moisture problems, which can severely degrade insulation performance.
- Missing or damaged insulation: In some installations, rigid foam insulation is visible above grade. Check for sections that are missing, cracked, or crumbling.
- Landscaping issues: Are there shrubs or plants growing directly against the foundation? This can trap moisture and contribute to insulation degradation. Make sure water drains *away* from the foundation.
- Interior Inspection (Basement/Crawlspace): If you have a basement or crawlspace, carefully inspect the interior foundation walls.
- Check for insulation: Is there insulation on the interior of the foundation walls? If so, what type (e.g., fiberglass batts, rigid foam, spray foam)? Is it properly installed? Look for gaps, sagging, or signs of moisture damage.
- Look for moisture: As with the exterior, check for signs of water damage, such as staining, mold, or efflorescence. Even if the insulation *looks* okay, moisture can significantly reduce its R-value (insulating ability).
- Check for drafts: On a cold day, feel around the foundation walls for drafts. This can indicate areas where insulation is missing or ineffective.
Important Safety Note: Be cautious when inspecting basements and crawlspaces. Wear appropriate protective gear (gloves, eye protection, and a dust mask) to avoid contact with mold, pests, or other potential hazards. Be aware of low ceilings and uneven surfaces to prevent falls.
Step 3: Temperature Measurement with an Infrared Thermometer (Basic Tool Required)
Now we move into using a simple tool to get more concrete data. An infrared thermometer allows you to quickly and easily measure surface temperatures without contact.
- Acquire an Infrared Thermometer: These are readily available at most hardware stores and online retailers. They're relatively inexpensive and easy to use.
- Measure Floor Temperatures: Systematically measure the surface temperature of the floor at various points, especially in the areas you identified as being cold during your initial assessment. Take multiple readings in each area. Record these measurements.
- Measure Foundation Wall Temperatures: If you have access to the foundation walls (basement or crawlspace), measure their temperature as well. Pay particular attention to areas where the floor is cold above.
- Analyze the Data: Compare the temperature readings. A significant temperature difference between different areas of the floor, or between the floor and the foundation walls, can indicate insulation problems. For example, a cold spot on the floor directly above a cold spot on the foundation wall strongly suggests a lack of insulation in that area.
Interpreting the Results: A properly insulated floor should have a relatively even surface temperature across the entire heated area. Large temperature variations (e.g., more than 5-10 degrees Fahrenheit) are a red flag. Cold foundation walls, especially if the floor above is also cold, are a strong indicator of insulation problems.
Step 4: Checking Manifold and Circulation (Basic Tool Required)
While this isn't directly about insulation, problems here can *mimic* insulation issues. Uneven flow can lead to cold spots, making it seem like the insulation is the problem when it's really a plumbing issue.
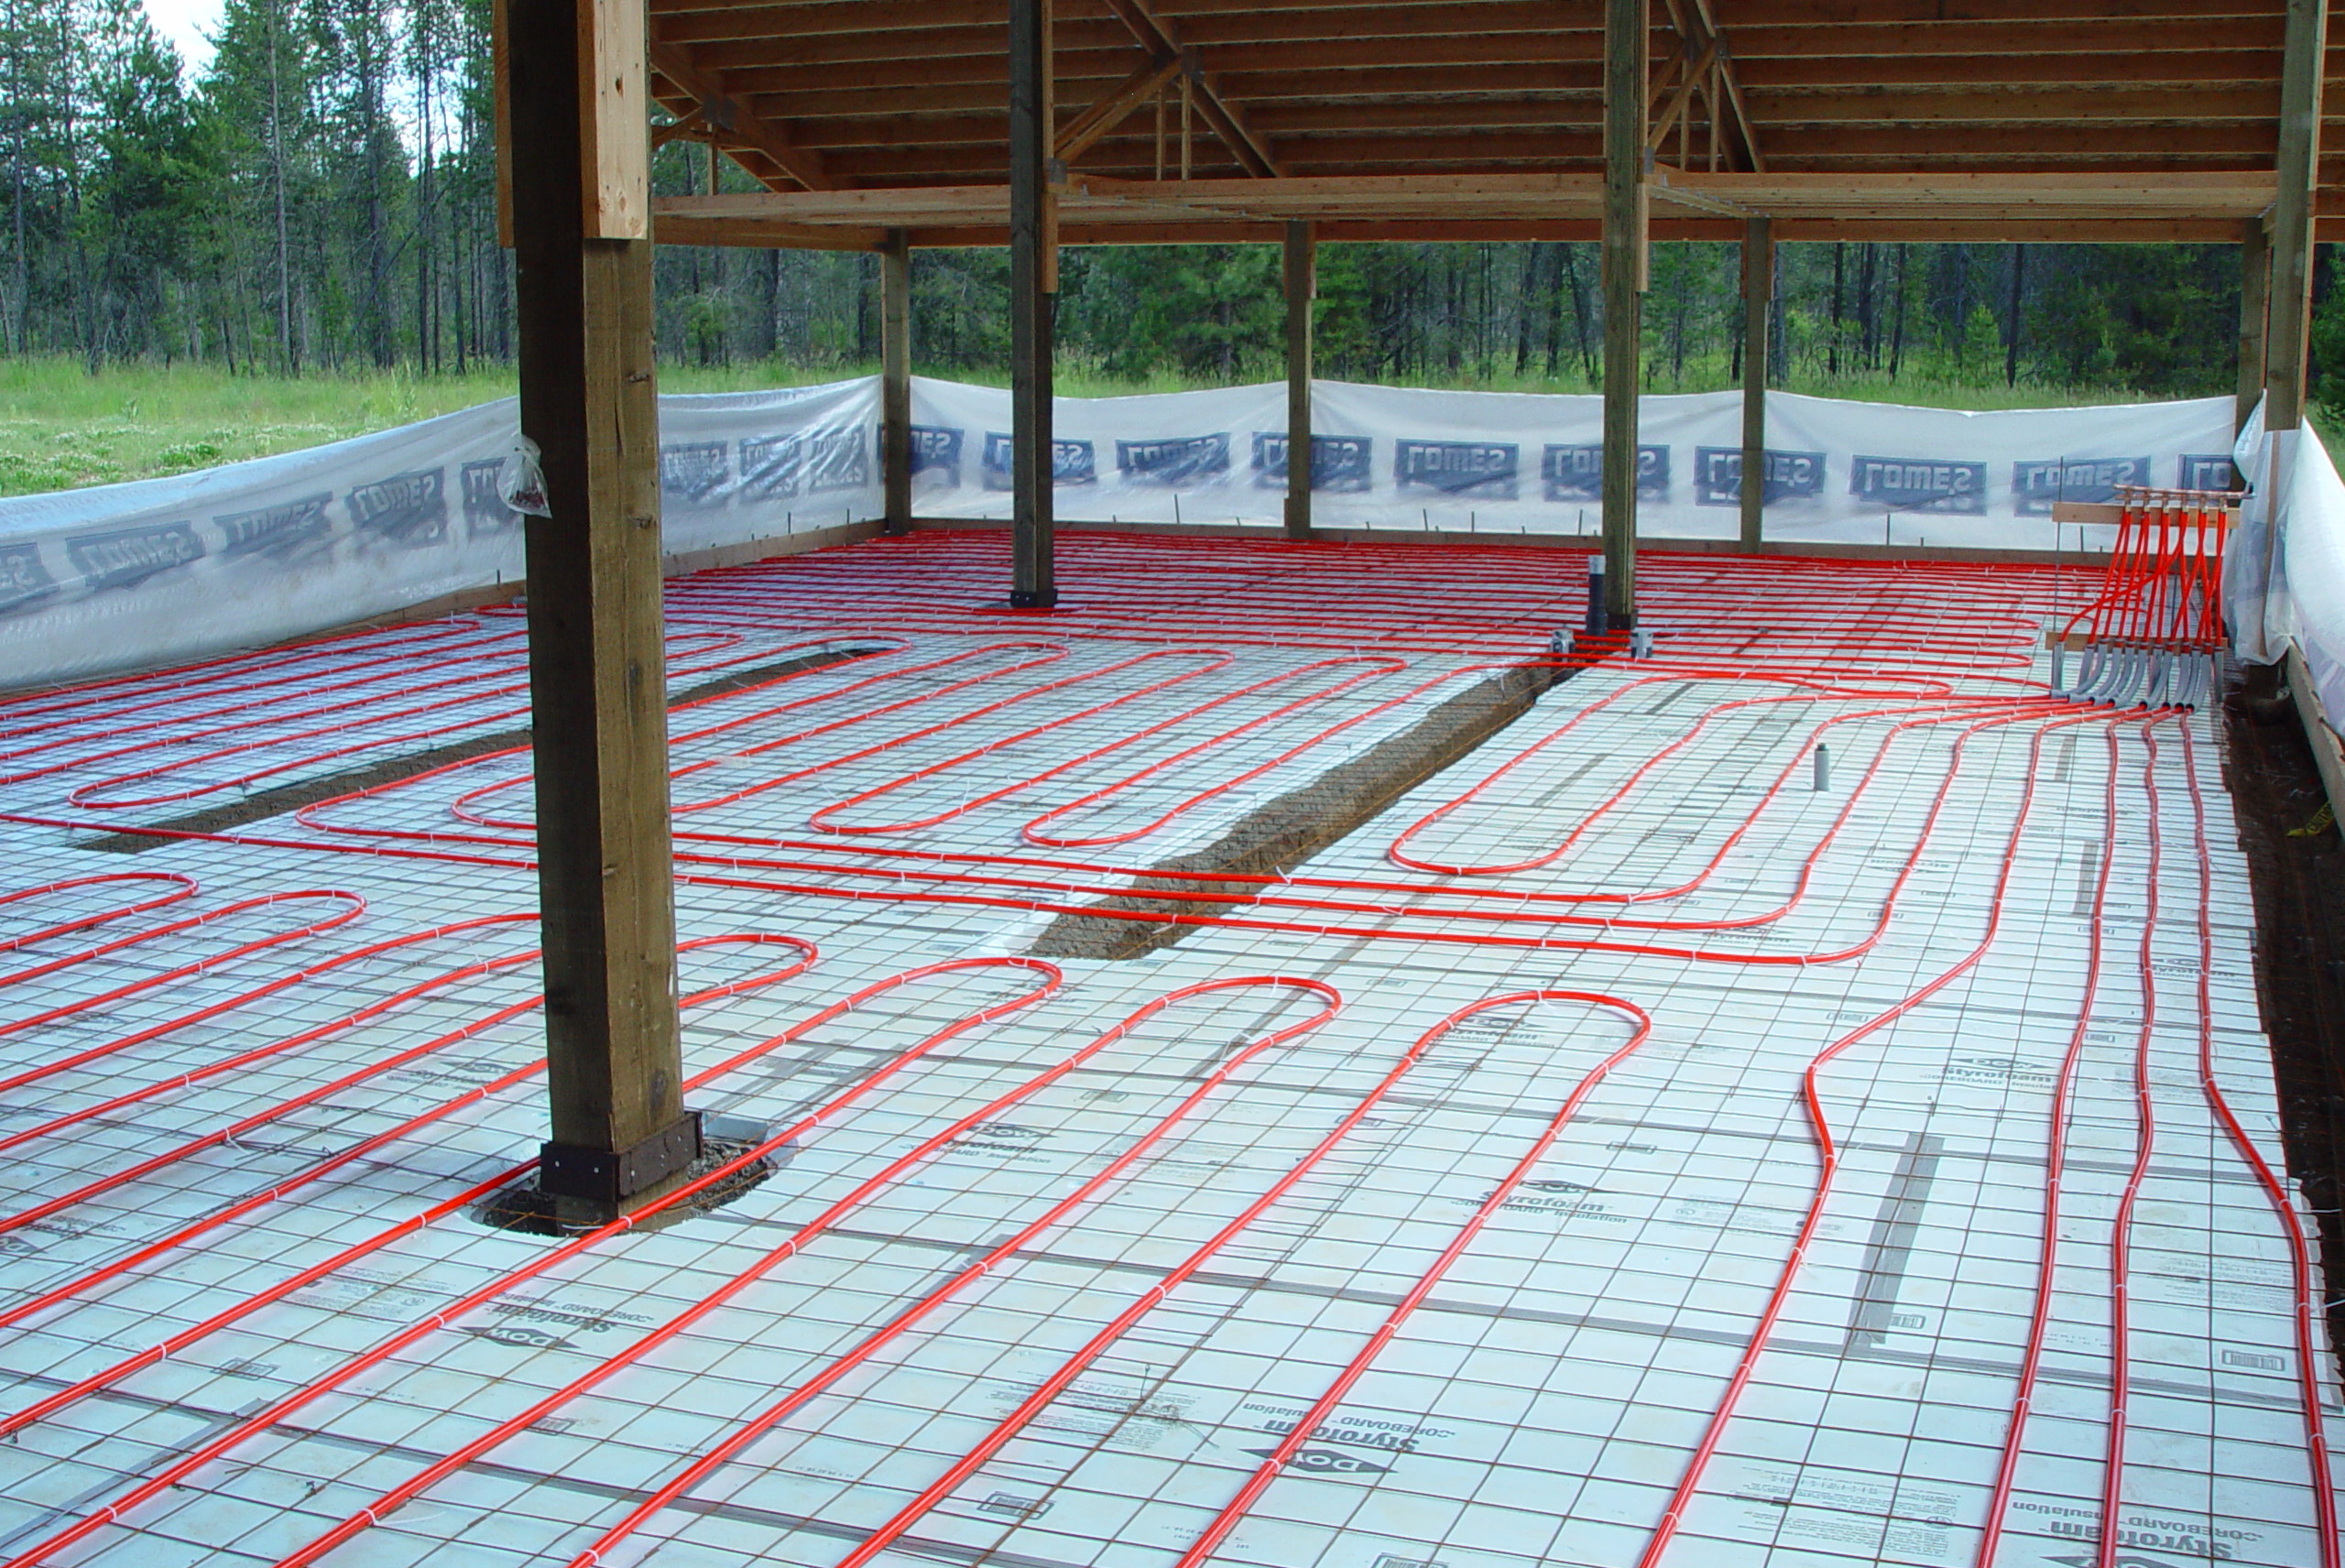
- Locate the Manifold: This is the central hub where the radiant floor heating pipes connect. It usually has valves, gauges, and a pump.
- Check the Circulation Pump: Make sure the pump is running smoothly. Listen for unusual noises (grinding, squealing), which can indicate a failing pump. A failing pump won't circulate the water properly, leading to cold spots.
- Inspect the Manifold Valves: Each loop of radiant tubing should have its own valve. Make sure all the valves are open. Partially closed valves can restrict flow to certain areas. You can often *feel* a temperature difference on the pipes before and after the valve if there's a restriction.
- Consider Balancing the System: Radiant floor heating systems are designed to be balanced, meaning that each loop of tubing receives the correct amount of hot water. If the system is unbalanced, some areas will be hotter than others. Balancing typically involves adjusting the valves on the manifold to ensure equal flow to each loop. This is best left to a professional, but you can research "radiant floor heating manifold balancing" to get a better understanding.
Why check this first? It's often easier and cheaper to fix circulation problems than to deal with insulation issues. Rule out the simple stuff first!
DIY Actions You Can Take (With Caution!)
Based on your findings, there are a few simple DIY actions you might be able to take. Remember, safety first! If you're uncomfortable with any of these steps, call a professional.
- Seal Obvious Cracks: Small cracks in the foundation can be sealed with readily available concrete crack sealant. Clean the area thoroughly before applying the sealant, following the manufacturer's instructions. This prevents water and air infiltration.
- Improve Landscaping Drainage: Ensure that water drains away from the foundation. Clear away any plants or debris that are trapping moisture against the foundation walls. Consider adding gravel or soil to slope the ground away from the house.
- Add Insulation in Exposed Areas (Basement/Crawlspace): If sections of the foundation wall in your basement or crawlspace are uninsulated, you may be able to add insulation yourself. Rigid foam board is a good choice for this application. Cut the foam board to size and attach it to the wall with construction adhesive and/or mechanical fasteners. Be sure to seal any gaps with foam sealant. Always check local building codes for insulation requirements.
- Address Air Leaks: Seal any obvious air leaks around windows, doors, or pipes that penetrate the foundation. Use caulk or weather stripping to close these gaps.
- Clear Obstructions: Ensure furniture and rugs are not blocking vents or covering large areas of the floor, preventing heat from radiating into the room.
Important Considerations: When working with insulation, wear appropriate protective gear, including gloves, eye protection, and a dust mask. Be sure to dispose of any waste materials properly.
When to Call a Professional
While some issues can be addressed with DIY solutions, certain problems require the expertise of a qualified HVAC professional specializing in radiant floor heating. Do not attempt repairs beyond your skill level.
Call a professional if:
- You suspect a leak in the radiant floor tubing: This requires specialized equipment and expertise to locate and repair. Ignoring a leak can lead to significant water damage.
- You suspect major foundation damage: Large cracks or structural issues require the attention of a structural engineer.
- You need to balance the radiant floor heating system: Balancing requires specialized knowledge and equipment.
- You suspect insulation problems beneath the concrete slab: This is a complex issue that often requires removing part of the slab to access and repair the insulation. This is a major undertaking.
- You're uncomfortable working with electrical or plumbing systems: Don't risk your safety or damage to your home.
- You've tried the DIY steps and the problem persists: It's time to get a professional opinion.
Finding a Qualified Professional: Look for HVAC contractors who have experience with radiant floor heating systems, specifically those embedded in concrete slabs. Ask for references and check online reviews. A reputable contractor will be able to accurately diagnose the problem and recommend the appropriate solution.
The Bottom Line
Troubleshooting radiant floor heating insulation issues can seem daunting, but by following a systematic approach, you can often identify the problem and take simple steps to improve the performance of your system. Remember to prioritize safety and don't hesitate to call a professional when needed. A little detective work can save you time, money, and discomfort. By understanding the role of insulation and systematically checking for issues, you can bring back the warmth and comfort to your radiant floor.