Red And Green Light Blinking On Ac Unit

Imagine this: it's a sweltering summer day, and you're counting on your air conditioner to keep you cool. Suddenly, you notice the unit is struggling, and a disconcerting red and green light starts blinking on the control panel. This is a common household appliance failure, and while it can be alarming, it doesn't always mean a costly repair. This article will guide you through a step-by-step troubleshooting process, empowering you to diagnose and potentially fix the issue yourself. Remember, safety is paramount; if you're uncomfortable with any step, especially those involving electricity or gas, call a qualified HVAC technician.
Understanding the Blinking Lights
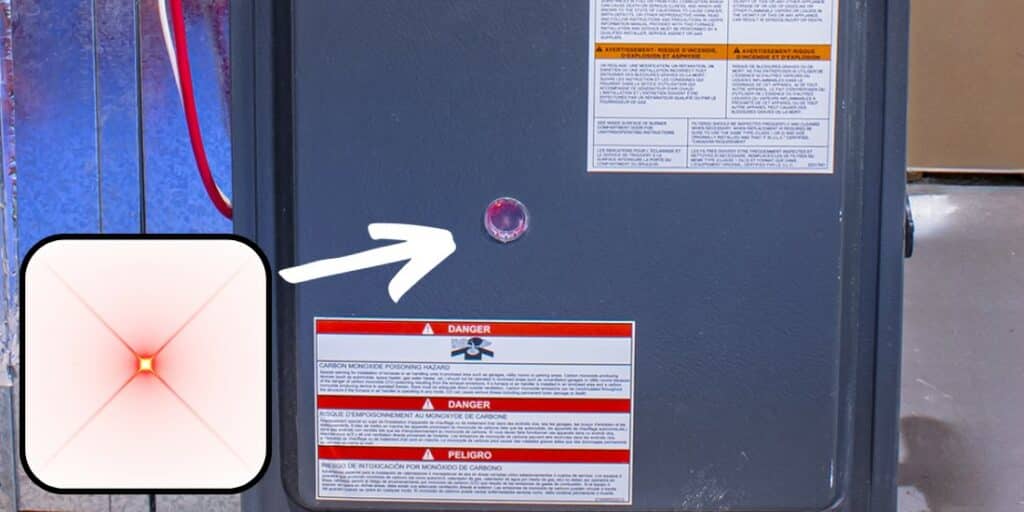
A blinking red and green light on your AC unit is usually an error code. These lights are designed to communicate a problem, but the specific meaning varies depending on the manufacturer and model. Before diving in, locate your AC unit's user manual. This document will likely contain a troubleshooting guide with a key to understanding what the specific blinking pattern signifies. If you can’t find your manual, search online using your AC unit's model number. Many manufacturers have digital versions available.
However, here are some common issues that blinking red and green lights often indicate:
- Compressor Issues: Overheating, failure, or locked rotor.
- Refrigerant Leaks: Low refrigerant levels.
- Sensor Malfunctions: Temperature or pressure sensors providing incorrect readings.
- Electrical Problems: Low voltage, wiring issues, or capacitor failure.
- Dirty Filters: Restricted airflow.
- Frozen Evaporator Coil: Ice buildup preventing proper cooling.
- Communication Errors: Between the indoor and outdoor units.
Step-by-Step Troubleshooting Guide
Follow these steps in order, starting with the simplest checks and progressing to more involved procedures. Always prioritize safety and turn off the power to the AC unit at the breaker before attempting any internal inspection or repair.
1. Check the Power Supply
The first and easiest thing to check is the power supply. A fluctuating or interrupted power supply can cause all sorts of strange behavior in electronic appliances.
- Circuit Breaker: Go to your electrical panel and locate the breaker for your AC unit. Make sure it's in the "ON" position. If it's tripped (in the "OFF" or middle position), switch it to "OFF" and then back "ON." If it trips again immediately, there's likely a more serious electrical issue, and you should call an electrician.
- Disconnect Switch: Most outdoor AC units have a disconnect switch located near the unit itself. Ensure this switch is also in the "ON" position. It might be a simple toggle switch or a pull-out block.
- Voltage: If you have a multimeter and know how to use it safely, you can check the voltage at the disconnect switch. This is generally a 220V-240V circuit. If you are not comfortable working with electricity, skip this step and call a professional.
2. Inspect the Air Filter
A dirty air filter is one of the most common causes of AC problems. A clogged filter restricts airflow, forcing the unit to work harder and potentially causing it to overheat and trigger error codes.
- Locate the Filter: The air filter is usually located inside the indoor unit, often behind a removable panel. Consult your user manual if you're unsure where it is.
- Inspect the Filter: Remove the filter and hold it up to the light. If you can barely see through it, it's dirty.
- Clean or Replace: Washable filters can be cleaned with water and mild detergent, but ensure they are completely dry before reinstalling. Disposable filters should be replaced with a new filter of the same size and type.
- Regular Maintenance: Replace or clean your air filter every 1-3 months, depending on usage and air quality.
3. Check the Outdoor Unit
The outdoor unit, or condenser, plays a crucial role in the cooling process. Make sure it's free from obstructions and debris.
- Clear Debris: Remove any leaves, twigs, grass clippings, or other debris that may be blocking the condenser coils. Use a garden hose to gently rinse the coils from the inside out. Do not use a pressure washer, as it can damage the fins.
- Ensure Airflow: Make sure there's at least 2-3 feet of clear space around the unit on all sides to allow for proper airflow. Avoid planting shrubs or placing objects too close to the unit.
- Inspect the Fan: With the power OFF, visually inspect the fan blades for damage. Ensure they are not obstructed and can spin freely.
4. Inspect the Indoor Unit
The indoor unit, or evaporator, is responsible for absorbing heat from your home. Check for signs of ice buildup or restricted airflow.
- Check for Ice: Look for ice buildup on the evaporator coil. If you see ice, the coil may be frozen. Turn off the AC unit and set the fan to "ON" to allow the ice to melt. This may take several hours. Once the ice has melted, try running the AC again. If the coil freezes up again quickly, there's likely a more serious issue, such as a refrigerant leak or airflow problem.
- Clean the Evaporator Coil (If Accessible): Some evaporator coils are accessible for cleaning. Use a fin comb to straighten any bent fins. A specialized coil cleaner can also be used to remove dirt and grime. Always follow the manufacturer's instructions when using coil cleaners. If you are unsure about cleaning the coil, it is best to leave this to a professional.
5. Check the Condensate Drain Line
The condensate drain line removes excess moisture from the indoor unit. A clogged drain line can cause water to back up, leading to leaks and potentially triggering error codes.
- Locate the Drain Line: The drain line is usually a PVC pipe that exits the indoor unit and drains outside or into a nearby drain.
- Check for Clogs: Look for any signs of blockage, such as standing water near the indoor unit or a musty odor.
- Clear the Drain Line: You can try to clear the drain line using a wet/dry vacuum. Attach the vacuum hose to the end of the drain line and suck out any debris. You can also try using a stiff wire or a drain snake to break up any clogs. Alternatively, you can pour a cup of white vinegar into the drain line to help dissolve any buildup.
6. Reset the AC Unit
Sometimes, a simple reset can resolve minor issues. Turn off the power to the AC unit at the breaker for about 30 minutes, then turn it back on. This can sometimes clear temporary error codes.
7. Consult the User Manual for Specific Error Codes
As mentioned earlier, your user manual is your best resource for understanding the specific meaning of the blinking red and green lights. Look up the error code and follow the troubleshooting steps provided by the manufacturer.
When to Call a Professional
While many AC problems can be resolved with simple DIY troubleshooting, some issues require the expertise of a qualified HVAC technician. Never attempt repairs that you are not comfortable with or that involve working with electricity, gas, or complex components.
Call a professional if:
- The blinking red and green lights persist after attempting the above troubleshooting steps.
- You suspect a refrigerant leak. Refrigerant is a hazardous substance, and handling it requires specialized equipment and training.
- You suspect a compressor problem. The compressor is the heart of the AC unit, and repairs are complex and expensive.
- You have electrical problems, such as a continuously tripping breaker or exposed wiring.
- You suspect a gas leak (in the case of gas-powered AC units).
- You are uncomfortable working with electricity or any of the components of the AC unit.
- The AC unit is still under warranty. Attempting DIY repairs may void the warranty.
Preventative Maintenance
The best way to avoid AC problems is to perform regular preventative maintenance. This includes:
- Changing or cleaning the air filter regularly.
- Keeping the outdoor unit free from debris.
- Having your AC unit professionally inspected and serviced at least once a year.
A well-maintained AC unit will run more efficiently, last longer, and keep you comfortable all summer long. Remember, staying cool doesn't have to be complicated. By following these troubleshooting steps, you can address common issues and keep your AC unit running smoothly. And always, prioritize safety and call a professional when needed.