Red Light On Air Conditioner

Decoding the Red Light on Your Air Conditioner: A Homeowner's Guide
That blinking or solid red light on your air conditioner can be alarming. It's your system's way of telling you something's wrong. Before you panic or call for emergency service, this guide will help you understand what that red light means, how to troubleshoot potential issues, and when it's time to call in a professional.
Understanding the Red Light: What's It Signaling?
The meaning of a red light on your air conditioner can vary depending on the manufacturer and model. Generally, it indicates a fault or error. Common causes include:
- Compressor Issues: The compressor is the heart of your AC. A red light might indicate overheating, a locked rotor, or other electrical problems.
- Refrigerant Problems: Low refrigerant levels or leaks can trigger a fault.
- Electrical Problems: Issues with wiring, fuses, circuit breakers, or capacitors can cause a red light.
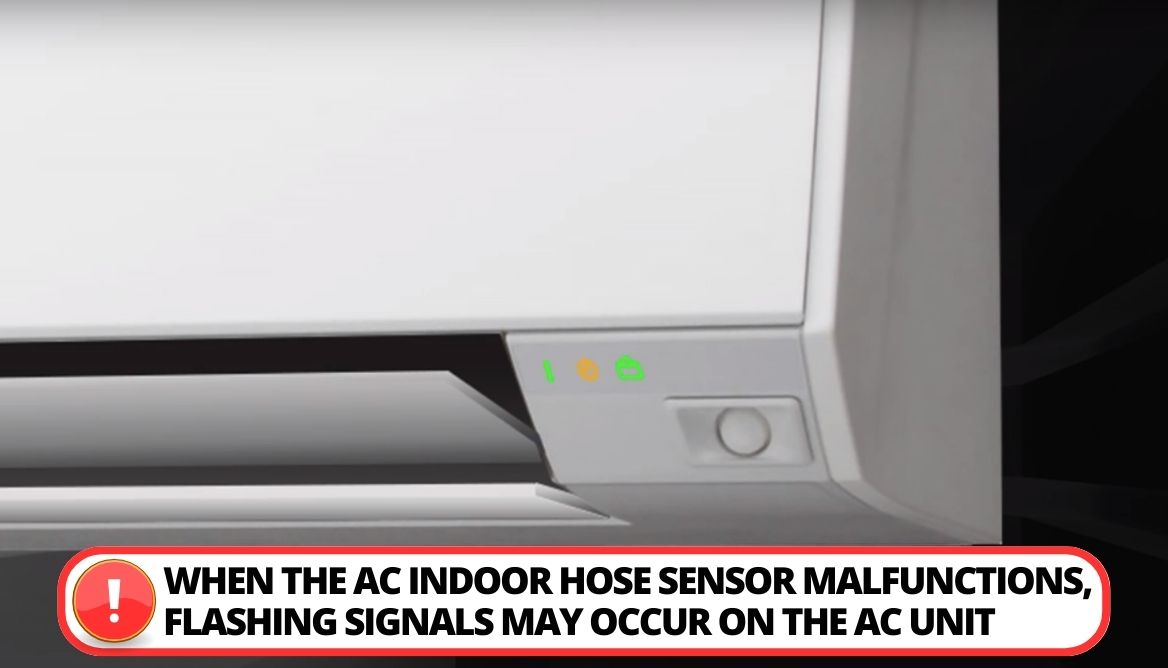
- Sensor Malfunctions: Temperature sensors or pressure sensors might be faulty, sending incorrect readings to the control board.
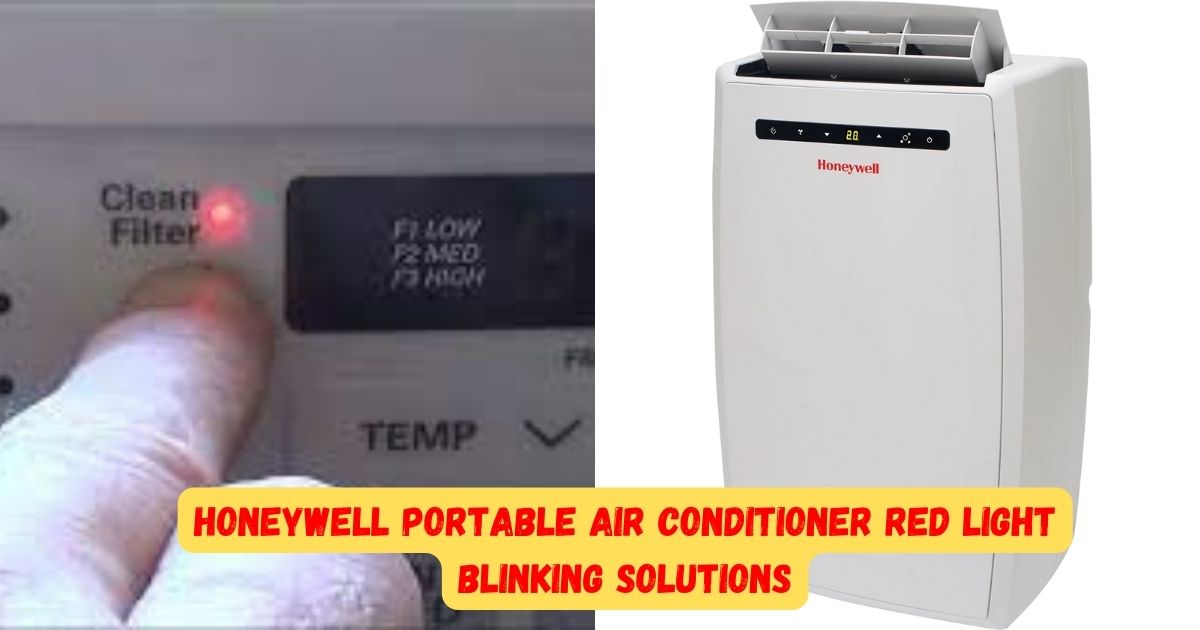
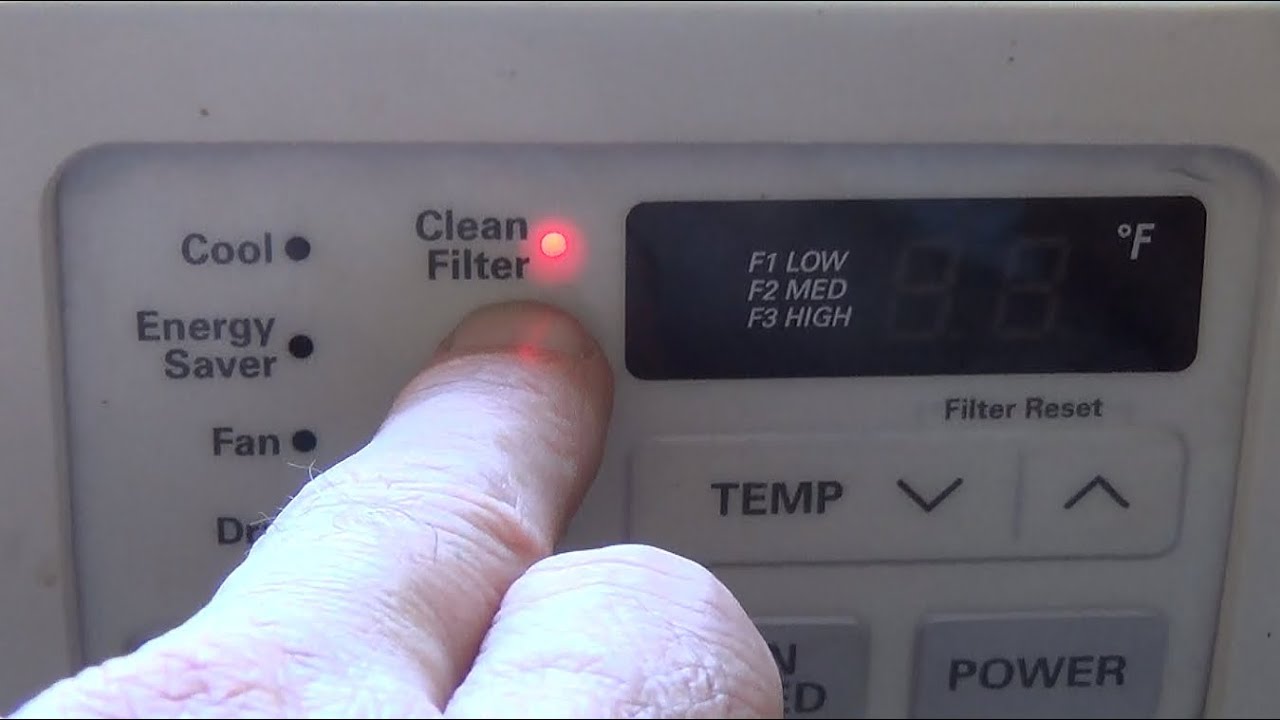
- Dirty Filters or Coils: Restricted airflow due to dirty filters or coils can cause the system to overheat and trigger a fault.
- Control Board Issues: The control board is the "brain" of your AC. A red light could indicate a problem with the board itself.
- High-Pressure or Low-Pressure Switch Trip: These switches protect the system from operating outside safe pressure ranges.
Safety First! Before You Start
Working with electricity can be dangerous. Before you begin any troubleshooting, follow these safety precautions:
- Turn Off the Power: Locate the circuit breaker for your air conditioner (both the indoor and outdoor units) and turn it off. Verify that the power is off by testing with a non-contact voltage tester.
- Wear Safety Glasses: Protect your eyes from debris.
- Be Careful of Sharp Edges: Air conditioners can have sharp metal components.
- When in Doubt, Call a Pro: If you're not comfortable working with electricity or HVAC systems, call a qualified HVAC technician. It's better to be safe than sorry.
Troubleshooting Steps: A DIY Approach
Here are some steps you can take to troubleshoot the red light before calling a professional:
- Check the Air Filter: A dirty air filter is one of the most common causes of AC problems. Replace it with a clean filter. Ensure the new filter is the correct size and type for your unit.
- Clean the Outdoor Unit: Debris like leaves, grass clippings, and dirt can block airflow to the outdoor condenser unit. Use a garden hose (with a gentle spray) to clean the fins. Do not use a pressure washer, as this can damage the fins.
- Check the Circuit Breaker: Make sure the circuit breaker for your air conditioner hasn't tripped. If it has, reset it. If it trips again immediately, there's likely a more serious electrical problem.
- Inspect Wiring Connections: Visually inspect the wiring connections at the indoor and outdoor units. Look for loose wires, corrosion, or burned connections. (Remember, power should be off!) If you find any loose connections, tighten them carefully. If you see burned wires, it's best to call a professional.
- Check the Condensate Drain Line: A clogged condensate drain line can cause water to back up and trigger a safety switch. Locate the drain line (usually a PVC pipe near the indoor unit) and clear any clogs. You can use a wet/dry vacuum or a stiff wire to dislodge the blockage.
- Reset the System: Some air conditioners have a reset button. Consult your owner's manual to find its location and press it. You can also try turning off the power to the unit at the breaker for 30 minutes and then turning it back on.
- Consult Your Owner's Manual: Your owner's manual may provide specific troubleshooting steps for the red light on your particular model.
When to Call a Professional HVAC Technician
While some issues can be resolved with DIY troubleshooting, others require the expertise of a qualified HVAC technician. Call a professional if:
- You're Uncomfortable Working with Electricity: If you're not confident working with electrical components, it's best to leave the repairs to a professional.
- You Suspect a Refrigerant Leak: Refrigerant leaks require specialized equipment and training to repair. Handling refrigerant requires EPA certification.
- The Compressor is Making Unusual Noises: If you hear loud buzzing, clicking, or grinding noises coming from the compressor, it could be a sign of serious mechanical problems.
- The Red Light Persists After Troubleshooting: If you've tried the DIY troubleshooting steps and the red light is still on, there's likely a more complex problem that requires professional diagnosis and repair.
- You See Burned or Damaged Wiring: Burned or damaged wiring can be a fire hazard.
Potential Costs of Repairs
The cost of repairing your air conditioner can vary depending on the nature of the problem. Here are some approximate cost ranges:
- Air Filter Replacement: $10 - $30
- Condensate Drain Line Cleaning: $75 - $200
- Refrigerant Recharge: $200 - $800+ (depending on the amount of refrigerant needed and the type of refrigerant)
- Capacitor Replacement: $100 - $300
- Compressor Replacement: $800 - $2500+ (this is a major repair)
- Control Board Replacement: $200 - $600
- Leak Detection and Repair: $300 - $1500+ (depending on the complexity of the leak)
These are just estimates, and the actual cost may vary depending on your location, the HVAC contractor you choose, and the complexity of the repair. Always get a written estimate before authorizing any repairs.
Preventative Maintenance: Avoiding the Red Light
The best way to avoid the frustration and expense of AC repairs is to perform regular preventative maintenance. Here are some tips:
- Change Your Air Filter Regularly: At least every 1-3 months, or more often if you have pets or allergies.
- Clean the Outdoor Unit Annually: Remove debris and dirt from the condenser coils.
- Schedule Annual Professional Maintenance: A qualified HVAC technician can inspect your system, clean the coils, check refrigerant levels, and identify potential problems before they become major issues.
- Keep the Area Around the Outdoor Unit Clear: Ensure there's at least 2-3 feet of clearance around the outdoor unit for proper airflow.
Tools and Parts You Might Need
Here's a list of tools and parts you might need for basic troubleshooting:
- New Air Filter: Make sure you get the correct size and type for your unit.
- Screwdrivers: Assorted sizes and types (Phillips head and flathead).
- Wrench Set: For tightening connections.
- Wet/Dry Vacuum: For cleaning condensate drain lines.
- Non-Contact Voltage Tester: To verify that power is off.
- Garden Hose: With a gentle spray nozzle.
- Multimeter: For testing electrical components (use with caution and proper knowledge).
- Fin Comb: For straightening bent condenser fins (use gently).
Remember, this guide provides general information and troubleshooting steps. Always consult your owner's manual for specific instructions and safety precautions. When in doubt, call a qualified HVAC professional.
A Word on Refrigerant Handling
It is illegal and harmful to the environment to knowingly release refrigerant into the atmosphere. Only certified technicians are authorized to handle refrigerant. If you suspect a leak, contact a professional immediately. Ignoring a refrigerant leak can lead to costly repairs and environmental damage.
By understanding the potential causes of a red light on your air conditioner and taking proactive steps to maintain your system, you can keep your home cool and comfortable while minimizing the risk of costly repairs. Remember to prioritize safety and consult a professional when needed. Regular maintenance by qualified professionals will help ensure your unit runs optimally for years to come. Good luck, and stay cool!