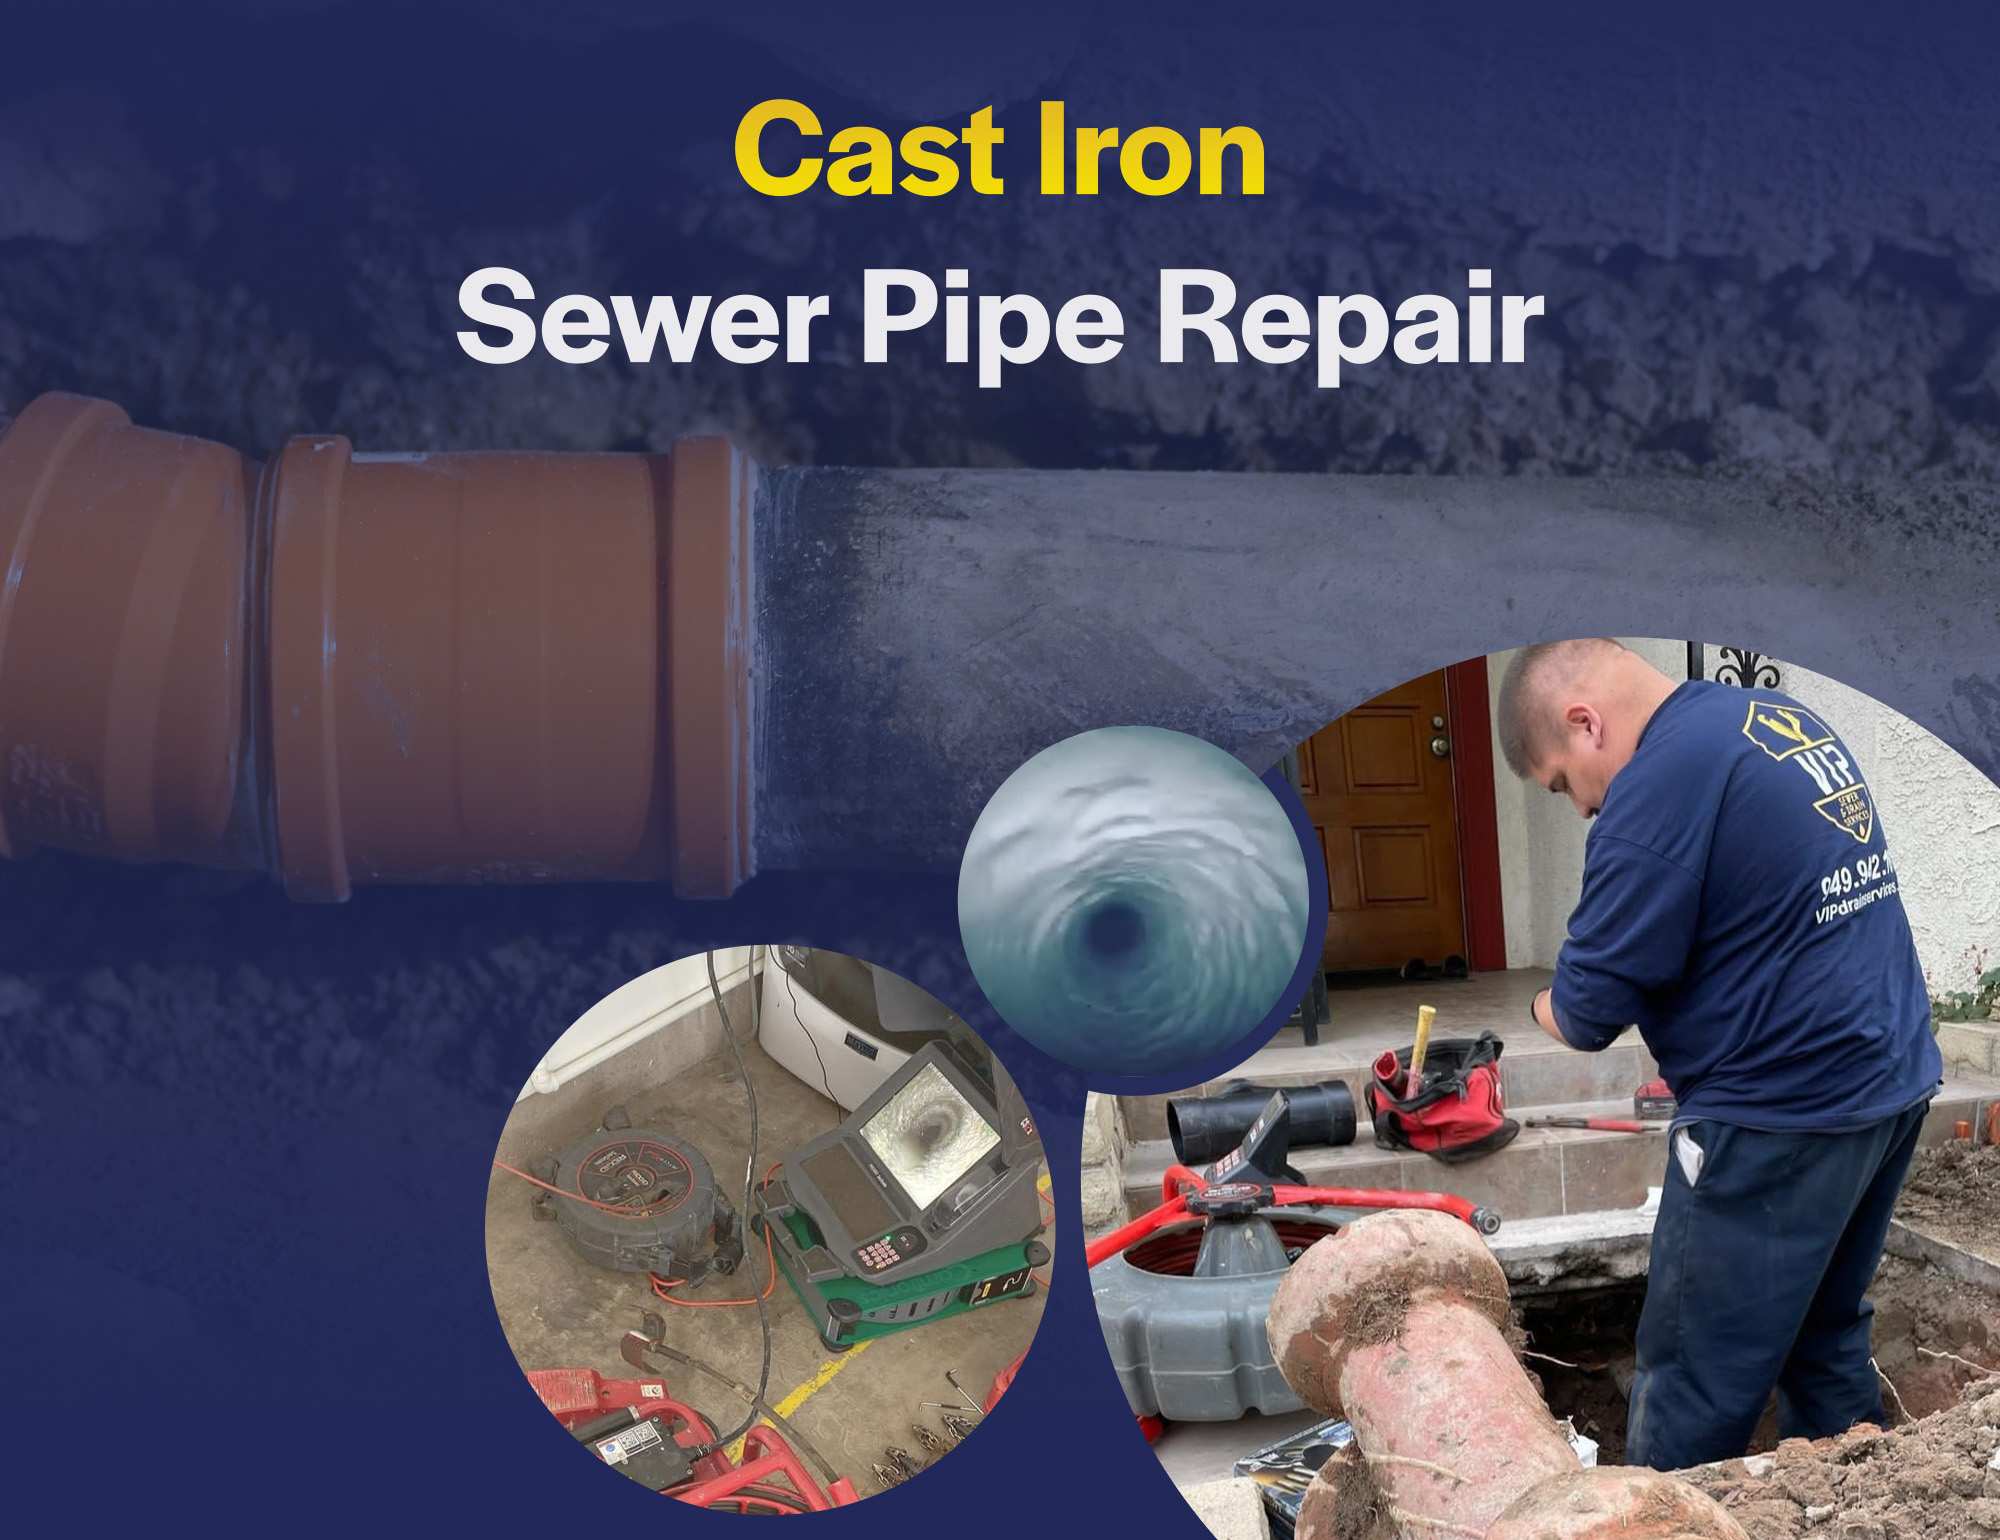
Repair Cast Iron Pipe With Epoxy

One of the most frustrating issues homeowners face, especially during extreme weather, is inconsistent heating or cooling throughout their home. You might find one room freezing while another is stuffy, or experience uneven temperatures on different floors. While many factors can contribute to this, a common culprit, particularly in older homes, is a leak in the cast iron pipe system that distributes hot or cold water for radiators or baseboard heaters. This article will guide you through troubleshooting and repairing minor leaks in your cast iron pipes using epoxy. Remember, safety first! If at any point you feel uncomfortable or unsure, call a professional.
Diagnosing the Leak: A Step-by-Step Approach
Before you start slathering epoxy, you need to pinpoint the source of your problem. Here’s how to diagnose a potential cast iron pipe leak:
Step 1: The Visual Inspection (No Tools Required!)
This is your first line of defense. Carefully examine all visible sections of your cast iron piping. Look for:
- Visible water droplets or moisture on the pipe surface.
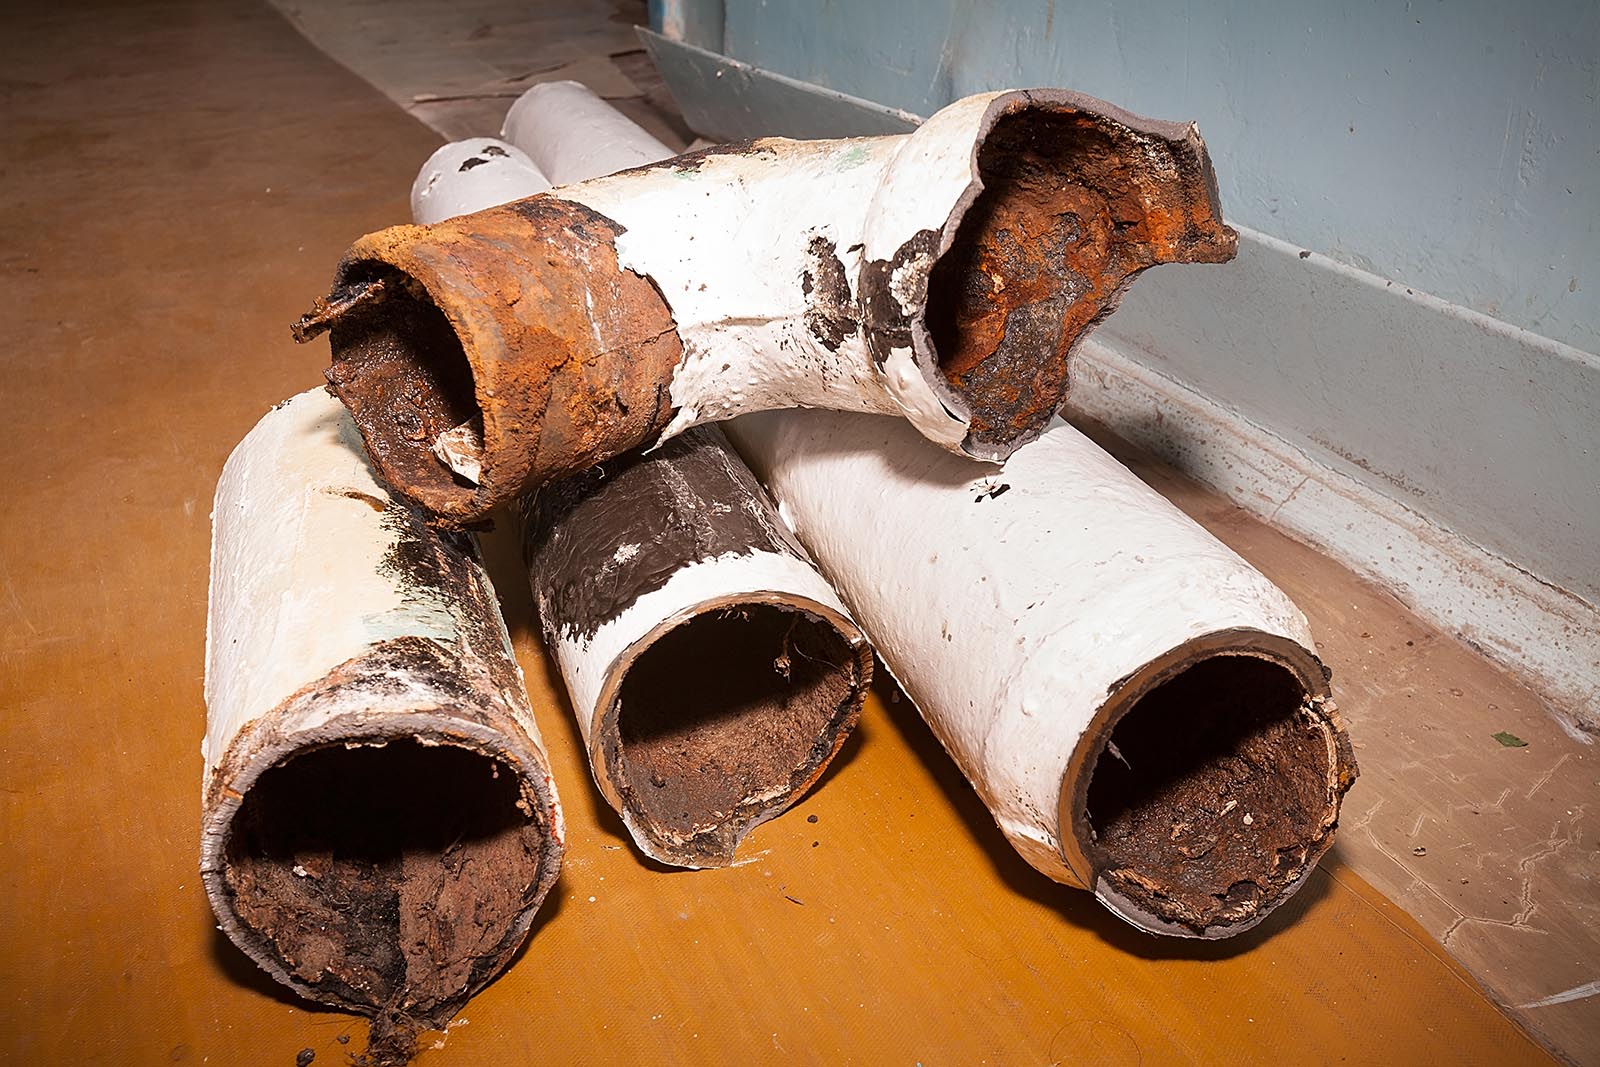
- Rust, especially extensive rust patches or flaking.
- Mineral deposits (white or grayish residue) around joints or along the pipe. This indicates past or present leakage.
- Dampness or staining on surrounding walls, floors, or ceilings.
- Musty odors in areas where the pipes run.
Pay close attention to joints, elbows, and areas where the pipe connects to radiators or baseboard heaters. These are the most common spots for leaks to develop.
Step 2: The Tissue Test (Still No Tools!)
If you suspect a leak but can't see any obvious water, try this simple test. Wipe the suspect area of the pipe with a clean, dry tissue or paper towel. Check the tissue:
- If the tissue becomes damp or discolored, you likely have a slow leak.
Repeat this test in several areas along the pipe to narrow down the location of the leak.
Step 3: The Pressure Check (Requires a Little Patience)
This method helps confirm a leak, even if it's not actively dripping. Here's what to do:
- Dry the suspected area thoroughly with a cloth.
- Wrap the area tightly with a clean paper towel or cloth. Secure it with tape if needed.
- Wait several hours, preferably overnight.
- Check the towel. If it's damp, you have a leak.
Step 4: The Sound Test (Requires Shutting Down the System - Briefly!)
This method is most effective when the heating or cooling system is actively running. Here’s how to proceed cautiously:
- Temporarily shut down your heating or cooling system to minimize water flow. Only do this for a short period to avoid temperature fluctuations in your home.
- Listen carefully near the pipes. You might hear a faint hissing or dripping sound indicating a leak, especially at joints or corroded areas.
Step 5: Checking Water Pressure (Requires a Gauge – Optional but Helpful)
While not directly related to finding the leak's location, checking your system's water pressure can indicate a leak somewhere in the system. You'll need a pressure gauge for this. Here's the process:
- Locate the pressure gauge on your boiler or circulating pump.
- Note the current pressure reading.
- Turn off the system.
- Check the pressure again after several hours. A significant drop in pressure suggests a leak in the system.
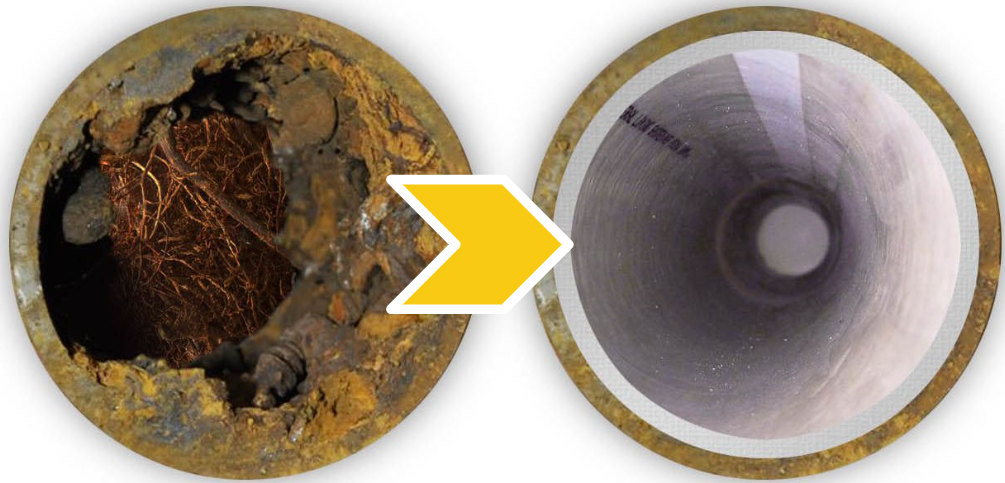
Repairing the Leak with Epoxy: DIY Steps
Once you've located the leak, you can attempt a repair using epoxy. This method is best suited for small, pinhole leaks or hairline cracks. Larger leaks or significant corrosion require professional intervention.
Safety First!
Before you begin any repair, ensure the following:
- Turn off the water supply to the affected section of pipe. Locate the shut-off valve for the specific zone or the main water valve for your heating/cooling system.
- Depressurize the system by opening a bleeder valve on a radiator or baseboard heater in the affected zone. This will release any built-up pressure.
- Wear appropriate safety gear, including gloves and eye protection.
- Work in a well-ventilated area. Epoxy fumes can be irritating.
Materials You'll Need:
- Two-part epoxy putty or liquid epoxy specifically designed for metal repair. Read the product instructions carefully to ensure compatibility with cast iron and high-temperature applications.
- Wire brush or sandpaper for cleaning the pipe surface.
- Clean rags or paper towels for cleaning and wiping.
- Mixing stick or putty knife for mixing and applying the epoxy.
- Gloves to protect your hands.
- Eye protection (safety glasses or goggles).
- Optional: Heat gun or hairdryer to speed up the curing process (follow epoxy instructions).
Step-by-Step Repair Process:
- Prepare the Surface: This is crucial for a successful repair.
- Clean the area around the leak thoroughly with a wire brush or sandpaper to remove rust, dirt, and loose paint. A clean, rough surface allows the epoxy to bond properly.
- Wipe the area with a clean rag or paper towel to remove any remaining debris.
- Ensure the pipe is completely dry before applying the epoxy. You can use a heat gun or hairdryer on a low setting to speed up the drying process.
- Mix the Epoxy: Follow the manufacturer's instructions carefully.
- For epoxy putty, knead the two parts together thoroughly until they are uniformly mixed and the color is consistent.
- For liquid epoxy, mix the resin and hardener in the correct proportions according to the instructions.
- Mix only the amount of epoxy you need for the repair, as it will harden quickly once mixed.
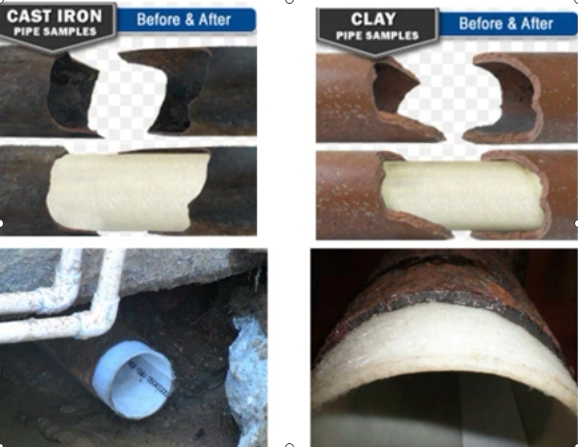
- Apply the Epoxy:
- Apply a generous amount of epoxy to the leak area, pressing it firmly into the crack or hole. Make sure the epoxy completely covers the leak and extends slightly beyond the affected area.
- If using epoxy putty, mold it to the shape of the pipe, ensuring a smooth and even surface.
- If using liquid epoxy, apply it in thin layers, allowing each layer to dry slightly before applying the next. This will help prevent drips and ensure a stronger bond.
- Cure the Epoxy:
- Allow the epoxy to cure completely according to the manufacturer's instructions. This may take several hours or even overnight.
- Do not disturb the repair while the epoxy is curing.
- Optional: Some epoxies can be cured faster with heat. If the manufacturer's instructions allow, use a heat gun or hairdryer on a low setting to speed up the curing process. Be careful not to overheat the epoxy, as this could damage the repair.
- Test the Repair:
- Once the epoxy is fully cured, slowly turn the water supply back on to the affected section of pipe.
- Carefully inspect the repaired area for any leaks.
- If you see any leaks, repeat the repair process, ensuring that you clean and dry the surface thoroughly before applying the epoxy.
When to Call a Professional
While epoxy repair can be a temporary solution for minor leaks, there are situations where you should always call a qualified HVAC technician or plumber:
- Large or Multiple Leaks: If you have a significant leak or multiple leaks along a section of pipe, it's a sign of widespread corrosion or damage. Epoxy repair is unlikely to be effective in these cases.
- Extensive Corrosion: If the cast iron pipe is heavily corroded or weakened, it may be unsafe to attempt a repair. The pipe could collapse or burst, causing significant water damage.
- Leaks at Joints or Fittings: Leaks at joints or fittings often indicate a more serious problem, such as a loose connection or damaged threading. A professional can properly tighten or replace the affected components.
- If You Are Uncomfortable or Unsure: If you are not comfortable working with plumbing or epoxy, or if you are unsure about any step in the repair process, it's always best to call a professional. Mistakes can be costly and dangerous.
- Persistent Leaks After Repair: If you have attempted an epoxy repair and the leak persists, it's a sign that the underlying problem is more serious. A professional can diagnose the problem and recommend the appropriate solution.
- Boiler or System Issues: If you suspect that the leak is related to a larger issue with your boiler or heating/cooling system, consult a qualified technician.
Preventative Measures
Even with a successful repair, it's important to take steps to prevent future leaks. Here are a few tips:
- Regular Inspections: Periodically inspect your cast iron pipes for signs of rust, corrosion, or leaks.
- Maintain Proper Water Chemistry: Ensure that the water in your heating/cooling system has the correct pH balance. Imbalances can accelerate corrosion.
- Insulate Pipes: Insulating your pipes can help prevent condensation, which can contribute to rust and corrosion.
- Address Leaks Promptly: Even small leaks can cause significant damage over time. Address them as soon as you detect them.
Repairing a cast iron pipe leak with epoxy can be a cost-effective solution for minor problems. However, it's important to assess the situation carefully and know your limitations. When in doubt, always consult a qualified professional to ensure the safety and longevity of your heating or cooling system.