Replacement Compressor For Carrier Air Conditioner
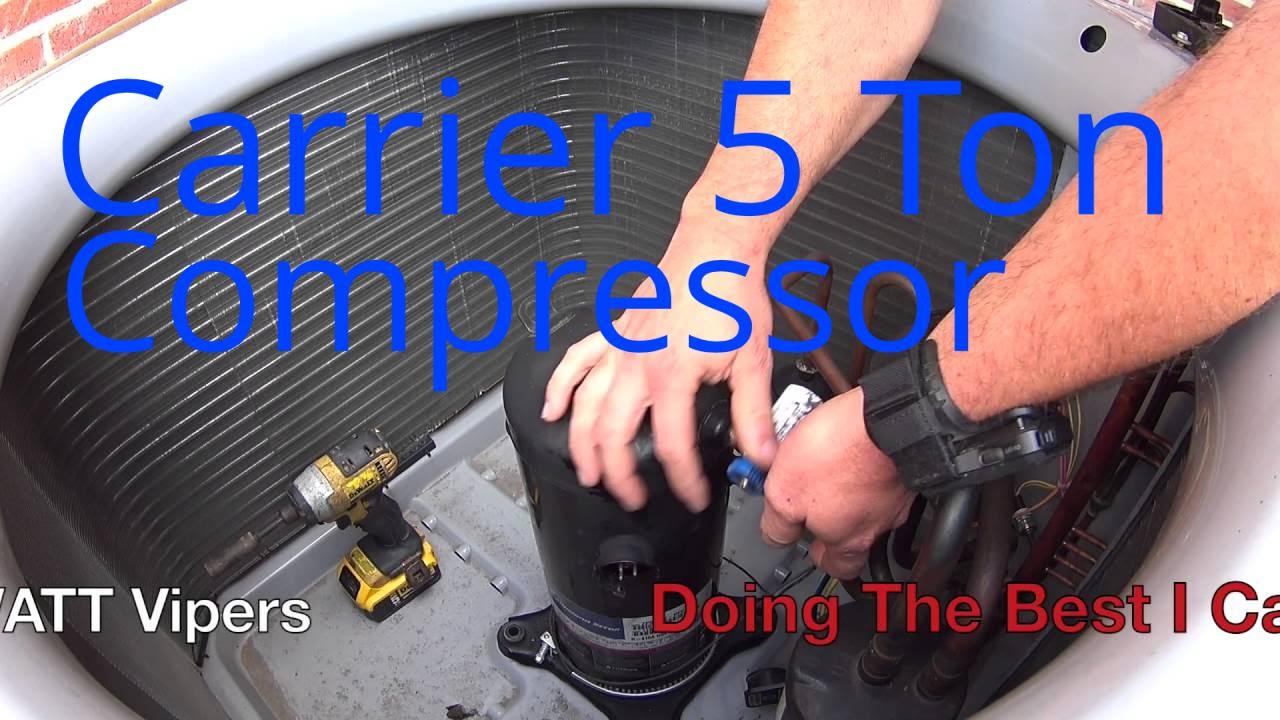
One of the most frustrating household failures is a malfunctioning air conditioner, especially during the peak of summer. When your Carrier AC unit isn't cooling as it should, or worse, not cooling at all, the culprit is often the compressor. This crucial component is essentially the heart of your AC, responsible for circulating refrigerant throughout the system. If it fails, your AC is effectively useless. This guide offers a step-by-step approach to troubleshoot a potentially faulty compressor, identifying simple fixes you can tackle yourself, and recognizing when it's time to call in a professional.
Is it *Really* the Compressor? Initial Checks
Before jumping to the conclusion that your compressor is kaput, let's rule out some easier-to-fix issues. A faulty compressor is a significant repair, so verifying the problem is essential.
1. Check the Thermostat:
It sounds obvious, but ensure your thermostat is set correctly. Verify it's in "Cool" mode and set to a temperature lower than the current room temperature. Sometimes, a simple setting error is all that's needed.
2. Inspect the Air Filter:
A clogged air filter restricts airflow, forcing the AC unit to work harder. This can lead to overheating and potentially damage the compressor over time.
- Locate the air filter: Typically found inside the indoor unit or behind a return grille.
- Inspect the filter: If it's visibly dirty, replace it with a new one of the correct size.
- Consider filter type: Use the recommended filter type for your Carrier AC unit.
3. Examine the Outdoor Unit (Condenser):
The outdoor unit, also known as the condenser, needs adequate airflow to function correctly. Obstructions can cause it to overheat and potentially damage the compressor. Always turn OFF the power to the outdoor unit at the breaker box before inspecting it.
- Clear debris: Remove any leaves, branches, weeds, or other obstructions around the unit. Ensure there's at least 2-3 feet of clear space around all sides.
- Inspect the fins: The fins on the condenser coil can become bent or damaged, restricting airflow. Gently straighten any bent fins with a fin comb (available at most hardware stores). Be careful not to puncture the coil.
4. Check the Circuit Breaker:
A tripped circuit breaker is a common cause of AC failure. Locate the circuit breaker for your AC unit in your electrical panel.
- Identify the breaker: It should be labeled "AC," "Air Conditioner," or something similar.
- Reset the breaker: If the breaker is tripped (usually in the middle position), flip it all the way to the "Off" position and then back to the "On" position.
- If it trips again: If the breaker trips again immediately, there's likely a more serious electrical problem that requires professional attention. Do not repeatedly reset the breaker.
Troubleshooting the Compressor (Proceed with Caution!)
If the preliminary checks haven't resolved the issue, the compressor itself might be the problem. The following steps involve working with electrical components and should only be attempted if you are comfortable and confident working with electricity. If you are not, call a qualified HVAC technician. Your safety is paramount.
1. Listen to the Compressor:
Turn the AC unit on and listen carefully to the compressor. Unusual noises can indicate different problems.
- Humming: A humming sound might indicate that the compressor is trying to start but is stuck. This could be due to a bad start capacitor or a locked rotor.
- Clicking: A clicking sound might indicate a faulty relay or contactor.
- Buzzing: A buzzing sound could indicate a loose wire or a faulty electrical component.
- Silence: If the compressor is completely silent, it might not be receiving power or could be completely failed.
2. Check the Compressor Capacitor(s):
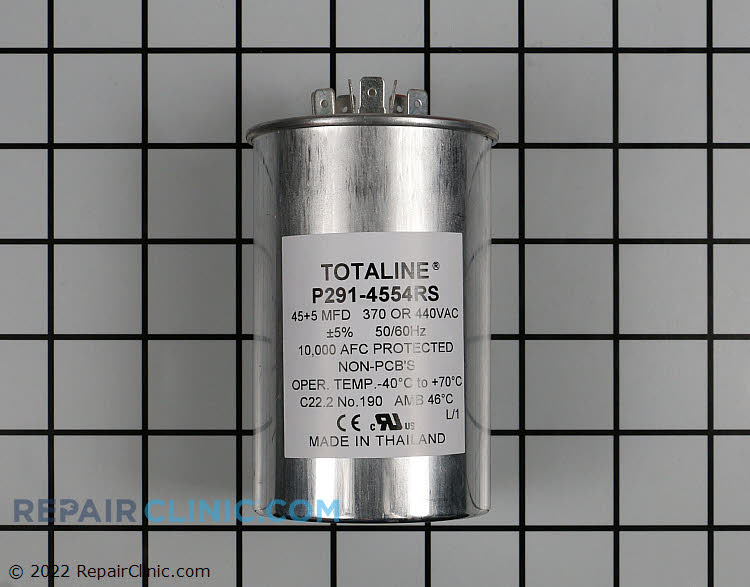
The compressor capacitor is an electrical component that helps start and run the compressor motor. A faulty capacitor is a common cause of compressor failure and can often be replaced relatively easily. Before touching any electrical components, turn OFF the power to the AC unit at the breaker box. Then, discharge the capacitor with an insulated screwdriver by carefully shorting the terminals. This is extremely important for your safety.
- Locate the capacitor(s): The capacitor(s) are typically located inside the electrical control box of the outdoor unit.
- Visually inspect the capacitor(s): Look for signs of damage, such as bulging, leaking, or cracking.
- Test the capacitor(s): If you have a multimeter with capacitance testing capabilities, you can test the capacitor(s) to see if they are within their specified range. The capacitance value is usually printed on the capacitor label. If you don't have a multimeter or are unsure how to use it, skip this step and consult a professional.
- Replacement: If the capacitor is damaged or tests outside its specified range, it needs to be replaced. Ensure you replace it with a capacitor of the exact same voltage (VAC) and capacitance (µF) rating.
3. Check the Compressor Contactor:
The contactor is an electrical switch that controls the power supply to the compressor. A faulty contactor can prevent the compressor from starting. Always turn OFF the power to the AC unit at the breaker box before working with the contactor.
- Locate the contactor: The contactor is typically located inside the electrical control box of the outdoor unit, near the capacitor(s).
- Visually inspect the contactor: Look for signs of damage, such as burnt or corroded contacts.
- Test the contactor: With the power OFF, use a multimeter to check the continuity of the contactor terminals. When the contactor is energized (when the AC is supposed to be running), the terminals should have continuity. If you are unsure how to test the contactor, consult a professional.
- Replacement: If the contactor is damaged or doesn't have continuity when energized, it needs to be replaced. Ensure you replace it with a contactor of the correct voltage and amperage rating.
4. Checking for Overload Protection:
Many compressors have an internal overload protector that will shut down the compressor if it overheats. This is a safety mechanism to prevent further damage. The overload protector will typically reset itself after a period of time, but if the underlying problem that caused the overheating is not addressed, it will continue to trip. Allow the unit to sit unused for several hours and see if it will start. If it still does not start, the compressor is likely permanently damaged or a deeper electrical issue persists.
When to Call a Professional
While some of these troubleshooting steps are relatively straightforward, certain situations require the expertise of a qualified HVAC technician. Never attempt repairs that you are uncomfortable with or that involve handling refrigerant, working with gas lines, or dealing with complex electrical components.
Call a professional if:
- You are uncomfortable working with electricity.
- You suspect a refrigerant leak. Refrigerant is a hazardous substance and should only be handled by trained professionals.
- You suspect a gas leak (if your AC unit is a gas pack system).
- The compressor is making loud, unusual noises (e.g., grinding, banging).
- You have replaced the capacitor(s) and/or contactor, but the compressor still doesn't start.
- You need to access or work with the sealed refrigerant lines.
- You are unsure about any aspect of the troubleshooting process.
- Your Carrier AC unit is still under warranty. Attempting DIY repairs could void the warranty.
Compressor Replacement: A Professional Task
Replacing a compressor is a complex and specialized task that should only be performed by a qualified HVAC technician. It involves:
- Recovering the existing refrigerant.
- Disconnecting the refrigerant lines.
- Removing the old compressor.
- Installing the new compressor.
- Reconnecting the refrigerant lines.
- Evacuating the system to remove air and moisture.
- Recharging the system with the correct amount of refrigerant.
- Testing the system to ensure proper operation.
Improper compressor replacement can lead to serious problems, including:
- Refrigerant leaks.
- Damage to the AC unit.
- Reduced cooling efficiency.
- Voiding the warranty.
While DIY repairs can save money in some cases, attempting to replace a compressor without the proper knowledge, tools, and experience can be costly and dangerous. Always err on the side of caution and call a professional for compressor replacement.
Finding a Reputable HVAC Technician
When choosing an HVAC technician, consider the following:
- Licensing and insurance: Ensure the technician is properly licensed and insured.
- Experience: Look for a technician with experience working on Carrier AC units.
- Reputation: Check online reviews and ask for referrals from friends or family.
- Estimates: Get multiple estimates before making a decision.
- Warranty: Ask about the warranty on parts and labor.
Preventative Maintenance: Extending Compressor Life
Regular maintenance can help extend the life of your compressor and prevent costly repairs. Consider the following:
- Regularly replace air filters: Dirty air filters restrict airflow and force the compressor to work harder.
- Clean the outdoor unit: Remove debris and straighten bent fins to ensure proper airflow.
- Schedule annual maintenance: Have a qualified HVAC technician inspect your AC unit annually to identify and address potential problems before they become major issues.
- Consider a surge protector: Power surges can damage electrical components, including the compressor.
By following these troubleshooting steps and preventative maintenance tips, you can help keep your Carrier AC unit running smoothly and efficiently for years to come. Remember, when in doubt, call a professional.