Replacing A Delta Shower Diverter Valve
One of the most frustrating experiences in a home is a malfunctioning shower. Often, the problem stems from a faulty shower diverter valve, which is responsible for directing water either to the showerhead or the tub spout. When this valve fails, you might experience a weak shower stream, water flowing from both the showerhead and the tub spout simultaneously, or no water coming from the showerhead at all. While seemingly complex, replacing a Delta shower diverter valve is a task many homeowners can tackle with the right guidance and tools.
Troubleshooting Your Delta Shower Diverter Valve
Before diving into the replacement process, let’s first confirm that the diverter valve is indeed the culprit. Here’s a step-by-step troubleshooting guide:
Step 1: Identifying the Problem
- Symptom: Water flows from both the showerhead and the tub spout when the diverter is engaged.
- Possible Cause: Worn or damaged diverter valve cartridge/assembly. This is the most common reason.
- Symptom: Weak shower stream, even with good water pressure elsewhere in the house.
- Possible Cause: Partially blocked or damaged diverter valve. Mineral buildup can also be a factor.
- Symptom: No water flows from the showerhead, only from the tub spout, regardless of the diverter position.
- Possible Cause: Severely damaged diverter valve or a blockage in the valve preventing water from reaching the showerhead.
- Symptom: Difficulty pulling up or pushing down the diverter knob.
- Possible Cause: Stiff or corroded valve components.
Step 2: Checking Water Pressure
Low water pressure can sometimes mimic a diverter valve problem. Check the water pressure in other faucets and fixtures in your home. If the pressure is consistently low throughout the house, the issue might be with your main water supply or a pressure regulator, requiring a call to a plumber.
Step 3: Examining the Diverter Handle and Spout
Inspect the diverter handle and tub spout for visible signs of damage, such as cracks or corrosion. A damaged handle might not be engaging the valve properly. A heavily corroded spout might indicate mineral buildup within the valve itself.
Step 4: Determining Your Diverter Valve Type
Delta uses several types of diverter valves, each requiring a slightly different approach to repair or replacement. Common types include:
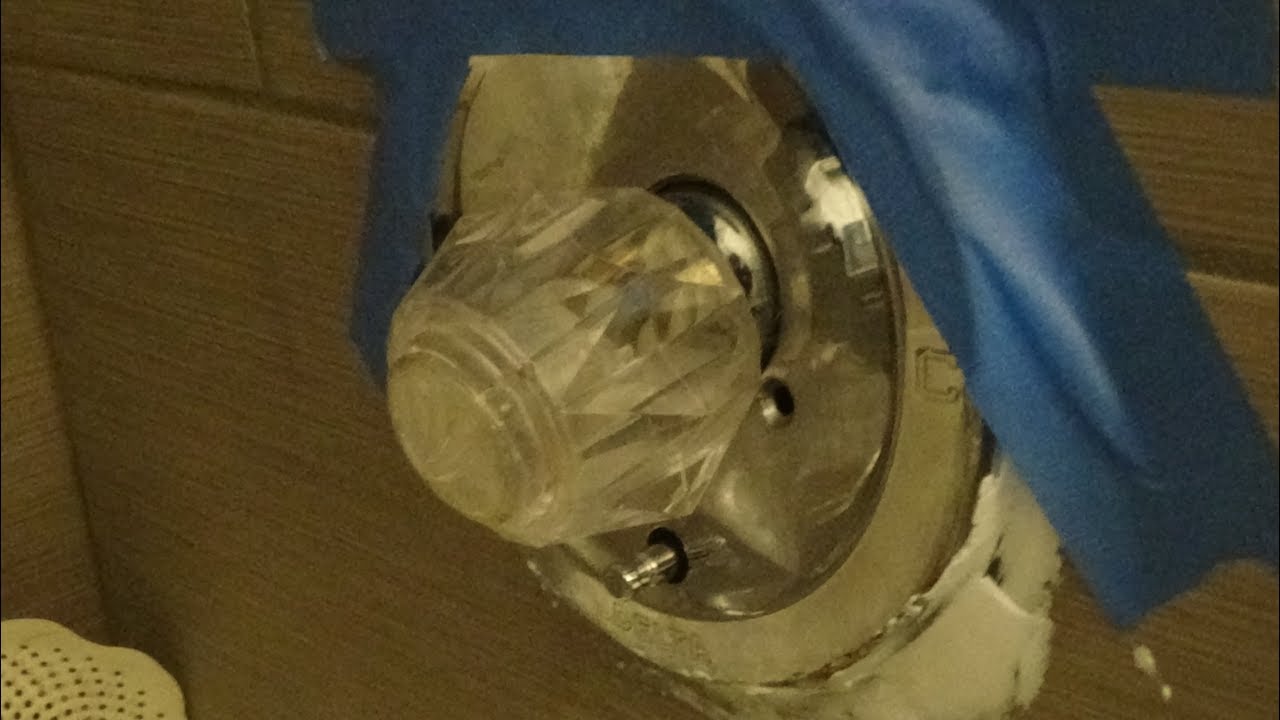
- T-handle diverter: Located on the tub spout. You pull up or push down on the handle to divert water.
- Knob diverter: Integrated into the shower faucet handle. You turn or pull the knob to divert water.
- Push-button diverter: A button located on the tub spout or faucet handle that you press to divert water.
Knowing your diverter type will help you purchase the correct replacement parts and follow the appropriate instructions.
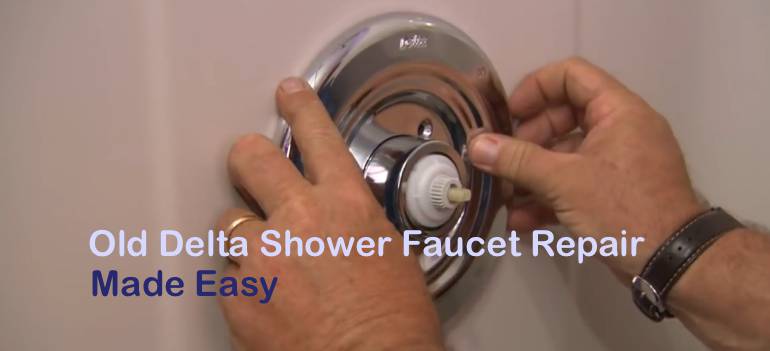
Replacing Your Delta Shower Diverter Valve (T-Handle Type)
This section focuses on replacing the most common type: the T-handle diverter located on the tub spout. *Always shut off the water supply before starting any plumbing work.*
Step 1: Gathering Your Tools and Materials
You'll need the following:
- New Delta diverter valve assembly (ensure it's compatible with your spout)
- Flathead screwdriver
- Phillips head screwdriver
- Adjustable wrench
- Penetrating oil (like WD-40)
- Plumber's tape (Teflon tape)
- Clean cloths or towels
- Bucket (to catch any residual water)
Step 2: Shutting Off the Water Supply
This is the most important step. Locate the shut-off valves for your shower. These are typically located in the basement, behind an access panel in an adjacent room, or near the water meter. Turn both the hot and cold water valves clockwise until they are completely closed. Open the tub spout briefly to relieve any residual water pressure.
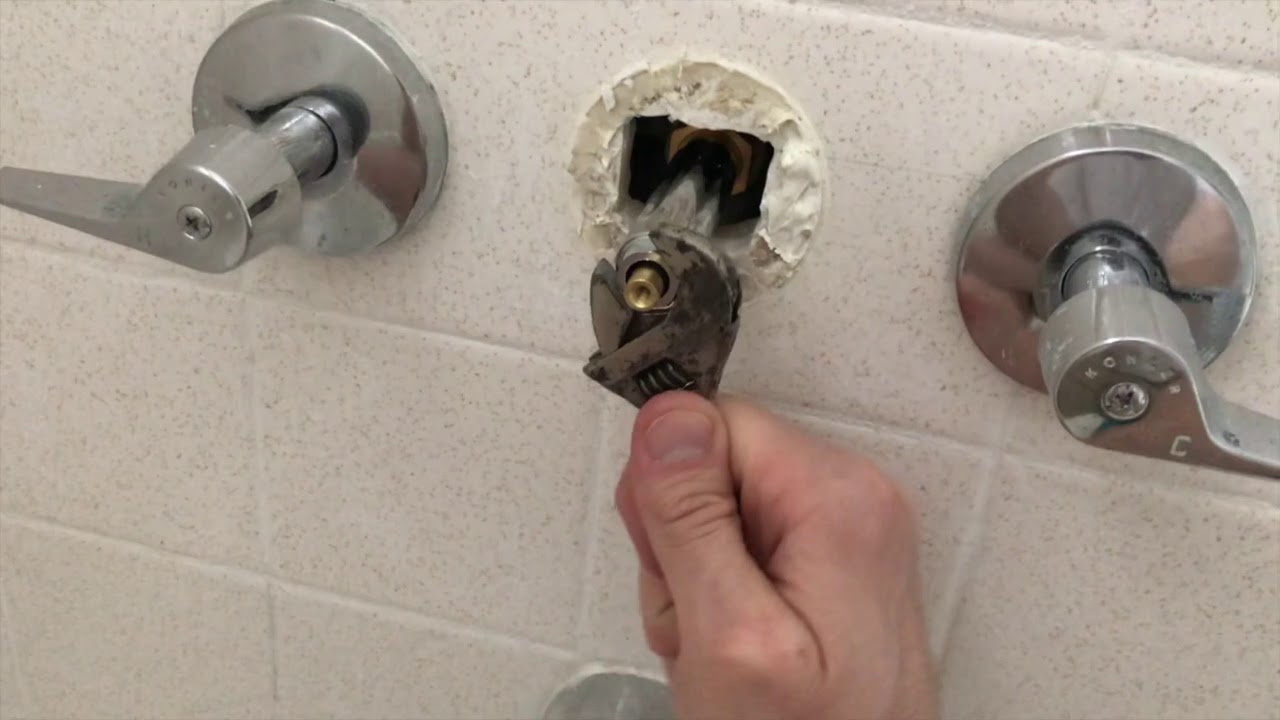
Step 3: Removing the Old Tub Spout
The method for removing the spout depends on how it's attached:
- Slip-on spout (with a set screw): Locate the small set screw (usually on the underside or back of the spout). Loosen the set screw with an Allen wrench or screwdriver. Once loose, gently pull the spout straight off the pipe. If it's stuck, try applying penetrating oil around the base of the spout and let it sit for a few minutes.
- Threaded spout: This type screws onto the pipe. Wrap a cloth around the spout to protect its finish, then use an adjustable wrench to turn the spout counterclockwise until it comes loose. If it's stuck, penetrating oil can help.
Be prepared for a small amount of water to drain from the pipe when you remove the spout. Have a bucket ready.
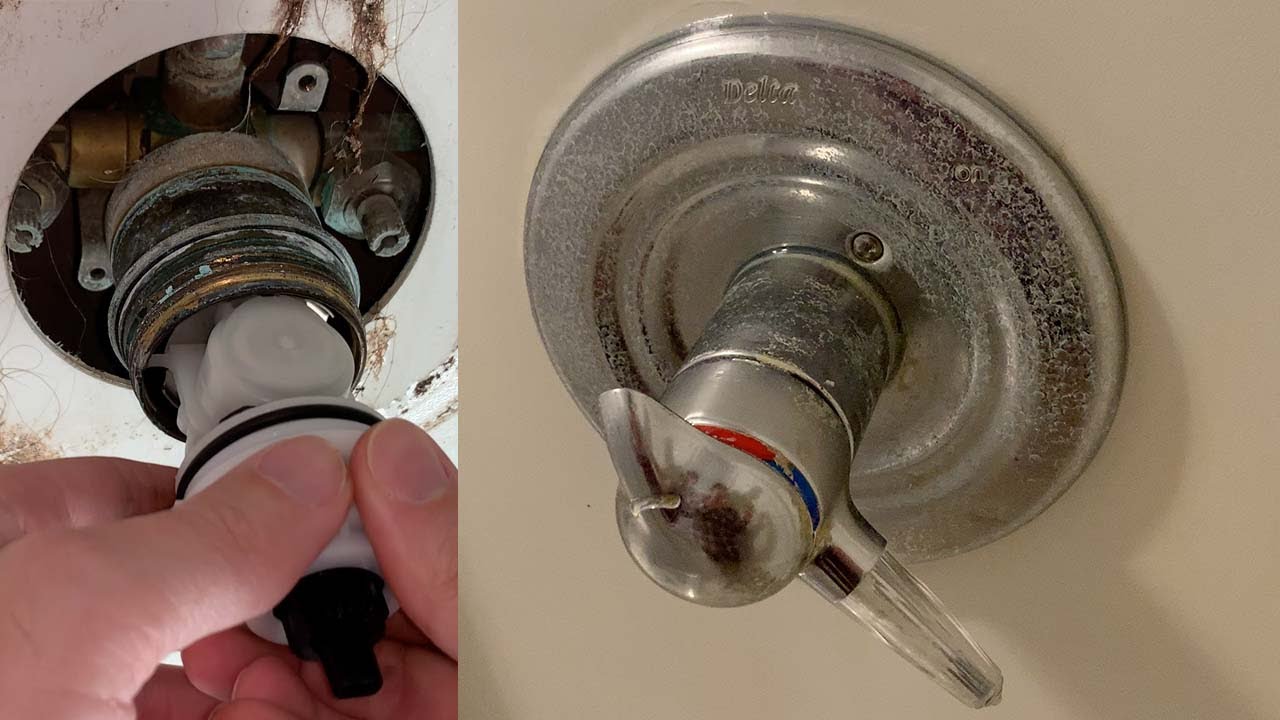
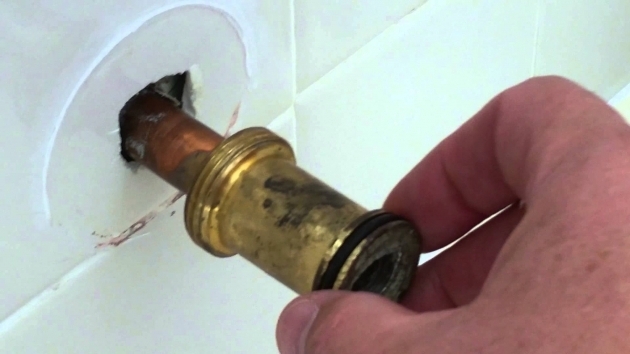
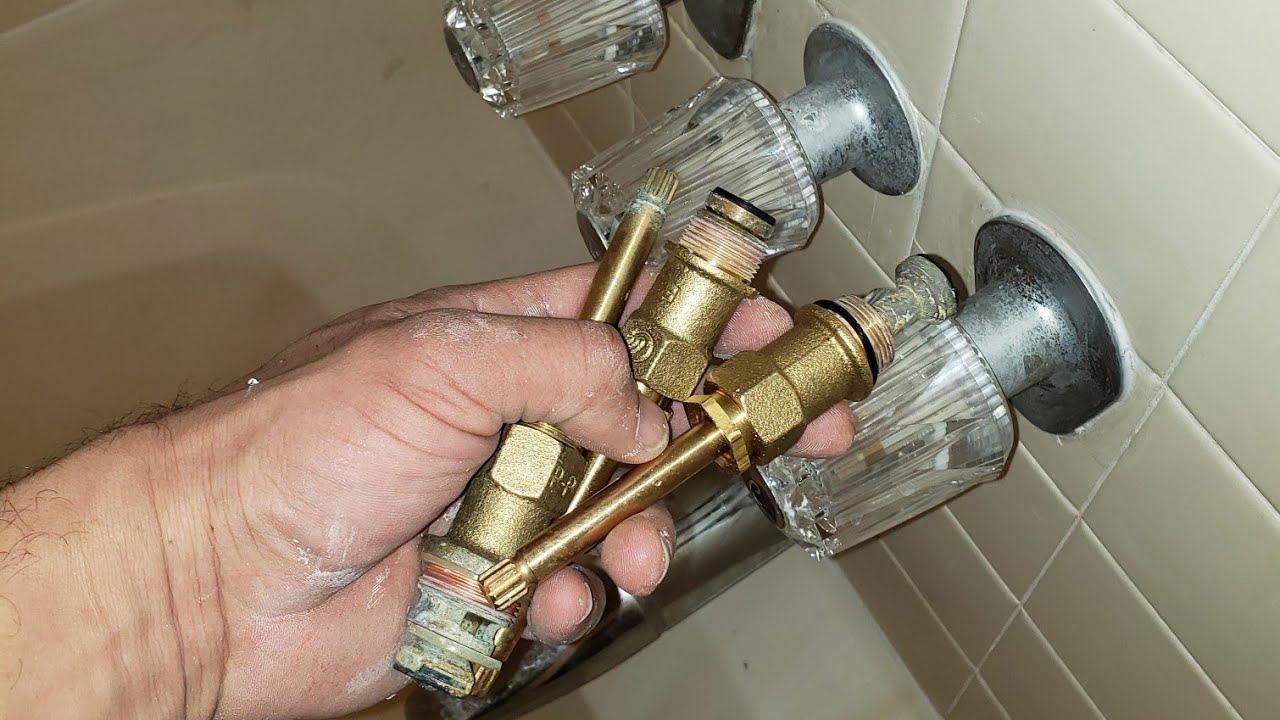
Step 4: Removing the Old Diverter Valve Assembly
Once the spout is removed, you'll see the diverter valve assembly inside. The assembly usually consists of a rubber or plastic diverter, a spring, and a retaining clip or nut. Here's how to remove it:
- Carefully remove the retaining clip or nut: This clip or nut holds the diverter assembly in place. Use a screwdriver or pliers to carefully remove it.
- Pull out the old diverter valve assembly: Once the clip or nut is removed, you should be able to pull the diverter assembly out of the spout. It might be a bit stubborn due to mineral buildup. Try using a small screwdriver to gently pry it out.
- Inspect the inside of the spout: Check for any debris, mineral deposits, or corrosion. Clean the inside of the spout thoroughly with a cloth and a mild cleaning solution.
Step 5: Installing the New Diverter Valve Assembly
Now it's time to install the new diverter valve assembly:
- Lubricate the new diverter valve: Apply a small amount of silicone grease or plumber's grease to the rubber seals on the new diverter valve. This will help it slide into place more easily and create a better seal.
- Insert the new diverter valve assembly: Carefully insert the new diverter valve assembly into the spout. Make sure the spring is oriented correctly (usually with the wider end facing outward).
- Secure the retaining clip or nut: Replace the retaining clip or nut that you removed earlier. Make sure it's securely fastened to hold the diverter assembly in place.
Step 6: Reinstalling the Tub Spout
Now, reinstall the tub spout:
- Slip-on spout: Slide the spout onto the pipe until it's snug against the wall. Tighten the set screw to secure it in place. Don't overtighten, as this can damage the pipe or spout.
- Threaded spout: Wrap the threads of the pipe with plumber's tape (Teflon tape) to create a watertight seal. Wrap the tape in a clockwise direction. Screw the spout onto the pipe, turning it clockwise until it's snug against the wall. Again, don't overtighten.
Step 7: Testing the Repair
Slowly turn the water supply back on, starting with the cold water. Check for leaks around the base of the spout. If you see any leaks, tighten the spout or set screw slightly. Repeat with the hot water. Once you're confident there are no leaks, test the diverter valve by pulling up or pushing down on the handle. The water should divert correctly between the tub spout and the showerhead.
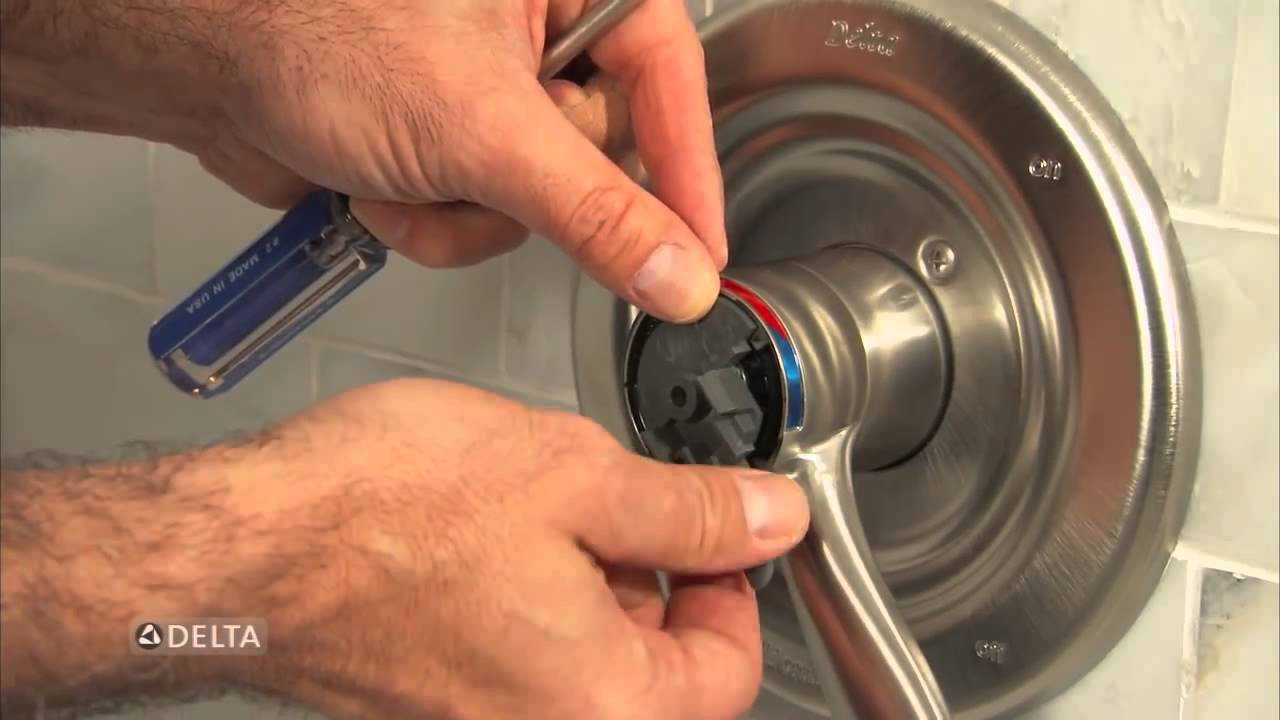
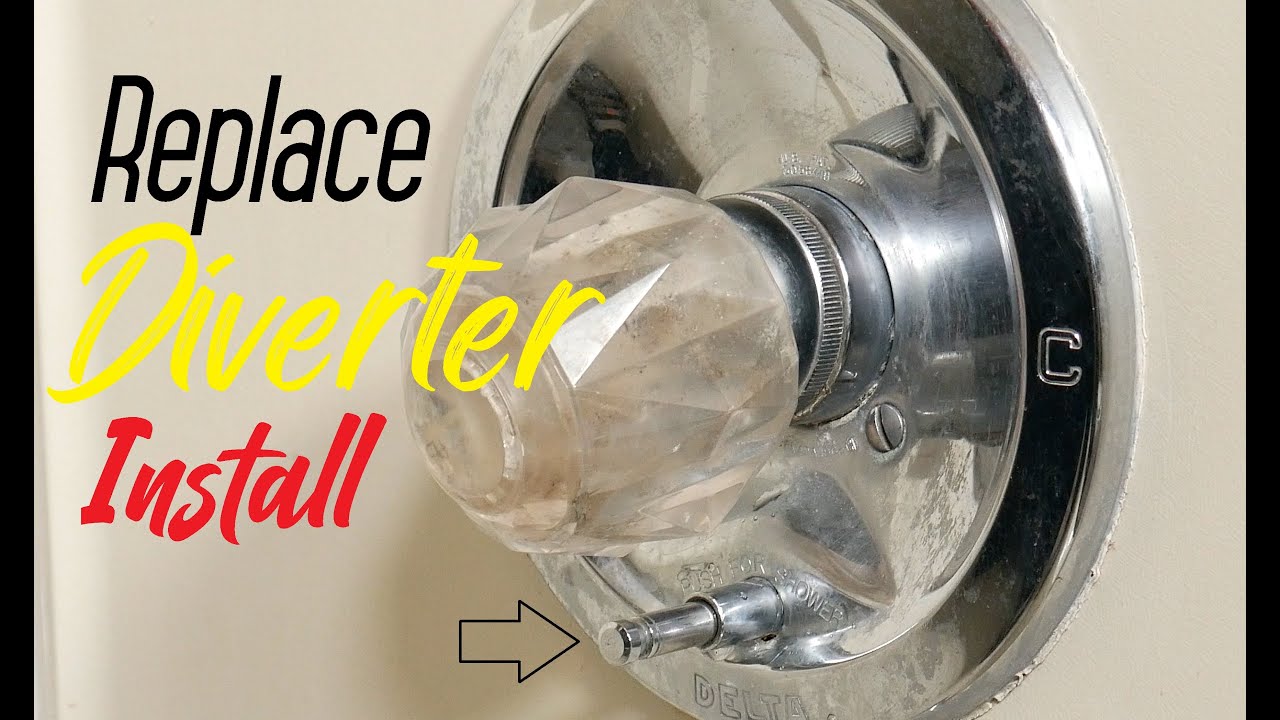
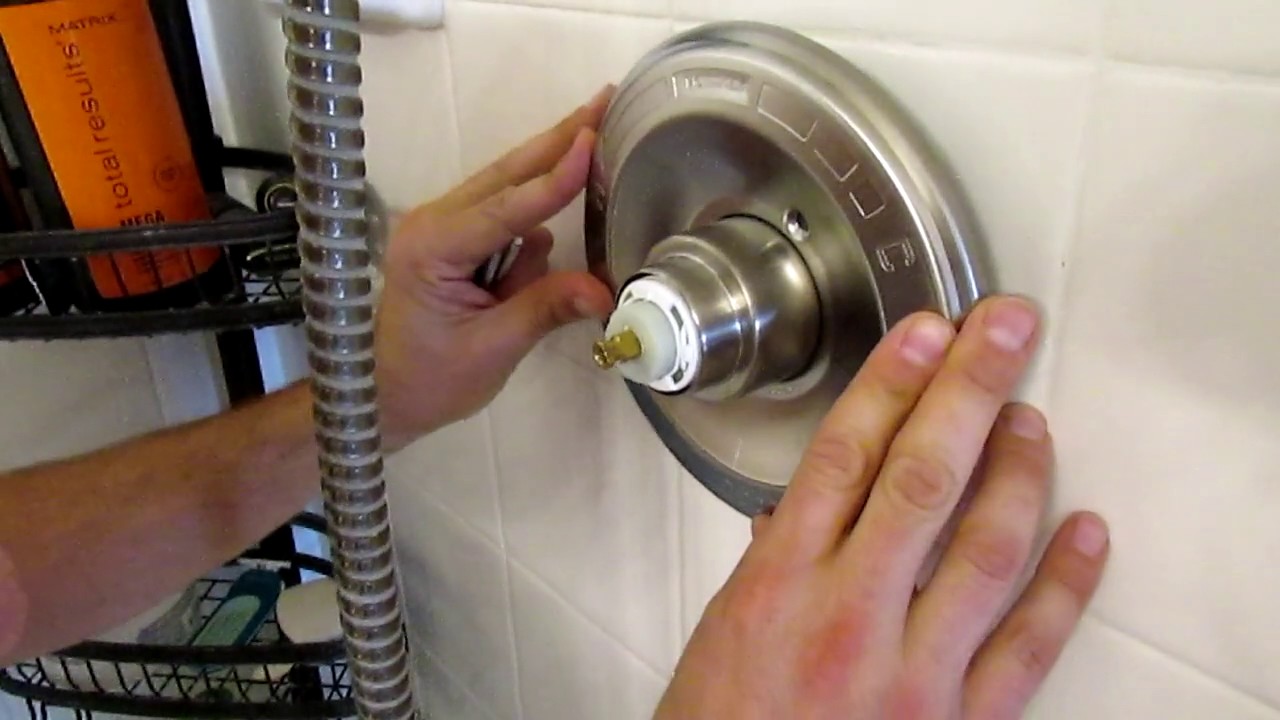
Replacing Other Types of Delta Diverter Valves (Knob and Push-Button)
Replacing knob and push-button diverter valves is more complex as they are integrated into the faucet assembly. This often requires removing the faucet handle, trim, and potentially the entire faucet cartridge. While some experienced DIYers may feel comfortable with this task, it's generally recommended to consult a qualified plumber. Incorrectly disassembling and reassembling the faucet can lead to leaks, damage to the faucet body, and even require a complete faucet replacement.
When to Call a Professional Plumber
While replacing a T-handle diverter valve is a relatively straightforward DIY task, there are situations where it's best to call a professional plumber:
- You're uncomfortable working with plumbing. It's better to be safe than sorry.
- You encounter difficulty removing the old spout or diverter valve. Forcing it can damage the pipes.
- You're dealing with a knob or push-button diverter valve. These require more specialized knowledge and tools.
- You suspect a more significant plumbing problem. Low water pressure or leaks in the wall might indicate a bigger issue.
- You live in an older home with potentially fragile plumbing. Older pipes are more susceptible to damage during repairs.
Safety First!
- Always turn off the water supply before starting any plumbing work.
- Wear safety glasses to protect your eyes from debris.
- Use caution when working with tools, especially wrenches and screwdrivers.
- If you're unsure about any step, stop and consult a professional.
Preventative Maintenance
To help prevent future diverter valve problems, consider these tips:
- Clean your tub spout regularly. Remove mineral buildup with a mild cleaning solution.
- Avoid using harsh chemicals on your tub spout or faucet fixtures.
- Consider installing a water softener if you have hard water. Hard water can accelerate mineral buildup in plumbing fixtures.
By following these steps, you can confidently troubleshoot and potentially replace your Delta shower diverter valve, saving yourself time and money. Remember, safety is paramount, and when in doubt, don't hesitate to call a professional.