Replacing A Moen 1222 Shower Cartridge

Is your shower suddenly alternating between scalding hot and freezing cold? Or perhaps it's lukewarm no matter how you adjust the handle? These are common signs of a failing shower cartridge, and in many cases, replacing it yourself can resolve the issue, saving you a service call. This article will guide you through troubleshooting and replacing a Moen 1222 shower cartridge – a very common type found in many homes.
Diagnosing the Problem: Is it Really the Cartridge?
Before you start tearing into your shower, let's make sure the cartridge is indeed the culprit. Here's a systematic approach to diagnose the issue:
Step 1: Water Pressure Check (No Tools Needed)
First, check the water pressure in other faucets and fixtures in your home. Is it consistent throughout? Low water pressure throughout the house could indicate a broader issue with your main water supply or a pressure regulator problem, not just the shower cartridge.
If the pressure is fine everywhere else, proceed to the next step.
Step 2: Temperature Fluctuation Observation (No Tools Needed)
Carefully observe the shower's behavior.
- Does the temperature fluctuate wildly, even when the handle is stationary?
- Does the water take a long time to reach the desired temperature?
- Is the water lukewarm regardless of the handle position?
These are strong indicators of a faulty cartridge. A consistently lukewarm temperature across the entire range is a particularly telling sign.
Step 3: Check for Leaks (No Tools Needed)
Examine the shower head and faucet for any dripping when the shower is turned off. A dripping showerhead can be a sign of a damaged cartridge. Cartridge issues often manifest as persistent dripping, even when the handle is in the "off" position. This is because the cartridge is no longer properly sealing the water flow.
Step 4: Handle Resistance (No Tools Needed)
Pay attention to how the shower handle feels when you turn it. Does it feel stiff, difficult to turn, or unusually loose? A worn-out cartridge can make the handle feel gritty or unresponsive.
Step 5: Check the Hot Water Tank (No Tools Needed)
This might seem obvious, but it's worth checking! Make sure your hot water tank is functioning correctly and is set to a reasonable temperature (around 120°F is generally recommended). A failing hot water tank won't supply hot water to any of your fixtures, not just the shower.
Step 6: When to Call a Pro (Important!)
If you've checked all the above and the problem persists, *and* you suspect any of the following, it's best to call a qualified plumber:
- Your home has older plumbing (e.g., galvanized steel pipes) that may be corroded and easily damaged.
- You are uncomfortable working with plumbing.
- You encounter any difficulties during the cartridge replacement process that you cannot easily resolve.
- You suspect a more complex plumbing issue beyond a simple cartridge replacement (e.g., issues with the mixing valve or water pressure regulator).
Replacing the Moen 1222 Cartridge: A Step-by-Step Guide
If you've determined that the cartridge is likely the problem and you feel comfortable proceeding, here's how to replace it:
Tools and Materials You'll Need:
- New Moen 1222 cartridge: Make sure you get the correct replacement! Check the model number of your existing cartridge or consult your shower fixture's documentation.
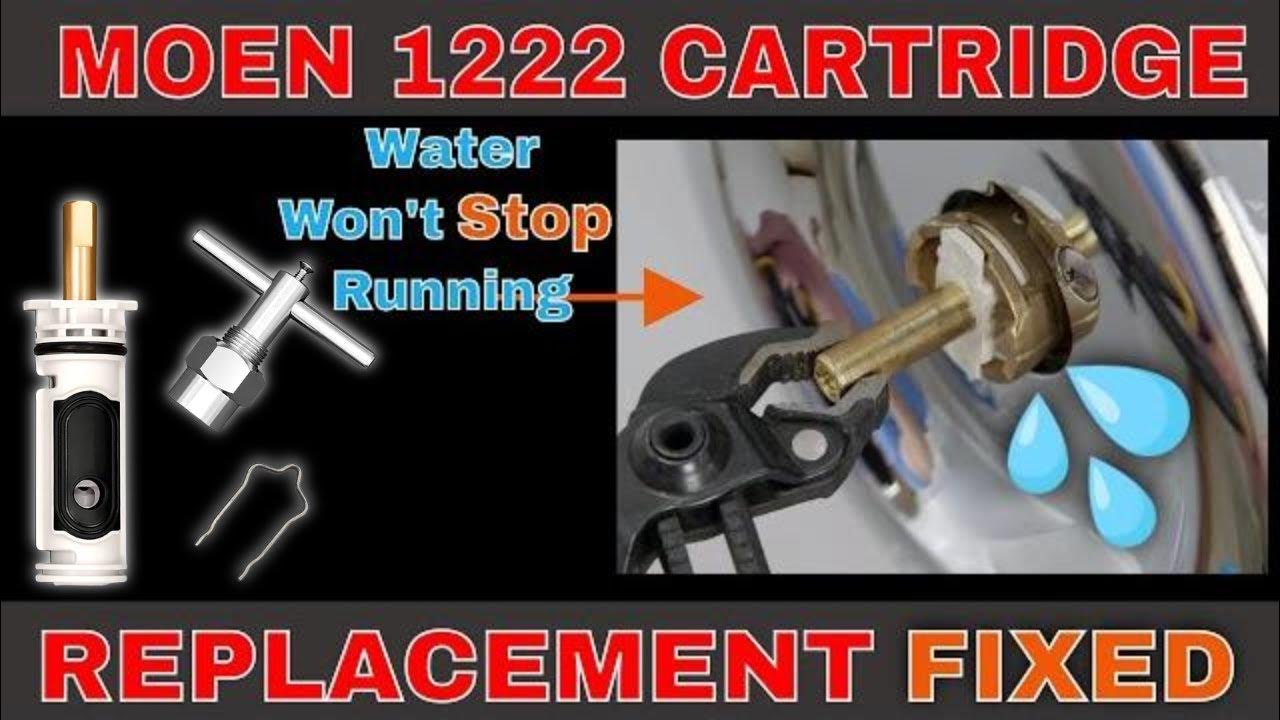
- Cartridge Puller Tool (Highly Recommended): This specialized tool makes removing a stuck cartridge much easier and prevents damage to the valve body.
- Flathead screwdriver: For removing the handle and escutcheon.
- Phillips head screwdriver: Some handles may use Phillips screws.
- Allen wrench set: Some handles may be secured with an Allen screw.
- Needle-nose pliers: For gripping small parts.
- Clean rags: For wiping up water and debris.
- White vinegar: For soaking mineral deposits (optional).
- Plumber's grease (silicone-based): For lubricating the new cartridge.
- Water shut-off key (for main water supply): In case you can't find the shower shut-off valves.
- Flashlight: To illuminate the work area.
Step 1: Turn Off the Water Supply
This is the most important step! Locate the shut-off valves for your shower. These are usually located behind an access panel in the wall behind the shower, or in the basement or crawlspace directly below the shower. If you can't find the local shut-off valves, you'll need to shut off the main water supply to your house. Test that the water is off by turning on the shower briefly. Only attempt the remaining steps when the water is completely shut off.
Step 2: Remove the Shower Handle
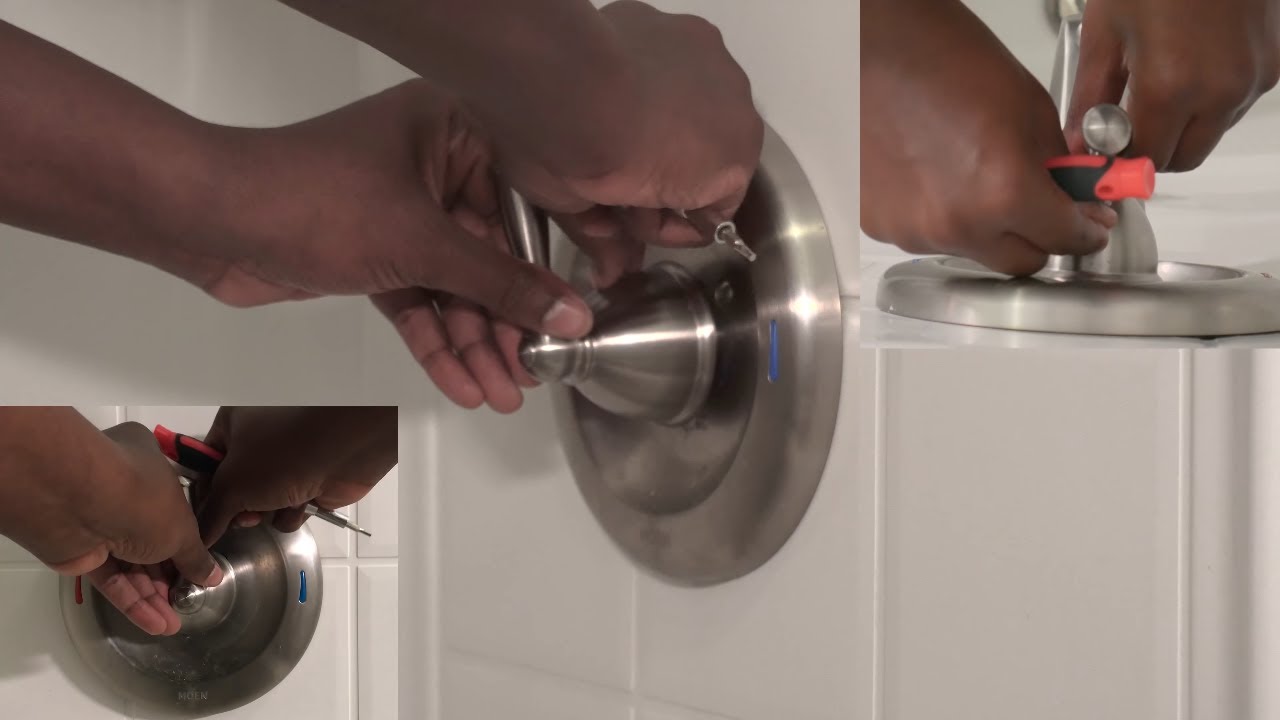
This varies depending on your handle style. Usually, there's a small screw (either a flathead, Phillips head, or Allen screw) hidden beneath a decorative cap or on the side of the handle. Use the appropriate screwdriver or Allen wrench to loosen and remove the screw. Then, gently pull the handle straight off.
Be careful not to scratch the surrounding finish.
Step 3: Remove the Escutcheon Plate
The escutcheon plate is the decorative metal plate that covers the valve body. It's usually held in place by screws or sometimes by a simple friction fit. Locate and remove any screws holding the plate in place. If there are no visible screws, gently try wiggling the plate to see if it pops off. If it's stuck, try gently prying it off with a flathead screwdriver, being careful not to damage the surrounding tile or wall.
Step 4: Remove the Retaining Clip
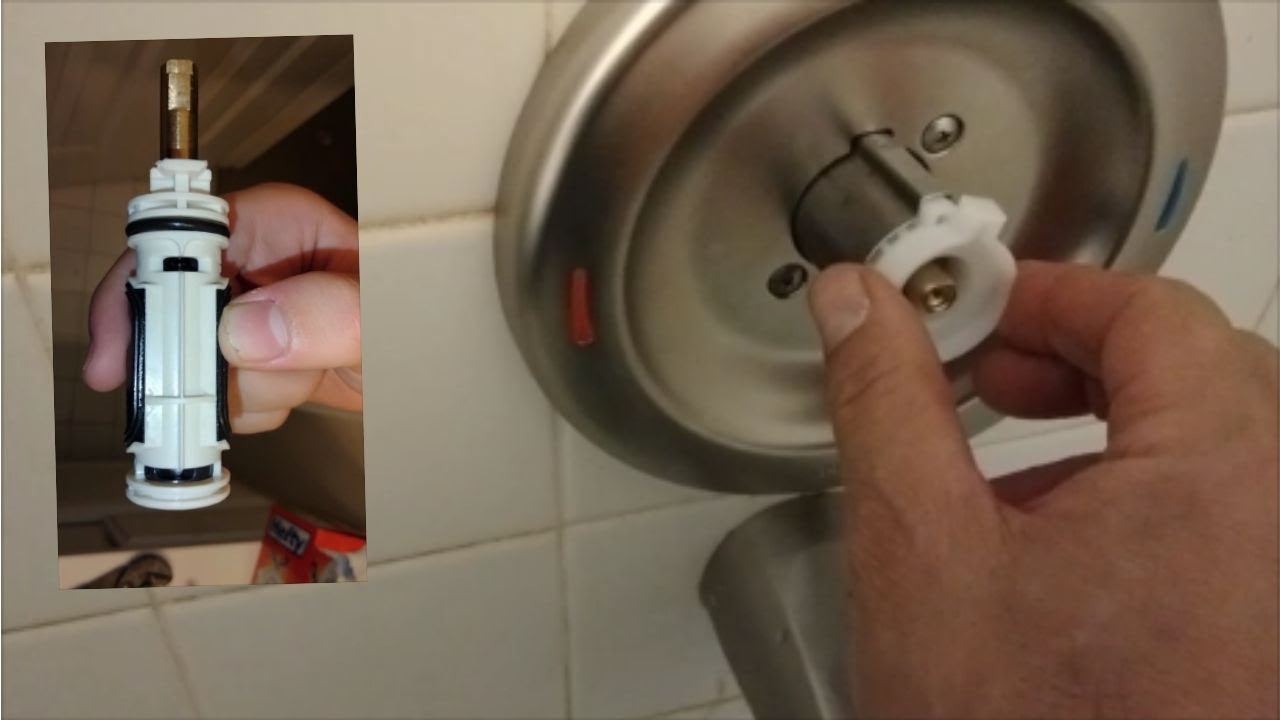
Once the escutcheon plate is removed, you'll see a horseshoe-shaped retaining clip holding the cartridge in place. Use your needle-nose pliers to carefully remove this clip. Pay close attention to how the clip is oriented! You'll need to reinstall it the same way later. It’s best to take a photo for reference.
Step 5: Remove the Old Cartridge
This is often the trickiest part. If the cartridge is stuck, do not force it with pliers or a screwdriver. You risk breaking it inside the valve body, which will make removal much more difficult.
This is where the cartridge puller tool comes in handy. Follow the instructions that came with your cartridge puller. Typically, you'll attach the tool to the cartridge stem and then use the tool's handle to pull the cartridge straight out. Apply steady, even pressure.
If you don't have a cartridge puller, you can try gently wiggling the cartridge back and forth while pulling outwards. Use pliers to grip the stem, but be careful not to damage it. Patience is key here. If it's extremely stuck, consider applying a penetrating lubricant (like WD-40) and letting it sit for a few minutes before trying again.
If the cartridge breaks inside the valve body, stop! Call a plumber. Trying to remove the broken pieces yourself could damage the valve body, requiring a much more expensive repair.
Step 6: Clean the Valve Body
Once the old cartridge is removed, inspect the valve body for any mineral deposits or debris. Use a clean rag to wipe it out. If there are stubborn mineral deposits, you can soak a rag in white vinegar and stuff it into the valve body for a few minutes to loosen them. Be sure to thoroughly rinse the valve body with clean water afterward.
Step 7: Lubricate the New Cartridge
Apply a thin coating of plumber's grease (silicone-based) to the O-rings on the new cartridge. This will help it slide into place smoothly and prevent leaks.
Step 8: Install the New Cartridge
Carefully align the new cartridge with the valve body and gently push it straight in until it's fully seated. Make sure it's oriented correctly! The cartridge usually has markings or notches that align with corresponding features in the valve body. Refer to the cartridge's instructions for specific orientation guidelines.
Step 9: Reinstall the Retaining Clip
Reinstall the horseshoe-shaped retaining clip in the same orientation it was in before you removed it. Make sure it's securely in place.
Step 10: Reinstall the Escutcheon Plate and Handle
Reinstall the escutcheon plate, securing it with the screws (if any). Then, reinstall the shower handle, tightening the set screw to secure it.
Step 11: Turn the Water Back On
Slowly turn the water back on, either at the local shut-off valves or at the main water supply. Check for leaks around the escutcheon plate and shower head. If you see any leaks, immediately turn the water back off and double-check that the cartridge is properly seated and the retaining clip is securely in place. Sometimes, a slight adjustment to the cartridge position is all that's needed to stop a leak.
Step 12: Test the Shower
Turn on the shower and test the temperature and water pressure. Make sure the water reaches the desired temperature quickly and that there are no temperature fluctuations.
Final Thoughts
Replacing a Moen 1222 shower cartridge is a relatively straightforward DIY project that can save you money on a plumber's bill. However, it's important to proceed carefully and methodically. If you encounter any difficulties or feel uncomfortable at any point, don't hesitate to call a qualified plumber. Your safety and the integrity of your plumbing system are paramount.
Congratulations! You've (hopefully) successfully replaced your Moen 1222 shower cartridge and are now enjoying a more consistent and comfortable shower experience.