Replacing Atwood Rv Water Heater

One of the most common frustrations for RV owners is a water heater that stubbornly refuses to heat or, conversely, overheats. Imagine stepping into your RV after a long day of hiking, only to find an icy shower staring back at you, or worse, scalding hot water threatening to burn. Dealing with an Atwood RV water heater that isn't performing as expected can put a serious damper on your travels. This article provides a practical, step-by-step guide to diagnosing common issues and performing simple DIY fixes. However, remember that working with gas and electricity can be dangerous, and knowing your limits is crucial.
Diagnosing the Problem: A Step-by-Step Approach
Before you start tearing things apart, a systematic diagnosis is key. This will save you time, effort, and potentially, money. Let's break down the diagnostic process into manageable steps.
Step 1: Gather Information
First, gather some basic information:
- What exactly is happening? Is the water not heating at all, heating partially, overheating, or producing strange noises?
- When did the problem start? Did it happen suddenly, or has it been gradually worsening?
- Have you recently made any changes to your RV's electrical or plumbing systems?
- What model Atwood water heater do you have? (This information is usually found on a sticker on the heater itself).
Step 2: Initial Checks (No Tools Required)
Let's start with the easy stuff. These checks don't require any tools and can often reveal obvious problems:
- Check the Circuit Breakers/Fuses: Make sure the circuit breaker or fuse for the water heater hasn't tripped or blown. Reset the breaker or replace the fuse (with the correct amperage) and see if the problem resolves itself. A tripped breaker is often the first sign of an electrical fault.
- Inspect the On/Off Switch: Many RVs have an interior on/off switch for the water heater, often near the monitoring panel. Ensure this switch is in the "on" position. Some Atwood water heaters also have an exterior on/off switch, usually located on the heater itself, behind the access panel. Check this as well.
- Check the Water Level: Ensure the water tank is full. Running the water heater dry can damage the heating element. Turn on a hot water faucet and let it run until the water flows steadily.
- Inspect the Exhaust Vent: For gas water heaters, check the exhaust vent for any obstructions, such as bird nests or debris. A blocked vent can cause the heater to malfunction and even pose a safety hazard.
- Smell for Gas Leaks: If you suspect a gas leak, immediately turn off the propane supply and evacuate the area. Gas leaks are extremely dangerous and require professional attention.
Step 3: Basic Troubleshooting (Requires Basic Tools)
If the initial checks don't reveal the problem, you'll need some basic tools for further troubleshooting. These include a multimeter, screwdriver set, and possibly a socket set.
- Test the Heating Element (Electric Models):
- Turn off the power to the water heater at the circuit breaker. Safety first!
- Locate the heating element. It's usually behind an access panel.
- Use a multimeter to check the continuity of the heating element. Set the multimeter to the ohms setting (Ω).
- Touch one probe to each terminal of the heating element.
- A reading of continuity (a number other than infinity or zero) indicates the element is likely good. A reading of infinity (open circuit) or zero (short circuit) indicates the element is faulty and needs to be replaced.
- Check the Thermostat(s): Atwood water heaters often have a high-limit thermostat that trips if the water overheats.
- Turn off the power to the water heater at the circuit breaker.
- Locate the thermostat(s). They're usually near the heating element or burner assembly.
- Look for a small reset button on the thermostat. Press the button to reset it.
- If the thermostat trips repeatedly, it may be faulty and need to be replaced.
- You can also test the thermostat with a multimeter for continuity, similar to testing the heating element.
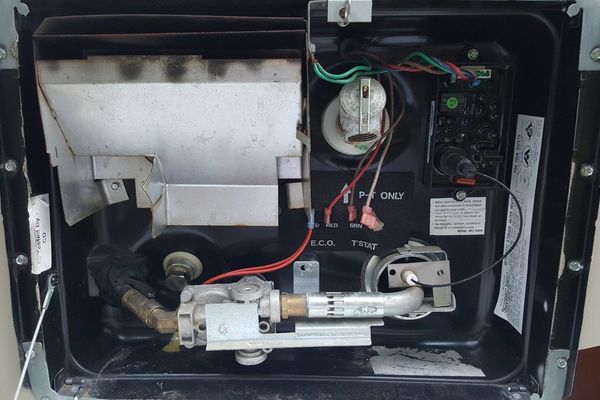
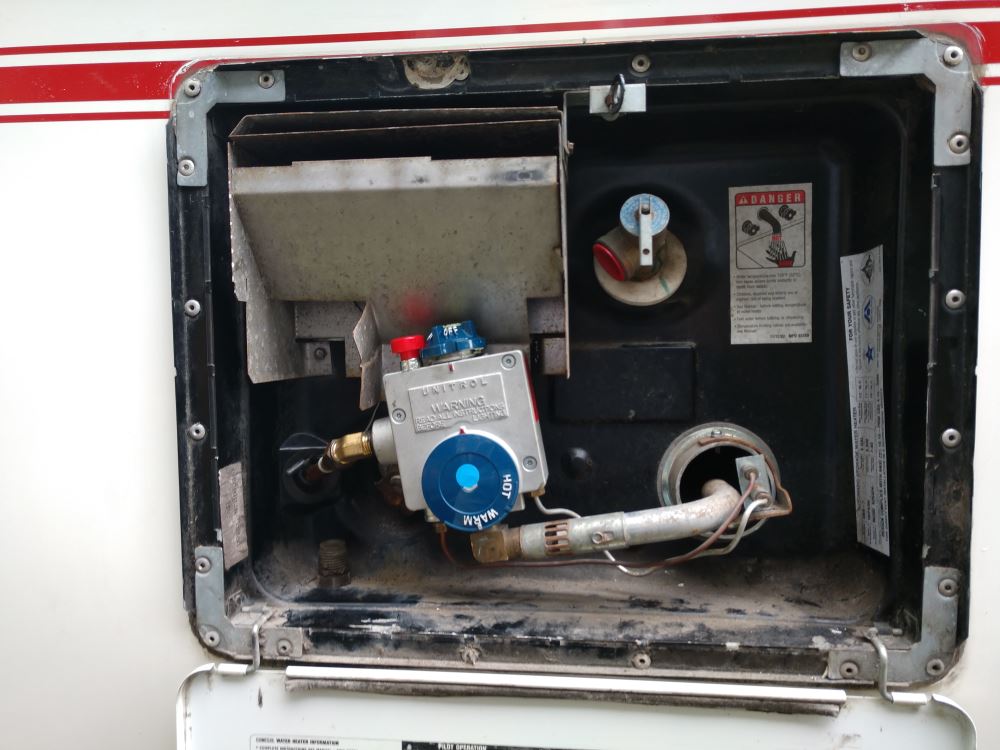
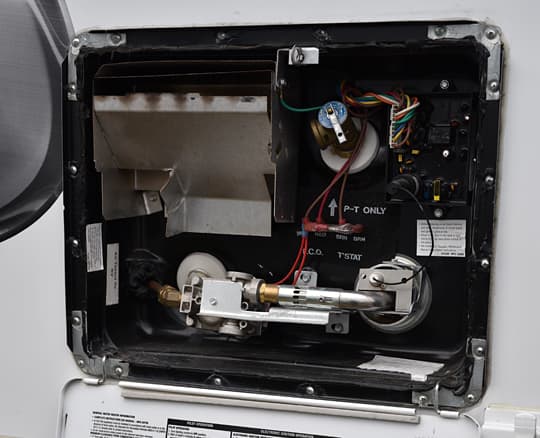
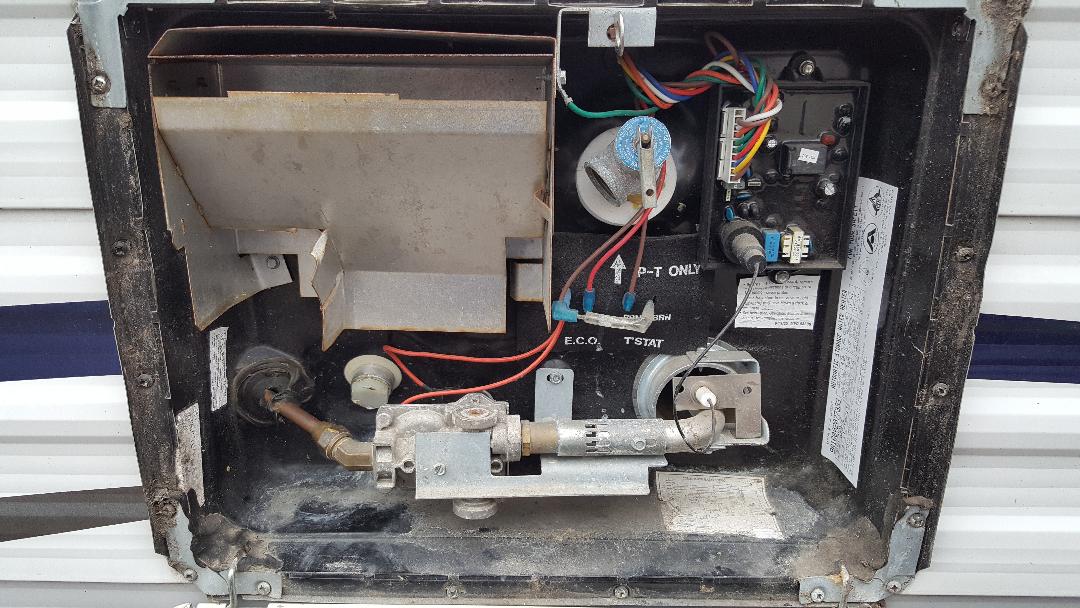
- Inspect the Gas Valve and Burner Assembly (Gas Models):
- Turn off the propane supply to the water heater.
- Carefully remove the access panel to the burner assembly.
- Visually inspect the gas valve and burner for any signs of damage, corrosion, or blockages.
- Look for spider webs or debris that may be obstructing the gas flow.
- Clean the burner with a wire brush.
- If the gas valve is visibly damaged or corroded, it needs to be replaced by a qualified technician.
- Check the Pilot Light (Older Gas Models):
- Follow the manufacturer's instructions for lighting the pilot light.
- If the pilot light won't stay lit, the thermocouple may be faulty and need to be replaced.
- Inspect the Anode Rod: The anode rod is a sacrificial metal rod that protects the water heater tank from corrosion.
- Turn off the water supply to the water heater and drain the tank.
- Locate the anode rod. It's usually screwed into the top of the tank.
- Remove the anode rod and inspect it.
- If the rod is mostly corroded away, it needs to be replaced. Replacing the anode rod regularly can extend the life of your water heater.
DIY Actions: Simple Repairs You Can Tackle
Based on your diagnosis, here are some simple DIY actions you can take:
- Replacing the Heating Element: If the heating element is faulty, replacing it is a relatively straightforward task. Make sure to purchase a replacement element that is compatible with your Atwood water heater model. Remember to disconnect the power before working on electrical components.
- Replacing the Thermostat: Replacing a faulty thermostat is also a simple DIY repair. Again, ensure you purchase a compatible replacement.
- Cleaning the Burner Assembly: Cleaning the burner assembly can often resolve issues caused by blockages. Use a wire brush to remove any debris.
- Replacing the Anode Rod: Replacing the anode rod is a preventative maintenance task that can extend the life of your water heater.
When to Call a Professional
While many water heater issues can be resolved with DIY repairs, some problems are best left to the professionals. Never attempt repairs that you are not comfortable with or that involve gas lines without proper training and certification. Here are some situations where you should call a qualified RV technician:
- Gas Leaks: As mentioned earlier, any suspected gas leak requires immediate professional attention.
- Complex Electrical Issues: If you are uncomfortable working with electrical wiring or if you suspect a more complex electrical problem, such as a faulty control board, call a qualified electrician or RV technician.
- Tank Leaks: If the water heater tank is leaking, it's likely irreparable and needs to be replaced.
- Burner Assembly Problems: If you suspect a problem with the gas valve or other components of the burner assembly, it's best to have it inspected and repaired by a qualified technician.
- You're Unsure: If you've followed the troubleshooting steps and are still unsure of the problem, it's always best to err on the side of caution and call a professional.
Replacing the Atwood RV Water Heater
Sometimes, despite your best efforts, the water heater is simply beyond repair. Replacing an Atwood RV water heater is a significant undertaking, but it's something a reasonably handy person can tackle with the right preparation and tools. Here's a general overview of the process. Always consult your RV and the new water heater's documentation for specific instructions.
Step 1: Preparation
- Purchase a New Water Heater: Ensure the replacement water heater is the correct size and type for your RV. Pay attention to BTU ratings (for gas models), voltage (for electric models), and physical dimensions.
- Gather Your Tools: You'll need a screwdriver set, socket set, pipe wrenches, Teflon tape, wire strippers, wire connectors, a multimeter, and possibly a drill.
- Safety First! Disconnect the power and water supply to the RV. Turn off the propane supply if you have a gas model.
- Drain the Old Water Heater: Open the drain valve on the old water heater and allow it to completely drain. You may need to remove the anode rod to allow air to enter the tank and speed up the draining process.
Step 2: Disconnecting the Old Water Heater
- Disconnect Water Lines: Carefully disconnect the hot and cold water lines from the old water heater. Be prepared for some residual water to spill out.
- Disconnect Gas Line (Gas Models): If you have a gas model, carefully disconnect the gas line. Use pipe wrenches to loosen the connections. Ensure the propane supply is completely shut off before disconnecting the gas line. Cap the gas line to prevent leaks.
- Disconnect Electrical Wiring (Electric Models): If you have an electric model, disconnect the electrical wiring. Use wire strippers to disconnect the wires and wire connectors to insulate the ends. Double-check that the power is off before working on the electrical wiring.
- Remove Mounting Screws: Remove the screws that secure the water heater to the RV.
Step 3: Removing the Old Water Heater
- Carefully Remove the Water Heater: With all the connections disconnected and the mounting screws removed, carefully slide the old water heater out of its compartment. You may need a helper to assist with this step, as water heaters can be heavy.
Step 4: Installing the New Water Heater
- Prepare the Compartment: Clean the water heater compartment and inspect it for any damage.
- Install the New Water Heater: Carefully slide the new water heater into the compartment.
- Secure the Water Heater: Secure the new water heater with the mounting screws.
Step 5: Reconnecting the Connections
- Reconnect Water Lines: Reconnect the hot and cold water lines to the new water heater. Use Teflon tape on the threads to ensure a watertight seal.
- Reconnect Gas Line (Gas Models): If you have a gas model, reconnect the gas line. Use Teflon tape on the threads and tighten the connections securely. Test for gas leaks using a soapy water solution. Apply the soapy water to the connections and look for bubbles. If you see bubbles, tighten the connections further.
- Reconnect Electrical Wiring (Electric Models): If you have an electric model, reconnect the electrical wiring. Use wire connectors to connect the wires.
Step 6: Testing the New Water Heater
- Fill the Tank: Open the water supply and allow the tank to fill completely.
- Check for Leaks: Check all the connections for leaks.
- Turn on the Power/Propane: Turn on the power or propane supply.
- Test the Water Heater: Turn on the water heater and allow it to heat up. Monitor the water temperature to ensure it is heating properly.
Replacing an RV water heater can be a challenging task, but with careful planning and execution, it's something you can accomplish yourself. Remember to prioritize safety and consult the manufacturer's instructions for both the old and new water heaters. If you're not comfortable with any aspect of the replacement process, don't hesitate to call a qualified RV technician.
Final Thoughts
Maintaining your Atwood RV water heater is essential for a comfortable and enjoyable RV experience. By following these troubleshooting steps and performing simple DIY repairs, you can keep your water heater running smoothly for years to come. Always prioritize safety and call a professional when in doubt. With a little knowledge and effort, you can tackle most common water heater problems and keep the hot water flowing on your adventures.