Replacing Pressure Relief Valve Water Heater

A common household headache: a water heater that's acting up. One frequent culprit behind water heater woes is a faulty Pressure Relief Valve (PRV). This vital safety component is designed to prevent dangerous pressure build-up inside your water heater tank. When it fails, it can lead to a constant trickle, a gushing leak, or even, in extreme cases, a catastrophic tank rupture. Thankfully, replacing a PRV is often a straightforward DIY project, but it's crucial to approach it with the right knowledge and safety precautions. This guide will walk you through troubleshooting a potentially faulty PRV and safely replacing it.
Understanding the Pressure Relief Valve
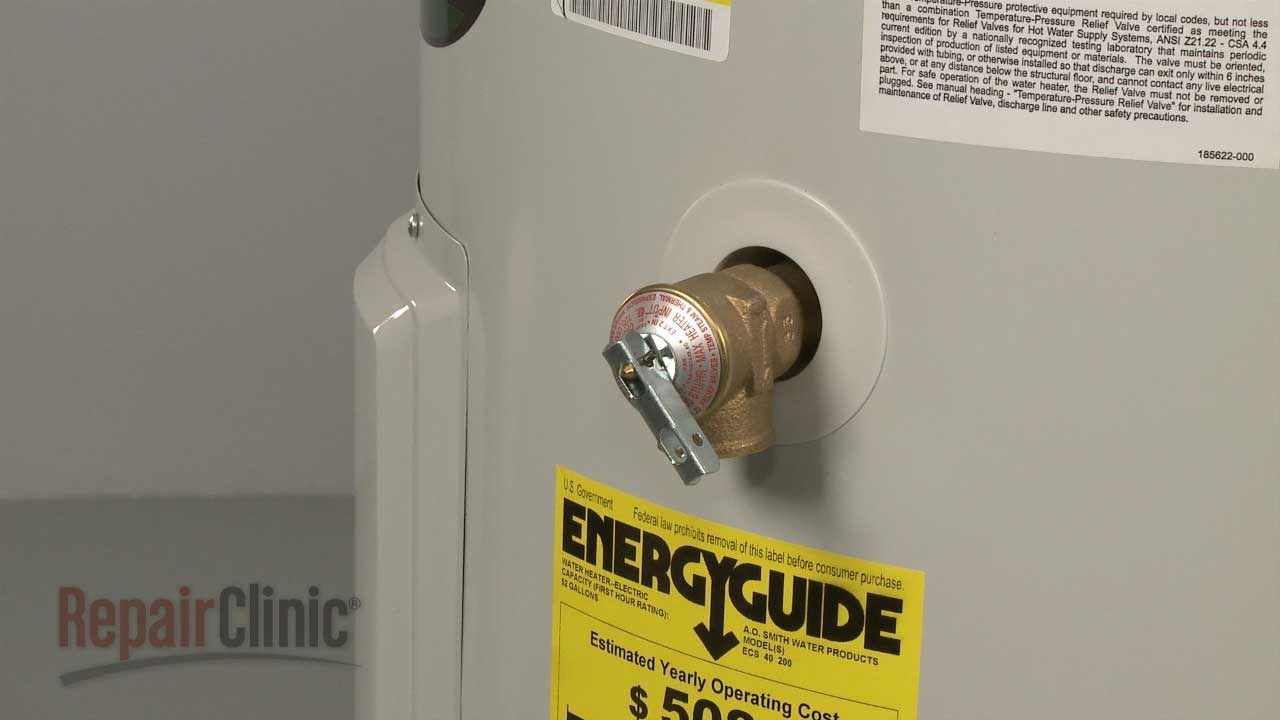
Before diving into troubleshooting, let's understand what the PRV does. The PRV, also sometimes called a Temperature and Pressure Relief Valve (TPR valve), is typically located near the top of your water heater tank, often with a discharge pipe running down the side. Its primary function is to automatically release pressure if it exceeds a safe level (usually around 150 psi) or if the water temperature gets too high (around 210°F). This prevents the tank from exploding due to excessive pressure.
Signs of a Failing PRV
- Constant Drip or Leak: The most common symptom. A small, intermittent drip might be normal, especially after the water heater has been running for a while. However, a continuous or excessive leak indicates a problem.
- Rust or Corrosion: Visible rust or corrosion on the valve itself can compromise its functionality.
- Noisy Operation: A hissing or whistling sound coming from the valve can indicate that it's constantly releasing pressure, even when it shouldn't be.
- Water on the Floor Around the Tank: This is a more obvious sign of a leak, often pointing to a faulty PRV.
Troubleshooting a Leaking Pressure Relief Valve
Before assuming the PRV needs replacement, let's investigate the possible causes of the leak. Sometimes, the issue isn't the valve itself, but rather a problem elsewhere in your water heater system.
Step 1: Check the Water Pressure
The most common reason for a PRV to leak is excessive water pressure in your home's plumbing system. You can test this with a water pressure gauge, which can be purchased at most hardware stores.
- Find an outdoor faucet or a washing machine connection.
- Attach the pressure gauge to the faucet or connection.
- Turn on the water fully and read the gauge.
If the pressure reading is consistently above 80 psi, you'll need to install a pressure regulator on your main water line to protect your plumbing system. This is a task best left to a professional plumber.
Step 2: Check for Thermal Expansion
As water heats up, it expands. In a closed plumbing system (one with a backflow preventer or check valve on the main water line), this expansion can cause pressure to build up in the water heater, triggering the PRV to release water. An expansion tank is designed to accommodate this thermal expansion.
- Locate the Expansion Tank: It's usually a small, bladder-type tank installed on the cold water line near the water heater.
- Check the Tank's Pressure: You can use a tire pressure gauge to check the air pressure in the expansion tank. It should be equal to your home's water pressure (e.g., if your water pressure is 60 psi, the expansion tank should also be at 60 psi).
- If the Tank is Full of Water: If, upon tapping on the tank, it sounds full of water, the bladder inside has likely failed, and the tank needs to be replaced.
Replacing an expansion tank is a relatively straightforward DIY project, but it's essential to follow the manufacturer's instructions and ensure the correct pressure is set.
Step 3: Check for Sediment Build-up
Sediment accumulating at the bottom of your water heater tank can also contribute to pressure build-up and cause the PRV to leak.
- Flush the Tank: Turn off the water supply to the heater. Connect a garden hose to the drain valve at the bottom of the tank.
- Open the Drain Valve: Run the hose to a safe drainage area (a floor drain or outside). Open the drain valve and let the tank flush for several minutes until the water runs clear. Be cautious, the water may be very hot.
- Close the Drain Valve and Refill the Tank: Close the drain valve and turn the cold water supply back on. Allow the tank to refill completely before turning the power (gas or electric) back on.
Flushing your water heater regularly (every 6-12 months) can help prevent sediment build-up.
Step 4: Test the PRV (Carefully!)
If the water pressure is normal, the expansion tank is functioning correctly, and you've flushed the tank, the PRV itself might be faulty. You can test it manually, but proceed with extreme caution, as the water released will be very hot.
- Turn off the Power (Gas or Electric): This is crucial for safety. For electric heaters, switch off the breaker. For gas heaters, turn the gas control valve to the "Pilot" position or "Off" position.
- Place a Bucket Under the Discharge Pipe: To catch the hot water.
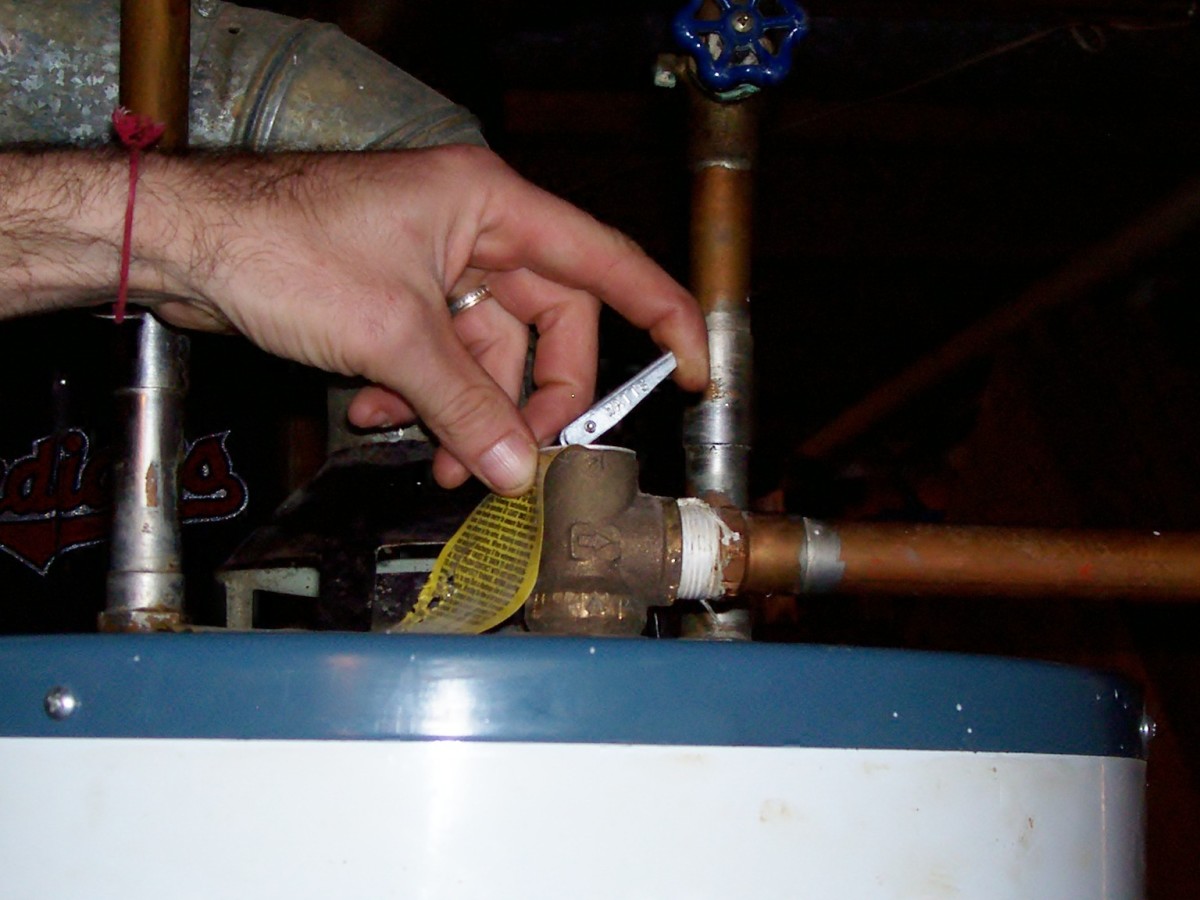
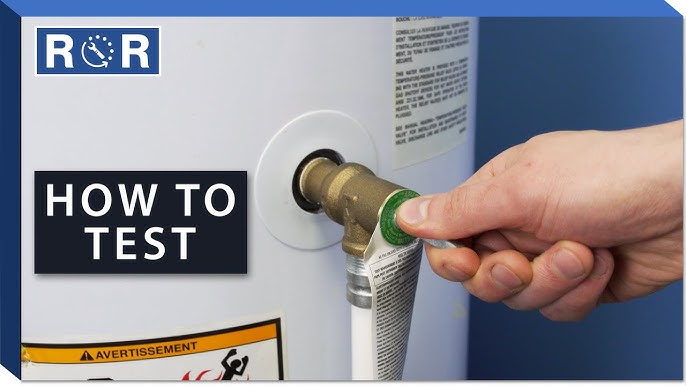
- Lift the Test Lever on the PRV: Gently lift and release the lever. A burst of hot water should flow out of the discharge pipe, then stop abruptly when you release the lever.
- If the Valve Doesn't Stop Leaking: If the valve continues to leak after releasing the lever, it's likely faulty and needs to be replaced.
Replacing the Pressure Relief Valve: A Step-by-Step Guide
If you've determined that the PRV is indeed faulty, you can proceed with replacing it. Always prioritize safety and take the necessary precautions.
Safety First!
- Turn off the Power: As mentioned before, this is non-negotiable. Electric heaters: switch off the breaker. Gas heaters: turn the gas control valve to "Pilot" or "Off."
- Turn off the Cold Water Supply: Locate the cold water shut-off valve on the inlet pipe to the water heater and turn it off.
- Drain the Water Heater (Partially): You don't need to drain the entire tank, but lowering the water level below the level of the PRV will prevent a flood when you remove the old valve. Connect a hose to the drain valve at the bottom of the tank and drain a few gallons of water.
- Wear Safety Glasses and Gloves: To protect your eyes and hands from hot water and sharp edges.
Tools You'll Need
- New Pressure Relief Valve (Make sure it has the same pressure and temperature ratings as the old one)
- Pipe Wrench
- Adjustable Wrench
- Pipe Thread Sealant (Teflon tape or pipe dope)
- Bucket and Rags
Step-by-Step Replacement
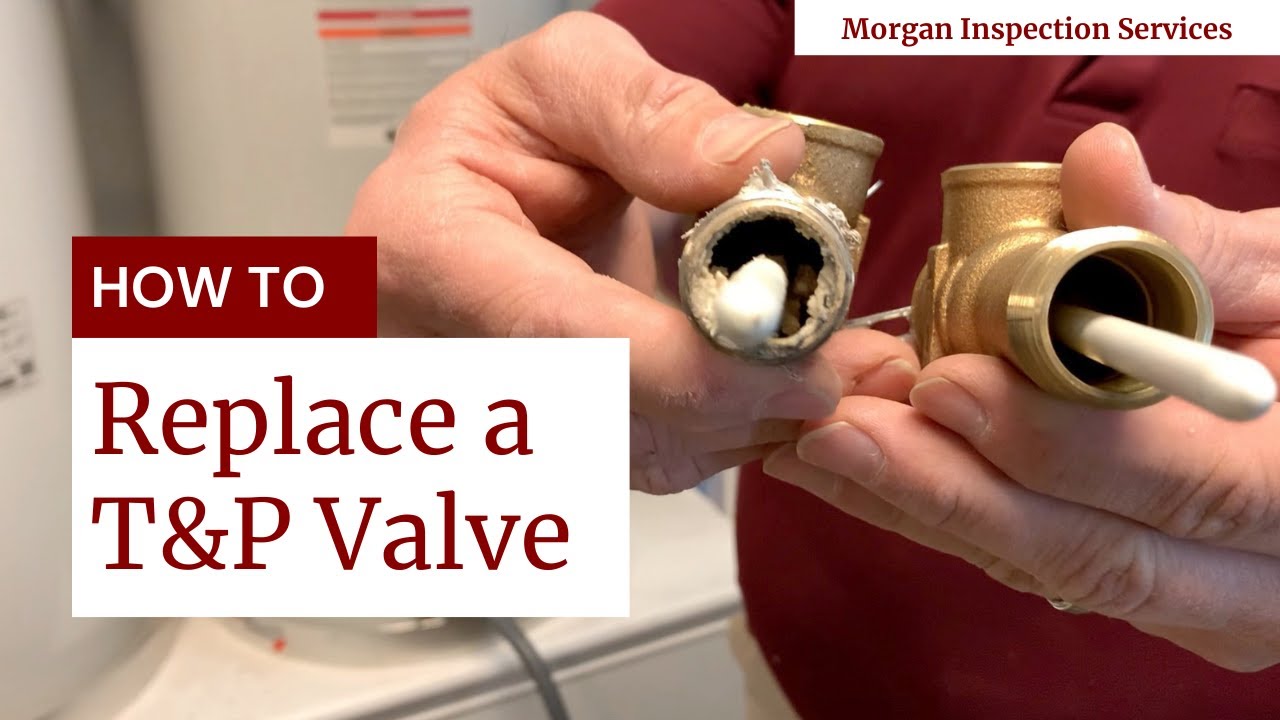
- Remove the Old PRV: Use a pipe wrench to carefully loosen and unscrew the old PRV. Be prepared for a small amount of water to spill out. If the old valve is stuck, you might need to use a penetrating oil to loosen the threads.
- Clean the Threads: Clean the threads on the water heater tank where the old valve was connected. Remove any old sealant or debris.
- Apply Pipe Thread Sealant: Wrap Teflon tape clockwise around the threads of the new PRV, or apply pipe dope according to the manufacturer's instructions. This will ensure a watertight seal.
- Install the New PRV: Carefully screw the new PRV into the tank. Tighten it firmly with a pipe wrench, but don't overtighten, as you could damage the threads. The valve should be oriented so that the discharge pipe points downwards.
- Reinstall the Discharge Pipe: If your old PRV had a discharge pipe connected to it, reattach it to the new valve. Ensure the discharge pipe is directed safely downwards and ends at least 6 inches above the floor.
- Turn the Water Supply Back On: Slowly turn the cold water supply back on and allow the tank to refill completely. Check for any leaks around the new PRV.
- Turn the Power Back On (Gas or Electric): For electric heaters, switch the breaker back on. For gas heaters, relight the pilot light according to the manufacturer's instructions. Be extremely careful when relighting a pilot light, and follow the instructions precisely. If you're unsure about relighting the pilot light, call a qualified gas technician.
- Monitor for Leaks: Keep an eye on the new PRV for the next few days to ensure it's not leaking.
When to Call a Professional
While replacing a PRV is often a manageable DIY project, there are situations where it's best to call a qualified plumber or HVAC technician:
- You're Uncomfortable Working with Plumbing: If you're not confident in your plumbing skills, it's always best to err on the side of caution.
- You Suspect a More Serious Problem: If the leaking PRV is accompanied by other water heater problems, such as unusual noises, rusty water, or inconsistent heating, there may be a more significant issue that requires professional diagnosis and repair.
- You Have a Gas Water Heater and Are Unsure About Relighting the Pilot Light: Working with gas can be dangerous, and it's crucial to follow all safety precautions. If you're not comfortable relighting the pilot light, call a qualified gas technician.
- The Old PRV is Severely Corroded or Stuck: Trying to force a corroded or stuck valve can damage the tank. A professional has the tools and experience to remove it safely.
- You Live in an Apartment or Condo: Many apartment and condo complexes have rules about who can perform plumbing repairs. Check with your landlord or building management before attempting any DIY work.
Preventive Maintenance
Regular maintenance can help prevent PRV failures and extend the life of your water heater:
- Flush the Tank Regularly: As mentioned earlier, flush the tank every 6-12 months to remove sediment build-up.
- Test the PRV Annually: Manually test the PRV at least once a year to ensure it's functioning properly.
- Check the Expansion Tank's Pressure: Check the pressure in your expansion tank annually to ensure it's at the correct level.
- Inspect the Water Heater for Leaks: Regularly inspect the water heater and surrounding area for any signs of leaks.
Conclusion
Replacing a pressure relief valve on a water heater is a DIY project that can save you money and time. By following these steps and prioritizing safety, you can successfully troubleshoot and replace a faulty PRV. However, always remember that if you're uncomfortable or unsure about any part of the process, it's best to call a qualified professional. A well-maintained water heater ensures a comfortable and safe home environment. Never underestimate the importance of safety when dealing with water, gas, and electricity.