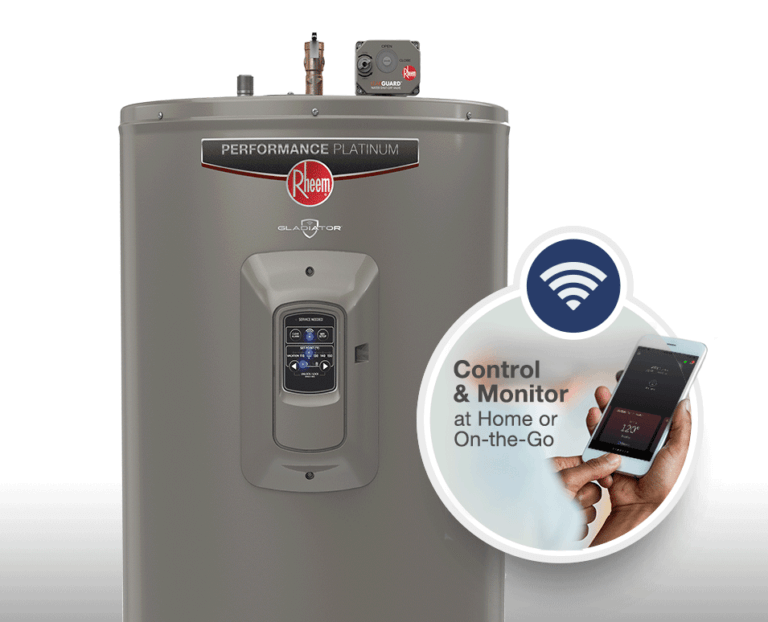
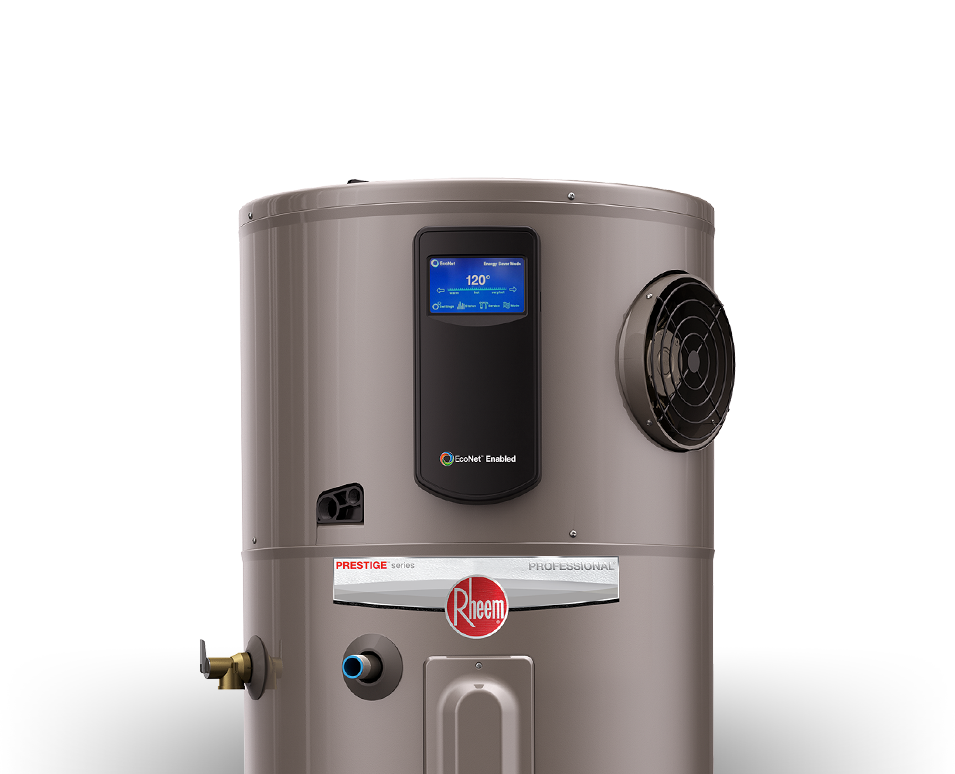
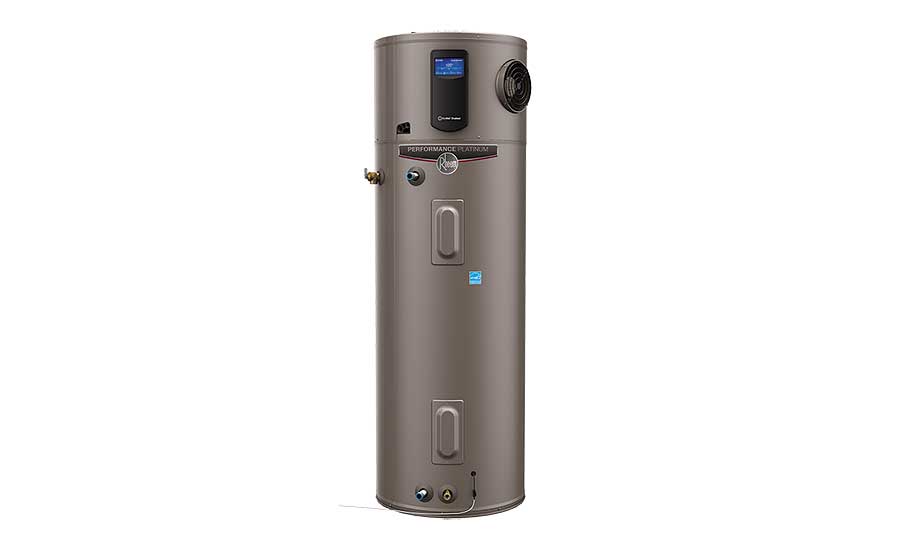
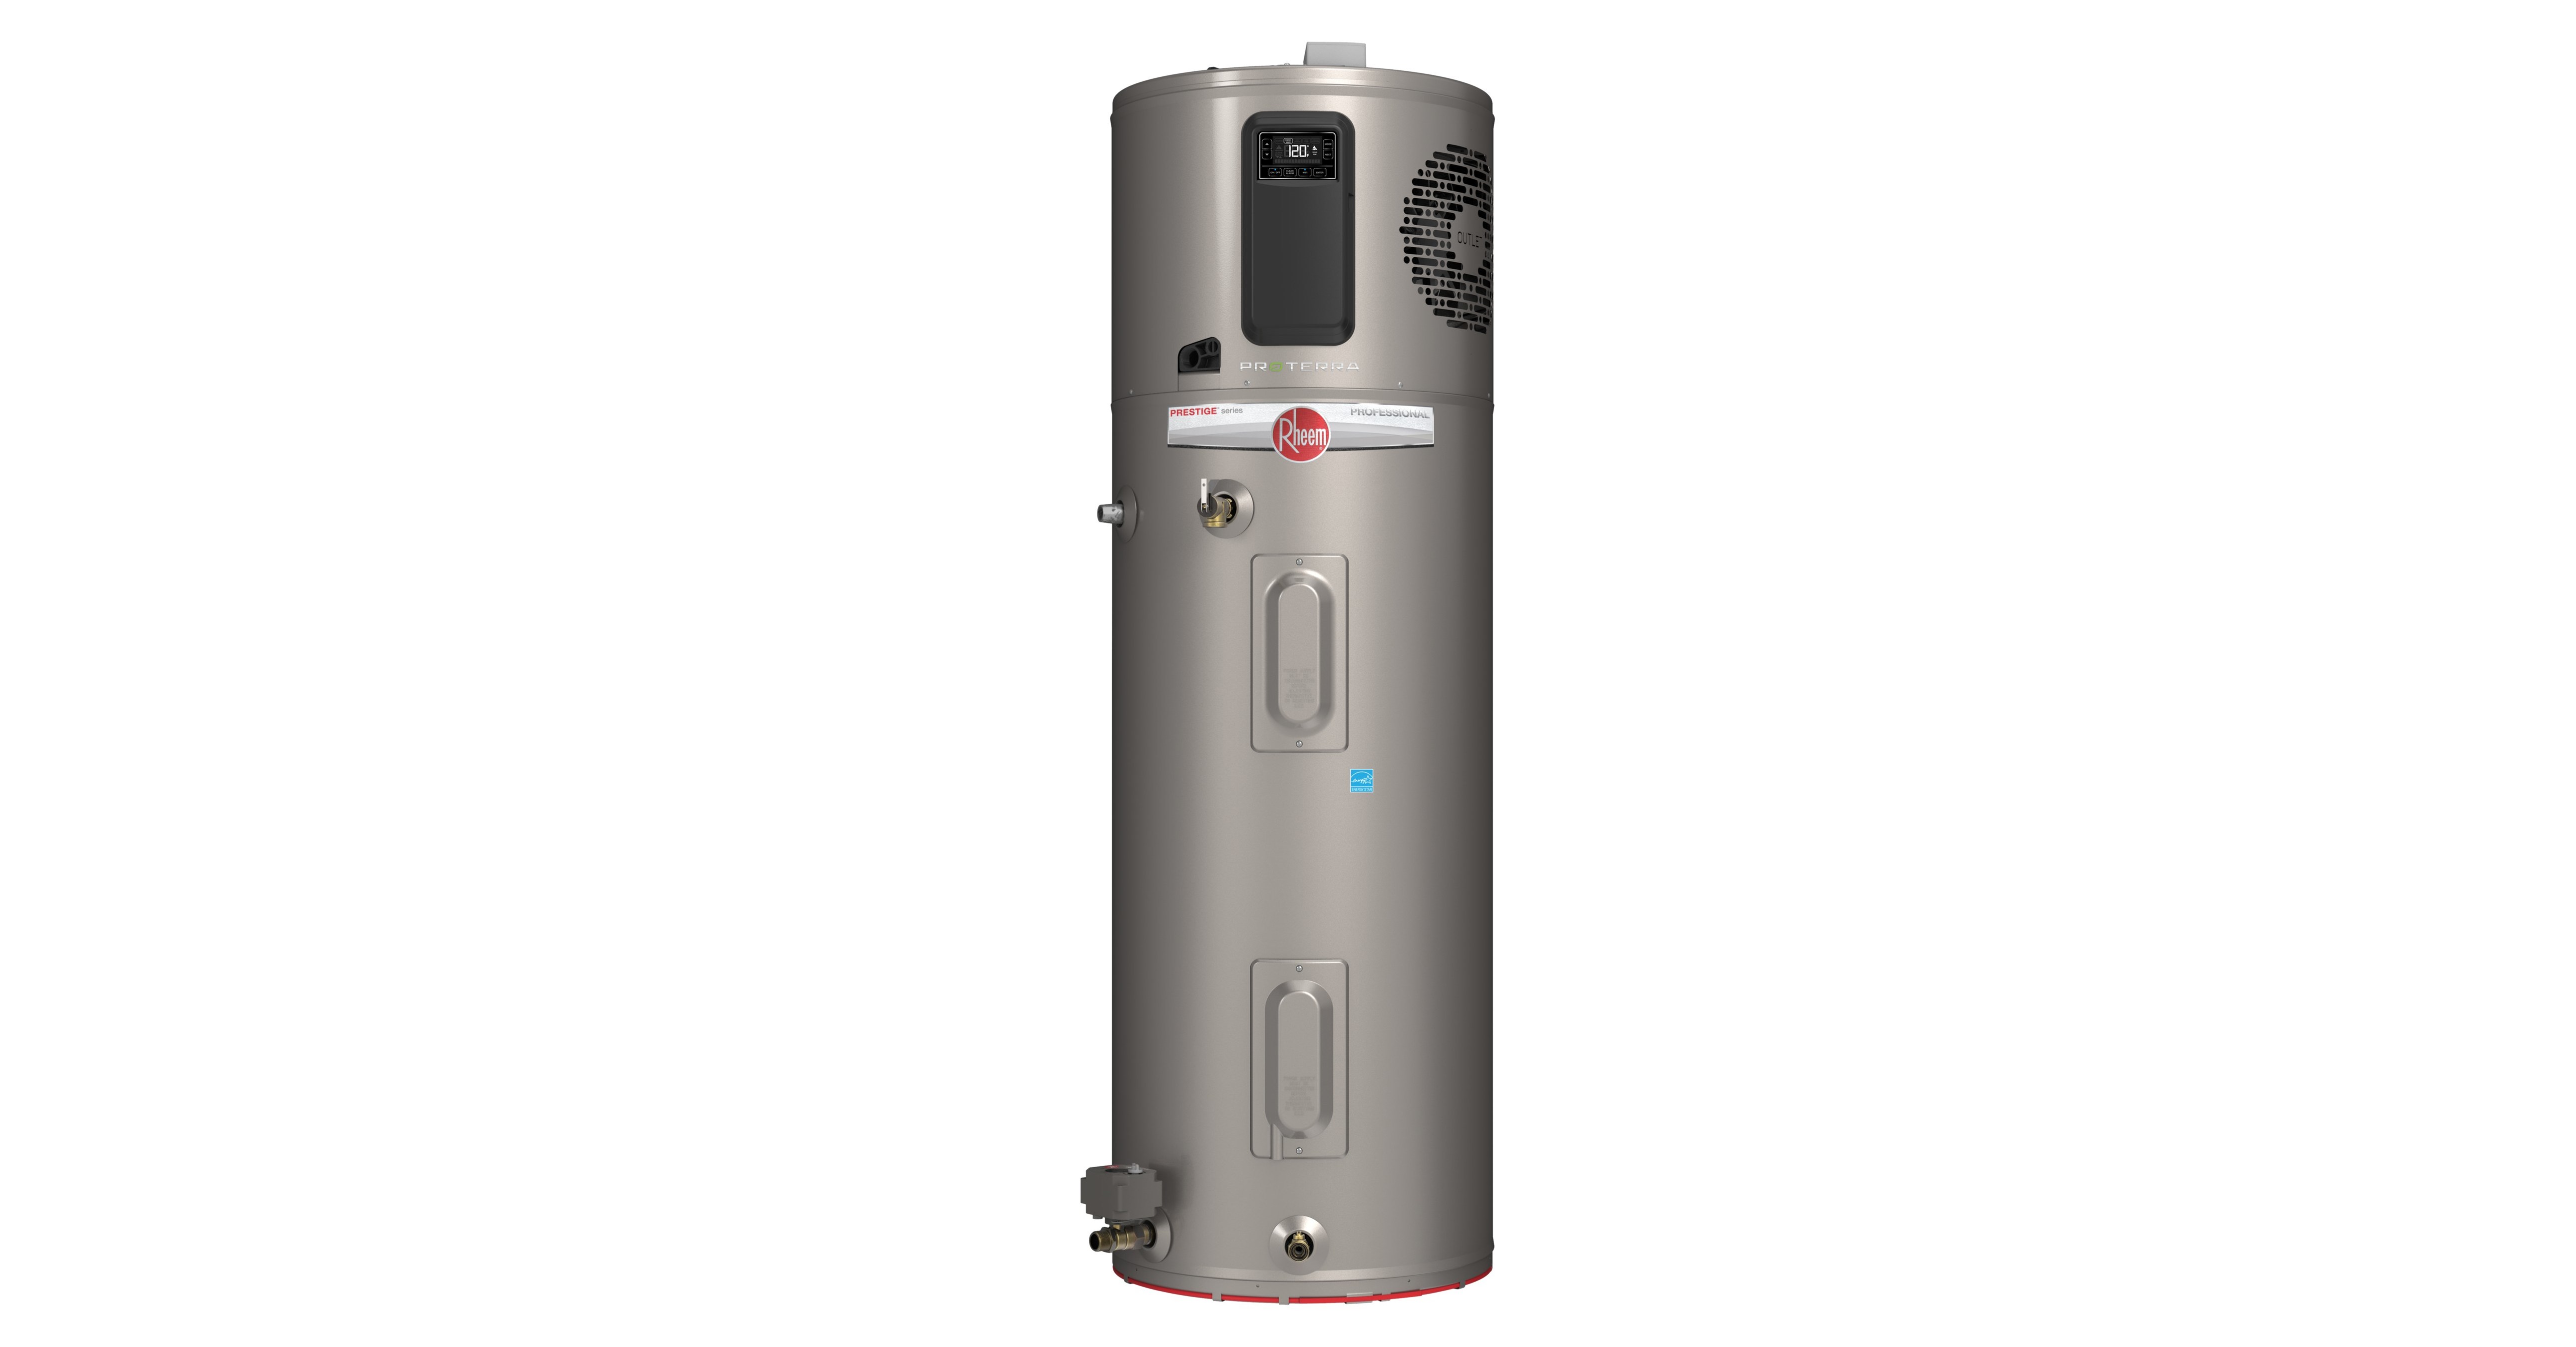
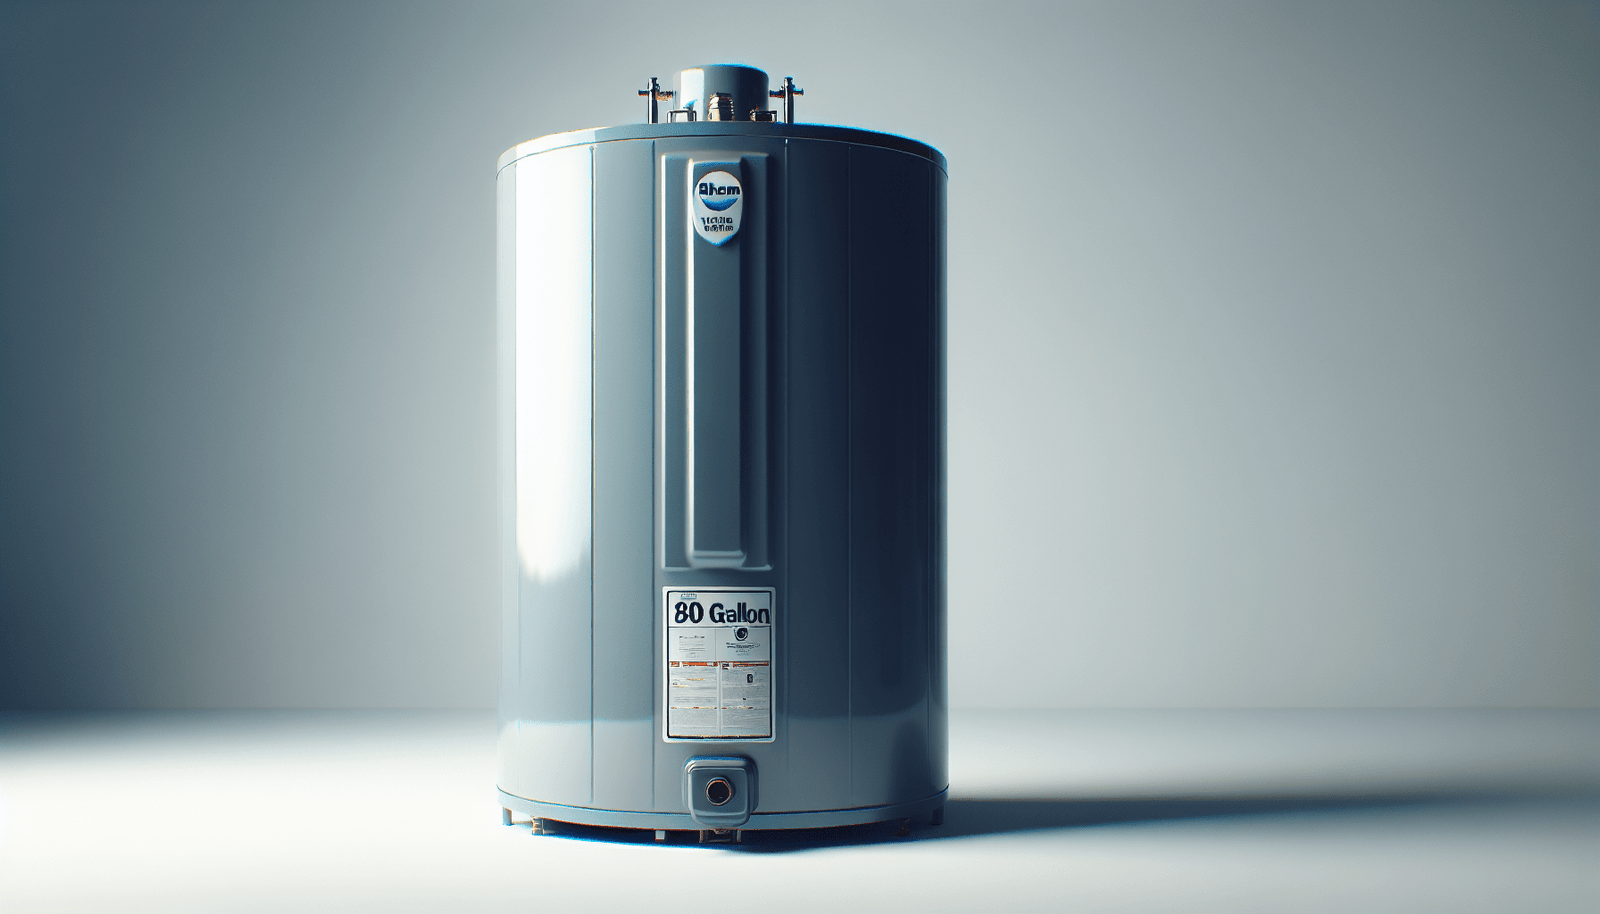
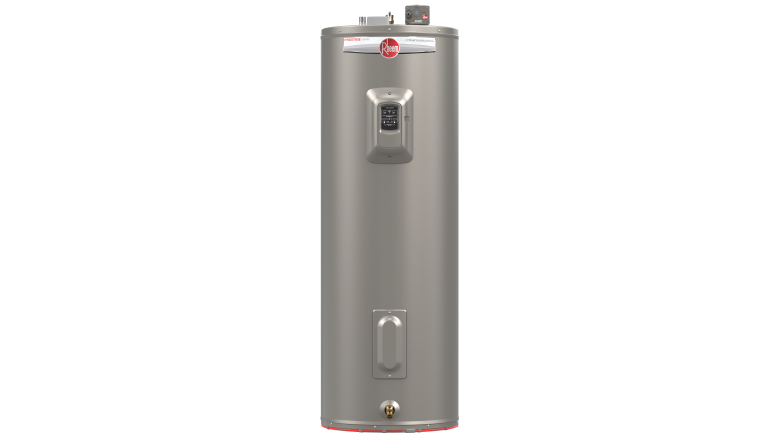
Rheem 80 Gallon Electric Water Heater

A cold shower is often the first sign of a water heater problem. Your Rheem 80-gallon electric water heater, while a workhorse, isn't immune to issues. Before calling a plumber, this guide will walk you through basic troubleshooting steps you can safely perform to identify and possibly resolve the problem.
Safety First!
Before touching anything related to your water heater, follow these crucial safety steps:
- Turn off the power: Locate the circuit breaker dedicated to your water heater in your electrical panel. Flip it to the "OFF" position. Double-check that the power is off by testing the water heater wires with a non-contact voltage tester (more on this later).
- Avoid Water: Never work on electrical components while standing in water or on a damp surface.
- If in doubt, call a pro: Some repairs are best left to qualified electricians and plumbers. Don't risk injury or further damage by attempting something you're not comfortable with.
Common Issues and Troubleshooting Steps
1. No Hot Water At All
This is the most common complaint. Let's start with the basics:
- Power Supply Check:
- Breaker Tripped? Go to your electrical panel and look for the breaker labeled "Water Heater." Is it tripped (in the middle position)? If so, reset it by flipping it fully to the "OFF" position and then back to "ON." If it trips again immediately, there's likely a short circuit, and you need a qualified electrician.
- Voltage Test: After turning off the breaker, use a non-contact voltage tester to confirm that the power is indeed off at the water heater. Remove the access panels (carefully! Some insulation may fall out). Place the tester near the wires connected to the heating elements. If the tester indicates voltage even with the breaker off, stop immediately and call an electrician.
- Breaker Size: Check that the breaker is the correct amperage for your water heater (usually 30 amps). A breaker that's too small can trip frequently.
- Thermostat Settings:
- Access Panels: Carefully remove the upper and lower access panels on the side of the water heater. Underneath, you'll find insulation and plastic safety covers. Remove the safety covers.
- Thermostat Reset Buttons: Each thermostat (upper and lower) has a red reset button. Press each button firmly. You might hear a click. Replace the safety covers, insulation, and access panels after resetting.
- Temperature Settings: Check the temperature settings on both thermostats. They should be set to the same temperature (typically 120-125°F is recommended). Using a screwdriver, you can usually adjust the temperature settings on most Rheem models. Make sure to turn the power off before touching the thermostat.
- High Limit Switch:
- The high limit switch is a safety device that shuts off power to the heating elements if the water gets too hot. If the water temperature exceeds the set temperature, the high limit switch may trip, cutting off power to the heating elements. Check that the high limit switch is not tripped. Refer to your Rheem user manual for the exact location of the high limit switch.
2. Not Enough Hot Water
If you're getting some hot water, but not enough, consider these possibilities:
- Sediment Buildup: Sediment accumulation in the tank reduces its capacity and efficiency.
- Flushing the Tank: This is a relatively simple DIY task that can significantly improve performance.
- Turn off the power and water: Turn off the breaker and the cold water supply valve at the top of the tank.
- Attach a hose: Connect a garden hose to the drain valve at the bottom of the tank.
- Run the hose: Run the other end of the hose to a safe drain (outside, a floor drain, etc.).
- Open the drain valve: Carefully open the drain valve. Be prepared for a large volume of water.
- Flush until clear: Let the tank drain completely. Then, briefly open the cold water supply valve to stir up sediment, and drain again. Repeat until the water runs clear.
- Close and refill: Close the drain valve, disconnect the hose, and slowly open the cold water supply valve to refill the tank.
- Bleed the air: Open a hot water faucet in the house to bleed air from the system while the tank refills.
- Restore power: Once the tank is full, turn the breaker back on.
- Dip Tube Failure: The dip tube directs cold water to the bottom of the tank for heating. If it's cracked or broken, cold water mixes with the hot water at the top, reducing the overall temperature. This usually requires a professional to diagnose and replace.
- Heating Element Issues: One or both of your heating elements might be failing.
- Testing Heating Elements (Requires a Multimeter):
- Safety First! Turn off the power to the water heater.
- Access: Remove the access panels and safety covers as described earlier.
- Disconnect wires: Disconnect the wires from the heating element terminals.
- Resistance Test: Set your multimeter to the ohms (Ω) setting. Touch the multimeter probes to the two terminals on the heating element. A good heating element should show a resistance reading (typically between 10 and 20 ohms). An open circuit (infinite resistance) indicates a burned-out element. A reading of zero ohms indicates a shorted element.
- Grounding Test: Touch one multimeter probe to a heating element terminal and the other probe to the metal tank. If you get any reading (not infinite resistance), the element is shorted to ground and needs replacement.
- Professional Replacement: Replacing a heating element involves draining the tank partially, removing the old element, and installing a new one with a proper seal. This is generally a DIY task, but be careful not to over-tighten the new element.
- Testing Heating Elements (Requires a Multimeter):
- Thermostat Problems: A malfunctioning thermostat might not be accurately sensing the water temperature. Consider replacement if you have confirmed that your heating elements are working.
3. Water is Too Hot
If your water is scalding, it's a serious safety concern. Lower the temperature immediately and investigate:
- Thermostat Settings: As mentioned before, check the temperature settings on both thermostats. Ensure they are set to a safe and comfortable temperature (120-125°F is recommended).
- Faulty Thermostat: If the thermostats are set correctly but the water is still too hot, one of the thermostats might be malfunctioning and needs replacement.
4. Leaking Water Heater
A leaking water heater is an emergency. Turn off the water supply and power immediately to prevent further damage. Sources of leaks include:
- Connections: Check all pipe connections for leaks. Tighten them carefully with a wrench. Do not overtighten!
- Pressure Relief Valve (PRV): This valve is designed to release excess pressure. If it's constantly dripping, it could indicate excessive water pressure or a faulty valve.
- Test the PRV: Carefully lift the lever on the PRV. Water should flow freely and then stop when you release the lever. If it continues to drip, it may need replacement.
- Check Water Pressure: High water pressure can cause the PRV to leak. A plumber can install a pressure regulator to resolve this issue.
- Tank Corrosion: Leaks from the tank itself usually indicate corrosion. This typically means the water heater needs to be replaced.
- Drain Valve: Check the drain valve at the bottom of the tank for leaks. Tighten or replace if necessary.
5. Noisy Water Heater
Unusual noises coming from your water heater can be a sign of sediment buildup or other issues:
- Popping or Rumbling: This is usually caused by sediment boiling at the bottom of the tank. Flushing the tank (as described above) is the best solution.
- Whistling: This can be caused by a restriction in the water flow. Check the inlet and outlet pipes for obstructions.
When to Call a Professional
The following situations warrant a call to a qualified plumber or electrician:
- Electrical issues: If you're uncomfortable working with electricity, or if you suspect a short circuit.
- Gas water heaters: Never attempt repairs on a gas water heater yourself. Gas leaks are extremely dangerous.
- Tank leaks: Leaks from the tank itself usually mean the water heater needs replacement.
- Complex repairs: Replacing the dip tube, major thermostat issues, or any repair that requires specialized tools or knowledge.
- Persistent problems: If you've tried the troubleshooting steps and the problem persists.
Maintenance Tips
Preventative maintenance can extend the life of your Rheem 80-gallon electric water heater:
- Flush the tank annually: This removes sediment and improves efficiency.
- Inspect the anode rod: The anode rod protects the tank from corrosion. It should be inspected and replaced every few years. This is a slightly more involved DIY task.
- Check the pressure relief valve: Test the PRV periodically to ensure it's functioning properly.
- Maintain proper temperature settings: Setting the temperature too high wastes energy and increases the risk of scalding.
By following these troubleshooting steps, you can often identify and resolve common issues with your Rheem 80-gallon electric water heater. Remember to prioritize safety and call a professional when needed. Good luck!