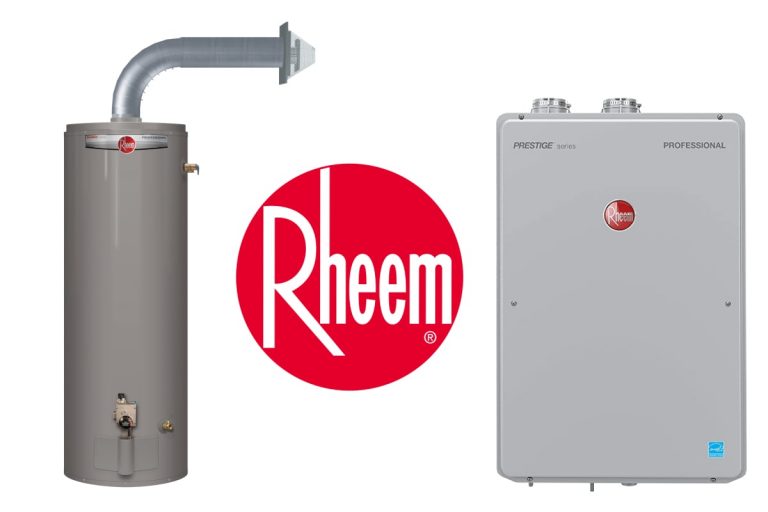
Rheem Fvir Gas Water Heater
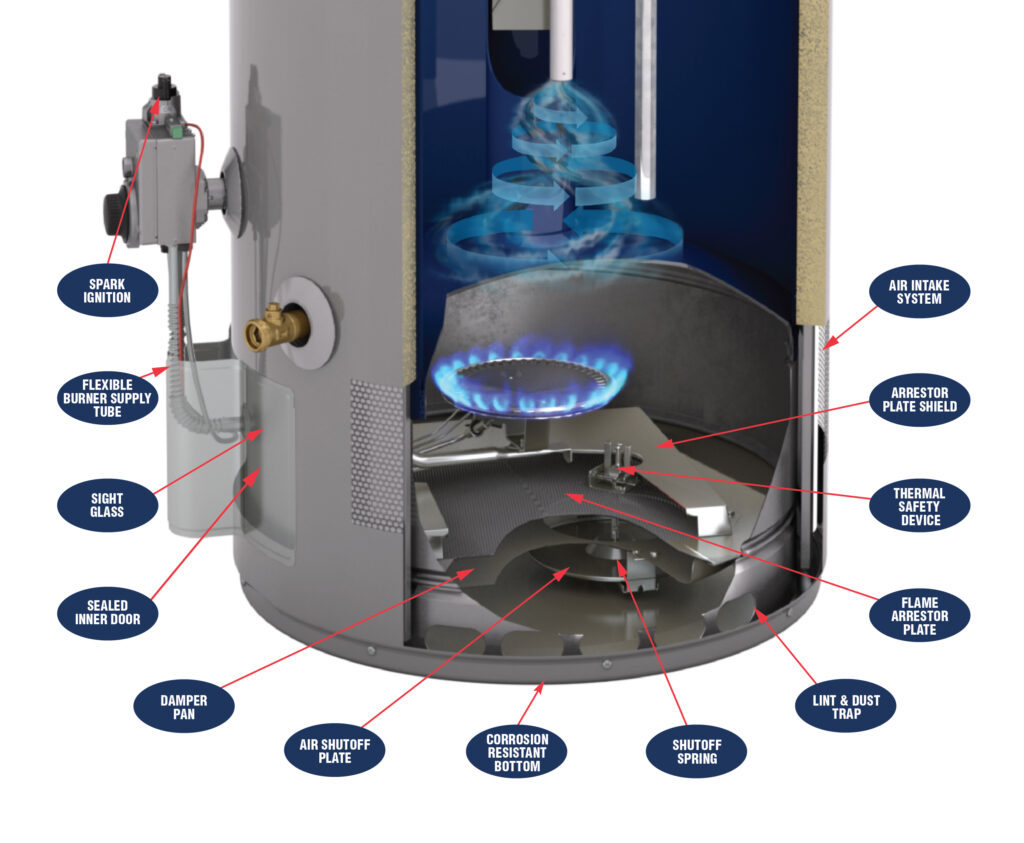
Experiencing lukewarm showers despite having a Rheem FVIR (Flammable Vapor Ignition Resistant) gas water heater? It's a frustrating problem, but often diagnosable and sometimes fixable with a few simple steps. This guide will walk you through troubleshooting common issues with your Rheem FVIR gas water heater, helping you regain hot water and avoid unnecessary service calls. We'll cover checks you can perform without tools, steps requiring basic equipment, and when it's time to call a professional.
Initial Checks (No Tools Required)
Before diving into more complex diagnostics, let's eliminate the easy suspects. These checks require no tools and can often reveal the root cause of the issue.
1. Verify the Gas Supply
This might seem obvious, but it's the most frequent culprit. A surprisingly common reason for a cold shower is simply a lack of gas.
- Check Other Gas Appliances: Are your stove and furnace working? If not, the problem lies with your main gas supply, not the water heater itself. Contact your gas company immediately.
- Inspect the Gas Shut-Off Valve: Locate the gas shut-off valve near the water heater. It should be fully open. The handle should be parallel to the gas pipe. If it's perpendicular, it's closed. Slowly open it completely.
- Smell for Gas: If you smell gas, DO NOT attempt to light the water heater. Evacuate the area immediately and contact your gas company from a safe location.
2. Pilot Light Inspection (If Applicable)
While Rheem FVIR heaters often have electronic ignition, some older models might still use a pilot light. Locate the pilot light viewing window (refer to your water heater's manual if needed).
- Is the Pilot Light Lit? If not, this is likely the issue. See the section below on relighting the pilot light (but only if you're comfortable doing so and no gas smell is present).
- Weak or Flickering Pilot Light? A weak or flickering pilot light can indicate a dirty pilot orifice or a faulty thermocouple. These issues usually require professional attention.
3. Check the Thermostat Setting
Ensure the thermostat is set to a reasonable temperature (typically around 120°F or 49°C). A drastically low setting will result in lukewarm water.
- Adjust the Thermostat: Turn the thermostat dial up a few degrees. Wait a few hours and check the water temperature.
- Listen for the Burner: After adjusting the thermostat, listen for the burner to ignite. If you don't hear it, there may be an issue with the thermostat itself or another component.
4. Check for Leaks
Inspect the area around the water heater for any signs of water leakage. Leaks can indicate a failing tank, loose fittings, or a faulty pressure relief valve.
- Look for Pooling Water: Check the floor around the base of the tank.
- Inspect Fittings and Connections: Examine all pipe connections for drips or moisture.
- Check the Pressure Relief Valve (PRV): The PRV is a safety device that releases pressure if it gets too high. A small amount of dripping after the heater runs is normal, but constant leaking indicates a problem.
Basic Troubleshooting (Tools Required)
If the initial checks don't reveal the problem, you'll need a few basic tools to proceed. Make sure to turn off the gas supply and power (if applicable) to the water heater before starting any of these steps.
1. Relighting the Pilot Light (If Applicable)
Important Safety Notice: If you smell gas at any point, STOP and contact your gas company immediately. Only attempt to relight the pilot light if there is no gas smell present.
Tools Needed: Lighter or long match.
Steps:
- Turn the Gas Control Valve to the "Pilot" Setting: Locate the gas control valve knob and turn it to the "Pilot" position.
- Press and Hold the Reset Button: Press and hold the reset button on the gas control valve. This allows gas to flow to the pilot.
- Light the Pilot: While holding the reset button, use a lighter or long match to ignite the pilot light.
- Continue Holding the Reset Button: Continue holding the reset button for about 30-60 seconds. This allows the thermocouple to heat up and keep the pilot lit.
- Release the Reset Button: Slowly release the reset button. The pilot light should remain lit.
- Turn the Gas Control Valve to the "On" Setting: If the pilot light stays lit, turn the gas control valve to the "On" position.
- Monitor: Observe the water heater for a few minutes to ensure it fires up correctly.
If the pilot light doesn't stay lit after several attempts, there may be a problem with the thermocouple or the gas control valve, requiring professional repair.
2. Checking the Thermocouple (If Applicable)
The thermocouple is a safety device that senses the pilot light flame. If the pilot light is lit but the main burner won't ignite, the thermocouple may be faulty.
Tools Needed: Multimeter (optional), wrench (for disconnecting the thermocouple).
Important Note: This step requires some experience with basic electrical testing. If you're not comfortable, skip this and call a professional.
Steps:
- Locate the Thermocouple: The thermocouple is a small copper rod that sits near the pilot light.
- Disconnect the Thermocouple: Carefully disconnect the thermocouple from the gas control valve. You may need a small wrench.
- Test the Thermocouple (Optional): Use a multimeter to test the thermocouple's output voltage. It should typically read around 25-30 millivolts when heated. A reading significantly lower indicates a faulty thermocouple.
- Inspect the Thermocouple: Look for any signs of damage, corrosion, or carbon buildup on the thermocouple.
- Replace the Thermocouple: If the thermocouple is faulty or damaged, replace it with a new one. Ensure you get the correct replacement for your water heater model.
- Reconnect the Thermocouple: Reconnect the thermocouple to the gas control valve, tightening securely.
- Relight the Pilot Light: Relight the pilot light as described above and see if the main burner now ignites.
3. Flushing the Water Heater Tank
Sediment buildup in the bottom of the tank can insulate the water from the burner, reducing its heating efficiency. Flushing the tank removes this sediment.
Tools Needed: Garden hose, bucket (optional).
Important Note: Always turn off the power/gas supply to the water heater and let the water cool down significantly before flushing to avoid scalding.
Steps:
- Turn Off the Water Heater: Turn off the gas supply and the power (if applicable) to the water heater.
- Let the Water Cool: Allow the water in the tank to cool down for several hours to avoid scalding.
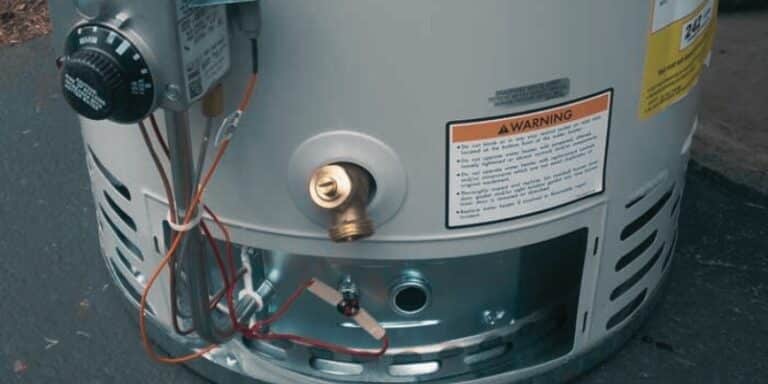
- Connect a Garden Hose: Connect a garden hose to the drain valve at the bottom of the water heater.
- Run the Hose to a Drain: Run the other end of the hose to a suitable drain or into a large bucket.
- Open the Drain Valve: Open the drain valve to allow the water to flow out.
- Flush the Tank: Let the tank drain completely. You may need to open the pressure relief valve (PRV) to allow air into the tank and speed up the draining process. Be careful, as the water may still be hot.
- Close the Drain Valve: Once the tank is empty, close the drain valve.
- Refill the Tank: Turn on the cold water supply to the water heater and let the tank refill completely. Open a hot water faucet elsewhere in the house to vent air from the system.
- Turn On the Water Heater: Once the tank is full, turn on the gas supply and the power (if applicable) to the water heater.
When to Call a Professional
While many water heater problems can be resolved with DIY troubleshooting, some issues are best left to experienced professionals. Call a qualified HVAC technician if you encounter any of the following:
- Gas Leaks: If you smell gas, evacuate the area and contact your gas company immediately.
- Electrical Issues: If you suspect electrical problems with the water heater's ignition system or thermostat, don't attempt to repair it yourself.
- Faulty Gas Control Valve: If the gas control valve is not functioning correctly, it's a safety hazard and should be replaced by a professional.
- Tank Leaks: A leaking tank indicates a serious problem and usually requires water heater replacement.
- Complex Problems: If you've tried the troubleshooting steps above and the problem persists, it's likely a more complex issue that requires specialized knowledge and equipment.
- FVIR System Issues: The FVIR system is a crucial safety feature. If you suspect any problems with it, contact a professional.
Preventative Maintenance: To extend the life of your Rheem FVIR gas water heater and prevent future problems, consider scheduling annual maintenance with a qualified technician. They can inspect the system, flush the tank, and identify potential issues before they become major problems.
By following these troubleshooting steps, you can often diagnose and resolve common issues with your Rheem FVIR gas water heater. Remember to prioritize safety and call a professional when needed. With a little knowledge and effort, you can keep your hot water flowing and avoid costly repairs.