Rheem Water Heater Parts Diagram

Many homeowners rely on their Rheem water heaters daily, often taking them for granted until a problem arises. A common frustration is experiencing no hot water, or water that's only lukewarm. This can disrupt showers, dishwashing, and laundry. Before calling a plumber, understanding the basic components of your Rheem water heater and performing some simple troubleshooting steps can potentially save you time and money. This guide uses a Rheem water heater parts diagram as a reference to help you diagnose and possibly fix the problem yourself.
Understanding Your Rheem Water Heater: A Parts Overview
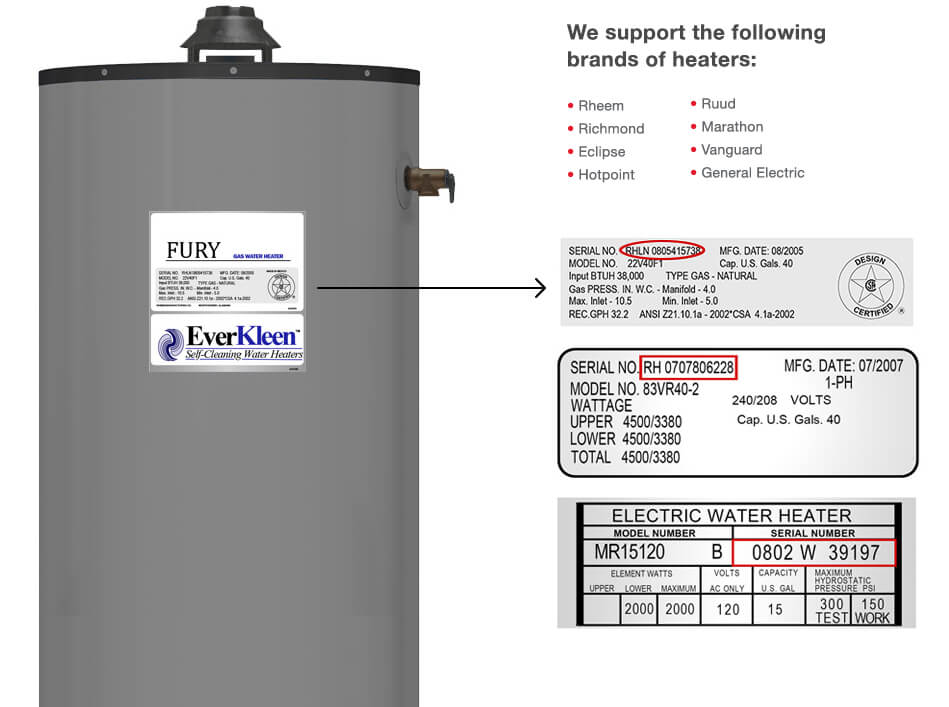
While specific models vary, most Rheem water heaters share common components. Refer to your Rheem water heater's parts diagram (usually found on a sticker on the tank itself, inside the access panels, or easily accessible online via Rheem's website by searching for your model number). This diagram is crucial for identifying and locating the parts discussed below.
Key components include:
- Dip Tube: Carries cold water to the bottom of the tank.
- Heating Elements (Electric): Heat the water (gas models have a burner).
- Thermostats: Control the heating elements (or gas burner) to maintain desired temperature. Most electric heaters have an upper and lower thermostat.
- Temperature and Pressure Relief (T&P) Valve: Releases pressure if it gets too high, preventing explosions.
- Drain Valve: Used to drain the tank for maintenance or repairs.
- Anode Rod: A sacrificial rod that corrodes instead of the tank itself, extending the tank's life.
- Gas Valve (Gas Models): Controls the flow of gas to the burner.
- Thermocouple (Gas Models): A safety device that shuts off the gas if the pilot light goes out.
- Pilot Light (Gas Models): A small flame that ignites the gas burner.
Step-by-Step Troubleshooting: No Hot Water (or Lukewarm Water)
Follow these steps in order. Always turn off the power (electric) or gas (gas) to the water heater before attempting any repairs. Safety is paramount!
Step 1: Check the Obvious – Power and Gas Supply
This might sound basic, but it's often the culprit:
- Electric Heaters: Ensure the circuit breaker for the water heater hasn't tripped. Reset it if necessary.
- Gas Heaters: Make sure the gas supply valve is open. Check other gas appliances to confirm you have gas service.
If the breaker trips immediately after resetting or you smell gas, stop and call a qualified electrician or gas technician immediately.
Step 2: Inspect the Thermostat(s) (Electric Heaters)
Electric water heaters typically have two thermostats: an upper and a lower. A faulty thermostat is a common cause of no hot water.
- Turn off the power at the circuit breaker.
- Remove the access panel(s) covering the thermostat(s). You'll likely need a screwdriver.
- Insulate yourself: Use insulated tools (screwdriver, pliers) and avoid touching any exposed wires.
- Check the reset button: Most thermostats have a small, red reset button. Press it firmly. You might hear a click. This often solves the problem if the thermostat tripped due to overheating.
- Test the thermostat(s) with a multimeter (Advanced): This requires some electrical knowledge and a multimeter. Set the multimeter to measure resistance (Ohms). Disconnect the wires from the thermostat terminals. Test the continuity across the terminals. A reading of zero or very low resistance indicates a good thermostat. An open circuit (infinite resistance) means the thermostat is bad and needs replacement. If you are not comfortable using a multimeter, skip this step and consider calling a professional.
Important Note: Before disconnecting any wires, take a photo or draw a diagram of the wiring connections. This will help you reconnect them correctly later.
Step 3: Inspect the Heating Elements (Electric Heaters)
If the thermostats are working, the heating elements might be the problem.
- Turn off the power at the circuit breaker (if you haven't already).
- Drain the tank partially: Drain enough water to expose the heating elements. This prevents a flood when you remove them. Connect a hose to the drain valve at the bottom of the tank and run it to a drain.
- Remove the heating element(s): Disconnect the wires from the heating element. Use a heating element wrench to unscrew and remove the element.
- Inspect the element(s): Look for signs of damage, such as bulging, cracks, or excessive corrosion.
- Test the element(s) with a multimeter: Set the multimeter to measure resistance. Connect the multimeter probes to the element's terminals. A working element should show some resistance (typically around 10-20 Ohms, depending on wattage). An open circuit (infinite resistance) indicates a failed element. A short circuit (very low resistance) can also cause problems.
- Replace the element(s): If the element is damaged or tests bad, replace it with a new one of the same wattage and voltage. Apply Teflon tape to the threads of the new element before installing it.
Caution: Do not overtighten the heating element. Snug is good enough to prevent leaks.
Step 4: Check the Pilot Light (Gas Heaters)
If you have a gas water heater, a common issue is a pilot light that has gone out.
- Locate the pilot light assembly: This is usually found near the bottom of the tank, behind an access panel.
- Follow the lighting instructions on the water heater: Most water heaters have detailed instructions printed on a label near the pilot light. Typically, you'll need to turn the gas valve to the "Pilot" setting, press and hold the reset button while lighting the pilot with a long lighter or match. Continue holding the reset button for about 30-60 seconds after the pilot light ignites to allow the thermocouple to heat up.
- If the pilot light won't stay lit: This could indicate a faulty thermocouple. The thermocouple is a safety device that shuts off the gas if the pilot light goes out. A failing thermocouple will not generate enough voltage to keep the gas valve open. Replacing the thermocouple is usually a simple DIY repair.
- Check the gas valve: Ensure the gas valve is turned to the "On" position after lighting the pilot light.
Warning: If you smell gas while attempting to light the pilot light, immediately turn off the gas supply and call a qualified gas technician.
Step 5: Examine the Temperature and Pressure Relief (T&P) Valve
The T&P valve is a safety device. If it's constantly leaking, it could indicate a problem with excessive pressure or temperature within the tank.
- Check for leaks: A small drip from the T&P valve is normal occasionally, especially during the heating cycle. However, a constant stream of water indicates a problem.
- Test the valve: Carefully lift the lever on the T&P valve. Water should flow freely from the valve. Release the lever. The valve should snap shut and stop leaking. If the valve continues to leak after testing, it needs to be replaced.
- Possible causes of a leaking T&P valve:
- High water pressure: A pressure regulator may be needed on your main water line.
- Excessive temperature: Check the thermostat settings. Set them to a lower temperature.
- Faulty T&P valve: The valve itself may be defective and need replacement.
Important: Replacing a T&P valve requires shutting off the water supply to the water heater and draining the tank. Consider consulting a professional if you're not comfortable with this procedure.
Step 6: Check the Dip Tube
The dip tube is a plastic pipe that carries cold water to the bottom of the tank. If it's cracked or broken, cold water can mix with the hot water at the top of the tank, resulting in lukewarm water.
Unfortunately, inspecting the dip tube requires draining the tank completely and removing the hot water outlet pipe. This is a more involved repair.
Symptoms of a bad dip tube:
- Lukewarm water, especially after using a large amount of hot water.
- Sediment in the hot water.
Recommendation: Due to the complexity of this repair, it's generally best to consult a plumber for dip tube replacement.
Step 7: Flush the Tank
Sediment buildup in the bottom of the tank can reduce heating efficiency and contribute to other problems. Flushing the tank periodically can help.
- Turn off the power (electric) or gas (gas) to the water heater.
- Connect a hose to the drain valve at the bottom of the tank. Run the hose to a drain.
- Open the drain valve. Allow the tank to drain completely.
- Flush the tank: Open the cold water inlet valve briefly to flush out any remaining sediment. Repeat this process several times.
- Close the drain valve.
- Refill the tank: Open the cold water inlet valve and allow the tank to fill completely before turning the power (electric) or gas (gas) back on.
When to Call a Professional
While many water heater problems can be addressed with DIY troubleshooting, some issues require the expertise of a qualified plumber or electrician. Call a professional if:
- You are uncomfortable working with electricity or gas.
- You smell gas, even after relighting the pilot light.
- The circuit breaker trips repeatedly after resetting it.
- You suspect a gas leak.
- You are unable to diagnose the problem after following these troubleshooting steps.
- You need to replace the gas valve.
- You suspect a major tank leak.
- You need to replace the dip tube.
- Your water heater is old (over 10-12 years) and repairs are becoming frequent. It might be more cost-effective to replace the entire unit.
Remember to always prioritize safety. If you are unsure about any step, consult a professional. By understanding the basic components of your Rheem water heater and following these troubleshooting steps, you can potentially save time and money while keeping your hot water flowing.


/cdn.vox-cdn.com/uploads/chorus_asset/file/19752179/tankless_water_heater_promo.0.jpg?resize=806%2C605&ssl=1)