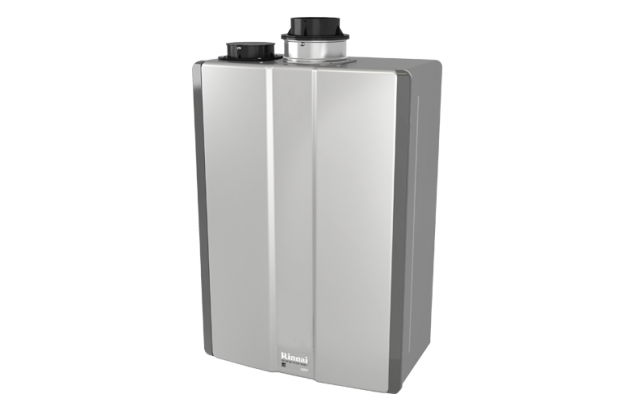
Rinnai High Efficiency Tankless Water Heater
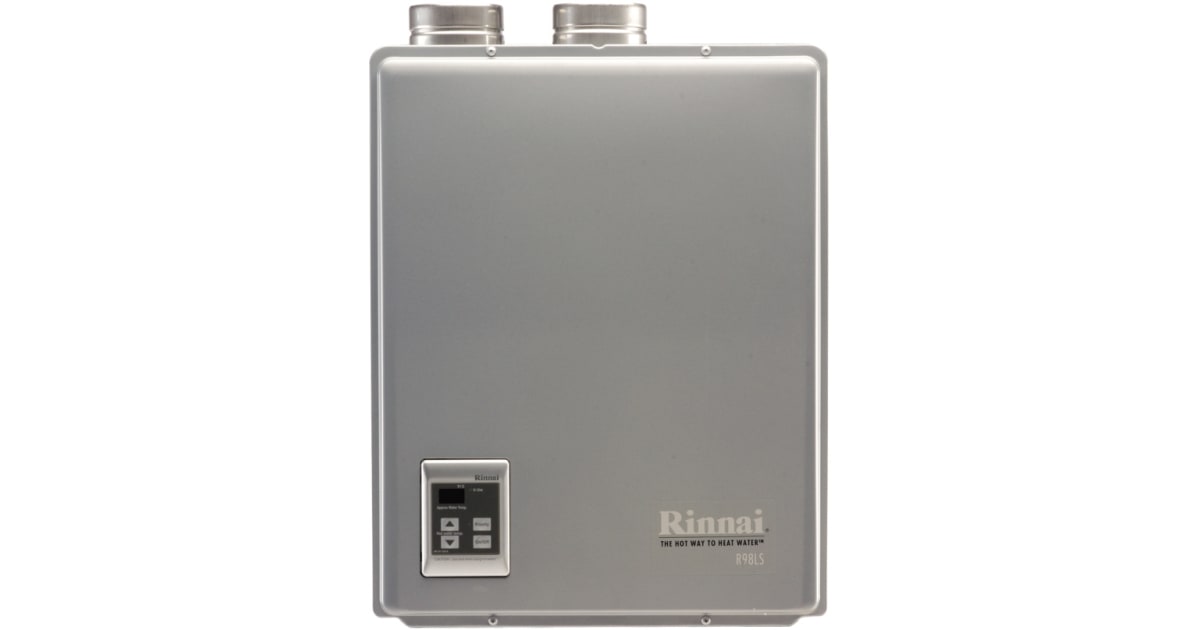
Rinnai tankless water heaters are a fantastic investment, providing on-demand hot water and energy efficiency. However, like any appliance, they can sometimes encounter problems. One of the most common issues homeowners face is intermittent or no hot water. Before you call a plumber, let's walk through some troubleshooting steps you can safely perform.
Step 1: Initial Checks - Is It Really the Rinnai?
First, ensure the problem truly lies with your Rinnai unit. Sounds obvious, but double-checking saves time and frustration.
Check Other Hot Water Fixtures
Are *all* your hot water taps affected, or just one? If it's only one, the problem likely lies with that fixture (a clogged aerator, for example), not the Rinnai.
Verify Gas Supply
Confirm that your home's gas supply is working. Check if other gas appliances (stove, furnace) are functioning correctly. A widespread gas outage will obviously affect your Rinnai.
Step 2: Understanding the Error Codes
Rinnai tankless heaters are equipped with a diagnostic system that displays error codes. These codes are invaluable for pinpointing the problem. The location of the display varies by model, so consult your owner's manual to find it.
Locating the Error Code
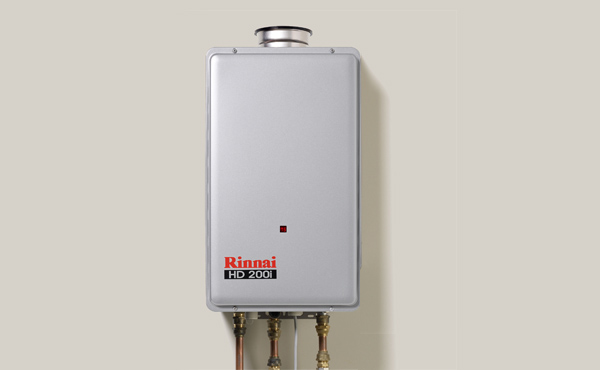
Most Rinnai units have a small display screen that shows a number or a combination of letters and numbers. This is the error code. Write it down!
Common Error Codes and DIY Solutions (Where Safe)
Here are some of the most frequent error codes and potential DIY fixes. Always turn off the power and gas to the unit before attempting any repairs.
Error Code 11: Ignition Failure
This often indicates a problem with the gas supply or ignition system.
- Check the Gas Valve: Ensure the gas valve leading to the Rinnai is fully open.
- Reset the Unit: Turn off the power to the Rinnai at the breaker for 30 seconds, then turn it back on. This can sometimes clear a temporary glitch.
- Air in the Gas Line: If the Rinnai hasn't been used in a while, or if there was recent gas line work, there might be air in the line. Try running other gas appliances for a few minutes to purge the air.
- When to Call a Professional: If these steps don't work, the problem could be a faulty igniter, gas valve, or flame sensor. These components require professional diagnosis and repair. Do NOT attempt to fix these yourself.
Error Code 12: Flame Failure
This means the flame ignited but then went out.
- Check Gas Pressure: Low gas pressure can cause flame failure. While you can't directly measure gas pressure, if other gas appliances are acting strangely (weak flame on the stove), low gas pressure is a possibility.
- Vent Obstruction: Make sure the Rinnai's exhaust vent is clear of obstructions (snow, debris, bird nests). A blocked vent can cause the flame to extinguish.
- When to Call a Professional: A faulty flame sensor or gas valve could also be the culprit. Professional assistance is required for these issues.
Error Code 14: Overheat Error
This indicates the unit overheated.
- Check for Blockages: Examine the inlet and outlet pipes for any visible obstructions.
- Check Water Flow: Ensure there is adequate water flow through the unit. A partially closed water valve can restrict flow and cause overheating.
- Scale Buildup: Mineral buildup (scale) inside the heat exchanger is a common cause of overheating. Rinnai recommends periodic descaling. See "Descaling Your Rinnai" below.
- When to Call a Professional: If descaling doesn't resolve the issue, the problem could be a faulty temperature sensor or other internal component. Contact a qualified technician.
Error Code 16: Freeze Protection Activated
This means the unit is protecting itself from freezing. This is more common in colder climates.
- Check for Frozen Pipes: Ensure that the water pipes leading to and from the Rinnai are not frozen. Use a hair dryer or heat tape to gently thaw frozen pipes (never use an open flame!).
- Insulate Pipes: To prevent future freezing, insulate the pipes.
- When to Call a Professional: If the pipes are not frozen and the error persists, there might be a problem with the freeze protection system itself. A professional should diagnose this.
Error Code 99: Leak Detected
This code indicates a leak has been detected, usually in the internal components of the unit.
- Inspect the Unit: Look closely around the unit for any signs of water leakage. Check the connections, fittings, and casing for drips or dampness.
- Turn off Water Supply: If you detect a leak, immediately turn off the water supply to the unit to prevent further damage.
- When to Call a Professional: Any water leak detected by error code 99 needs immediate professional assessment and repair. Water leaks can lead to significant property damage if not addressed promptly.
Step 3: Descaling Your Rinnai (Important!)
Scale buildup is a major cause of problems in tankless water heaters, especially in areas with hard water. Rinnai recommends descaling annually or biannually, depending on water hardness.
What You'll Need:
- Descaling Solution: Use a descaling solution specifically designed for tankless water heaters. Rinnai sells their own, but other brands are available. Do NOT use vinegar or harsh chemicals; they can damage the unit.
- Bucket: To hold the descaling solution.
- Hoses: Two short hoses (typically garden hose size) with female fittings.
- Small Submersible Pump (Optional): Can speed up the process.
Descaling Procedure:
- Turn off the Power and Gas: As always, safety first.
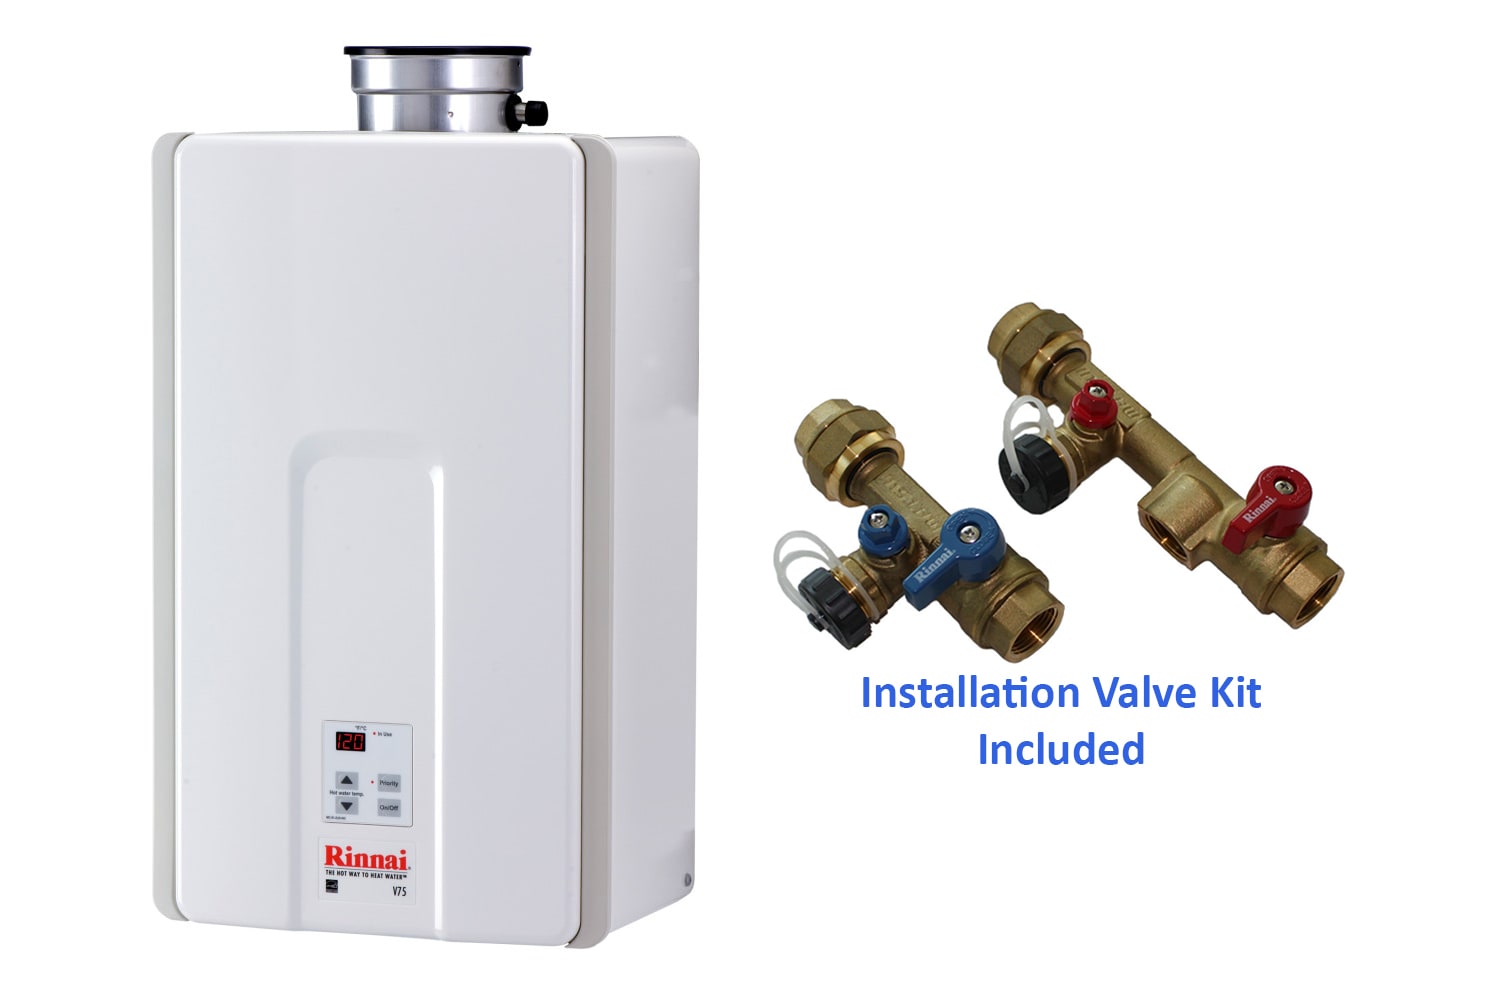
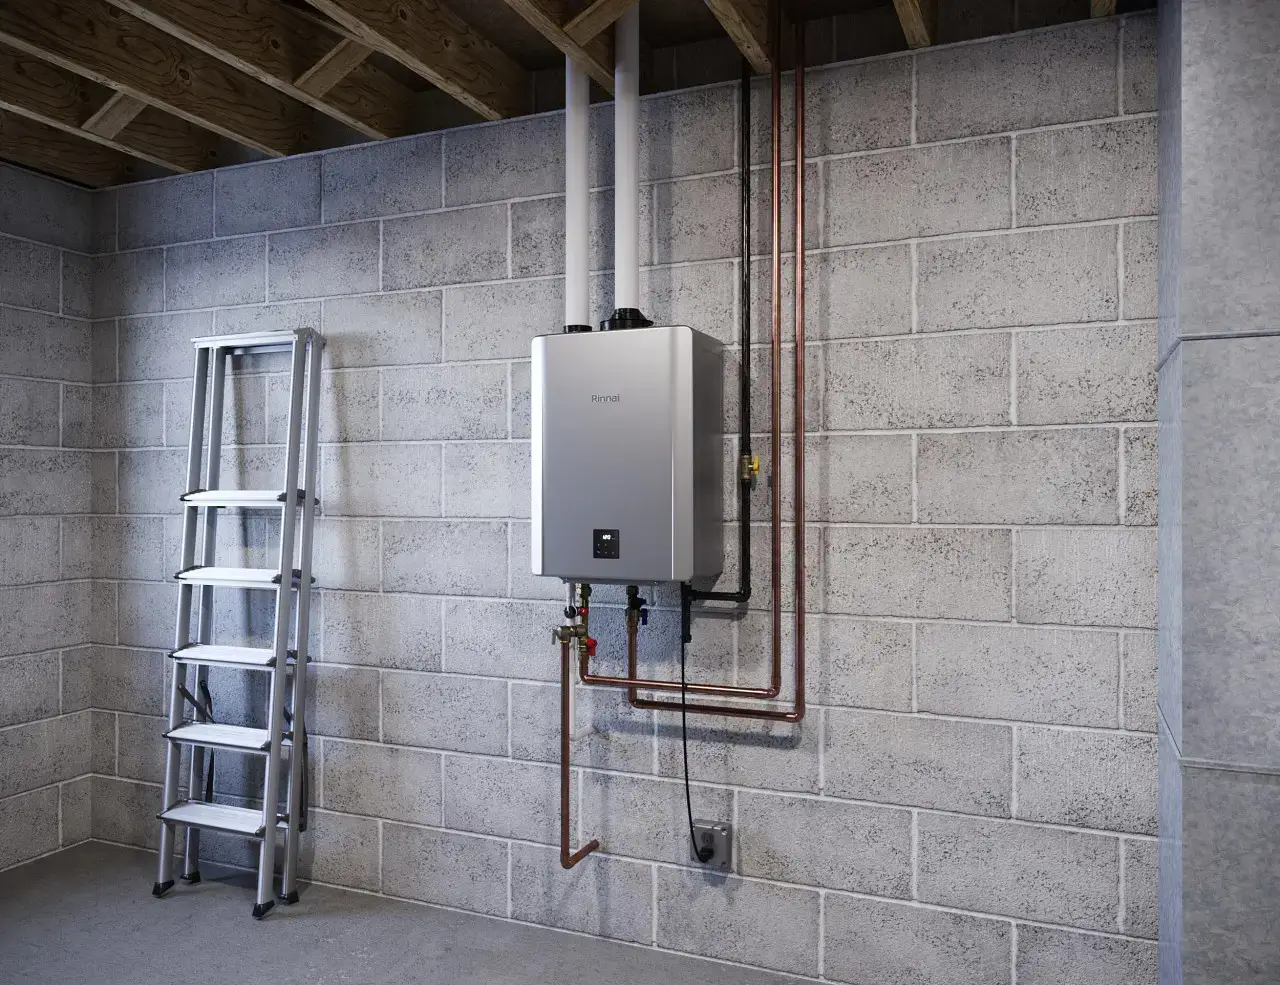
- Close the Service Valves: Locate the cold water inlet and hot water outlet service valves on the Rinnai. Close both valves. These are usually red and blue handled valves directly underneath the unit.
- Connect the Hoses: Connect one hose to the cold water service valve drain port and the other hose to the hot water service valve drain port. These ports often have small caps that need to be removed.
- Place Hose Ends in Bucket: Place the open ends of both hoses into the bucket.
- Fill the Bucket with Descaling Solution: Mix the descaling solution according to the manufacturer's instructions. Pour the solution into the bucket.
- Circulate the Solution:
- Without a Pump: Open both service valves slightly to allow the descaling solution to slowly circulate through the unit. Monitor the bucket and add more solution as needed.
- With a Pump: Submerge the pump in the bucket. Connect one hose to the pump's outlet and the other hose to the bucket. This creates a closed loop. Plug in the pump and let it circulate the solution.
- Circulate for the Recommended Time: Typically, you'll need to circulate the solution for 30-60 minutes, but follow the descaling solution's instructions.
- Flush the Unit: After circulating, close the service valves. Disconnect the hoses. Open the cold water service valve fully. Let the water run through the unit and out the hot water service valve drain port (remove the hose first) until the water runs clear. This removes all traces of the descaling solution. Repeat this process with the hot water service valve open.
- Restore Normal Operation: Close the drain ports, replace the caps, and fully open both service valves. Turn the gas and power back on.
Important: Always follow the specific instructions provided with your descaling solution and in your Rinnai owner's manual.
Step 4: When to Call a Professional
While these DIY troubleshooting steps can resolve many common issues, some problems require the expertise of a qualified Rinnai technician. Do not attempt to repair internal components yourself. This is dangerous and can void your warranty.
Here's When to Call a Professional:
- You are uncomfortable working with gas or electricity.
- You suspect a gas leak. If you smell gas, leave the area immediately and call your gas company from a safe location.
- The error code persists after trying the suggested DIY fixes.
- You suspect a problem with the gas valve, igniter, flame sensor, or other internal components.
- You are unsure about any step in the troubleshooting process.
- You are experiencing frequent or recurring problems. This could indicate a more serious underlying issue.
- Error Code 99 appears
Finding a Qualified Technician: Look for a technician who is specifically trained and certified to work on Rinnai tankless water heaters. The Rinnai website often has a directory of authorized service providers in your area.
Preventative Maintenance: The Key to Longevity
Regular preventative maintenance can significantly extend the life of your Rinnai tankless water heater and prevent many common problems.
Here are some tips:
- Descale regularly: As mentioned above, descale your unit annually or biannually, depending on water hardness.
- Inspect the vents: Periodically check the exhaust and air intake vents for obstructions.
- Check for leaks: Regularly inspect the unit and its connections for any signs of water leaks.
- Consider a water softener: If you have very hard water, a water softener can significantly reduce scale buildup.
- Schedule professional maintenance: Consider scheduling a professional maintenance check every few years. A technician can inspect the unit, clean the burner, and identify potential problems before they become major issues.
By following these troubleshooting steps and practicing preventative maintenance, you can keep your Rinnai tankless water heater running smoothly for years to come. Remember, when in doubt, always consult a qualified professional!


:max_bytes(150000):strip_icc()/rinnai-rl-series-he--tankless-hot-water-heater-0e4d44d1c3b440cb9b22170ac657d04b.jpg)