Roof Vent For Kitchen Exhaust Fan
A common frustration for homeowners is a kitchen exhaust fan that isn't doing its job properly. You cook a delicious meal, but lingering odors and steamy air hang around long after you've finished. While the fan itself might be working, the problem often lies with the roof vent – the crucial component responsible for expelling that air outside. This article will guide you through troubleshooting common roof vent issues, empowering you to diagnose and potentially fix the problem yourself.
Understanding the Role of Your Roof Vent
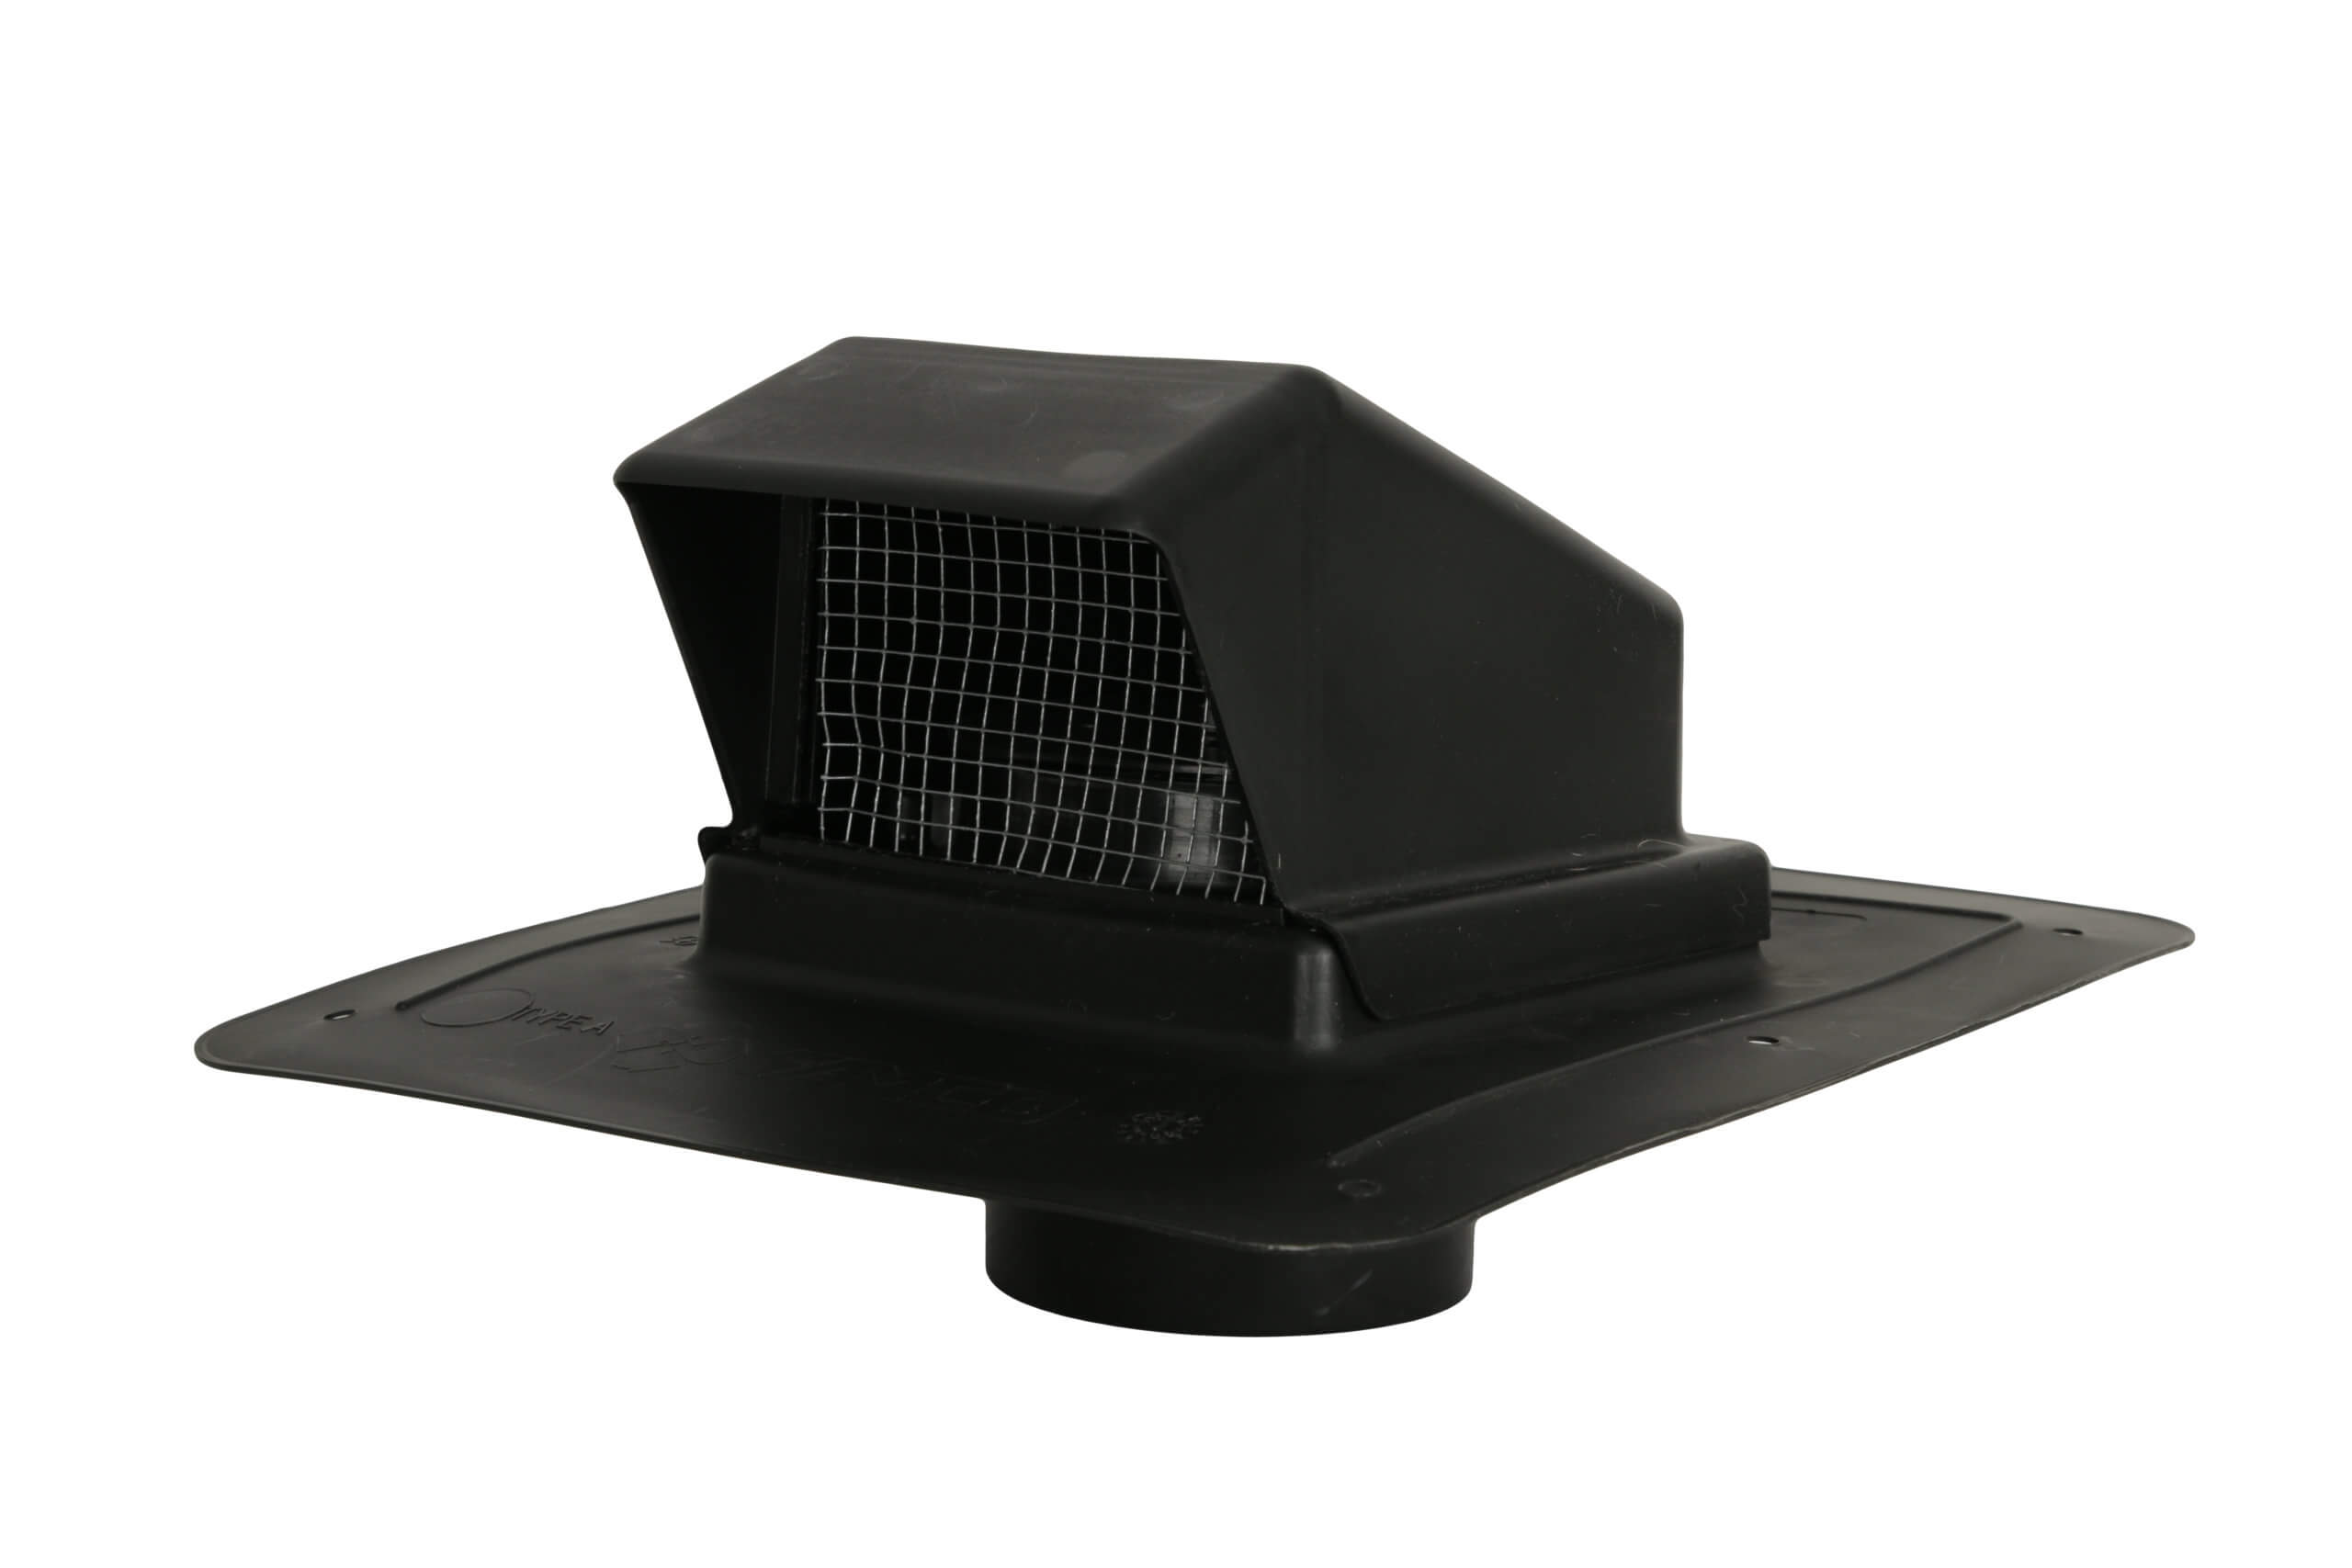
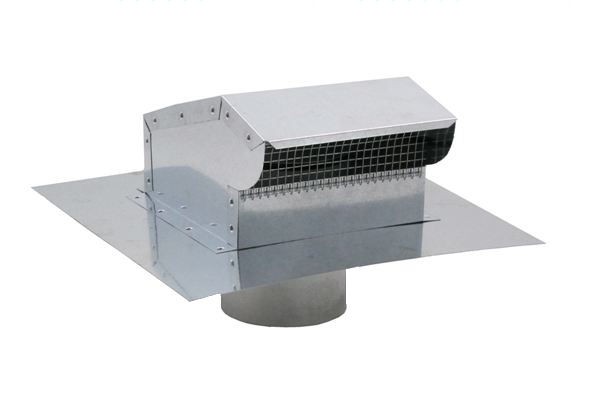
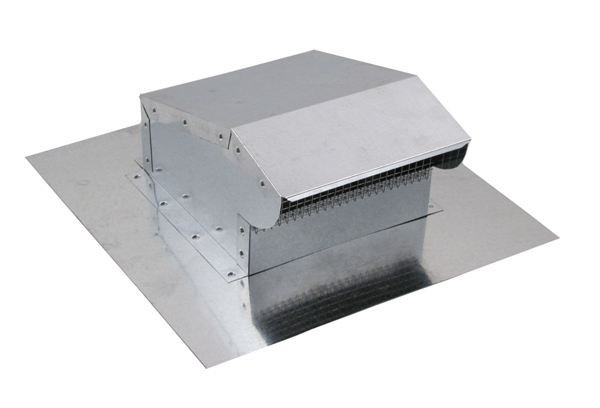
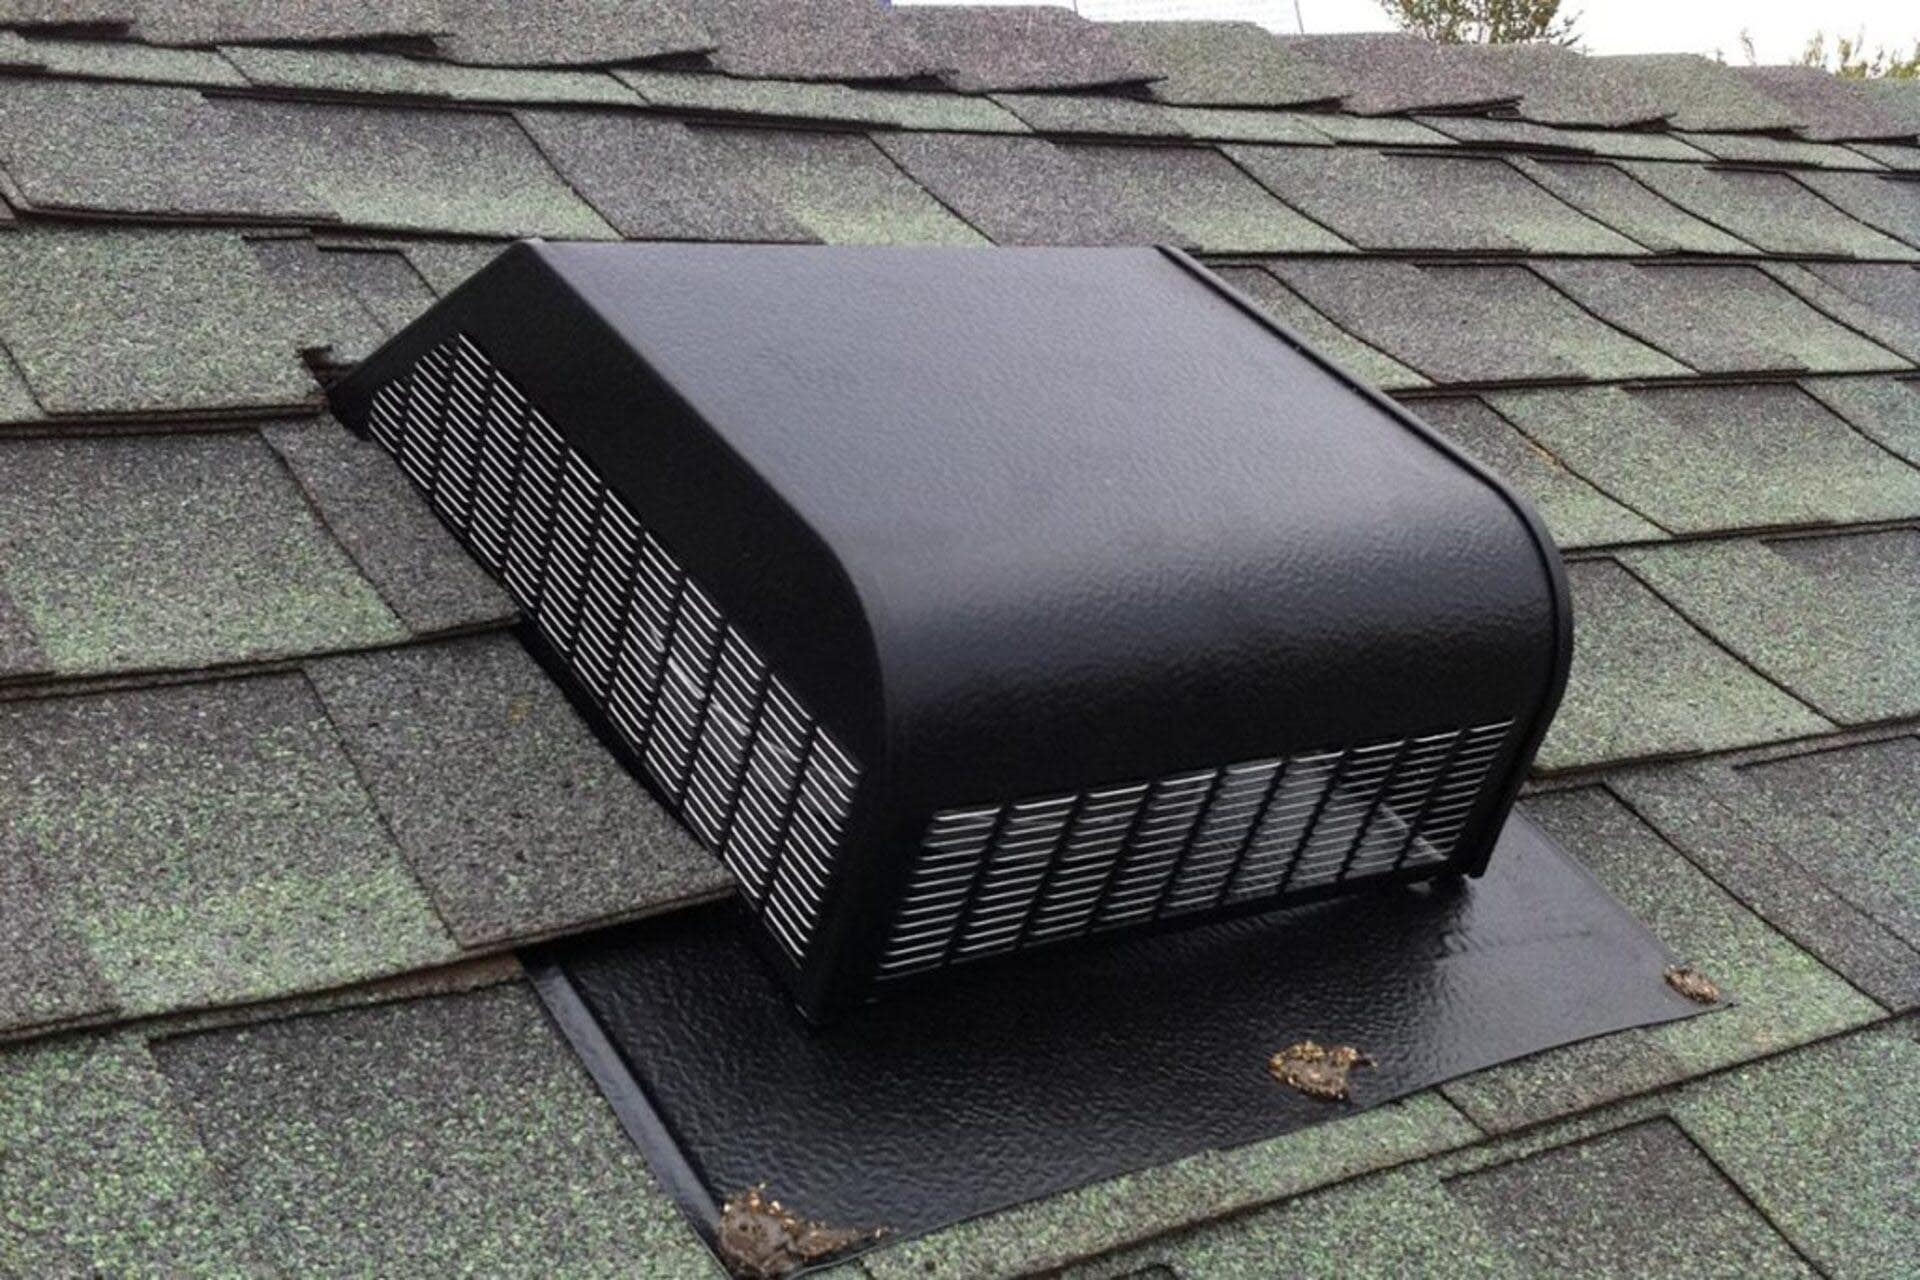
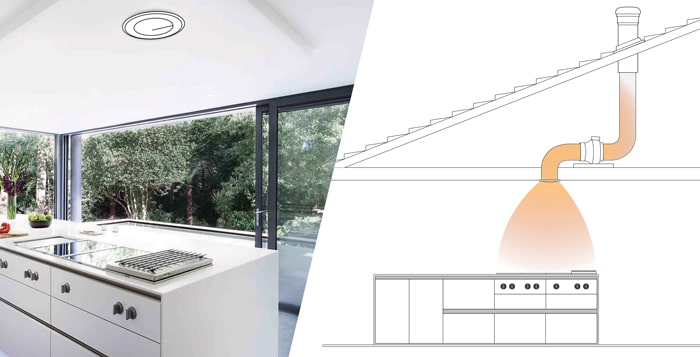
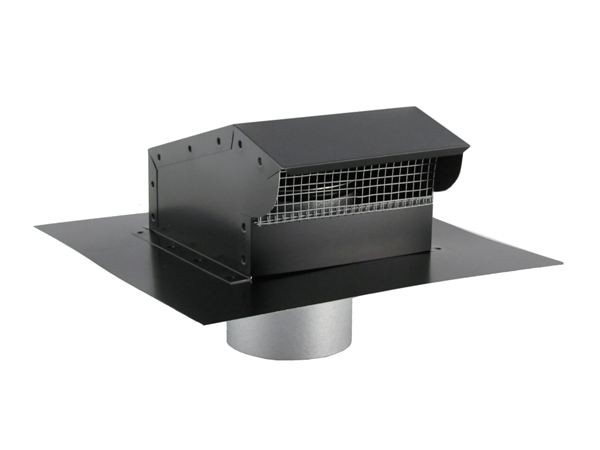
Before we dive into troubleshooting, it's important to understand how your kitchen exhaust system works. The exhaust fan sucks up air from above your stovetop. That air travels through ductwork and exits your home via a vent installed on your roof. The roof vent is designed to prevent rain, snow, and pests from entering your home while allowing air to escape freely. Over time, various factors can compromise its functionality.
Common Problems with Roof Vents
Here are some typical issues that affect roof vents for kitchen exhaust fans:
* Blockage: This is the most frequent culprit. Debris like leaves, twigs, bird nests, and even accumulated grease can obstruct the vent opening, hindering airflow. * Damaged Flapper: Most roof vents have a flapper (a hinged cover) that opens when the fan is on and closes when it's off. A damaged or stuck flapper can either restrict airflow or allow outside elements to enter your home. * Duct Disconnection: The duct connecting the exhaust fan to the roof vent can sometimes become disconnected, leading to air leakage into your attic or other areas of your home instead of being expelled outside. * Rust and Corrosion: Metal roof vents, especially older ones, are susceptible to rust and corrosion, which can weaken the structure and restrict airflow. * Improper Installation: A poorly installed vent can lead to leaks, reduced airflow, and premature failure.Step-by-Step Troubleshooting Guide
Follow these steps to diagnose the issue affecting your kitchen exhaust fan roof vent:
Step 1: Safety First!
Safety is paramount when working on your roof. If you're uncomfortable working at heights or have any physical limitations, do not attempt this yourself. Hire a qualified professional. Otherwise, take the following precautions:
* Use a sturdy ladder: Ensure the ladder is in good condition and properly positioned on a level surface. Have someone spot you while you're on the ladder. * Wear appropriate footwear: Non-slip shoes or boots are essential. * Avoid working in inclement weather: Wind, rain, or snow can make the roof slippery and dangerous. * Inform someone: Let someone know you'll be working on the roof and when you expect to be finished.Step 2: Visual Inspection from the Ground
Before climbing onto the roof, use binoculars to get a preliminary view of the roof vent. Look for obvious signs of damage or blockage:
* Is the flapper missing or visibly damaged? * Is there a build-up of leaves, twigs, or other debris around the vent opening? * Does the vent appear to be rusted or corroded?Note your observations – this will help you narrow down the problem when you get closer.
Step 3: Close-Up Inspection on the Roof
Carefully climb onto the roof and approach the vent. Now, perform a more thorough inspection:
* Clear any debris: Use your hands (wearing gloves!) to remove any leaves, twigs, bird nests, or other debris blocking the vent opening. You might need a small tool, like a putty knife, to dislodge stubborn debris. * Inspect the flapper: Gently try to move the flapper. Does it open and close freely? If it's stuck, try lubricating the hinge with a silicone-based lubricant. If it's broken or significantly damaged, it will need to be replaced. * Check for rust and corrosion: Assess the extent of any rust or corrosion. Minor surface rust can be addressed with a wire brush and rust-inhibiting paint. However, if the vent is severely corroded and structurally weakened, it needs to be replaced. * Examine the flashing: The flashing is the material that seals the vent to the roof, preventing water leaks. Check for cracks, gaps, or signs of damage to the flashing. If you find any, it needs to be repaired or replaced to prevent water damage.Step 4: Checking the Duct Connection (If Accessible)
This step might require accessing your attic. Exercise caution when entering your attic, as it can be dark, dusty, and contain hazards like exposed wiring or unstable flooring.
* Locate the duct: Find the duct that connects your kitchen exhaust fan to the roof vent. * Inspect the connection: Ensure the duct is securely connected to both the exhaust fan and the roof vent. Look for any disconnections, tears, or holes in the ductwork. * Seal any leaks: If you find any leaks, use foil tape (not duct tape!) to seal them tightly.Step 5: Testing the Airflow
After performing the above steps, test the airflow from the roof vent:
* Turn on the kitchen exhaust fan: Set it to the highest setting. * Feel for airflow at the vent: Go back to the roof (or have someone else check) and feel for air being expelled from the vent. * Assess the airflow: Is the airflow strong and consistent? If not, there may still be a blockage in the ductwork or a problem with the exhaust fan itself.Simple DIY Fixes
Based on your troubleshooting, here are some simple DIY fixes you can attempt:
* Removing Debris: Clearing debris from the vent opening is often the easiest and most effective solution. * Lubricating the Flapper: A silicone-based lubricant can often free up a stuck flapper. * Sealing Duct Leaks: Foil tape is a great way to seal small leaks in the ductwork. * Minor Rust Removal: Wire brushing and painting can address minor surface rust.When to Call a Professional
While some roof vent issues can be resolved with DIY fixes, certain situations require professional intervention:
* Extensive Roof Damage: If you notice any signs of roof damage, such as missing shingles, leaks, or structural problems, contact a roofing contractor immediately. * Difficult Access: If the roof vent is located in a difficult-to-reach area or requires specialized equipment to access, it's best to leave the work to a professional. * Electrical Issues: If you suspect any electrical problems with the exhaust fan or wiring, contact a qualified electrician. * Ductwork Problems: If you suspect significant problems with the ductwork, such as collapsed or severely damaged ducts, it's best to consult with an HVAC professional. * Flashing Repair/Replacement: Repairing or replacing flashing requires specialized skills and knowledge to ensure a watertight seal. It's generally best left to a roofing contractor. * Roof Vent Replacement: Replacing a roof vent involves working with roofing materials and ensuring a proper seal to prevent leaks. Unless you have experience with roofing work, it's best to hire a professional. * Severe Corrosion: If the roof vent is severely corroded and structurally weakened, it must be replaced by a professional. Attempting to repair a severely corroded vent can be dangerous and may not provide a long-lasting solution. * You're Uncomfortable: If at any point you feel uncomfortable or unsafe performing any of these tasks, stop and call a professional. It's always better to err on the side of caution.Preventative Maintenance
To prevent future problems with your kitchen exhaust fan roof vent, consider the following preventative maintenance tips:
* Regular Inspection: Inspect the vent from the ground at least twice a year, looking for signs of damage or blockage. * Clean the Vent: Periodically clean the vent opening to remove any accumulated debris. * Trim Overhanging Branches: Trim any tree branches that are close to the roof to prevent leaves and twigs from falling onto the vent. * Professional Inspection: Consider having a professional inspect your roof and ventilation system every few years to identify and address any potential problems early on.By following these steps, you can keep your kitchen exhaust fan working efficiently and effectively, ensuring a clean and odor-free kitchen. Remember to always prioritize safety and don't hesitate to call a professional when needed.