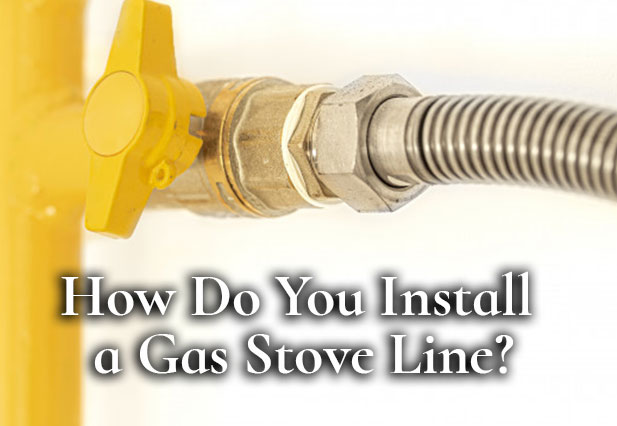
Running A Gas Line For A Gas Stove

So, you're thinking about upgrading to a gas stove? Excellent choice! Gas stoves offer superior heat control and are a favorite among serious cooks. However, before you can start whipping up culinary masterpieces, you'll need a gas line. This guide provides a comprehensive overview of running a gas line for a gas stove, covering everything from planning and preparation to installation and safety. But remember, working with gas can be dangerous, and improper installation can lead to leaks, explosions, and carbon monoxide poisoning. If you're not completely comfortable with any of these steps, always call a licensed professional.
Planning and Preparation
Before you even think about picking up a wrench, careful planning is crucial. This stage will save you time, money, and potential headaches down the road.
1. Check Local Codes and Regulations
This is non-negotiable. Gas line installations are heavily regulated. Contact your local building department to understand the specific codes and permit requirements in your area. Failure to comply can result in fines and mandatory rework. You might need a permit for this project.
2. Determine Gas Line Size
The diameter of the gas line is critical for ensuring your stove receives adequate gas pressure. Consult your stove's manual for the required BTU (British Thermal Unit) input. Use a gas pipe sizing chart (easily found online or in plumbing supply stores) to determine the correct pipe size based on the BTU demand and the distance from the gas meter. Undersized pipes can starve your stove, while oversized pipes can be unnecessarily expensive.
3. Plan the Route
Carefully map out the route the gas line will take from the existing gas supply (typically near your gas meter or another appliance) to the stove location. Consider the following:
- Accessibility: The route should be accessible for future inspection and maintenance.
- Obstructions: Avoid running the gas line through walls, floors, or ceilings where it could be damaged. If you must, use appropriate protective sleeving.
- Other Utilities: Keep a safe distance from electrical wiring, water pipes, and other utilities.
- Distance: Minimize the length of the run to reduce pressure drop.
- Support: Plan for proper support of the gas line using pipe hangers or straps at appropriate intervals (typically every 6-8 feet for horizontal runs).
4. Gather Your Tools and Materials
Having the right tools and materials on hand will make the job much smoother. Here's a list of essentials:
Tools:
- Pipe wrench (two are recommended for tightening fittings)
- Pipe cutter (or a hacksaw with a fine-tooth blade)
- Pipe thread sealant (gas-rated Teflon tape or pipe dope)
- Leak detector solution (soap and water)
- Adjustable wrench
- Drill with appropriate drill bits (for mounting straps or hangers)
- Screwdrivers (various sizes)
- Measuring tape
- Level
- Gas shut-off wrench
- Propane torch and flux (for soldering copper pipes, if applicable)
- Safety glasses
- Work gloves
Materials:
- Black iron pipe (or corrugated stainless steel tubing – CSST)
- Fittings (couplings, elbows, tees, unions, etc.)
- Gas shut-off valve
- Pipe hangers or straps
- Protective sleeving (if running through walls or floors)
- Appliance connector (flexible gas line)
- Gas rated Teflon tape or pipe dope
Installation Steps
Once you've planned everything and gathered your supplies, it's time to get to work. Remember, safety is paramount. Work slowly and carefully, and double-check your connections.
1. Shut Off the Gas Supply
This is the most critical safety step. Locate the main gas shut-off valve near your gas meter and turn it off completely. Test that the gas is off by briefly turning on another gas appliance (like a stove burner) to confirm that no gas is flowing. Ensure that all pilot lights in other gas appliances are extinguished before proceeding.
2. Install the Gas Line
Depending on your chosen material (black iron pipe or CSST), the installation process will vary slightly.
Black Iron Pipe:
- Measure and Cut: Measure the required length of pipe and cut it using a pipe cutter or hacksaw. Ensure the cut is clean and square.
- Thread the Pipe: If using a pipe cutter, the pipe will already be threaded. If using a hacksaw, you may need to use a pipe threading tool to create threads on the cut end.
- Apply Pipe Thread Sealant: Wrap gas-rated Teflon tape clockwise around the threads of the pipe. Alternatively, apply pipe dope to the male threads.
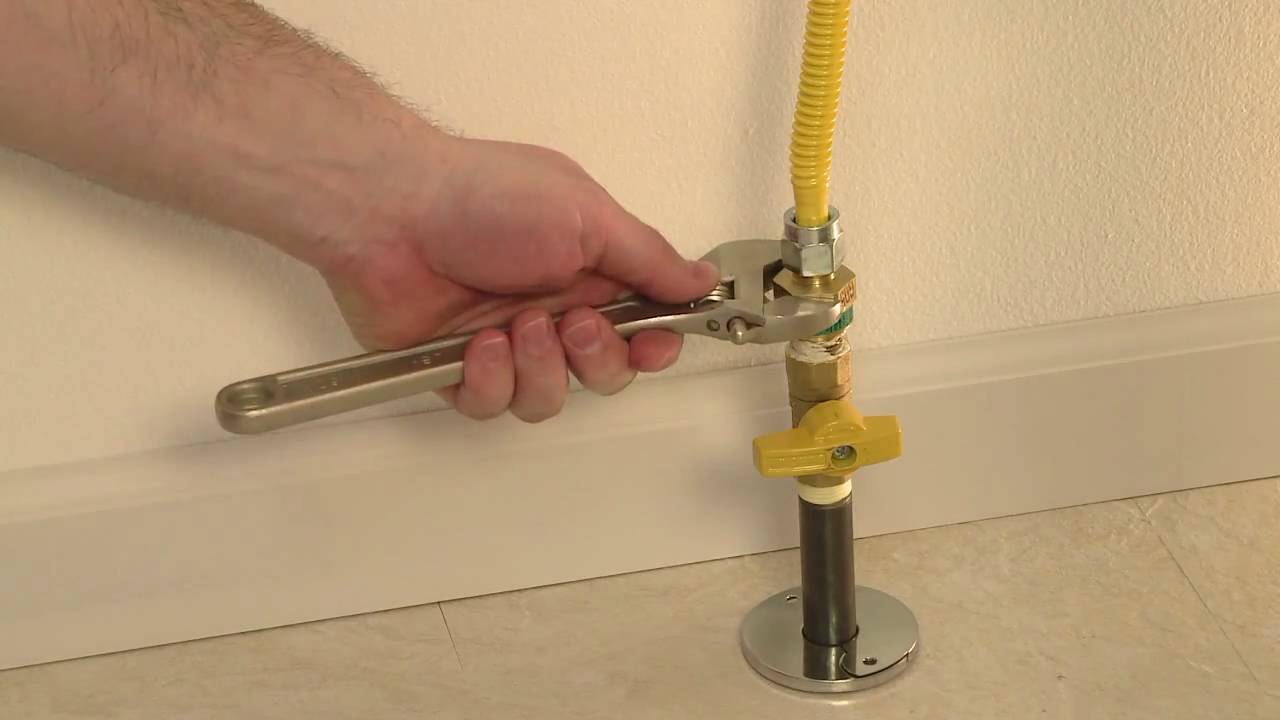
- Assemble the Fittings: Screw the fittings onto the pipe, tightening them securely with two pipe wrenches. Use one wrench to hold the pipe steady while the other tightens the fitting.
- Run the Pipe: Connect sections of pipe and fittings to create the desired route. Secure the pipe to walls or floors using pipe hangers or straps.
Corrugated Stainless Steel Tubing (CSST):
- Measure and Cut: Measure the required length of CSST and cut it using a CSST cutter.
- Install Fittings: CSST uses special fittings designed for this type of tubing. Follow the manufacturer's instructions carefully for installing the fittings.
- Bonding: CSST must be properly bonded to the electrical grounding system to protect against lightning strikes. Consult the manufacturer's instructions and local codes for bonding requirements. This is a critical safety step.
- Run the Tubing: Run the CSST along the planned route, securing it with appropriate supports.
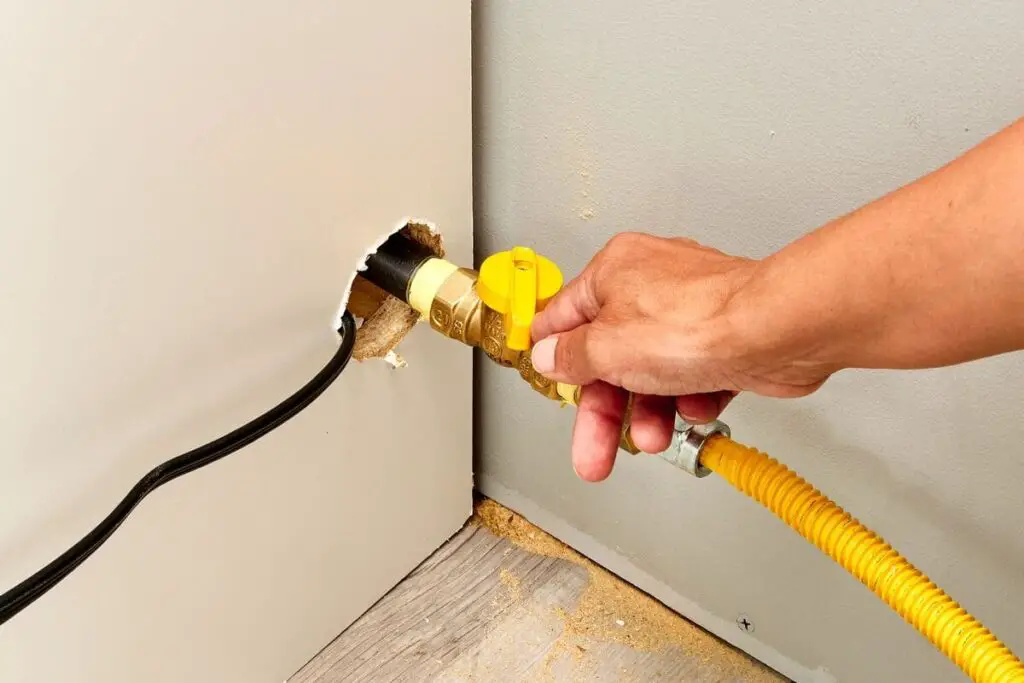
4. Install the Shut-Off Valve
Install a gas shut-off valve near the stove location. This will allow you to easily turn off the gas to the stove for maintenance or repairs. Use pipe thread sealant on the valve threads and tighten securely.
5. Connect the Appliance Connector
Connect a flexible gas line (appliance connector) from the shut-off valve to the gas inlet on the stove. Use pipe thread sealant on the connections and tighten securely.
6. Leak Test
This is another critical safety step. Once all connections are made, turn the gas supply back on slowly. Brush a solution of soapy water (leak detector solution) onto all joints and connections. Watch for bubbles. If you see bubbles, it indicates a leak. Immediately turn off the gas supply and tighten the leaking connection. Repeat the leak test until no leaks are detected.
7. Check Gas Pressure
Ideally, a professional should check the gas pressure to ensure it meets the stove's requirements. If you have a manometer, you can check the pressure yourself, but be sure you know how to use it safely and accurately.
Important Safety Tips
- Never smoke or use open flames while working on gas lines.
- Always shut off the gas supply before starting any work.
- Use only gas-rated Teflon tape or pipe dope.
- Tighten all connections securely.
- Perform a thorough leak test after completing the installation.
- Properly bond CSST to the electrical grounding system.
- If you smell gas at any time, evacuate the area immediately and call the gas company.
- Know the symptoms of carbon monoxide poisoning: headache, dizziness, nausea, vomiting, confusion. If you suspect carbon monoxide poisoning, get fresh air immediately and seek medical attention.
When to Call a Professional
While some homeowners may be comfortable with basic plumbing tasks, running a gas line is a complex and potentially dangerous job. It's best to call a licensed HVAC technician or plumber in the following situations:
- You're not comfortable working with gas.
- You're unsure about local codes and regulations.
- You need to run the gas line through walls, floors, or ceilings.
- You have CSST piping and are unsure about bonding procedures.
- You suspect a gas leak.
- You're having trouble getting the gas pressure right.
- Your local codes require a professional installation.
Cost Estimates
The cost of running a gas line for a gas stove can vary depending on several factors, including:
- The length of the gas line.
- The type of piping used (black iron or CSST).
- The complexity of the installation.
- Local labor rates.
- Permit fees.
As a rough estimate, expect to pay anywhere from $250 to $1500 or more for a professional gas line installation. The cost of materials for a DIY installation could range from $50 to $300, but remember that this doesn't include the value of your time and the potential cost of mistakes. Obtaining several quotes from qualified contractors is always a good idea.
Troubleshooting Common Issues
- Gas Leak: If you smell gas or detect bubbles during the leak test, immediately turn off the gas supply and tighten the leaking connection. If the leak persists, call a professional.
- Low Gas Pressure: If the stove burners are not burning properly, it could be due to low gas pressure. Check the gas pressure with a manometer. If the pressure is too low, you may need to increase the size of the gas line or call the gas company.
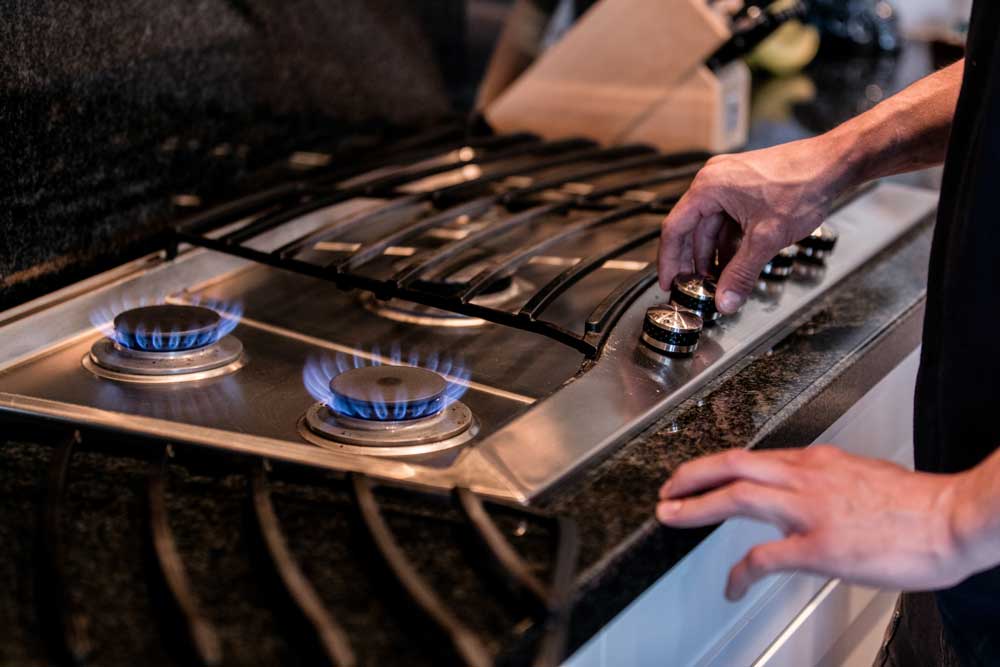
- Stove Won't Light: Make sure the gas supply is turned on and the stove's pilot light (if applicable) is lit. Check the igniter and gas valve on the stove. If the stove still won't light, consult the stove's owner's manual or call a qualified appliance repair technician.
Remember, dealing with gas lines requires caution and expertise. When in doubt, always consult a qualified professional to ensure a safe and code-compliant installation. Enjoy your new gas stove!