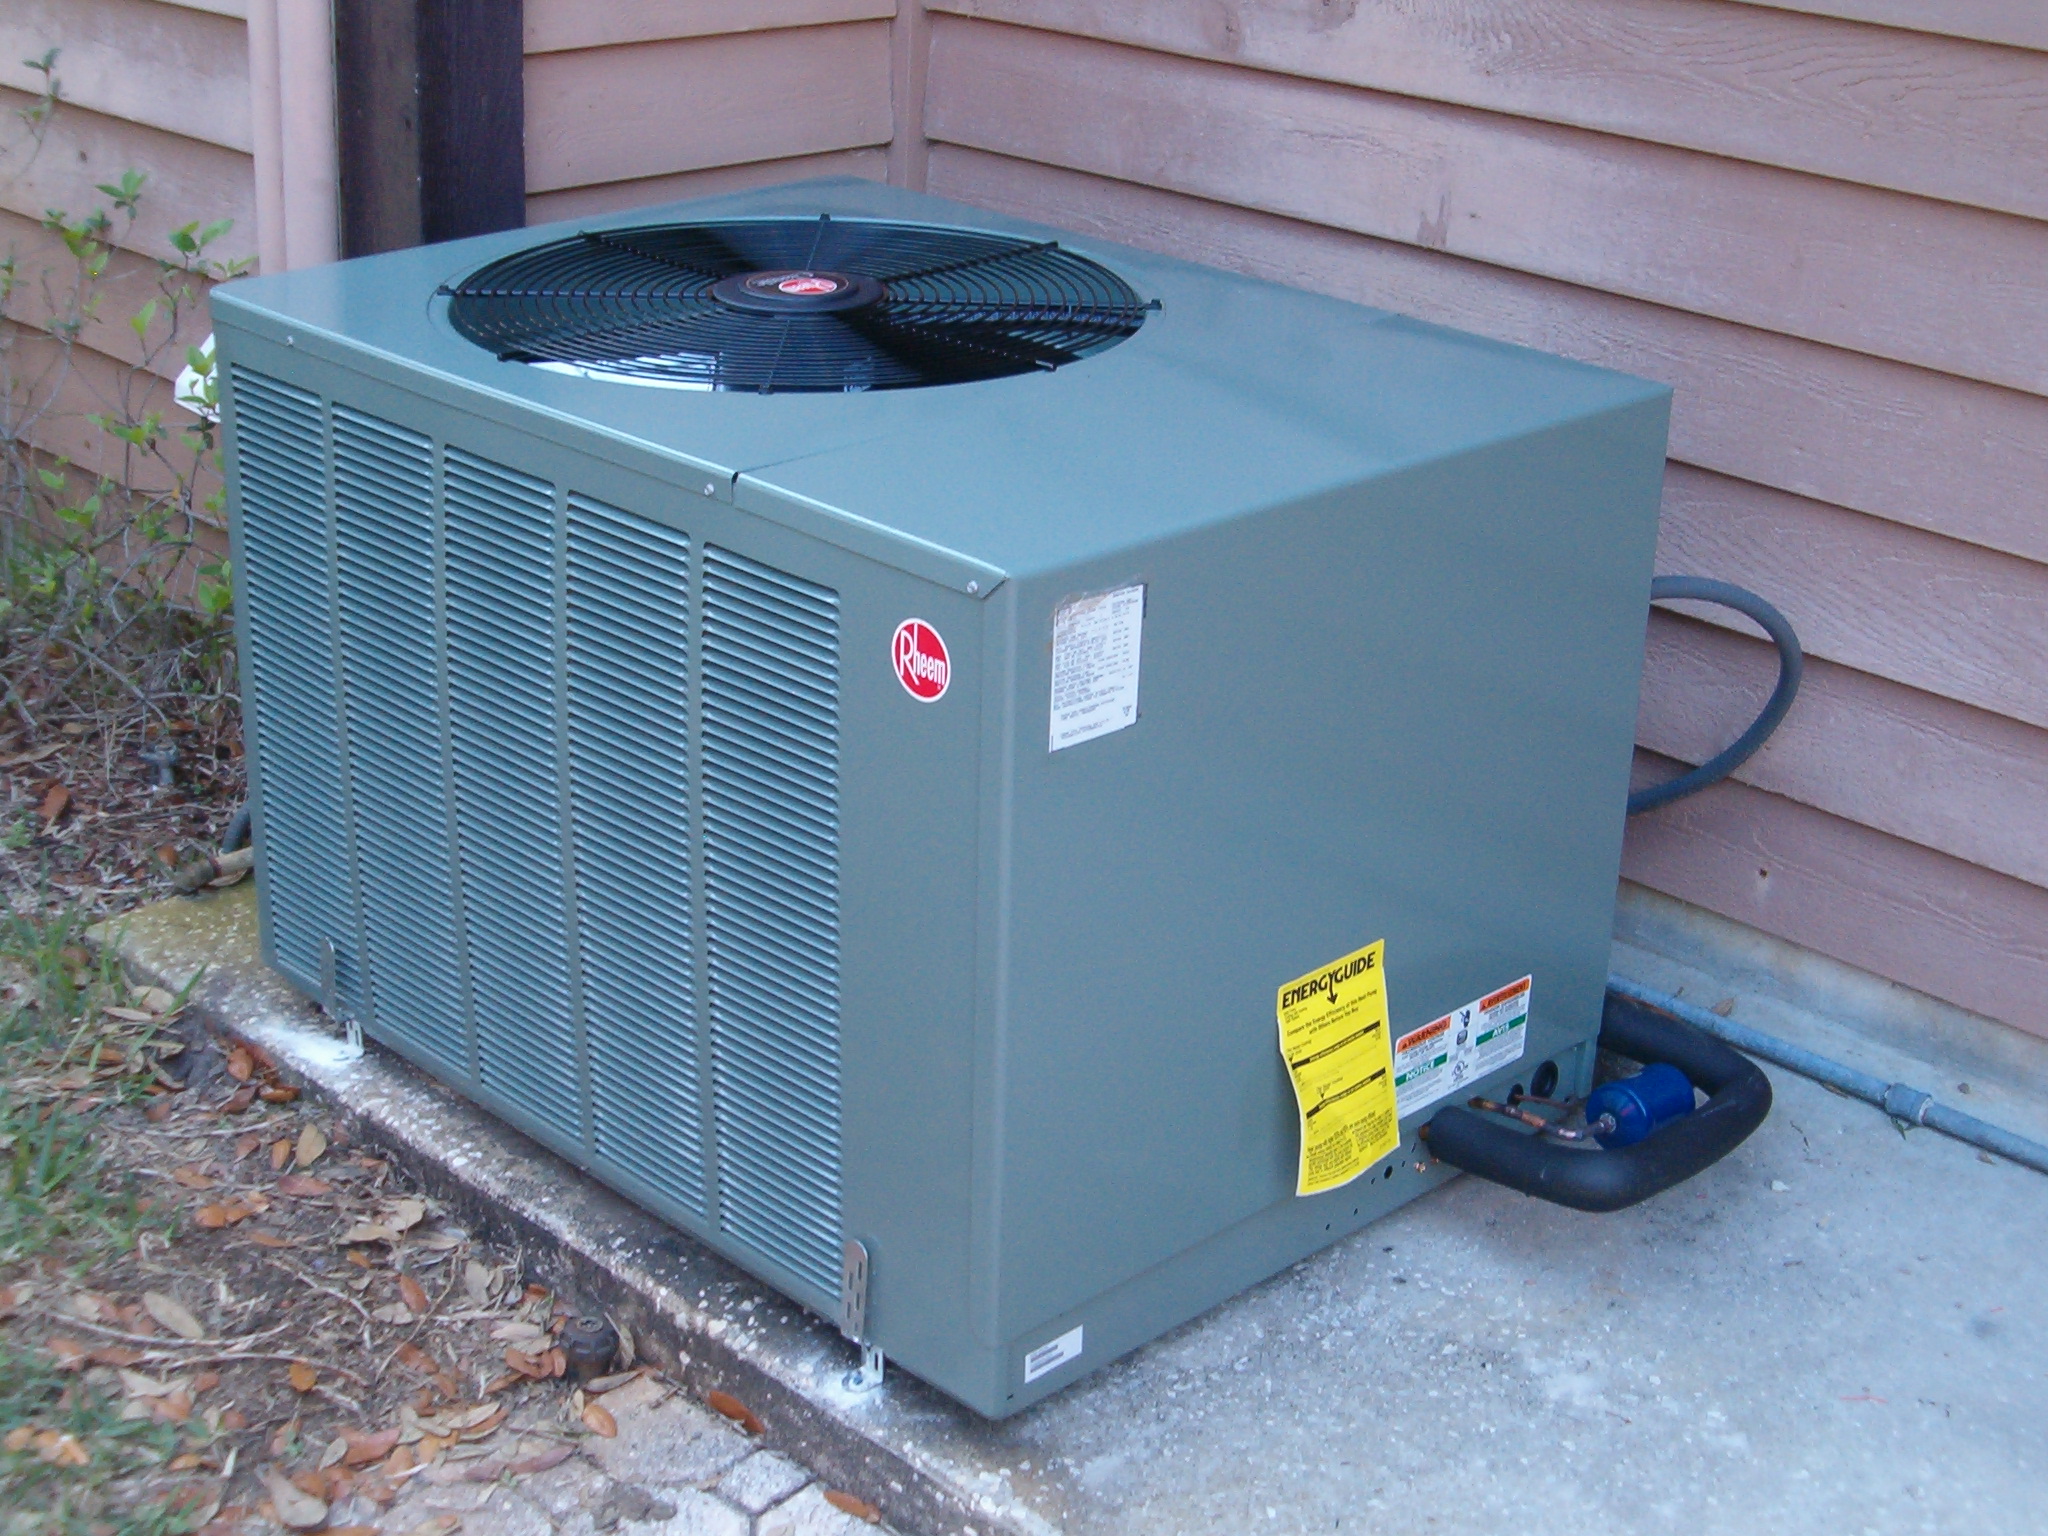
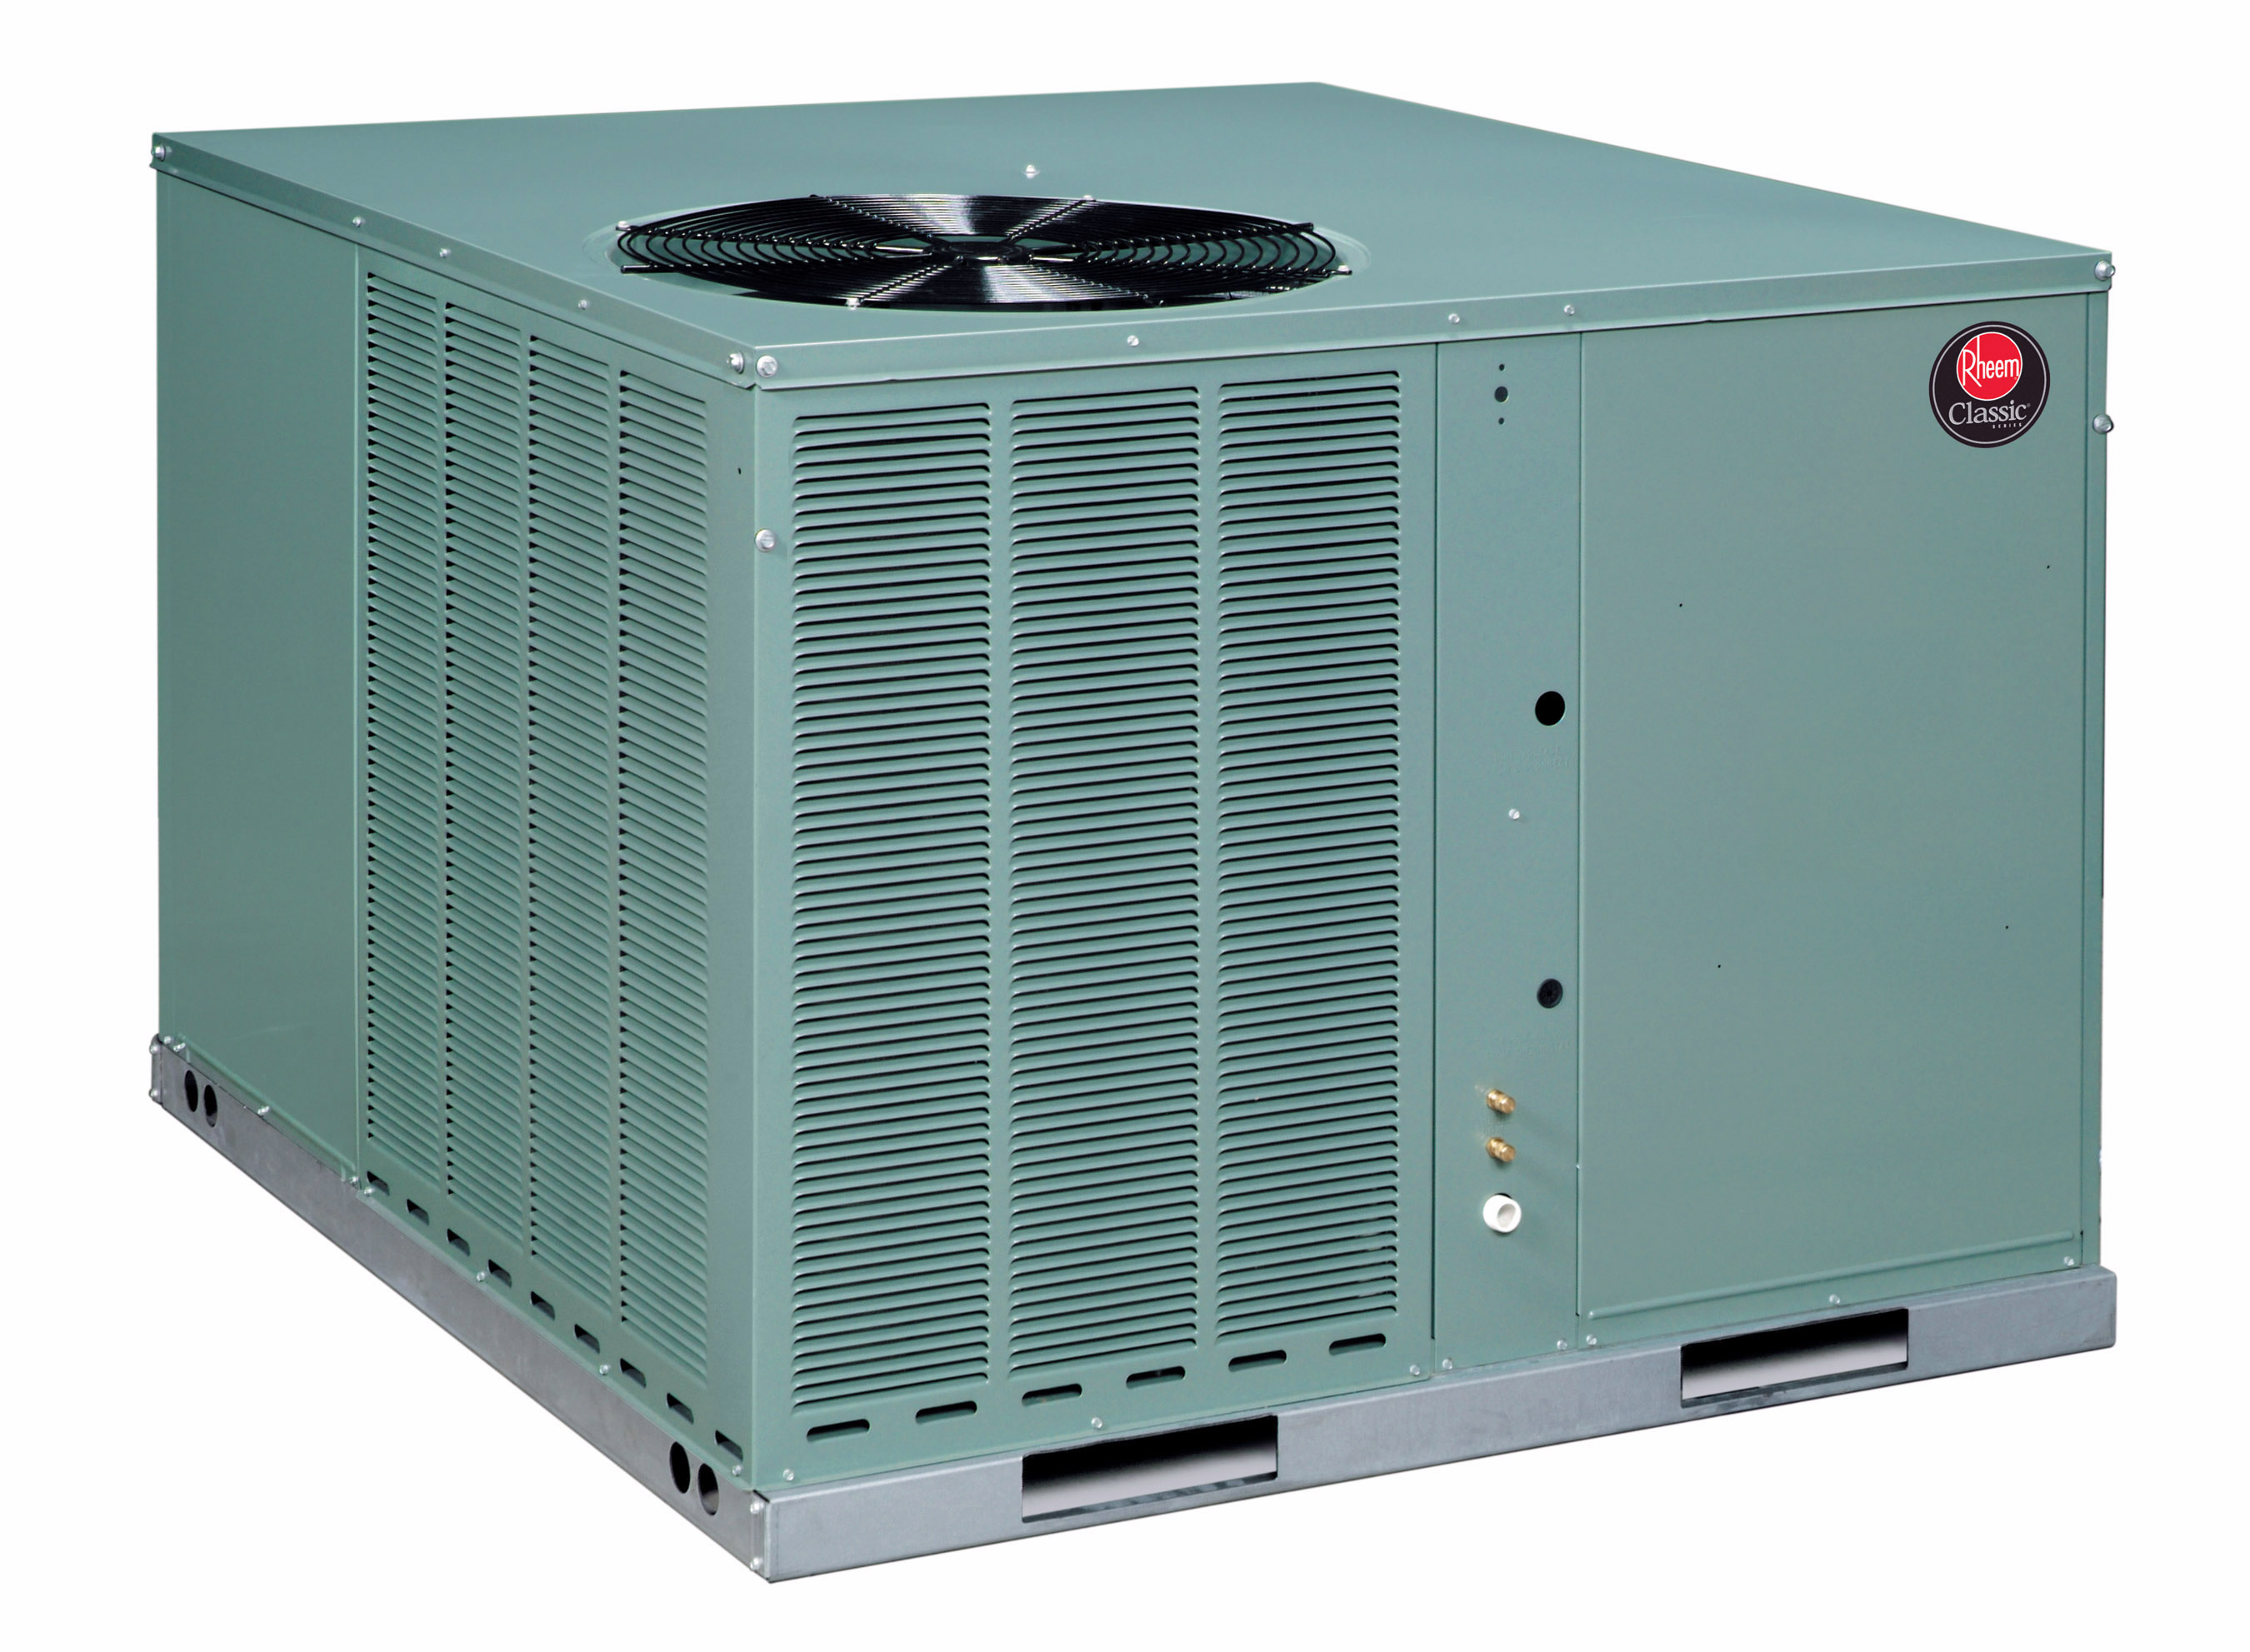
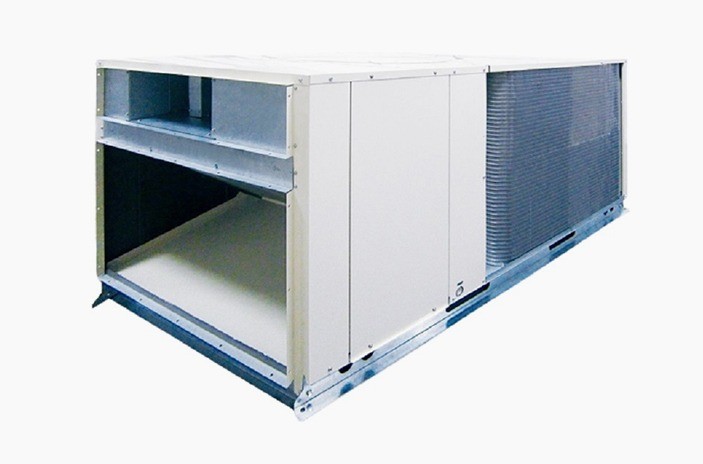
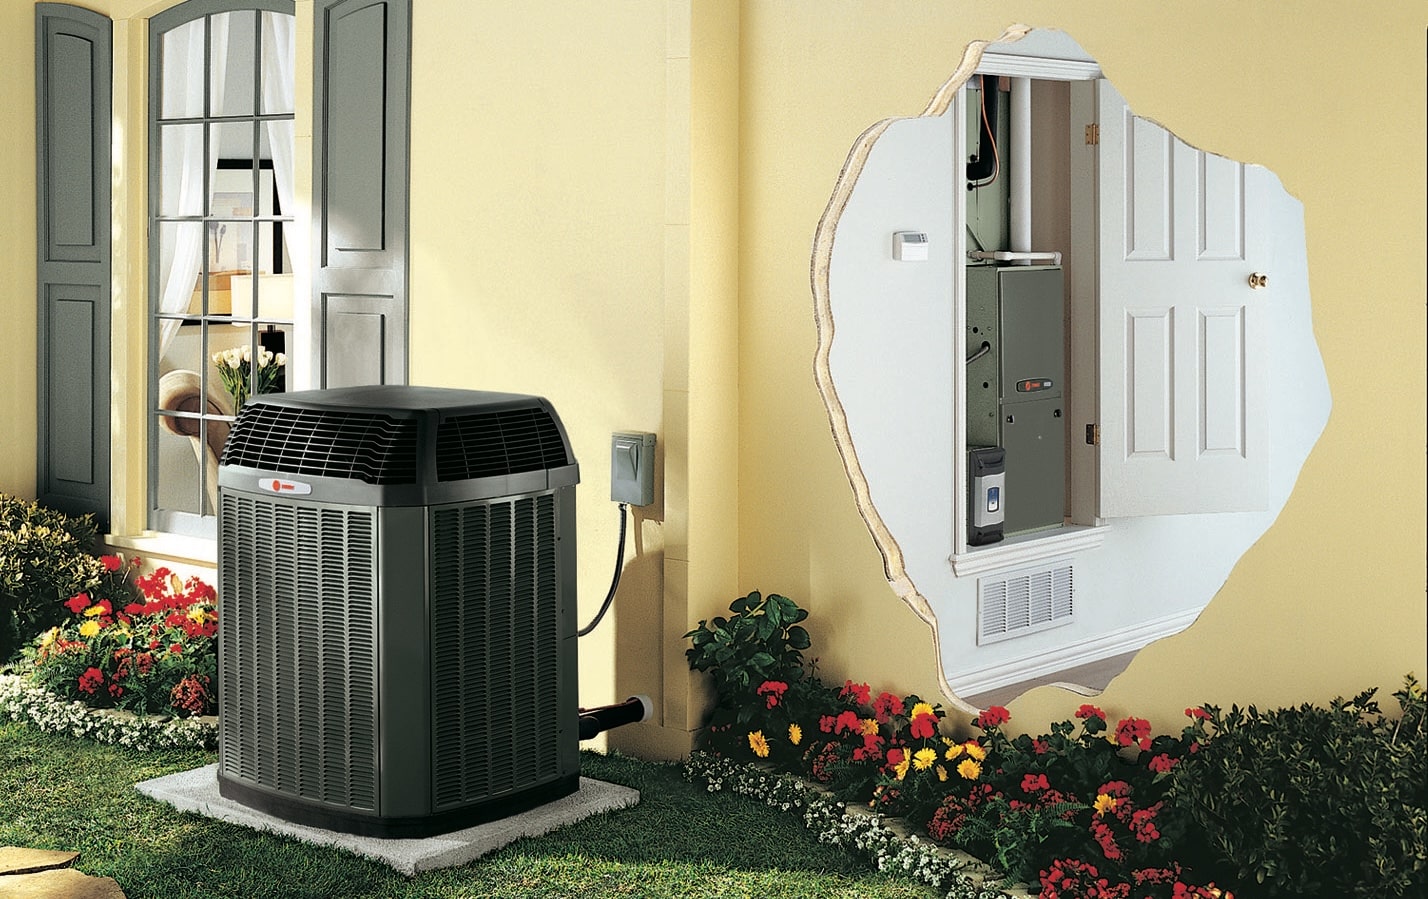
Self Contained Heating And Cooling Units
Imagine this: It's the peak of summer, or the dead of winter, and your self-contained heating and cooling unit (often called a window unit, through-the-wall unit, or portable AC/heater) decides to take a break. No cool air, no warm air, just... nothing. Frustrating, right? Before you call a technician, let's walk through some simple troubleshooting steps you can safely attempt yourself. This guide focuses on basic DIY fixes and emphasizes when to call in the pros.
Safety First!
Safety is paramount when dealing with any appliance. Before you begin, always:
- Unplug the unit from the power outlet. This is absolutely crucial to prevent electrical shock.
- If the unit uses gas (some portable heaters do), shut off the gas supply valve. If you smell gas, evacuate the area immediately and call your gas company.
- Never work on the unit if you're uncomfortable or unsure about any step.
Step 1: The Obvious Checks – Power and Settings
1.1 Power Supply
Start with the basics. Often, the simplest solution is the correct one:
- Check the power cord: Is it securely plugged into the outlet? Make sure it's not loose or damaged.
- Test the outlet: Plug another appliance into the same outlet to see if it works. If not, the problem is likely with the outlet itself, not the unit. Check the circuit breaker or fuse box.
- Circuit Breaker/Fuse Box: Locate the circuit breaker or fuse that controls the outlet the unit is plugged into. If the breaker has tripped (flipped to the "off" position) or the fuse is blown (the wire inside is broken), reset the breaker (flip it back to "on") or replace the fuse with one of the same amperage.
- Extension Cord: Avoid using extension cords with these units whenever possible. They can overheat and cause problems. If you *must* use one, ensure it's a heavy-duty cord rated for the unit's amperage.
1.2 Unit Settings
Believe it or not, incorrect settings are a frequent culprit:
- Mode Setting: Make sure the unit is set to the correct mode (Cool, Heat, Fan, Auto). Sometimes, it's accidentally set to "Fan Only."
- Temperature Setting: Verify that the temperature setting is appropriate. If it's set too high in cooling mode or too low in heating mode, the unit might not kick on.
- Timer Setting: Many units have timer functions. Ensure the timer isn't accidentally set to turn the unit off prematurely.
- Remote Control: If you use a remote control, check its batteries. Weak batteries can cause erratic behavior. Also, make sure the remote is properly paired with the unit (refer to the unit's manual).
Step 2: Cleaning and Maintenance – Simple Preventative Measures
2.1 Air Filter
A dirty air filter is a very common cause of reduced performance or complete failure. A clogged filter restricts airflow, forcing the unit to work harder and potentially overheat.
- Locate the Air Filter: This is usually located at the front or side of the unit, behind a removable panel. Refer to your unit's manual for the exact location.
- Remove and Inspect the Filter: Carefully remove the filter and inspect it. If it's visibly dusty or dirty, it needs cleaning or replacement.
- Cleaning the Filter: Most filters can be cleaned with a vacuum cleaner. Use the brush attachment to gently remove dust and debris. For more thorough cleaning, you can wash the filter with mild soap and water. Ensure the filter is completely dry before reinstalling it.
- Replacing the Filter: If the filter is damaged or excessively dirty, replace it with a new one of the correct size and type. You can usually find replacement filters at hardware stores or online.
- Regular Cleaning: Clean or replace the air filter every 1-3 months, or more frequently if you have pets or allergies.
2.2 Condenser Coils (For Window and Through-the-Wall Units)
For window and through-the-wall units, the condenser coils (the fins on the outside of the unit) can become clogged with dirt and debris, reducing their efficiency. Unplug the unit before cleaning the coils.
- Visual Inspection: Inspect the condenser coils for dirt, leaves, or other obstructions.
- Cleaning the Coils: Use a vacuum cleaner with a brush attachment to gently remove loose debris. You can also use a fin comb (available at hardware stores) to straighten any bent fins.
- Gentle Washing: For stubborn dirt, you can carefully wash the coils with a garden hose. Use a low-pressure spray and avoid getting water inside the unit. Ensure the coils are completely dry before plugging the unit back in.
Step 3: Checking for Obstructions and Proper Ventilation
3.1 Airflow Obstructions
Ensure that nothing is blocking the airflow around the unit, both inside and outside. Curtains, furniture, or other objects can restrict airflow and reduce efficiency.
- Inside the Room: Make sure curtains or blinds are not blocking the unit's intake or exhaust vents. Rearrange furniture if necessary to improve airflow.
- Outside the Unit (Window/Through-the-Wall): Trim any bushes or plants that are growing too close to the unit and obstructing airflow.
3.2 Proper Ventilation (Portable Units)
Portable AC units require proper ventilation to exhaust hot air. This is usually achieved with a hose that vents to the outside through a window kit.
- Hose Connection: Ensure the exhaust hose is securely connected to the unit and the window kit. Loose connections can leak hot air back into the room.
- Hose Length: Avoid extending the exhaust hose beyond its recommended length. This can reduce the unit's efficiency.
- Window Kit: Make sure the window kit is properly installed and sealed to prevent hot air from leaking back into the room.
Step 4: Identifying Warning Signs – When to Call a Professional
While the previous steps cover common issues that homeowners can often resolve, certain problems require the expertise of a qualified technician. Never attempt to repair issues you're uncomfortable with or unsure about.
4.1 Electrical Problems
Any electrical issues beyond checking the power cord, outlet, and circuit breaker should be handled by a professional electrician or appliance repair technician.
- Burning Smell: A burning smell coming from the unit is a serious warning sign of an electrical problem. Unplug the unit immediately and call a technician.
- Sparks or Smoke: Any sparks or smoke coming from the unit are also serious hazards. Unplug the unit immediately and call a technician.
- Electrical Shock: If you experience an electrical shock when touching the unit, unplug it immediately and call an electrician.
- Unit Won't Turn On (After Checking Power): If you've confirmed that the outlet is working and the circuit breaker is fine, but the unit still won't turn on, there may be an internal electrical problem.
4.2 Refrigerant Leaks (AC Units)
Refrigerant is essential for cooling. If you suspect a refrigerant leak, call a qualified HVAC technician.
- Unit Not Cooling Properly: If the unit is running but not cooling the room effectively, even after cleaning the filter and coils, it could indicate a refrigerant leak.
- Hissing Sound: A hissing sound coming from the unit could indicate a refrigerant leak.
- Ice Buildup: Excessive ice buildup on the coils could also indicate a refrigerant leak or other problem.
4.3 Gas Leaks (Gas Heaters)
Gas leaks are extremely dangerous. If you suspect a gas leak, take immediate action.
- Smell of Gas: If you smell gas near the unit, evacuate the area immediately and call your gas company.
- Hissing Sound: A hissing sound coming from the unit could also indicate a gas leak.
4.4 Complex Component Failures
Repairing complex components, such as the compressor, fan motor, or control board, requires specialized knowledge and tools. These repairs should be left to qualified technicians.
- Unusual Noises: Loud banging, grinding, or rattling noises coming from the unit could indicate a problem with a mechanical component.
- Complete Failure: If the unit has completely stopped working and you've ruled out simple causes like a tripped breaker or dirty filter, there may be a more serious internal problem.
- Error Codes: Many modern units display error codes on their control panels. Refer to your unit's manual to identify the meaning of the error code and whether it requires professional attention.
Final Thoughts
By following these troubleshooting steps, you can often resolve common issues with your self-contained heating and cooling unit and save yourself the cost of a service call. Remember to prioritize safety and never attempt repairs you're uncomfortable with. When in doubt, call a qualified professional. Regular maintenance, such as cleaning the air filter and coils, can also help prevent problems and extend the life of your unit. With a little care and attention, you can keep your unit running smoothly for years to come, ensuring a comfortable home environment.