Should I Insulate Hot Water Pipes
Have you ever reached for a hot shower only to be greeted by a lukewarm trickle? Or perhaps your energy bills seem inexplicably high? While there could be several culprits, one often-overlooked factor is uninsulated hot water pipes. Let's explore whether insulating your hot water pipes is the right move for your home and how to do it effectively.
The Case for Insulated Hot Water Pipes
The primary reason to insulate hot water pipes is to reduce heat loss. As hot water travels from your water heater to your faucets, it loses heat to the surrounding environment, especially in unheated areas like basements, crawl spaces, and garages. This heat loss forces your water heater to work harder and longer to maintain the desired water temperature, leading to:
- Higher energy bills: Your water heater consumes more energy to compensate for the lost heat.
- Longer wait times for hot water: You'll have to run the tap longer before hot water arrives, wasting water in the process.
- Increased wear and tear on your water heater: Constant reheating shortens the lifespan of your appliance.
Insulating your hot water pipes acts as a barrier, slowing down heat transfer and mitigating these issues. But is it *always* necessary?
Is Insulation Right for *Your* Pipes?
Before you rush out to buy insulation, consider these factors:
1. Pipe Location
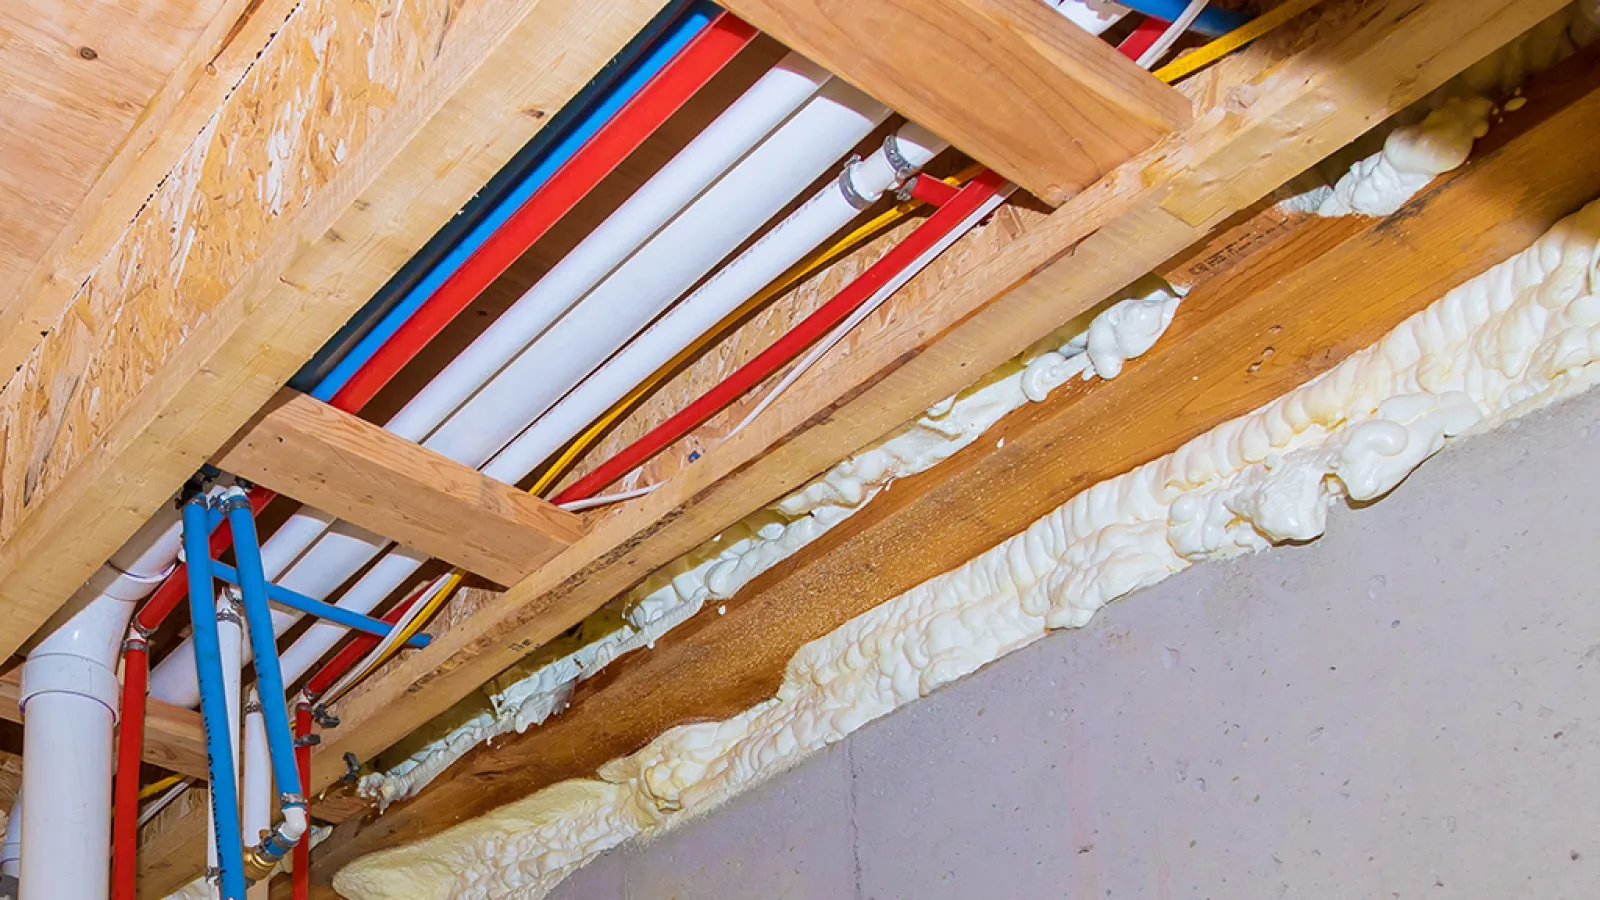
Pipes located in unheated areas like basements, crawl spaces, attics, and garages are prime candidates for insulation. These areas experience significant temperature fluctuations, exacerbating heat loss.
Pipes running through insulated interior walls are less likely to benefit from additional insulation, as the temperature difference is minimal.
2. Pipe Material
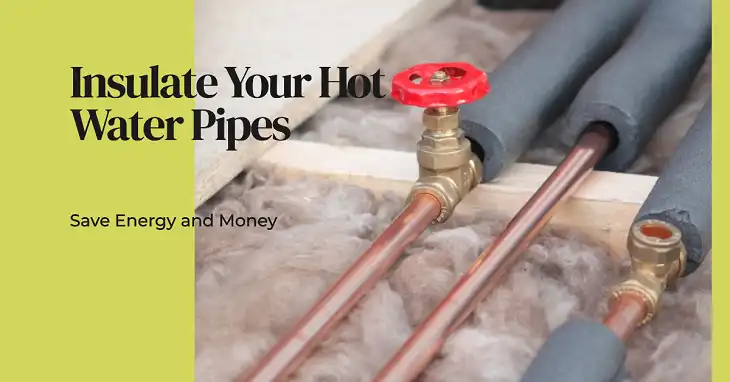
Copper pipes, while excellent conductors of heat, lose heat quickly. They significantly benefit from insulation. Steel pipes also lose heat readily. PEX (cross-linked polyethylene) pipes retain heat better than copper or steel but can still benefit from insulation, especially in unheated spaces.
3. Water Heater Age and Efficiency
An older, less efficient water heater will work harder regardless. Insulating pipes will alleviate some of the strain. However, consider upgrading to a modern, energy-efficient model for even greater savings.
4. Distance from Water Heater
The further your faucets are from the water heater, the more heat loss you'll experience along the pipes. Long pipe runs are excellent candidates for insulation.
Choosing the Right Insulation
Several types of pipe insulation are available, each with its pros and cons:
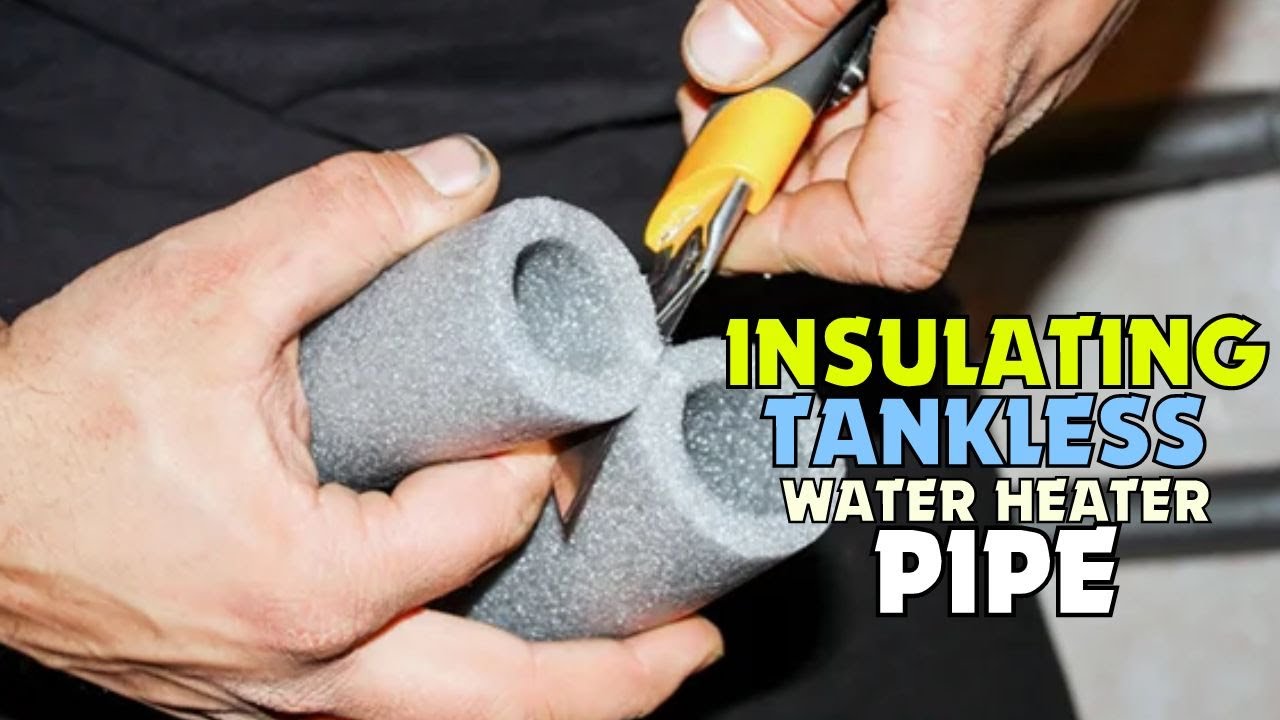
- Foam Sleeves: These are the most common and easiest to install. They are pre-slit, allowing them to be easily wrapped around the pipe and secured with tape.
- Fiberglass Wrap: This offers good insulation but requires more care during installation as fiberglass can be an irritant. Wear gloves and a mask.
- Rubber Insulation: This is more flexible and durable than foam, making it suitable for tight spaces and pipes that may be subject to wear and tear.
Consider the R-value (thermal resistance) of the insulation. Higher R-values provide better insulation. For most residential applications, an R-value of R-3 or higher is recommended for hot water pipes.
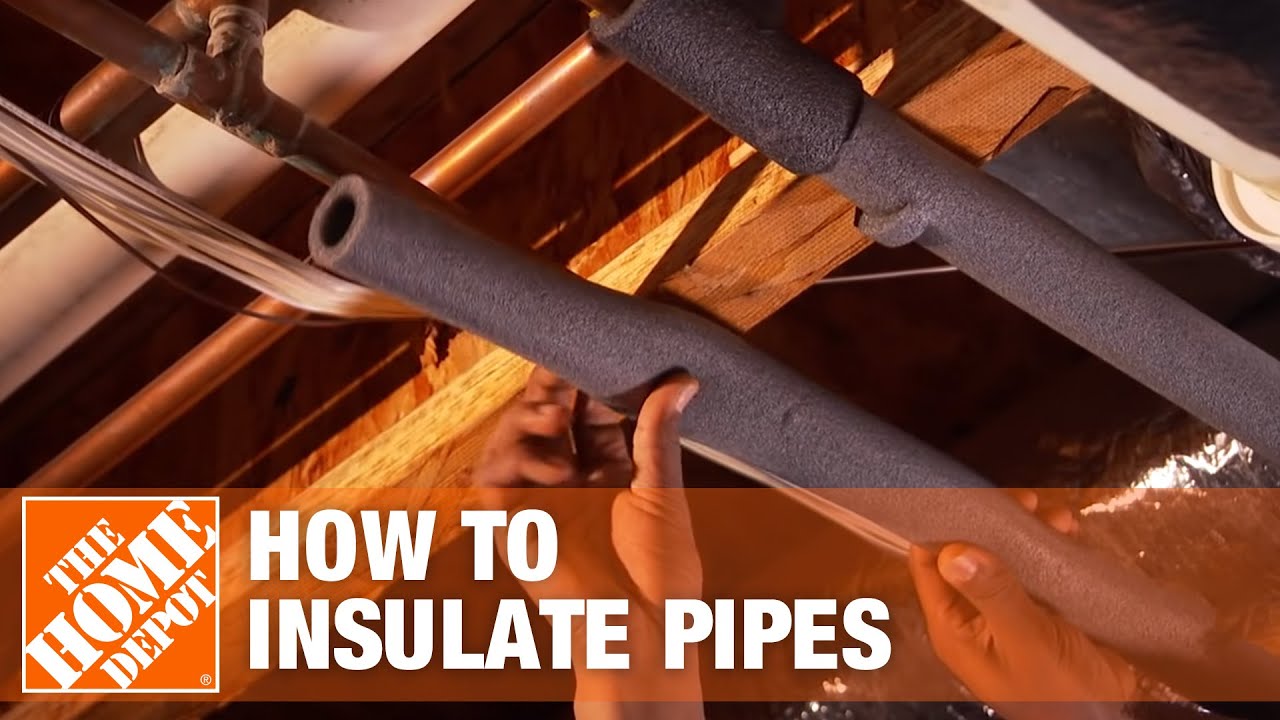
DIY Pipe Insulation: A Step-by-Step Guide
Insulating hot water pipes is a relatively straightforward DIY project. Here’s a step-by-step guide:
Step 1: Gather Your Supplies
- Pipe insulation (foam sleeves, fiberglass wrap, or rubber insulation)
- Measuring tape
- Utility knife or scissors
- Insulation tape (specifically designed for pipe insulation)
- Gloves (especially if using fiberglass insulation)
- Safety glasses
Step 2: Prepare the Pipes
- Turn off your water heater to prevent scalding yourself. Let the pipes cool down completely before you start working.
- Clean the pipes with a damp cloth to remove any dust or debris. Ensure the pipes are dry before applying insulation.
Step 3: Measure and Cut the Insulation
- Measure the length of the pipe section you want to insulate.
- Cut the insulation to the appropriate length using a utility knife or scissors. Be precise for a snug fit.
Step 4: Install the Insulation
For Foam Sleeves:
- Open the slit along the foam sleeve.
- Carefully slide the sleeve over the pipe.
- Ensure the sleeve fits snugly around the pipe.
- Seal the slit with insulation tape. Overlap the tape slightly for a secure seal.
For Fiberglass Wrap:
- Wrap the fiberglass insulation around the pipe, overlapping each layer slightly.
- Secure the wrap with insulation tape. Ensure the tape is applied tightly to compress the insulation.
For Rubber Insulation:
- Follow the same procedure as foam sleeves, ensuring a tight fit and secure seal with insulation tape.
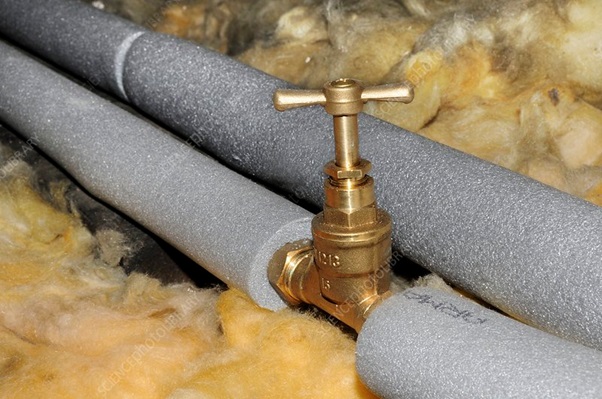
Step 5: Insulate Fittings and Joints
- Pay close attention to fittings like elbows and tees. These areas are prone to heat loss.
- Cut small pieces of insulation to fit around the fittings.
- Secure the insulation with tape, ensuring complete coverage.
Step 6: Secure and Inspect
- Double-check all seams and joints to ensure they are properly sealed with tape.
- Make sure the insulation is securely attached to the pipes and won't slide off.
Step 7: Turn the Water Heater Back On
- Once you've completed the insulation, turn your water heater back on.
- Monitor the pipes for any leaks or issues.
Important Safety Precautions
- Turn off the water heater: Always turn off the water heater before working on hot water pipes to prevent scalding.
- Wear gloves and safety glasses: Protect your hands and eyes, especially when working with fiberglass insulation.
- Work in a well-ventilated area: This is particularly important when using fiberglass insulation.
- Dispose of waste properly: Follow local regulations for disposing of insulation materials.
When to Call a Professional
While insulating hot water pipes is generally a DIY-friendly project, there are situations where it's best to call a professional plumber:
- Leaking Pipes: If you notice any leaks in your pipes, address them *before* insulating. A plumber can repair or replace damaged pipes. Never insulate a leaking pipe.
- Complex Plumbing Systems: If you have a complex plumbing system with multiple branches and fittings, a plumber can ensure proper insulation and prevent potential problems.
- Difficult-to-Reach Areas: If the pipes are located in tight or difficult-to-reach areas, a plumber may have the necessary tools and experience to complete the job safely and efficiently.
- Gas Water Heaters and Flues: If you are working near a gas water heater and its flue, *never* obstruct the flue with insulation. Improper flue installation can lead to carbon monoxide poisoning. This is a job only for a qualified HVAC technician or plumber.
- Electrical Connections: If any pipes are near electrical wiring or connections, exercise extreme caution. If you are uncomfortable working around electricity, call a qualified electrician. Never attempt to move or alter electrical wiring yourself.
Troubleshooting Common Issues
Even with careful installation, you might encounter some issues:
1. Condensation on Insulated Pipes
Condensation indicates that the insulation isn't completely sealed or that there's a source of moisture nearby. Check for gaps in the insulation and reseal them with tape. Ensure adequate ventilation in the area.
2. Insulation Sliding Off
This is usually due to improper taping or using the wrong type of tape. Use insulation tape specifically designed for pipe insulation and ensure it's applied tightly and overlapping the seams.
3. No Noticeable Difference in Water Temperature
If you don't notice a significant improvement in water temperature, it could be due to other factors, such as a faulty water heater thermostat or excessively long pipe runs. Consider consulting a plumber to diagnose the underlying issue.
Beyond Pipe Insulation: Maximizing Energy Efficiency
While insulating your hot water pipes is a great step towards energy efficiency, consider these additional measures:
- Lower Your Water Heater Temperature: A setting of 120°F (49°C) is usually sufficient for most households and can save energy.
- Install Low-Flow Showerheads and Faucets: These reduce water consumption without sacrificing water pressure.
- Fix Leaks Promptly: Even small leaks can waste a significant amount of water over time.
- Insulate Your Water Heater: Older water heaters may lack sufficient insulation. Consider adding an insulation blanket to reduce heat loss.
- Consider a Tankless Water Heater: Tankless water heaters heat water on demand, eliminating standby heat loss.
Conclusion
Insulating your hot water pipes is a simple and cost-effective way to improve energy efficiency, reduce water waste, and extend the lifespan of your water heater. By following the steps outlined in this guide, you can confidently tackle this DIY project and enjoy the benefits of warmer water and lower energy bills. Remember to prioritize safety and call a professional when necessary. Happy insulating!
:max_bytes(150000):strip_icc()/water-pipe-insulation-2718695-04-d37538307aa04a73958c6cb2e90b9d5c.jpg)


/stop-freezing-pipes-2124982-revision1-5c01a886c9e77c0001439273.png)