Should I Turn Off Ac If It's Not Cooling

The frustration is real: You crank up your air conditioner on a sweltering day, only to be met with… warm air. Or, worse, nothing at all. Before you resign yourself to sweating it out or calling a pricey technician immediately, let's explore a logical troubleshooting process. This guide will empower you to diagnose common AC problems and attempt safe, basic fixes. Remember, safety first! If at any point you feel uncomfortable or unsure, call a qualified HVAC professional.
Is Turning Off Your AC the Right First Step?
The immediate instinct might be to switch off the AC when it’s not cooling. And in some cases, that's exactly the right thing to do. Here's why:
- Preventing further damage: If a component is struggling or overheating, continued operation could worsen the issue, potentially leading to more expensive repairs.
- Safety concerns: If you suspect an electrical problem or smell burning, turning off the unit immediately is crucial for safety.
- Avoid wasting energy: Running an AC that isn't effectively cooling is simply throwing money away.
However, turning it off permanently before troubleshooting is premature. Let's investigate the problem first.
Troubleshooting Your AC: A Step-by-Step Guide
Step 1: The Obvious Checks (But Don't Skip Them!)
Start with the simple things. You'd be surprised how often these are the culprits:
- Thermostat Settings: Is your thermostat set to COOL? Is the desired temperature significantly lower than the current room temperature? Ensure the fan is set to AUTO rather than ON (unless you specifically want continuous fan operation). A common mistake is accidentally setting the thermostat to HEAT or FAN only.
- Power Supply: Check the circuit breaker. Is the breaker for the AC unit tripped? If so, reset it. If it trips again immediately or soon after, do not keep resetting it. This indicates a more serious electrical problem that requires professional attention. Check the disconnect switch located near the outdoor unit is also on.
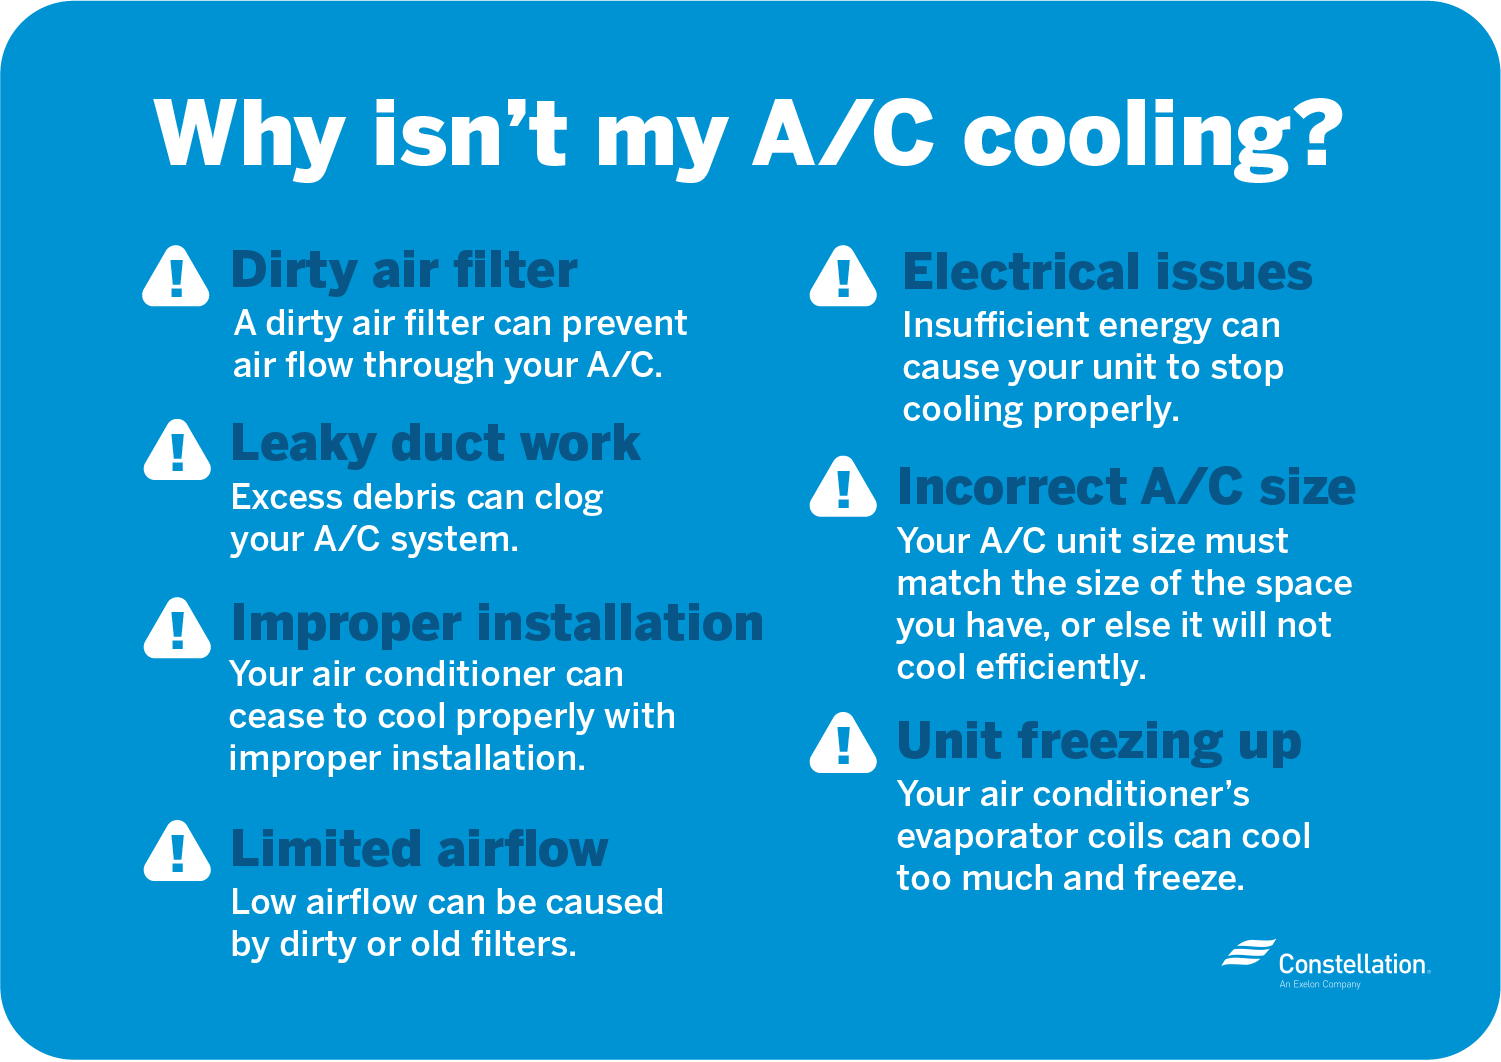
- Air Filters: A clogged air filter is the most common cause of poor AC performance. A dirty filter restricts airflow, making the unit work harder and less efficiently, eventually leading to overheating. Replace or clean your air filter immediately. Aim to replace disposable filters every 1-3 months, or clean reusable filters monthly.
Step 2: Examining the Outdoor Unit (Condenser)
The outdoor unit, also known as the condenser, plays a crucial role in cooling your home. Before inspecting it, ensure the power to the unit is turned OFF at the disconnect switch. This is a safety precaution.
- Obstructions: Is the unit blocked by bushes, debris, or other obstructions? Clear away any obstructions to allow for proper airflow. A minimum of 2-3 feet of clearance is recommended.
- Dirty Coils: Over time, the condenser coils can become covered in dirt, dust, and debris, hindering their ability to release heat. Carefully clean the coils using a garden hose with a gentle spray nozzle. Avoid using high pressure, which can damage the delicate fins. You can also purchase a commercially available coil cleaner specifically designed for AC units. Follow the product instructions carefully.
- Fan Operation: Visually inspect the fan blades for damage. After restoring power (and ensuring nothing is obstructing the blades), observe the fan operation. Does it spin freely and at a reasonable speed? If it's making unusual noises or struggling to turn, it could indicate a motor problem requiring professional repair.
Step 3: Inspecting the Indoor Unit (Evaporator)
The indoor unit, often part of your furnace or air handler, houses the evaporator coils. Similar to the outdoor unit, these coils can become dirty and restrict airflow. Accessing the evaporator coils can be more challenging and may require removing panels. If you're not comfortable with this, call a professional.
- Frozen Coils: If you see ice forming on the evaporator coils, this is a sign of restricted airflow or a refrigerant leak. Turn off the AC immediately and allow the ice to thaw completely. After thawing, check the air filter (as a clogged filter is a common cause). If the problem persists after replacing the filter, it's likely a refrigerant issue requiring professional attention.
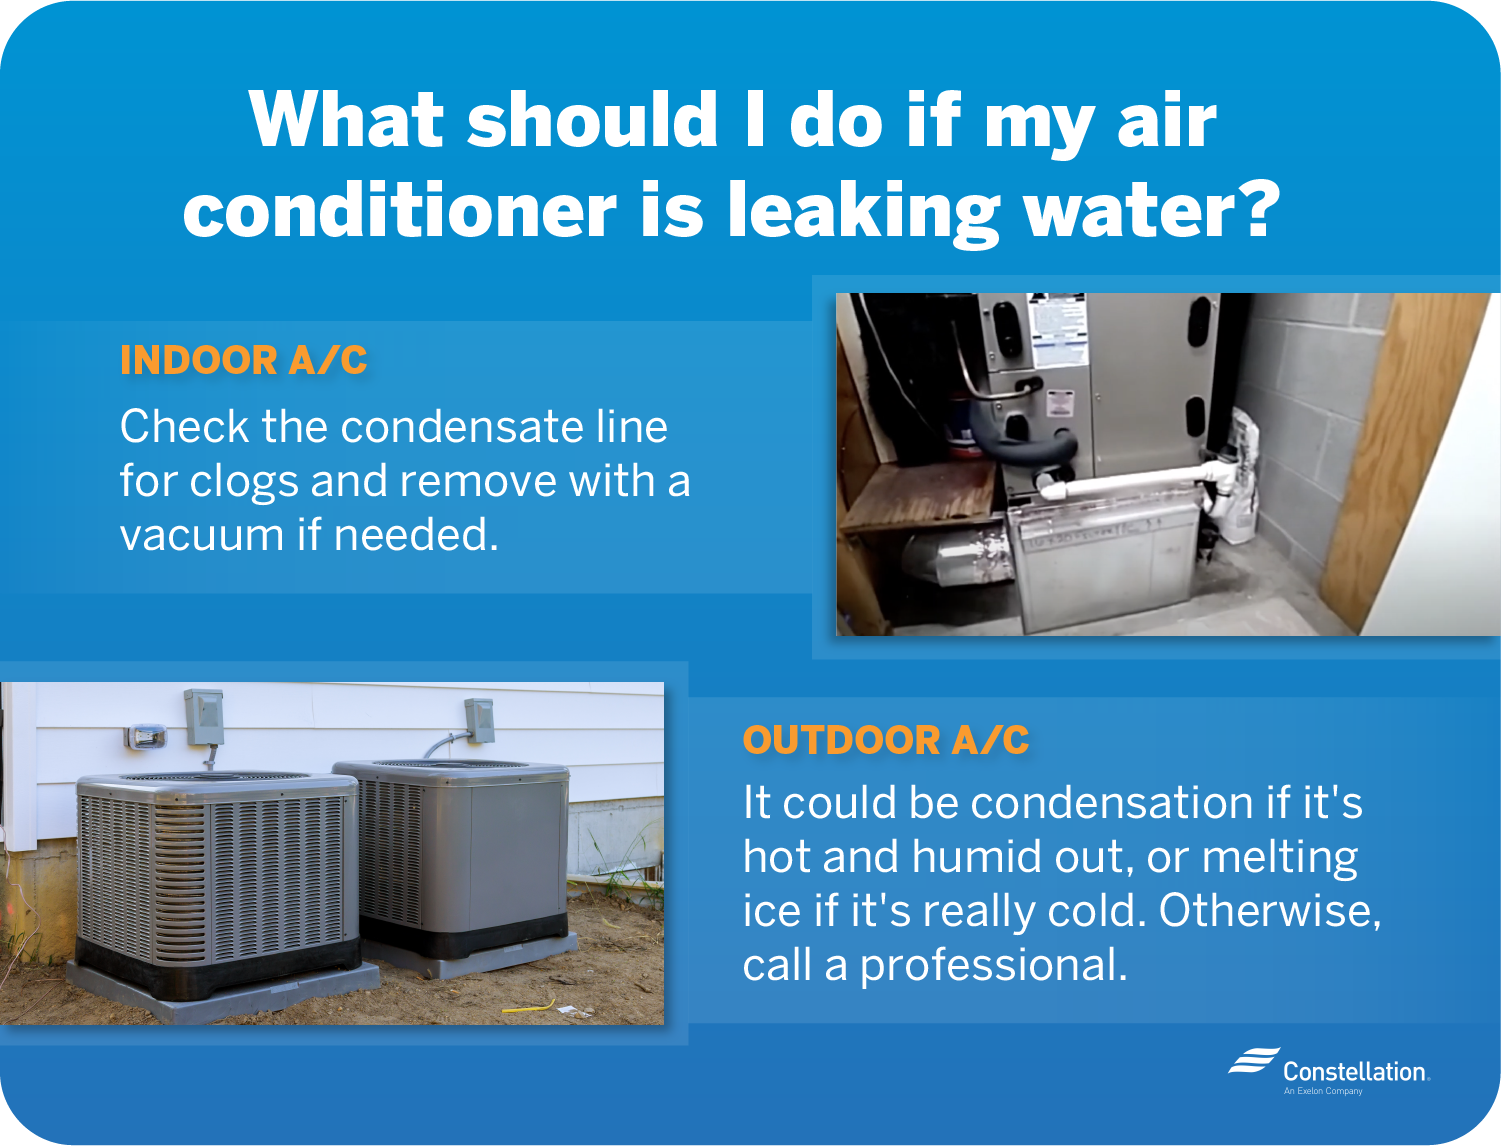
- Drainage Issues: The indoor unit has a condensate drain line that removes moisture. If this line becomes clogged, water can back up, potentially damaging your system and even causing water damage to your home. Locate the drain line (usually a PVC pipe) and check for clogs. You can try clearing it with a wet/dry vacuum or by carefully using a stiff wire. Be cautious not to puncture or damage the drain line. You may also find a cleanout access on the drain line for easier maintenance. Pouring a cup of white vinegar down the drain line periodically can help prevent clogs.
Step 4: Simple Component Checks (Proceed with Caution)
These checks involve examining some basic components. Remember to disconnect power to the unit before performing any of these checks.
- Capacitors: Capacitors are electrical components that help start and run the AC motor. A faulty capacitor can prevent the unit from starting or running efficiently. Visually inspect the capacitors for bulging, leaking, or other signs of damage. Capacitors store an electrical charge, even after the power is turned off. It's highly recommended to discharge the capacitor before handling it, however, this is best left to a trained technician due to the risk of electric shock. If you suspect a capacitor is faulty, call a professional for replacement.
- Contactor: The contactor is an electrical switch that controls power to the compressor and fan motor. Inspect the contactor for burned or pitted contacts. If the contactor is damaged, it may not be able to properly switch the power on, preventing the unit from starting. Contactor replacement involves electrical work and should be performed by a qualified technician.
When to Call a Professional HVAC Technician
While these DIY troubleshooting steps can address many common AC problems, some issues require the expertise and tools of a qualified professional. Do not attempt repairs involving refrigerant, electrical components beyond simple visual checks, or gas lines. Here are some situations where professional help is essential:
- Refrigerant Leaks: Refrigerant is essential for cooling, and leaks can significantly impact performance and pose environmental concerns. Only licensed technicians can handle refrigerant. Signs of a leak include ice on the coils (after addressing airflow issues), poor cooling performance, and a hissing sound near the unit.
- Electrical Problems: Any electrical work beyond checking breakers and the disconnect switch should be left to a qualified electrician or HVAC technician. Working with electricity can be dangerous, and improper repairs can lead to fires or electrocution.
- Compressor Issues: The compressor is the heart of the AC system, and repairs or replacements are complex and expensive. If you suspect a compressor problem (unusual noises, failure to start), call a professional.
- Gas Leaks (for Gas Pack Units): If you have a gas pack system and suspect a gas leak (smell of gas), evacuate the area immediately and call your gas company or a qualified HVAC technician. Gas leaks are extremely dangerous.
- Complex Repairs: If you've followed the troubleshooting steps and the AC still isn't working, it's time to call a professional. They have the diagnostic tools and experience to identify and fix more complex problems.
- You're Uncomfortable: If at any point during the troubleshooting process you feel uneasy or unsure, STOP and call a professional. Your safety and the proper functioning of your AC system are the top priorities.
Preventive Maintenance: Avoiding Future Problems
The best way to avoid AC breakdowns is to perform regular preventive maintenance. Here are some simple steps you can take:
- Regular Air Filter Replacement: As mentioned earlier, this is the most important step.
- Coil Cleaning: Clean the outdoor condenser coils at least once a year, preferably in the spring before the cooling season begins.
- Professional Tune-Up: Schedule a professional AC tune-up annually. A technician can inspect and clean the system, check refrigerant levels, lubricate moving parts, and identify potential problems before they become major issues.
- Clear Debris: Keep the area around the outdoor unit free of debris, bushes, and other obstructions.
- Inspect Ductwork: Periodically inspect your ductwork for leaks or damage. Seal any leaks with duct tape or have a professional repair them.
By following this troubleshooting guide and implementing preventive maintenance measures, you can keep your AC running efficiently and avoid costly repairs. Remember, safety is paramount, and when in doubt, always call a qualified HVAC professional.