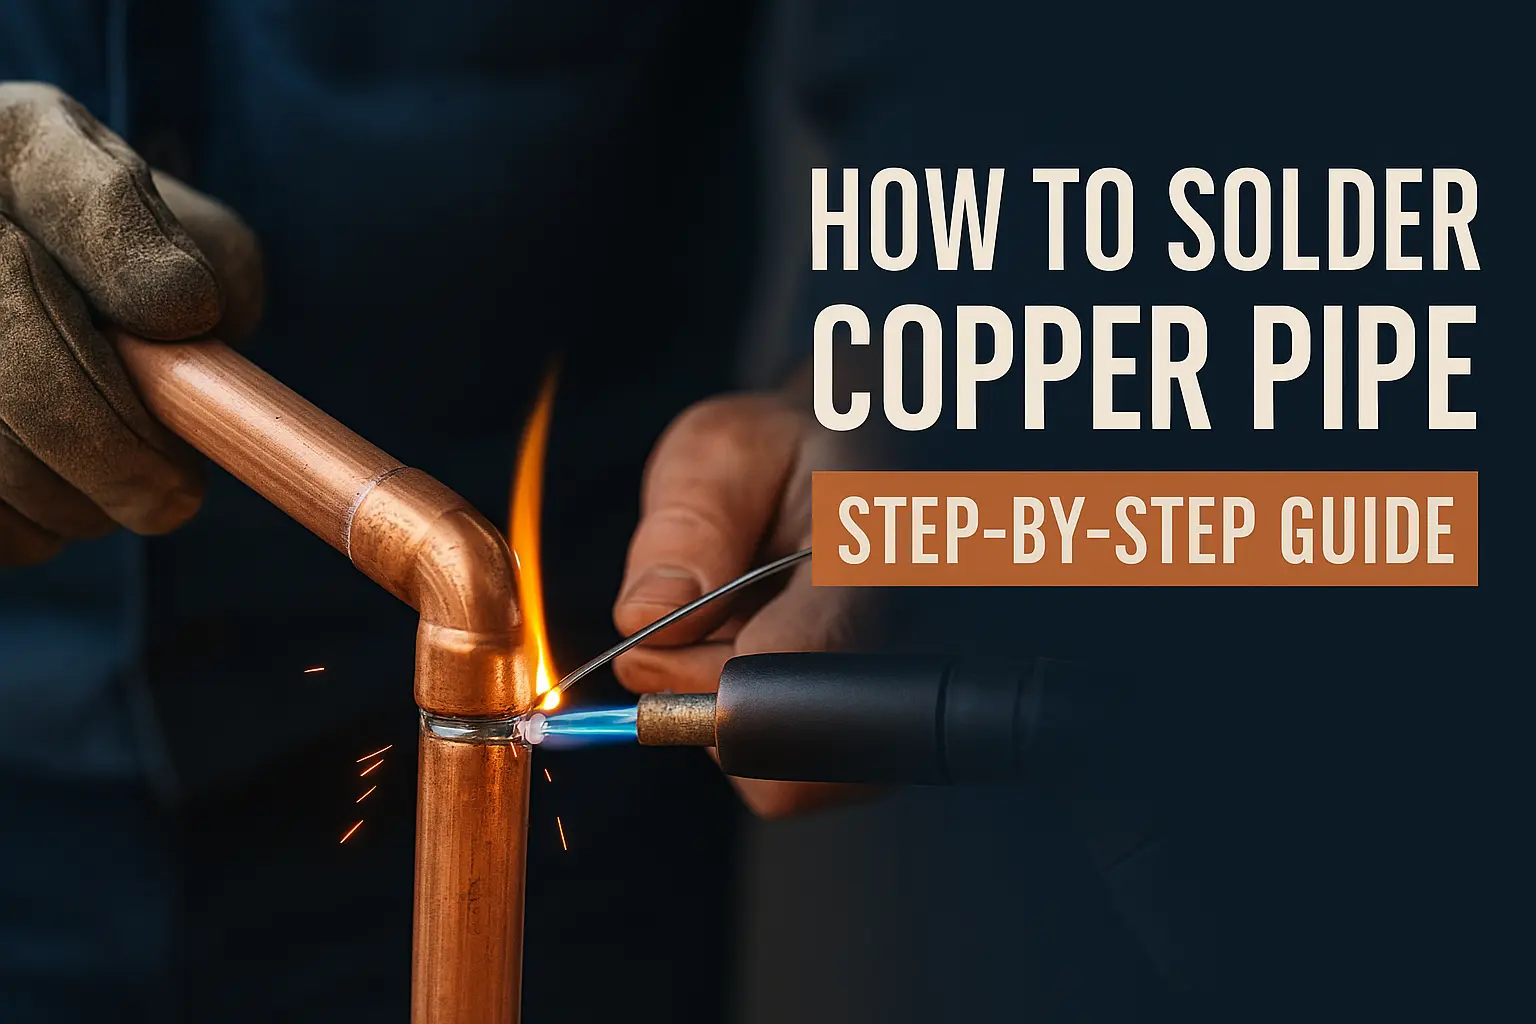
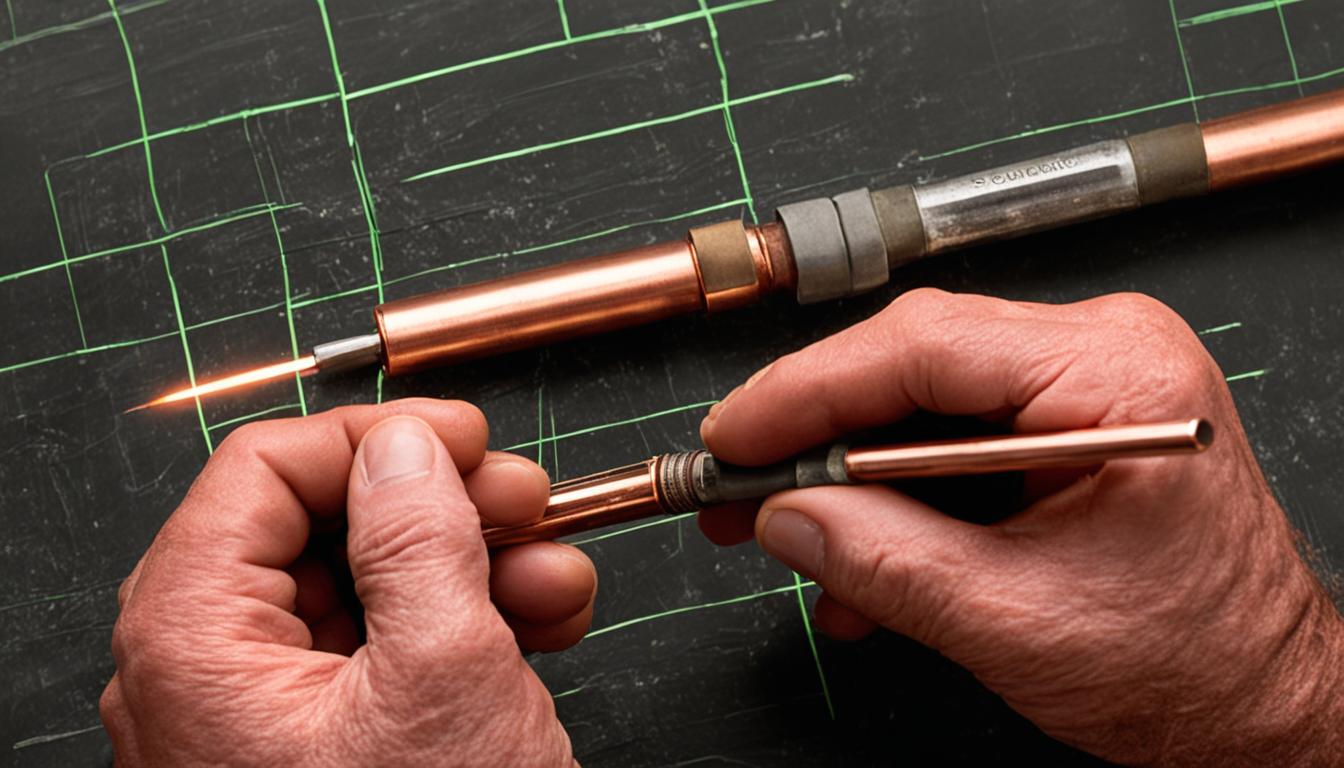
Soldering Copper Pipe With Soldering Iron
Copper piping remains a mainstay in HVAC systems for refrigerant lines, potable water distribution, and condensate drains due to its durability and resistance to corrosion. Properly joining these pipes is crucial for leak-free and efficient system operation. While brazing with an oxy-acetylene torch is common, soldering with a soldering iron offers a viable alternative, particularly in tight spaces or for smaller diameter pipes. This article details the process, considerations, and best practices for successfully soldering copper pipe with a soldering iron.
Understanding Soldering vs. Brazing
Before diving into the soldering process, it's important to differentiate it from brazing, a similar but distinct joining method. Both involve using a filler metal to create a bond, but the key difference lies in the temperature. Soldering utilizes filler metals that melt below 840°F (450°C), while brazing uses filler metals that melt above this temperature. For most HVAC applications, brazing is preferred for refrigerant lines due to the higher pressures and temperatures involved. However, soldering is perfectly acceptable for low-pressure applications like condensate drain lines and, in some cases, potable water lines depending on local codes.
Choosing the Right Solder and Flux
The selection of solder and flux is critical for a strong and reliable joint. For potable water lines, always use lead-free solder that complies with NSF/ANSI Standard 61. Common lead-free solder alloys include tin-silver and tin-copper. For non-potable water applications like condensate drains, a tin-antimony solder may be used. Avoid using solder containing lead due to health concerns, especially in potable water systems.
Flux is a chemical cleaning agent that removes oxidation from the copper surfaces, allowing the solder to properly bond. Choose a flux specifically designed for soldering copper pipes. Ensure the flux is compatible with the chosen solder alloy. Apply the flux sparingly and evenly to the cleaned pipe and fitting surfaces.
Preparing the Copper Pipe
Proper preparation is paramount to achieving a strong, leak-free solder joint. The copper surfaces must be clean and free of oxidation, dirt, and grease.
- Cutting: Use a pipe cutter to achieve a clean, square cut. Avoid using a hacksaw, as it can leave burrs and uneven edges.
- Reaming: Use a reaming tool to remove any burrs from the inside of the pipe. Burrs can restrict flow and create turbulence.
- Cleaning: Use a wire brush or emery cloth to thoroughly clean both the inside of the fitting and the outside of the pipe end to be joined. The copper should have a bright, shiny appearance. Specialized cleaning tools designed for pipe fittings are readily available.
- Applying Flux: Apply a thin, even coat of flux to both the cleaned pipe end and the inside of the fitting socket. Avoid applying excessive flux, as it can create voids in the solder joint and lead to corrosion.
Soldering with a Soldering Iron: A Step-by-Step Guide
While soldering irons may not be the primary tool for all HVAC pipework, they are exceptionally useful in tight spaces or for small-diameter pipes where torch access is limited. For larger diameter pipes, soldering irons with sufficient wattage and surface area may be required.
- Assemble the Joint: Insert the pipe into the fitting socket, ensuring it is fully seated. Give the pipe a slight twist to distribute the flux evenly.
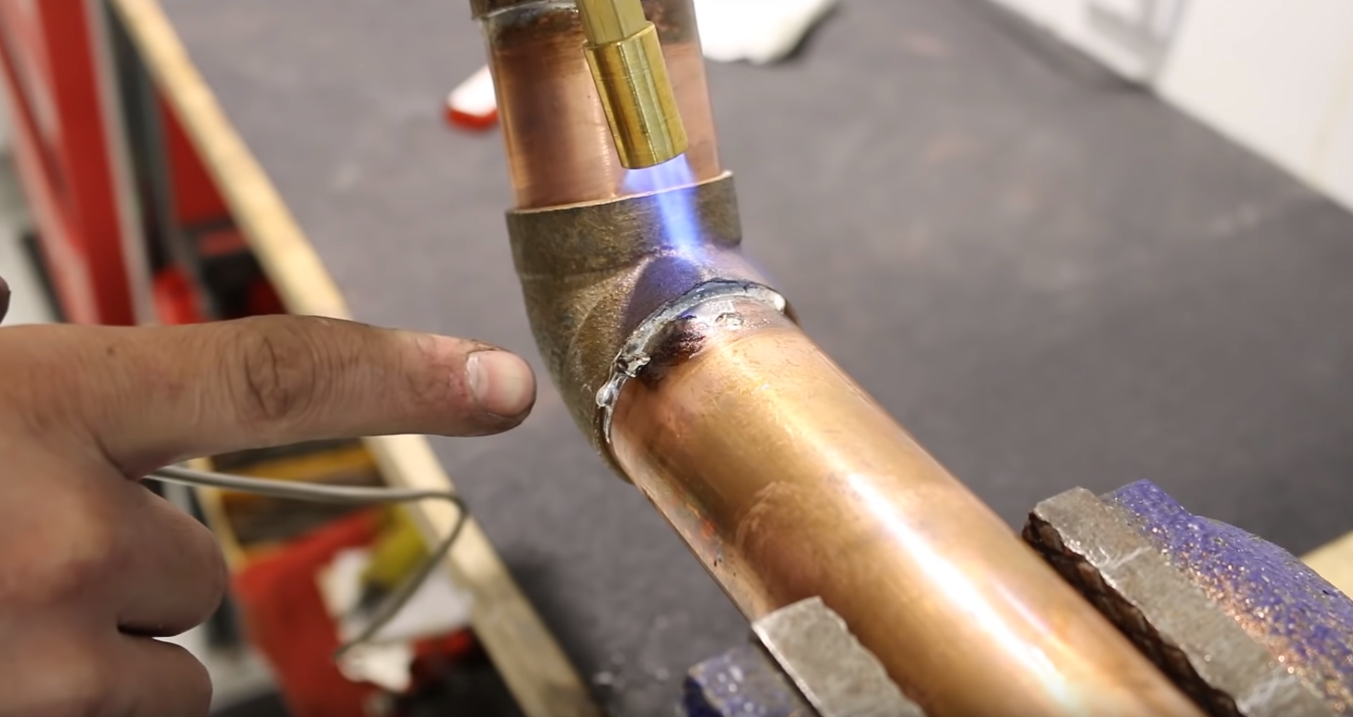
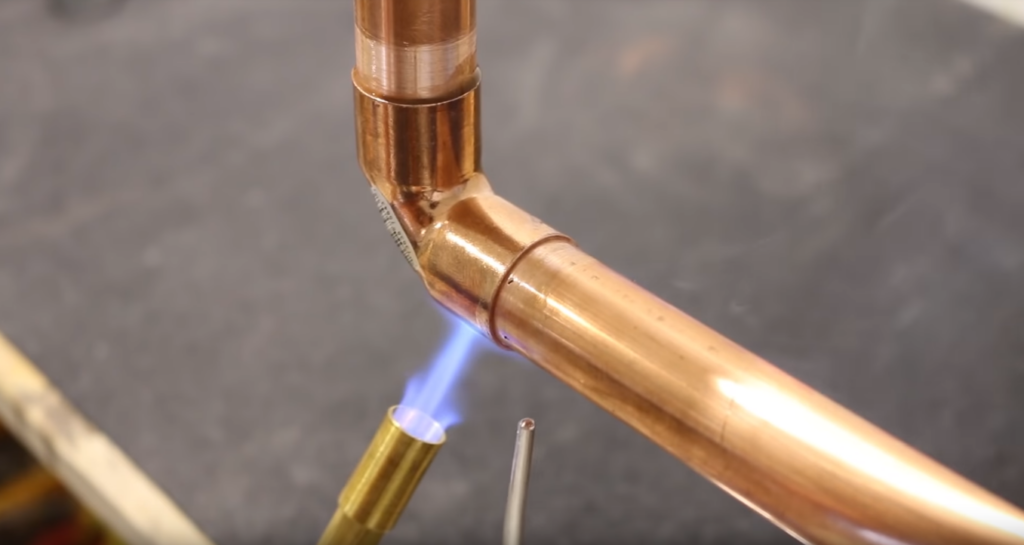
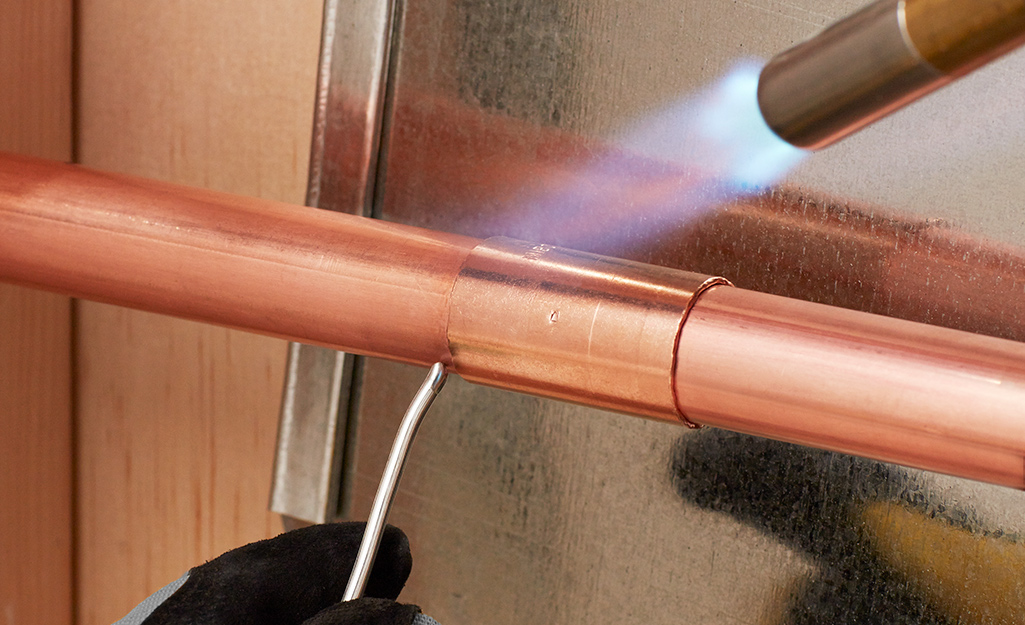
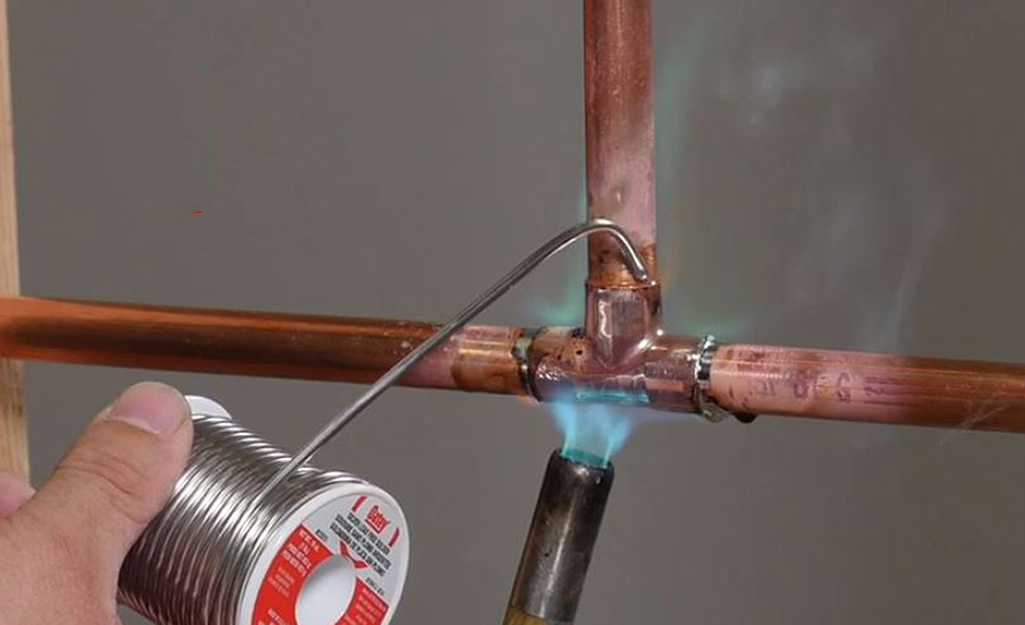
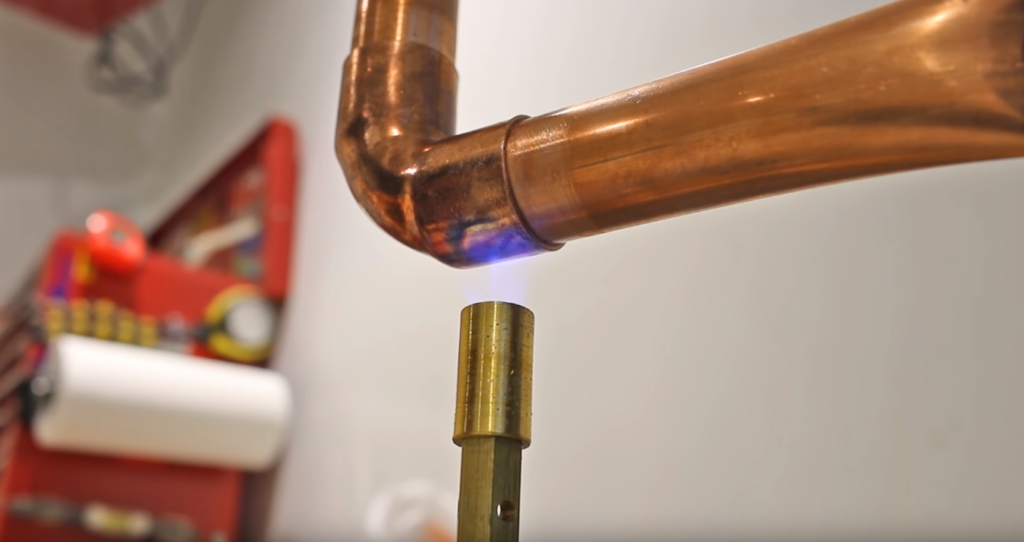
- Heat the Joint: Position the soldering iron tip against the fitting socket, near the joint where the pipe and fitting meet. Move the soldering iron around the circumference of the fitting to evenly distribute heat.
- Apply Solder: Once the fitting is sufficiently heated (test by briefly touching the solder to the joint; it should melt immediately), touch the solder wire to the joint where the pipe and fitting meet. The solder should be drawn into the joint by capillary action. Continue applying solder around the entire circumference of the fitting until a complete ring of solder is visible.
- Remove Heat and Allow to Cool: Remove the soldering iron and allow the joint to cool naturally. Avoid moving or disturbing the joint while it is cooling. Do not use water to cool the joint rapidly, as this can weaken the bond.
- Clean the Joint: After the joint has cooled, use a damp cloth to remove any excess flux residue. This helps prevent corrosion.
Selecting the Right Soldering Iron
The size and wattage of the soldering iron are crucial factors. For small-diameter pipes (1/2 inch or less), a soldering iron with a wattage of 100-200 watts is typically sufficient. For larger diameter pipes, a higher wattage soldering iron (200 watts or more) may be necessary to provide adequate heat. Consider using a soldering iron with a wide, flat tip for optimal heat transfer to the fitting.
Post-Soldering Inspection and Testing
After soldering, thoroughly inspect each joint for any signs of defects, such as voids, incomplete solder coverage, or discoloration. Perform a pressure test to verify the integrity of the joints. For potable water systems, pressurize the system with water and check for leaks. For refrigerant lines, use nitrogen to pressurize the system and check for leaks with a leak detector.
Safety Precautions
- Wear appropriate personal protective equipment (PPE), including safety glasses and gloves.
- Work in a well-ventilated area to avoid inhaling flux fumes.
- Be careful when handling hot soldering irons and pipes.
- Have a fire extinguisher readily available.
Troubleshooting Common Soldering Problems
- Leaking Joints: Leaks are often caused by inadequate cleaning, insufficient heating, or improper solder application. Re-clean the joint, apply fresh flux, and re-solder.
- Solder Not Flowing: This can be due to insufficient heat, dirty pipe surfaces, or old flux. Ensure the pipe is properly cleaned and fluxed, and that the soldering iron is providing adequate heat.
- Porous Joints: Porous joints can result from overheating or using contaminated solder. Use fresh solder and avoid overheating the joint.
Soldering vs. Alternatives: Press Fittings and Cold Connections
While soldering is a traditional and reliable method, alternative joining methods like press fittings and cold connections offer convenience and speed, particularly in large-scale installations. Press fittings, such as those from Viega or ProPress, use specialized tools to create a mechanical seal. These fittings are generally more expensive than solder fittings but significantly reduce labor time. Cold connections, like sharkbite fittings, are push-fit fittings that require no soldering or brazing. While convenient, they may not be suitable for all applications due to pressure and temperature limitations.
Cost Considerations
The cost of soldering copper pipe involves the cost of the pipe, fittings, solder, flux, and the soldering iron. Soldering is generally less expensive than using press fittings or cold connections, especially for smaller projects. However, the labor cost associated with soldering can be higher, particularly for complex piping systems. A comparison is shown below:
| Method | Material Cost | Labor Cost | Skill Level Required |
|---|---|---|---|
| Soldering | Low | Medium | Medium |
| Press Fittings | High | Low | Low |
| Cold Connections | Medium | Low | Low |
Conclusion
Soldering copper pipe with a soldering iron is a valuable skill for HVAC technicians, homeowners, and facility managers. While it may not be suitable for all applications, it offers a cost-effective and reliable method for joining copper pipes, particularly in tight spaces or for small-diameter pipes. By following the guidelines outlined in this article and adhering to safety precautions, you can achieve strong, leak-free solder joints that ensure the efficient and reliable operation of your HVAC system. When evaluating options for your projects, it is important to consider all factors, including cost, skill level, and the specific requirements of your application. Always consult with local codes and regulations to ensure compliance.