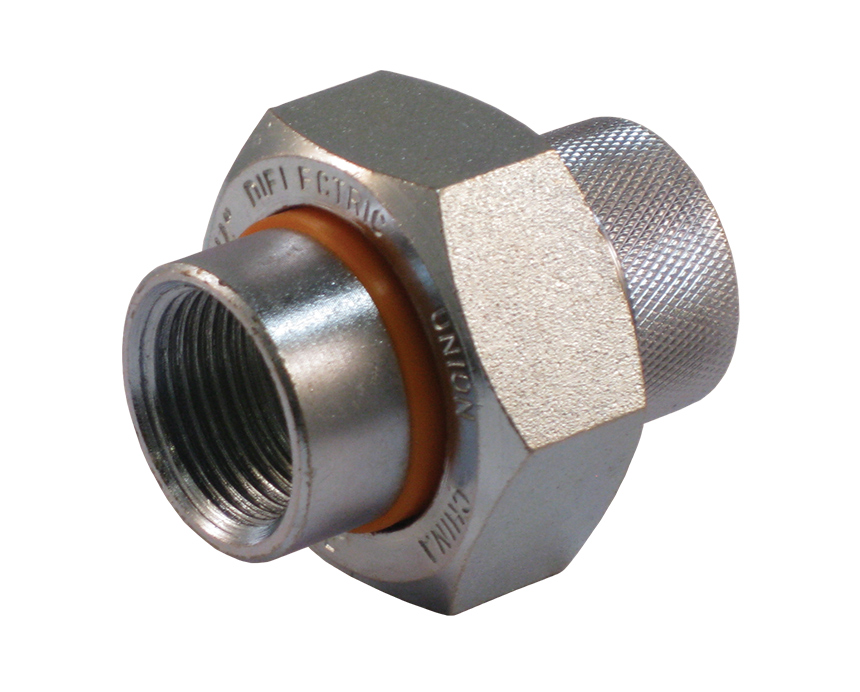
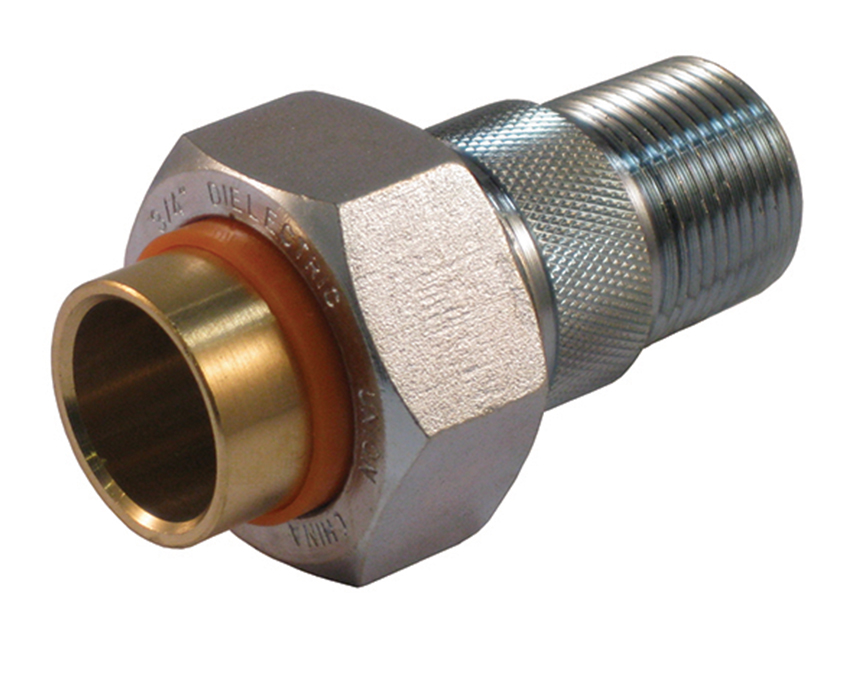
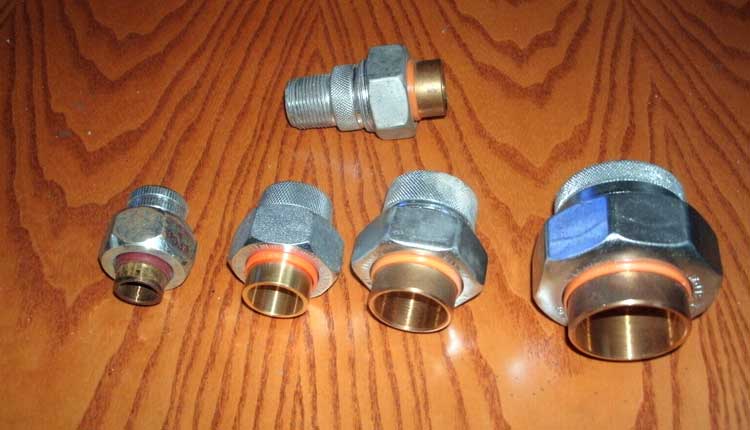
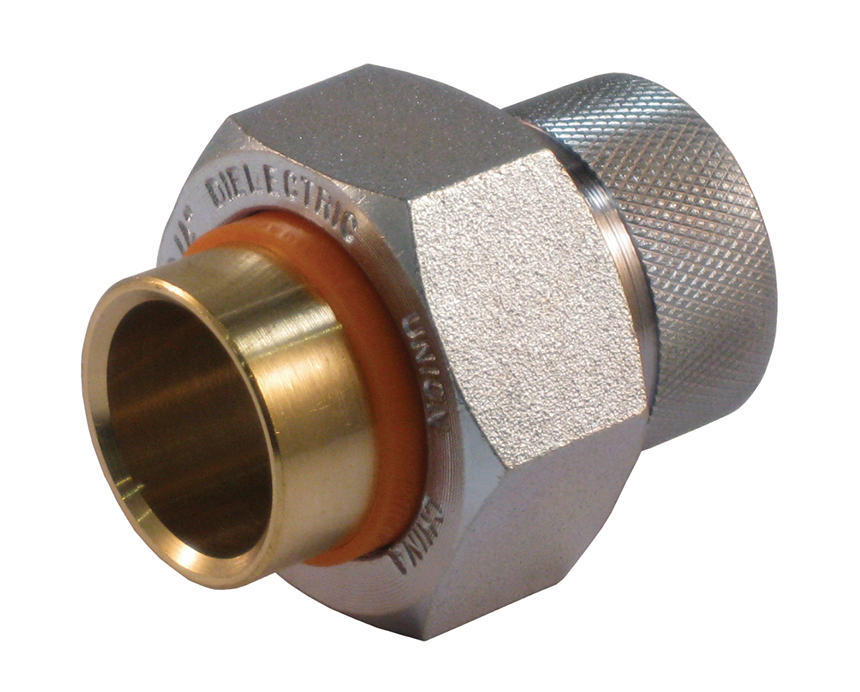
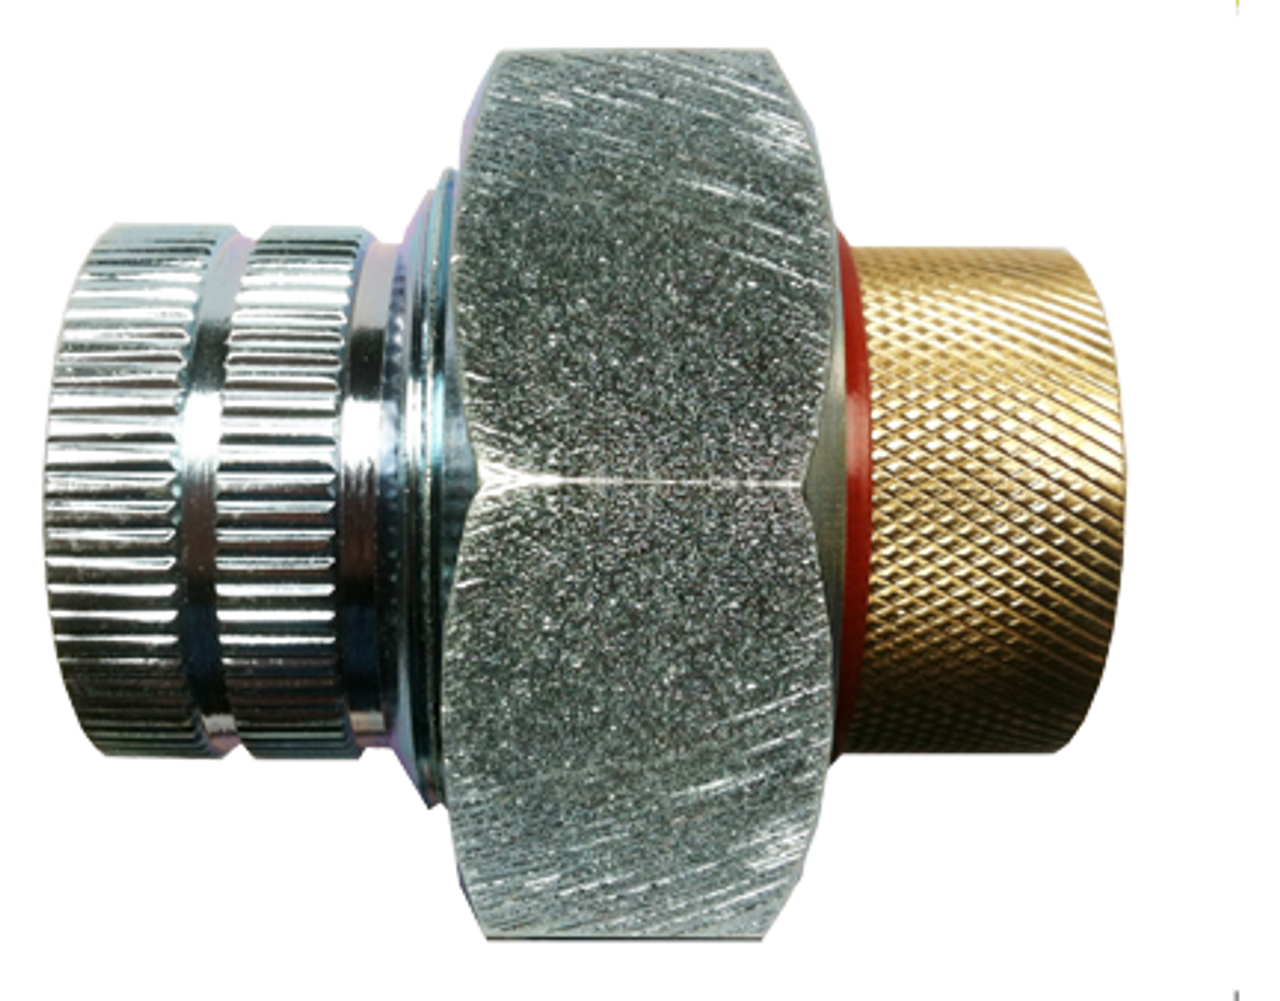
Stainless Steel To Brass Dielectric Union

Have you noticed your hot water taking longer to heat up, or certain faucets delivering lukewarm water when they should be hot? Perhaps you're experiencing inconsistent heating in your home despite your thermostat settings. One often-overlooked culprit behind these issues can be a seemingly small component in your plumbing system: the stainless steel to brass dielectric union.
These unions are crucial for connecting dissimilar metals, preventing galvanic corrosion – a process where one metal corrodes faster when in contact with another in the presence of an electrolyte (like water). While designed to protect your system, they can sometimes fail, leading to frustrating performance problems.
Understanding the Dielectric Union
Before diving into troubleshooting, let’s quickly understand what a dielectric union is and why it's used. It's essentially a fitting designed to connect pipes made of different metals, typically stainless steel and brass (or copper). These materials are commonly used in water heaters and plumbing systems. The union incorporates a non-conductive (dielectric) material, separating the metals and preventing electrical current flow. This inhibits galvanic corrosion.
Why Stainless Steel and Brass/Copper? Stainless steel is incredibly durable and corrosion-resistant, ideal for water heaters. Brass and copper are excellent conductors of heat and often used in piping systems. However, connecting these metals directly invites corrosion, which can lead to leaks, reduced water flow, and ultimately, system failure.
Diagnosing Problems: A Step-by-Step Guide
Here's a methodical approach to troubleshooting issues potentially linked to your stainless steel to brass dielectric union. Remember to always turn off the water supply before attempting any repairs or inspections.
Step 1: Identify Potential Locations
Dielectric unions are most commonly found at the inlet and outlet connections of your water heater. They may also be used where stainless steel pipes connect to brass or copper pipes elsewhere in your plumbing system, although this is less frequent in residential setups.
Look for these locations:
- Where hot and cold water pipes connect to your water heater.
- Near plumbing fixtures (faucets, showers) where you suspect problems.
Step 2: Visual Inspection (No Tools Required)
Begin with a thorough visual examination. This is the easiest and safest step.
Check for the following:
- Visible Corrosion: Look for any signs of rust, green or blue deposits (indicating copper corrosion), or white powdery residue around the union. Even slight corrosion can be a warning sign.
- Leaks: Inspect for any dripping water or dampness around the union. Small leaks can be subtle but indicate a failing seal or corrosion.
- Physical Damage: Check for cracks, dents, or any other physical damage to the union itself.
- Proper Installation: Ensure the union is correctly installed. Is the dielectric material (usually a plastic or rubber ring) properly seated between the metal parts? Are the nuts tightened securely (but not excessively)?
Record your observations. Note the location of any corrosion, leaks, or damage. This information will be helpful if you need to call a professional.
Step 3: Water Flow Test (No Tools Required)
This test assesses whether the union is restricting water flow due to internal corrosion or blockage.
Procedure:
- Turn off all other water outlets in your home (faucets, showers, etc.).
- Fully open a faucet closest to the water heater (or the affected area).
- Observe the water flow. Is it strong and consistent, or weak and sputtering?
- Repeat with a faucet furthest from the water heater.
Interpreting the Results:
- Strong and consistent flow at both locations suggests the union is likely not significantly restricting water flow.
- Weak or sputtering flow, especially at the faucet closest to the water heater, could indicate a blockage within the union or the pipes leading to it.
- Significant difference in flow between the two faucets could also point to a problem closer to the water heater.
Step 4: Temperature Check (Requires a Thermometer)
If you suspect the union is affecting hot water temperature, use a thermometer to measure the water temperature at different points in your system.
Procedure:
- Run the hot water at a faucet for a few minutes to ensure the water heater has had time to heat the water.
- Measure the water temperature at the faucet.
- Compare this temperature to the temperature setting on your water heater. Also, compare this to the hot water temperature at other faucets in your home.
Interpreting the Results:
- Significantly lower temperature than the water heater setting, or a noticeable difference compared to other faucets, could indicate a problem with the water heater itself, the thermostat, or heat loss due to corrosion in the union or surrounding pipes.
Step 5: Testing for Electrical Continuity (Requires a Multimeter)
Caution: This step involves electricity. If you are not comfortable using a multimeter or working with electrical circuits, do not attempt this step. Contact a qualified electrician or HVAC professional.
This test determines if the dielectric union is effectively preventing electrical current flow, which is crucial for preventing galvanic corrosion.
Procedure:
- Turn off the power to the water heater at the circuit breaker. Double-check with a non-contact voltage tester to ensure the power is off.
- Set your multimeter to the continuity setting (usually indicated by a diode symbol or a speaker icon).
- Touch one probe of the multimeter to the stainless steel side of the union.
- Touch the other probe to the brass or copper side of the union.
- Observe the multimeter reading.
Interpreting the Results:
- No continuity (open circuit): The multimeter will display "OL" or a similar indication, and there will be no audible beep. This indicates the union is functioning correctly and preventing electrical current flow.
- Continuity (closed circuit): The multimeter will display a value close to zero, and there will likely be an audible beep. This indicates the union is failing to prevent electrical current flow, potentially leading to galvanic corrosion.
DIY Actions (If Appropriate)
Based on your diagnosis, here are some simple DIY actions you might be able to take:
- Tighten Loose Connections: If you find a minor leak and the union appears otherwise in good condition, gently tighten the nuts connecting the union. Do not overtighten, as this can damage the union or the pipes. A slight turn beyond hand-tight is usually sufficient.
- Clean Minor Corrosion: If you find only minor surface corrosion, you can try to clean it with a wire brush and a mild abrasive cleaner (like baking soda paste). Be careful not to damage the union or surrounding pipes. Rinse thoroughly after cleaning.
- Insulate the Pipes: Insulating the pipes around the union can help prevent condensation, which can contribute to corrosion. Use pipe insulation sleeves or wrap the pipes with insulation tape.
When to Call a Professional
There are several situations where DIY attempts are best avoided, and it's crucial to call a qualified HVAC professional or plumber:
- Significant Corrosion or Leaks: If you find extensive corrosion, leaks that don't stop with tightening, or any signs of significant damage to the union or surrounding pipes, do not attempt to repair it yourself. This could lead to a major water leak or further damage.
- Continuity Test Failure: If the continuity test indicates the dielectric union is failing to prevent electrical current flow, it needs to be replaced by a professional. Continuing to use a faulty union will accelerate corrosion and potentially damage your entire plumbing system.
- Difficulty Accessing the Union: If the union is located in a difficult-to-reach or confined space, it's best to leave the repair to a professional. Working in tight spaces can be dangerous and increase the risk of damaging surrounding components.
- Uncertainty: If you are unsure about any aspect of the diagnosis or repair process, it's always best to err on the side of caution and call a professional. A qualified technician can accurately assess the problem and perform the necessary repairs safely and effectively.
- Working with Gas Lines: If the dielectric union is near gas lines, do not attempt any repairs yourself. Contact a qualified technician.
Replacing a Dielectric Union: A Job for the Pros While DIY videos might make replacing a dielectric union seem straightforward, it involves cutting pipes, soldering (in some cases), and ensuring a watertight seal. Incorrect installation can lead to leaks and further damage. Unless you have extensive plumbing experience, it's best to leave this task to a professional.
Prevention is Key
While dielectric unions are designed to prevent corrosion, they are not foolproof. Here are some steps you can take to help prolong their lifespan and prevent problems:
- Regular Inspections: Periodically inspect the unions for any signs of corrosion or leaks. Catching problems early can prevent more serious damage.
- Proper Installation: Ensure dielectric unions are installed correctly from the start. If you are installing new plumbing, hire a qualified plumber to ensure proper installation.
- Water Quality: The quality of your water can affect the lifespan of dielectric unions. Hard water or water with high mineral content can accelerate corrosion. Consider installing a water softener or filter to improve water quality.
- Avoid Over-Tightening: When tightening connections, avoid over-tightening the nuts on the union. This can damage the dielectric material and compromise its effectiveness.
By following these troubleshooting steps and taking preventative measures, you can help ensure the long-term health and efficiency of your plumbing system and avoid the frustrations of corrosion-related problems. Remember, when in doubt, consult a qualified professional.