Stan Gelber And Sons Heating And Cooling
Experiencing issues with your heating or cooling system can be frustrating. Before calling for professional help, there are several simple troubleshooting steps you can take to potentially resolve the problem yourself. This guide, brought to you by Stan Gelber And Sons Heating and Cooling, will walk you through some common issues and DIY fixes. Remember, safety is paramount. If at any point you feel uncomfortable or unsure, always contact a qualified HVAC technician.
Common Problem: Furnace Not Producing Heat
A cold home during the winter months is never ideal. If your furnace isn't producing heat, follow these steps to diagnose the issue.
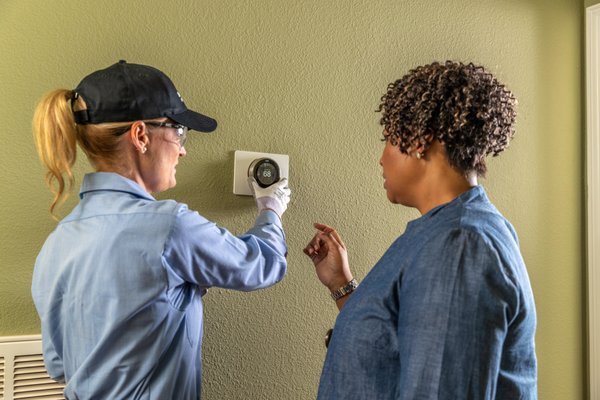
Step 1: Check the Thermostat
This may seem obvious, but often the simplest solutions are overlooked. Ensure your thermostat is set correctly.
- Verify the setting: Is the thermostat set to "Heat"? Is it set to a temperature higher than the current room temperature?
- Check the batteries: Many digital thermostats require batteries. Low batteries can cause inaccurate readings or prevent the thermostat from signaling the furnace to turn on. Replace the batteries with fresh ones.
- Test the thermostat: Manually increase the thermostat temperature significantly and listen for the furnace to start. If nothing happens, proceed to the next step.
Step 2: Inspect the Power Supply
Your furnace needs electricity to operate. A tripped breaker or a blown fuse can cut off power.
- Locate the circuit breaker: Find the circuit breaker panel for your home. Identify the breaker labeled "Furnace" or "HVAC."
- Check the breaker: Look for a breaker that is tripped (in the middle position). If you find one, flip it fully to the "Off" position and then back to the "On" position.
- Check the furnace switch: Many furnaces have a dedicated on/off switch, usually located near the unit. Ensure this switch is in the "On" position.
Step 3: Examine the Gas Supply (Gas Furnaces Only!)
If you have a gas furnace, a lack of gas supply could be the culprit. Exercise extreme caution when dealing with natural gas. If you smell gas, evacuate the area immediately and call your gas company or 911.
- Check the gas valve: Locate the gas shut-off valve near the furnace. Ensure it is in the "On" position (the handle should be parallel to the gas pipe).
- Check other gas appliances: See if other gas appliances in your home are working (e.g., stove, water heater). If none are working, there may be a broader gas supply issue. Contact your gas company.
- Relight the pilot light (if applicable): Some older furnaces have a pilot light that needs to be manually lit. Consult your furnace's owner's manual for instructions. If you are uncomfortable relighting the pilot light, call a professional. Never attempt to light the pilot light if you smell gas.
Step 4: Check the Air Filter
A dirty air filter restricts airflow, which can cause the furnace to overheat and shut down.
- Locate the air filter: The air filter is usually located in the return air duct, either at the furnace itself or in a wall or ceiling vent.
- Inspect the filter: If the filter is visibly dirty, replace it with a new one of the correct size.
- Frequency of replacement: It's generally recommended to replace your air filter every 1-3 months, depending on usage and air quality.
When to Call a Professional for Furnace Repairs
If you've tried the above steps and your furnace still isn't working, it's time to call Stan Gelber And Sons Heating and Cooling. Some issues require specialized knowledge and tools to diagnose and repair safely. These include:
- Ignition problems: Issues with the igniter or flame sensor.
- Blower motor failure: A faulty blower motor won't circulate air, leading to overheating.
- Gas leaks: Any suspicion of a gas leak is a serious safety hazard.
- Strange noises: Unusual banging, rattling, or hissing sounds can indicate a mechanical problem.
- Carbon monoxide detection: If your carbon monoxide detector is alarming, evacuate the premises and call the fire department.
Common Problem: Air Conditioner Not Cooling
A malfunctioning air conditioner can make your home unbearable during the summer heat. Here's how to troubleshoot common AC issues.
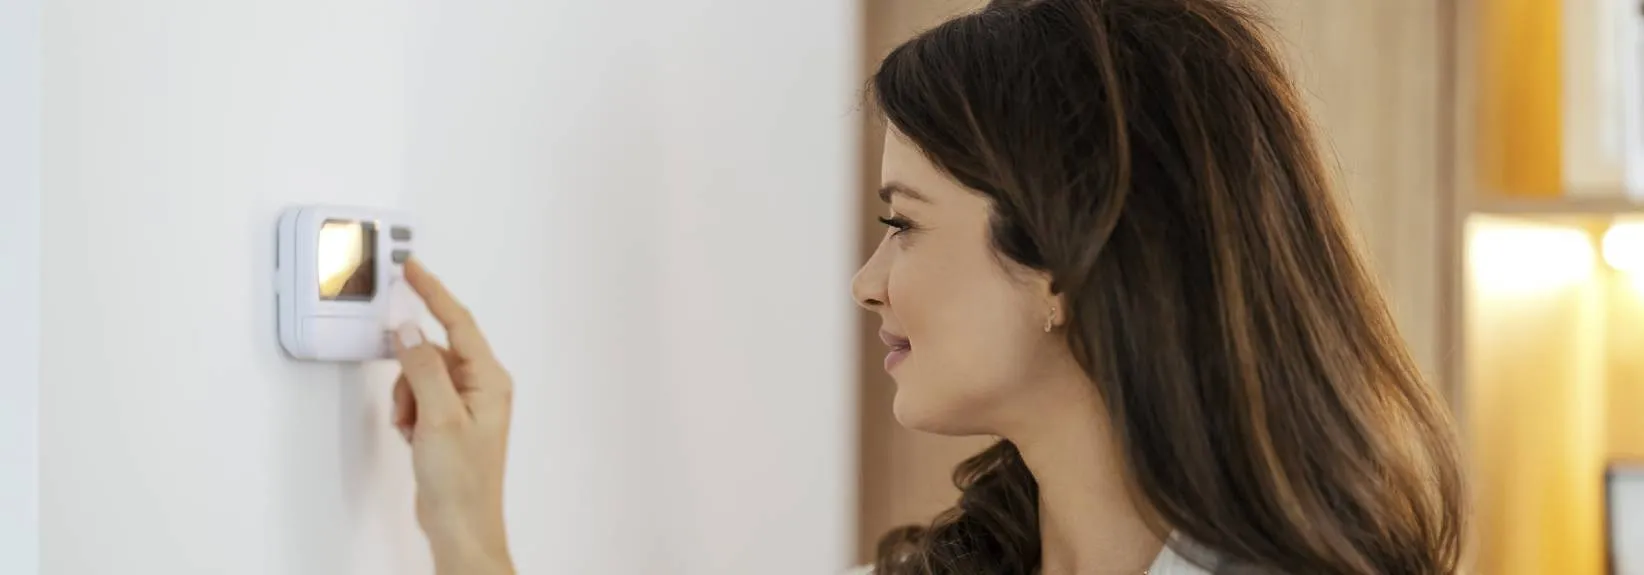
Step 1: Check the Thermostat
As with furnaces, the thermostat is the first place to start.
- Verify the setting: Ensure the thermostat is set to "Cool" and to a temperature lower than the current room temperature.
- Check the fan setting: If the fan is set to "On," the air conditioner may not cycle on and off properly. Set the fan to "Auto" so it only runs when the AC is cooling.
- Test the thermostat: Lower the thermostat temperature significantly and listen for the air conditioner to start.
Step 2: Inspect the Power Supply
Just like a furnace, your air conditioner needs electricity to operate.
- Locate the circuit breaker: Find the circuit breaker panel and check the breaker labeled "Air Conditioner" or "HVAC."
- Check the breaker: Ensure the breaker is not tripped. If it is, flip it to the "Off" position and then back to the "On" position.
- Check the disconnect switch: Many outdoor AC units have a disconnect switch located near the unit. Ensure this switch is in the "On" position.
Step 3: Check the Air Filter
A dirty air filter restricts airflow, which can cause the air conditioner to freeze up.
- Locate the air filter: The air filter is usually located in the return air duct.
- Inspect the filter: If the filter is visibly dirty, replace it with a new one of the correct size.
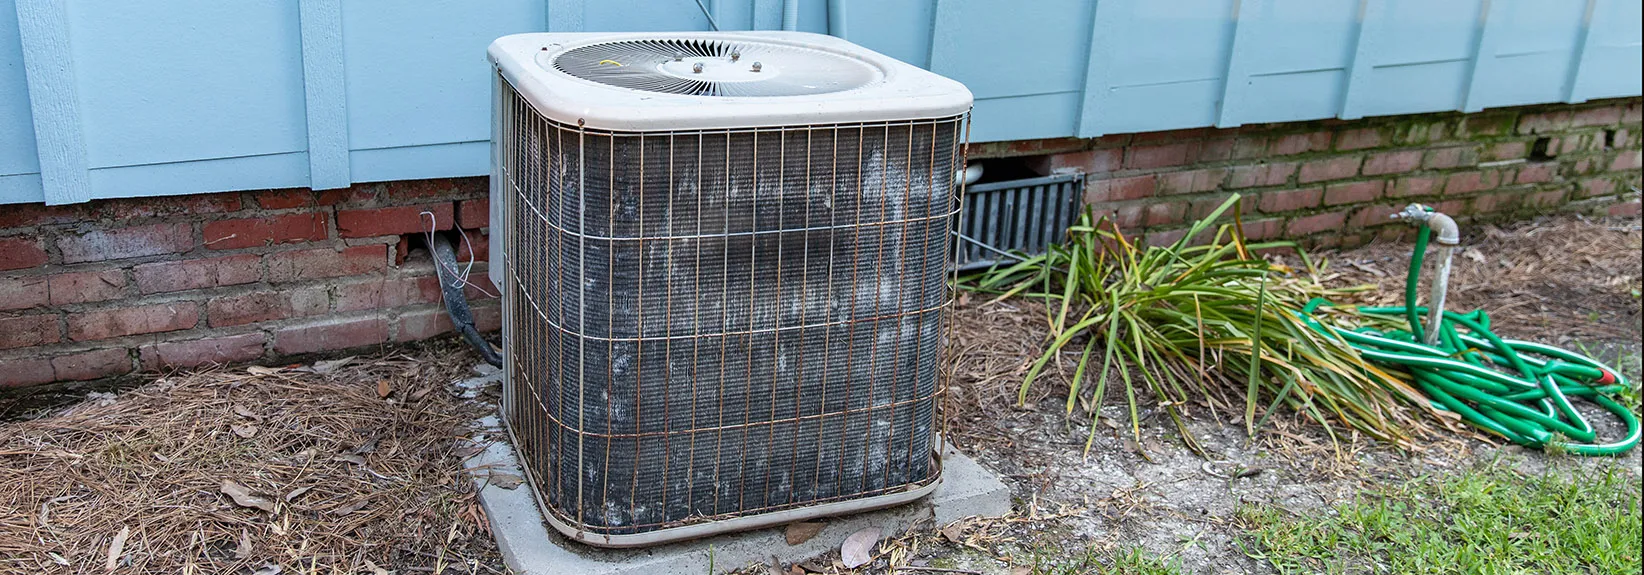
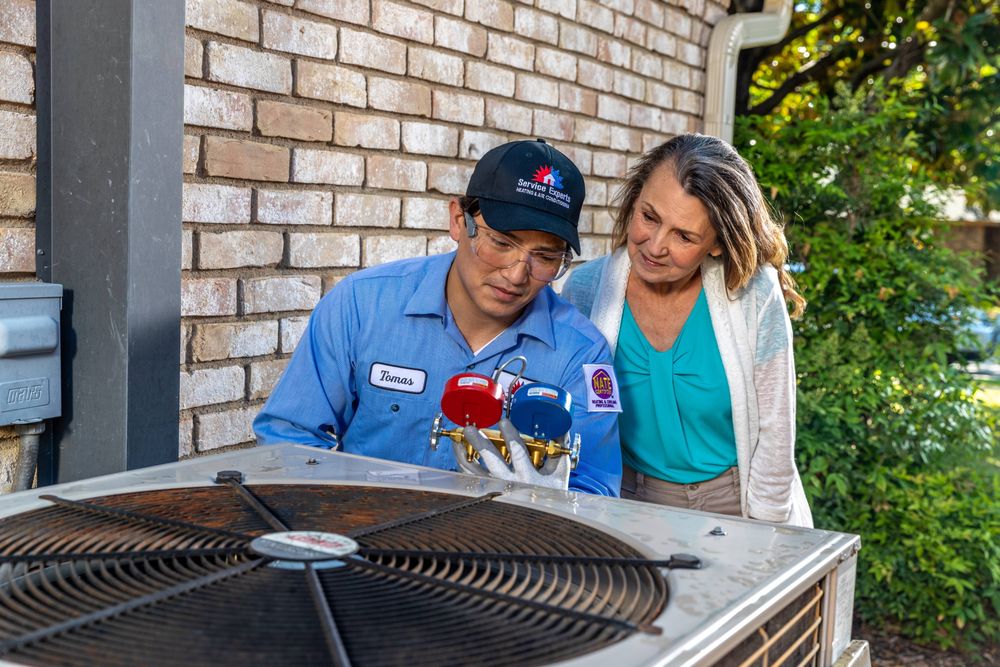
Step 4: Examine the Outdoor Unit
The outdoor unit (condenser) is responsible for releasing heat from your home. Ensure it is free from obstructions.
- Clear debris: Remove any leaves, grass clippings, or other debris that may be blocking the unit.
- Check the fins: The fins on the outdoor unit can become bent or damaged. Use a fin comb (available at most hardware stores) to gently straighten any bent fins.
- Ensure proper ventilation: Make sure there is adequate space around the outdoor unit for proper airflow.
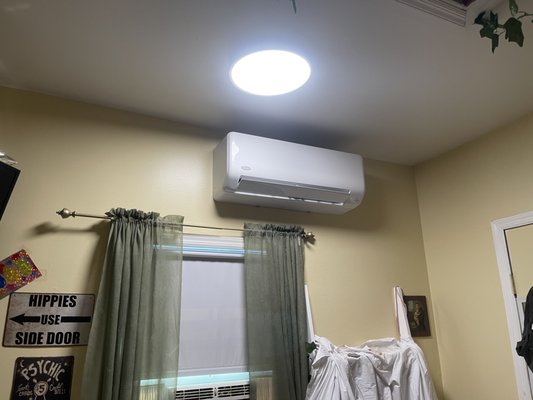
Step 5: Check for Ice Buildup
Ice buildup on the evaporator coil (located inside the indoor unit) can restrict airflow and prevent the air conditioner from cooling effectively. This is often caused by a dirty air filter or low refrigerant levels.
- Inspect the indoor unit: Look for signs of ice buildup on the evaporator coil. You may need to remove an access panel to see the coil.
- Turn off the AC: If you find ice buildup, turn off the air conditioner and set the fan to "On" to allow the ice to melt. This may take several hours.
- Replace the air filter: Once the ice has melted, replace the air filter with a clean one.
- Monitor the system: After restarting the air conditioner, monitor it closely to ensure the ice doesn't return. If the problem persists, you may have a refrigerant leak or other issue that requires professional attention.
When to Call a Professional for AC Repairs
Certain AC repairs should always be left to the professionals at Stan Gelber And Sons Heating and Cooling:
- Refrigerant leaks: Handling refrigerant requires specialized equipment and training. Leaking refrigerant is also harmful to the environment.
- Compressor problems: The compressor is the heart of the air conditioning system. Repairing or replacing it is a complex task.
- Electrical issues: Problems with the wiring, capacitors, or other electrical components should be handled by a qualified electrician or HVAC technician.
- Frozen evaporator coil (recurring): If your evaporator coil freezes up repeatedly, it indicates a more serious underlying problem.
General Tips and Precautions
- Always turn off the power: Before performing any maintenance or repairs on your heating or cooling system, turn off the power at the circuit breaker.
- Consult your owner's manual: Your owner's manual contains valuable information about your specific model, including troubleshooting tips and safety precautions.
- Don't attempt repairs beyond your skill level: If you're not comfortable with a particular repair, it's best to call a professional.
- Regular maintenance: Scheduling regular maintenance with Stan Gelber And Sons Heating and Cooling can help prevent problems and extend the life of your heating and cooling system.
- Safety First: When in doubt, contact a professional. Your safety and the proper functioning of your HVAC system are worth the cost of expert service.
By following these troubleshooting steps, you can often resolve common heating and cooling problems yourself. However, remember that some repairs require specialized knowledge and equipment. When in doubt, don't hesitate to call Stan Gelber And Sons Heating and Cooling for professional assistance. We're here to keep your home comfortable year-round.