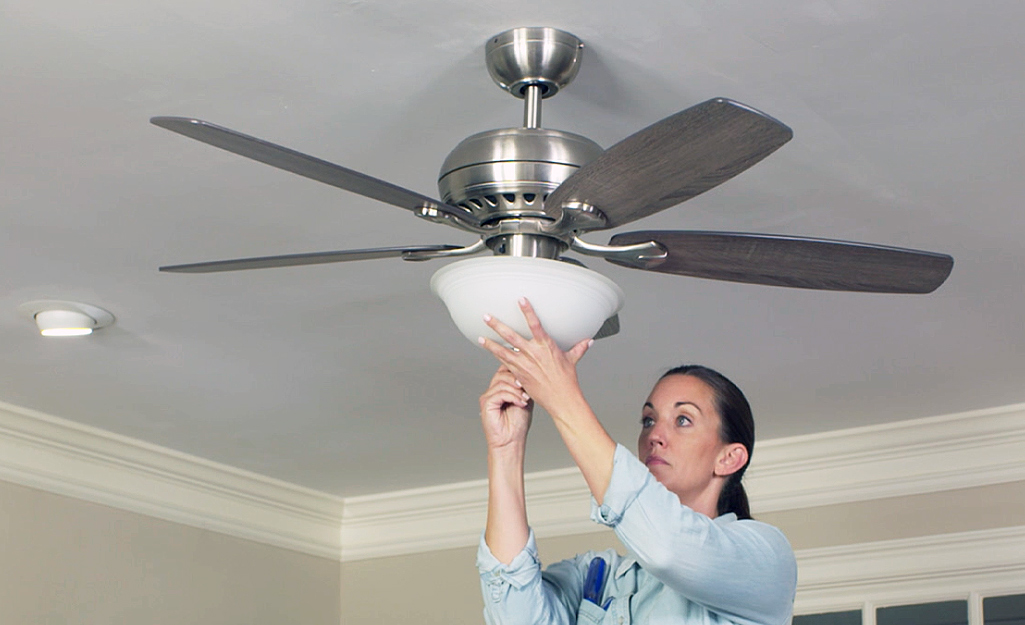
Taking Down A Hunter Ceiling Fan
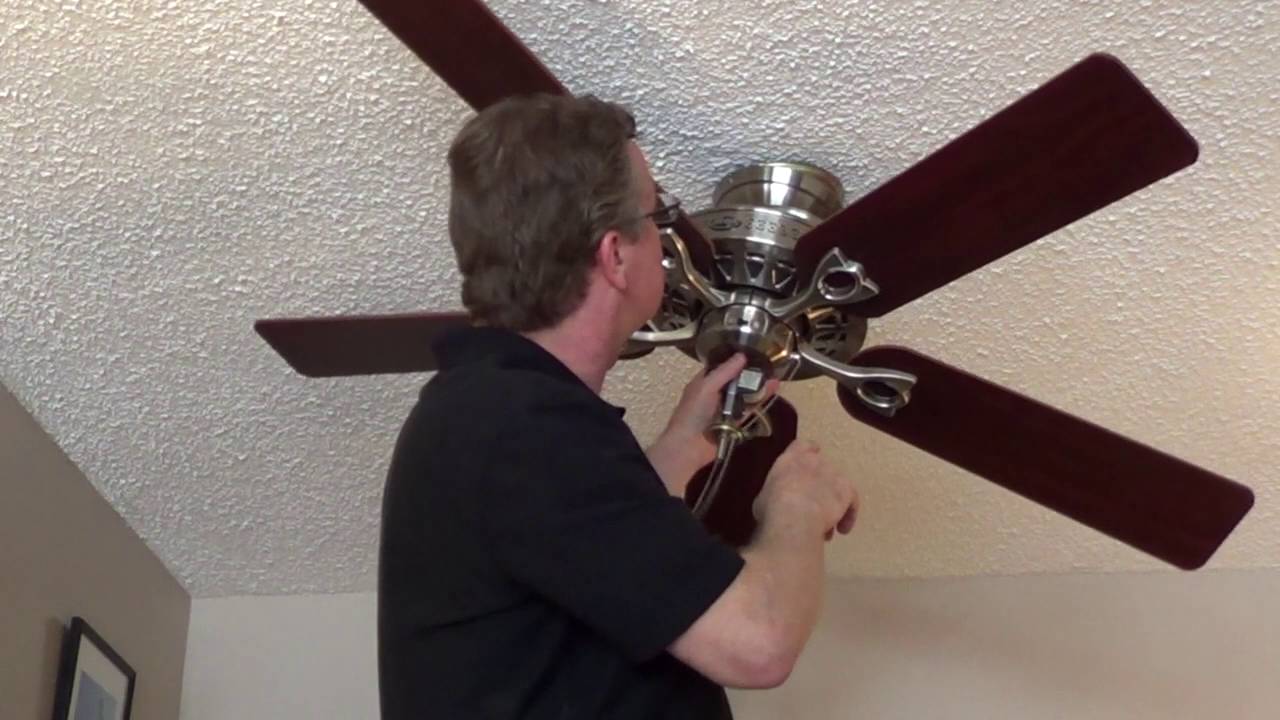
Removing a hunter ceiling fan, or any ceiling fan for that matter, is a task that might seem daunting, but with the right preparation and understanding, it's a manageable DIY project. This guide provides a comprehensive, step-by-step approach to safely and effectively take down your Hunter ceiling fan.
Safety First: Prioritize Power and Preparation
Before you even think about touching the fan, safety is paramount. Electricity and spinning blades are a dangerous combination. Neglecting safety measures can lead to serious injury or even death. Do not skip these steps.
Turn Off the Power
This is the most crucial step. Locate the circuit breaker that controls the ceiling fan. It's usually labeled "lights," "ceiling fan," or perhaps by the room it's located in. Flip the breaker to the OFF position. Don't just rely on the wall switch. Breakers can sometimes be mislabeled, so it's best to test after turning it off.
Confirm Power is Off
Use a non-contact voltage tester to verify that no electricity is flowing to the fan. These testers emit a beep or light up when they detect voltage. Hold the tester near the fan's wiring. If it indicates voltage, double-check that you've turned off the correct breaker. If you're unsure, consult a qualified electrician. Better safe than sorry!
Gather Your Tools
Having the right tools will make the job much easier and safer. Here's a list of essentials:
- Screwdriver Set: You'll need both Phillips head and flathead screwdrivers in various sizes.
- Wire Strippers: Essential for safely disconnecting wires.
- Wire Connectors (Wire Nuts): To safely reconnect the wires after removing the fan, if needed.
- Electrical Tape: For extra insulation and safety when reconnecting or capping wires.
- Pliers: Helpful for gripping and manipulating wires.
- Ladder: A sturdy ladder that allows you to comfortably reach the fan without overreaching.
- Safety Glasses: Protect your eyes from dust and debris.
- Gloves: Protect your hands and provide a better grip.
- Helper (Optional): Especially helpful for larger, heavier fans.
- Plastic Bags or Containers: For organizing screws and small parts. Label them to remember where they go.
Assess the Situation
Before you start disassembling anything, take a moment to examine the fan's construction. Note how the various parts are connected, how the wires are routed, and any unique features of your particular model. This will make reassembly (if needed) much easier.
The Disassembly Process: A Step-by-Step Guide
Now that you've taken the necessary safety precautions and gathered your tools, it's time to start taking the fan apart. Follow these steps carefully.
Remove the Blades
Start by removing the fan blades. This usually involves unscrewing them from the blade holders. Some blades might have decorative covers that need to be removed first. Place the blades in a safe location where they won't be damaged. Keep track of the screws! Put them in a labeled plastic bag.
Remove the Light Kit (If Applicable)
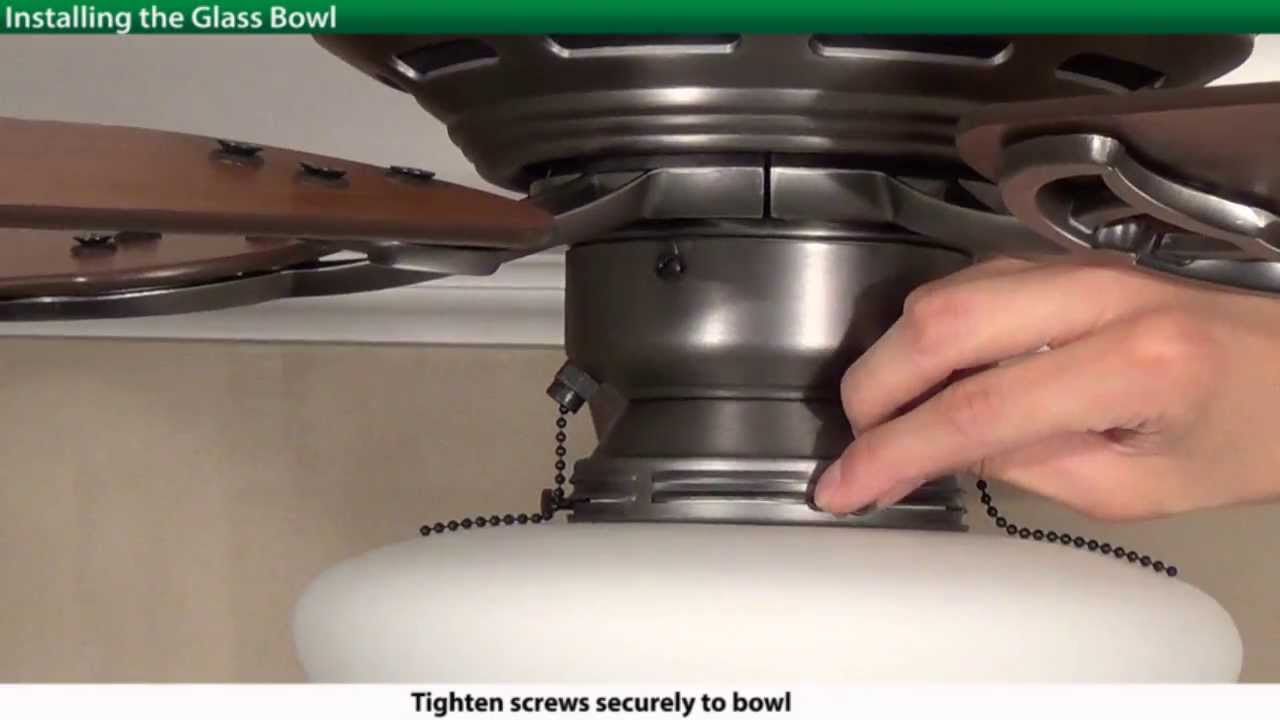
If your fan has a light kit, disconnect it next. Usually, this involves unscrewing the light fixture and disconnecting the wires. Carefully disconnect the wires using your wire strippers. Remember, the power should be off, but double-check with your voltage tester if you have any doubts. Again, safety is paramount. After disconnecting, gently lower the light kit and set it aside. Place the screws in a separate labeled bag.
Lower the Motor Housing
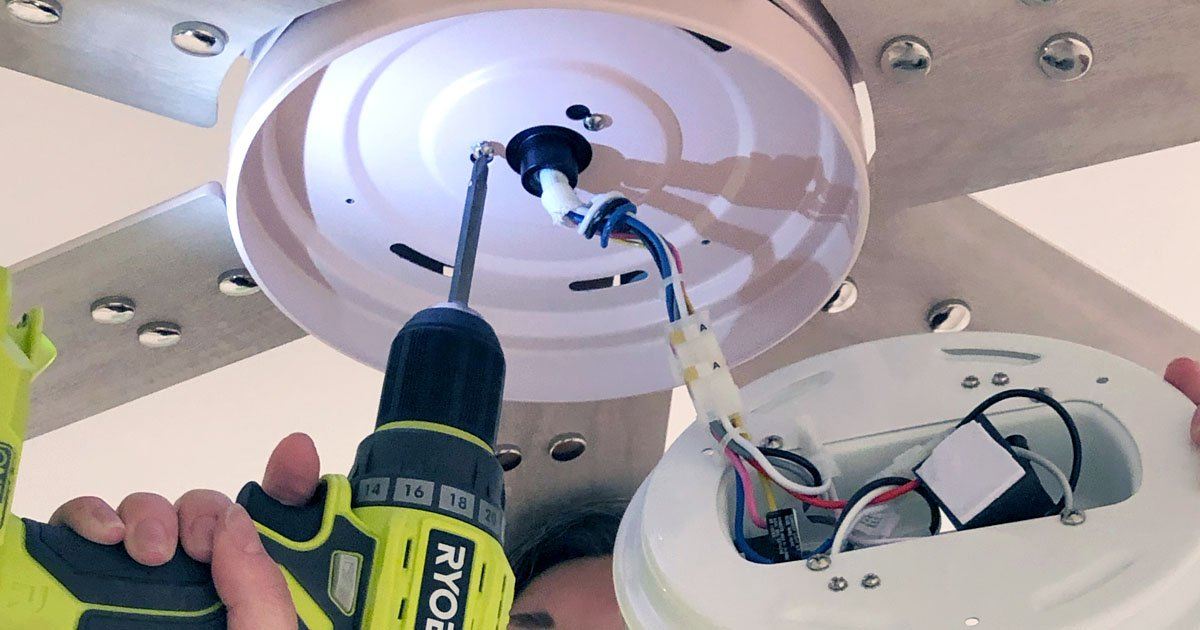
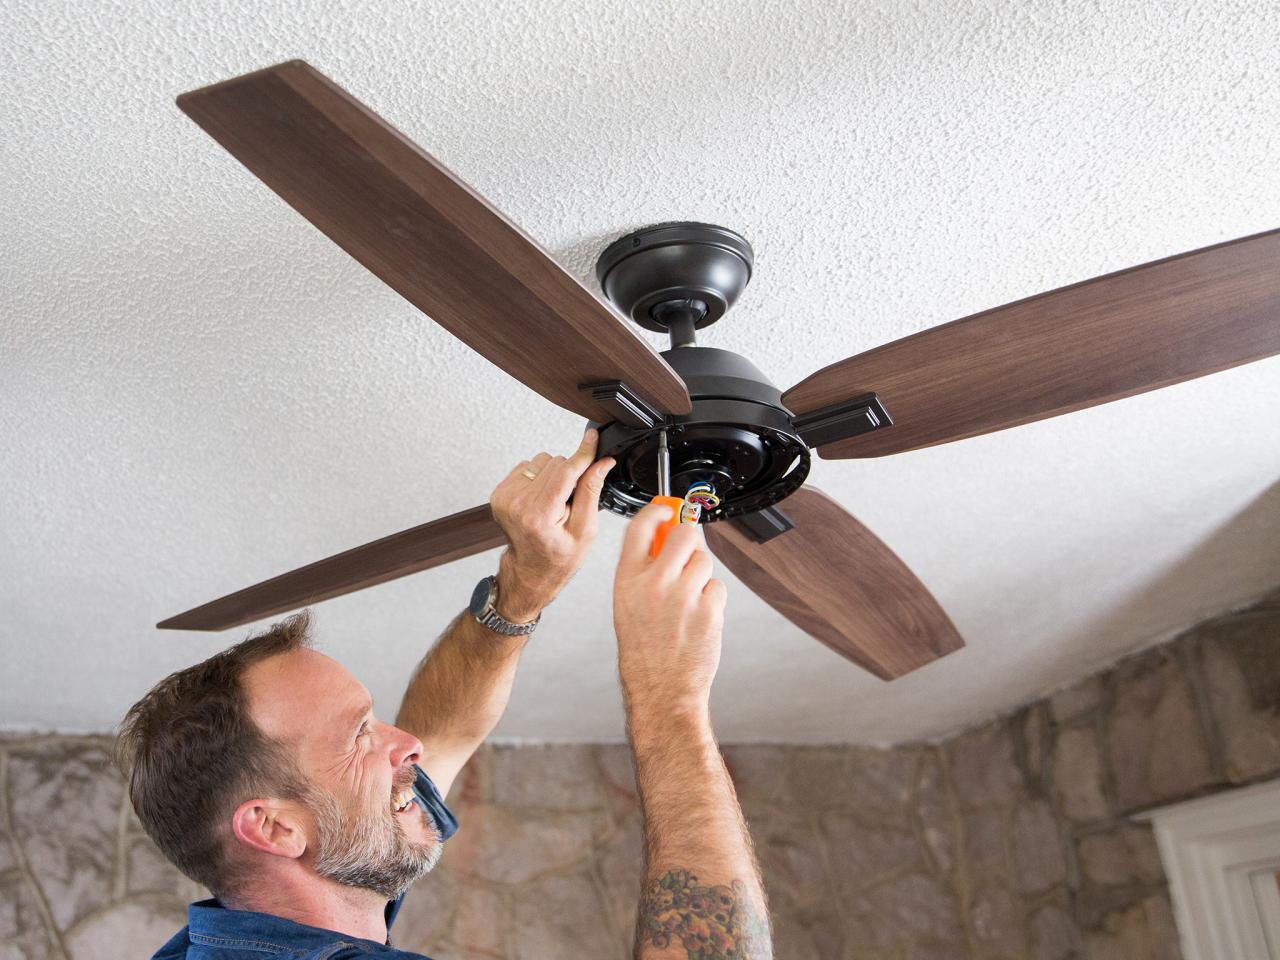
The motor housing is the main body of the fan. To access the wiring and mounting bracket, you'll typically need to lower it. This usually involves unscrewing a few screws that hold it in place. Sometimes, the housing will have a twist-and-lock mechanism. Support the housing with one hand while you unscrew the screws with the other. This will prevent it from falling and potentially causing damage or injury. Slowly lower the housing. You'll now see the wiring connections inside.
Disconnect the Wiring
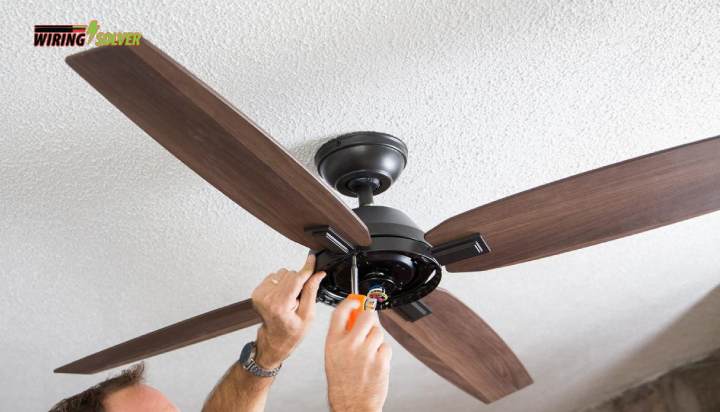
This is where the wire strippers and wire connectors come in. Carefully disconnect the wires from the ceiling fan's wiring. Typically, you'll find black (hot), white (neutral), and green or bare copper (ground) wires. Use your wire strippers to carefully remove the wire connectors (wire nuts). If the wires are connected with push-in connectors, you may need to use a small screwdriver to release them.
Important: Before disconnecting any wires, take a picture of the wiring connections! This will be invaluable if you ever need to reinstall the fan or install a new one. Label the wires with tape if you're unsure of their function.
After disconnecting the wires, cap the exposed wires in the ceiling with wire connectors (wire nuts). This will prevent accidental shocks. Wrap the wire connectors with electrical tape for extra security.
Remove the Mounting Bracket
The mounting bracket is attached to the ceiling's electrical box and supports the entire fan. Unscrew the screws that hold the mounting bracket to the electrical box. Sometimes, the bracket is held in place by a ball-and-socket joint. If so, simply loosen the screw that secures the ball and slide the bracket off. Carefully remove the mounting bracket.
Lower the Fan (With Assistance if Needed)
With the mounting bracket removed, the fan is now completely detached from the ceiling. If the fan is heavy, get help from your assistant. Carefully lower the fan to the ground. Avoid dropping the fan, as this could damage it or the floor.
After Removal: What to Do Next
Now that you've successfully removed the ceiling fan, you have a few options:
Install a New Light Fixture
If you're not replacing the fan, you'll likely want to install a regular light fixture. Make sure the electrical box in the ceiling is rated to support the weight of the new fixture. Connect the wires (black to black, white to white, and ground to ground) using wire connectors and secure the fixture to the electrical box.
Cap the Wires
If you're not installing anything, simply cap the wires with wire connectors and cover the electrical box with a blank cover plate. This will prevent anyone from accidentally touching the exposed wires.
Dispose of the Old Fan
Check with your local recycling center to see if they accept old ceiling fans. Some components, such as the motor, may contain materials that need to be disposed of properly.
Troubleshooting Common Issues
Sometimes, things don't go exactly as planned. Here are a few common issues you might encounter and how to resolve them:
Stripped Screws
If you encounter a stripped screw, try using a rubber band or steel wool between the screwdriver and the screw head to provide more grip. You can also try using a screw extractor tool.
Stuck Wires
If the wires are stuck in the wire connectors, try gently twisting the connector while pulling on the wire. You can also use pliers to carefully grip the wire and pull it out.
Heavy Fan
As mentioned before, if the fan is heavy, get help from an assistant. Lifting heavy objects can cause serious injury.
Unidentified Wiring
If you're unsure of the wiring connections, consult a qualified electrician. Incorrect wiring can be dangerous.
Conclusion
Taking down a ceiling fan is a straightforward process when approached with caution and the right tools. Remember to prioritize safety by turning off the power and verifying that it's off before starting any work. Take your time, follow the steps carefully, and don't hesitate to seek professional help if you encounter any difficulties. By following this guide, you can safely and successfully remove your Hunter ceiling fan and either replace it or prepare the ceiling for a different lighting solution.
Disclaimer: This guide is for informational purposes only and should not be considered a substitute for professional advice. Always consult with a qualified electrician if you are unsure about any aspect of electrical work.



:max_bytes(150000):strip_icc()/SPR-how-to-remove-a-ceiling-fan-7100040-part-01-step-03-6c8d7f3d6abe45d88dd1056b69828573.jpg)