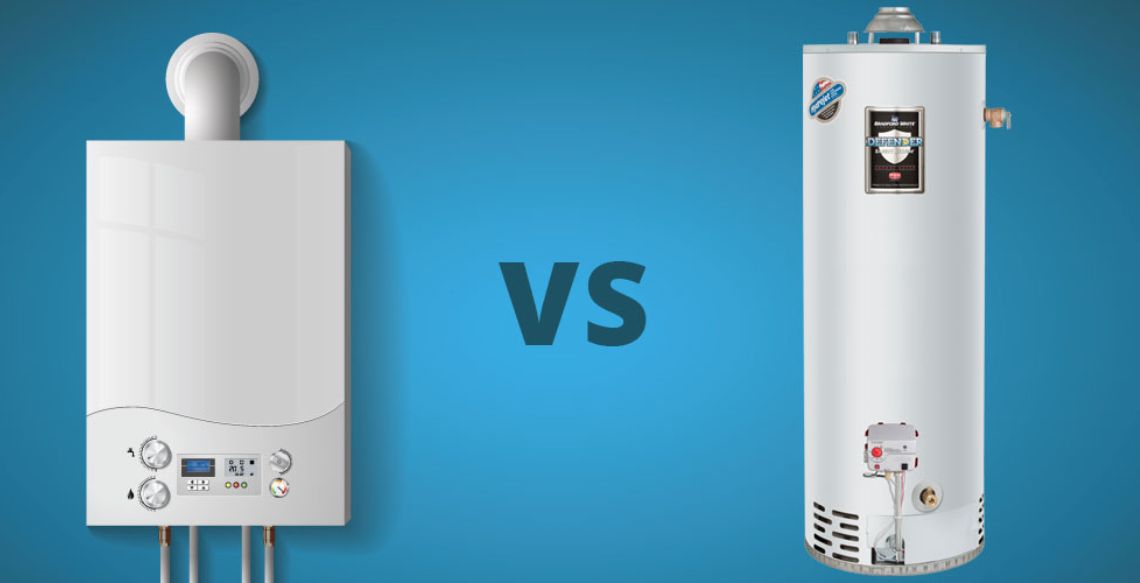
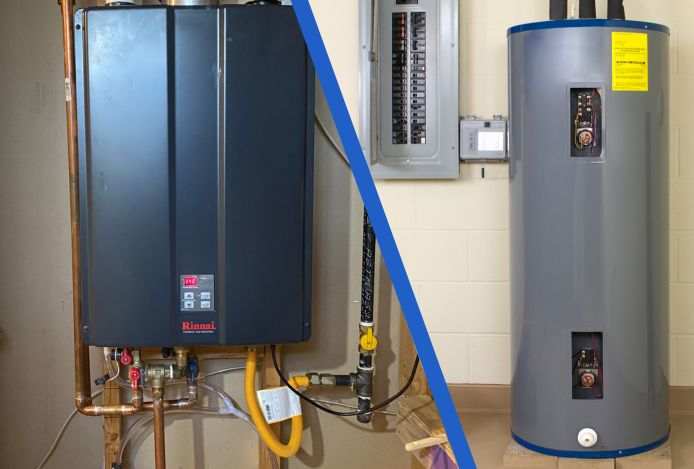
Tank And Tankless Water Heater Combo
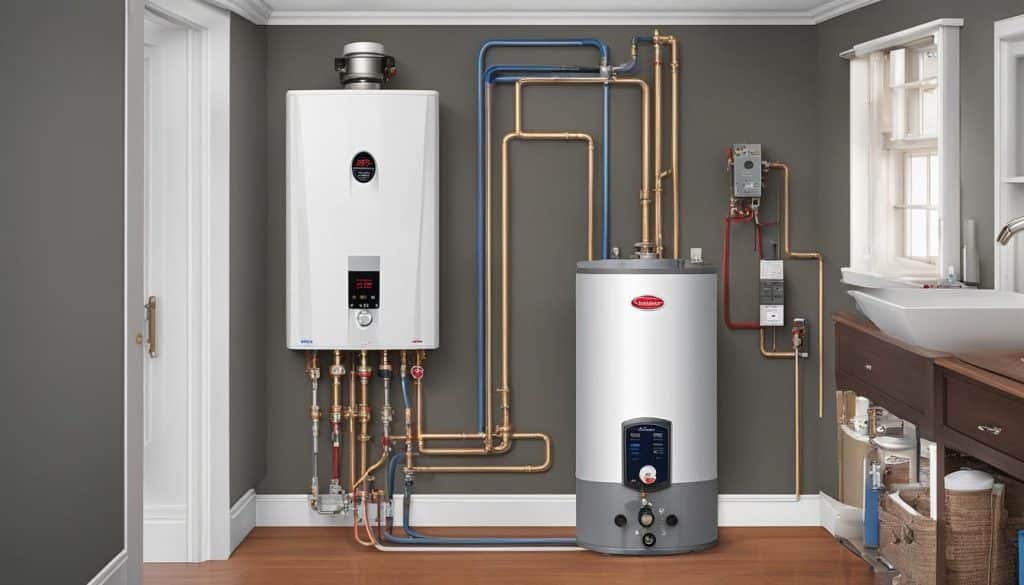
One of the most common complaints we hear from homeowners with tank and tankless water heater combos is: "My hot water runs out too quickly, or it's not as hot as it used to be!" This can be incredibly frustrating, especially when you're relying on a system designed for consistent hot water. Let's break down how to troubleshoot this issue, step-by-step.
Understanding Your Hybrid System
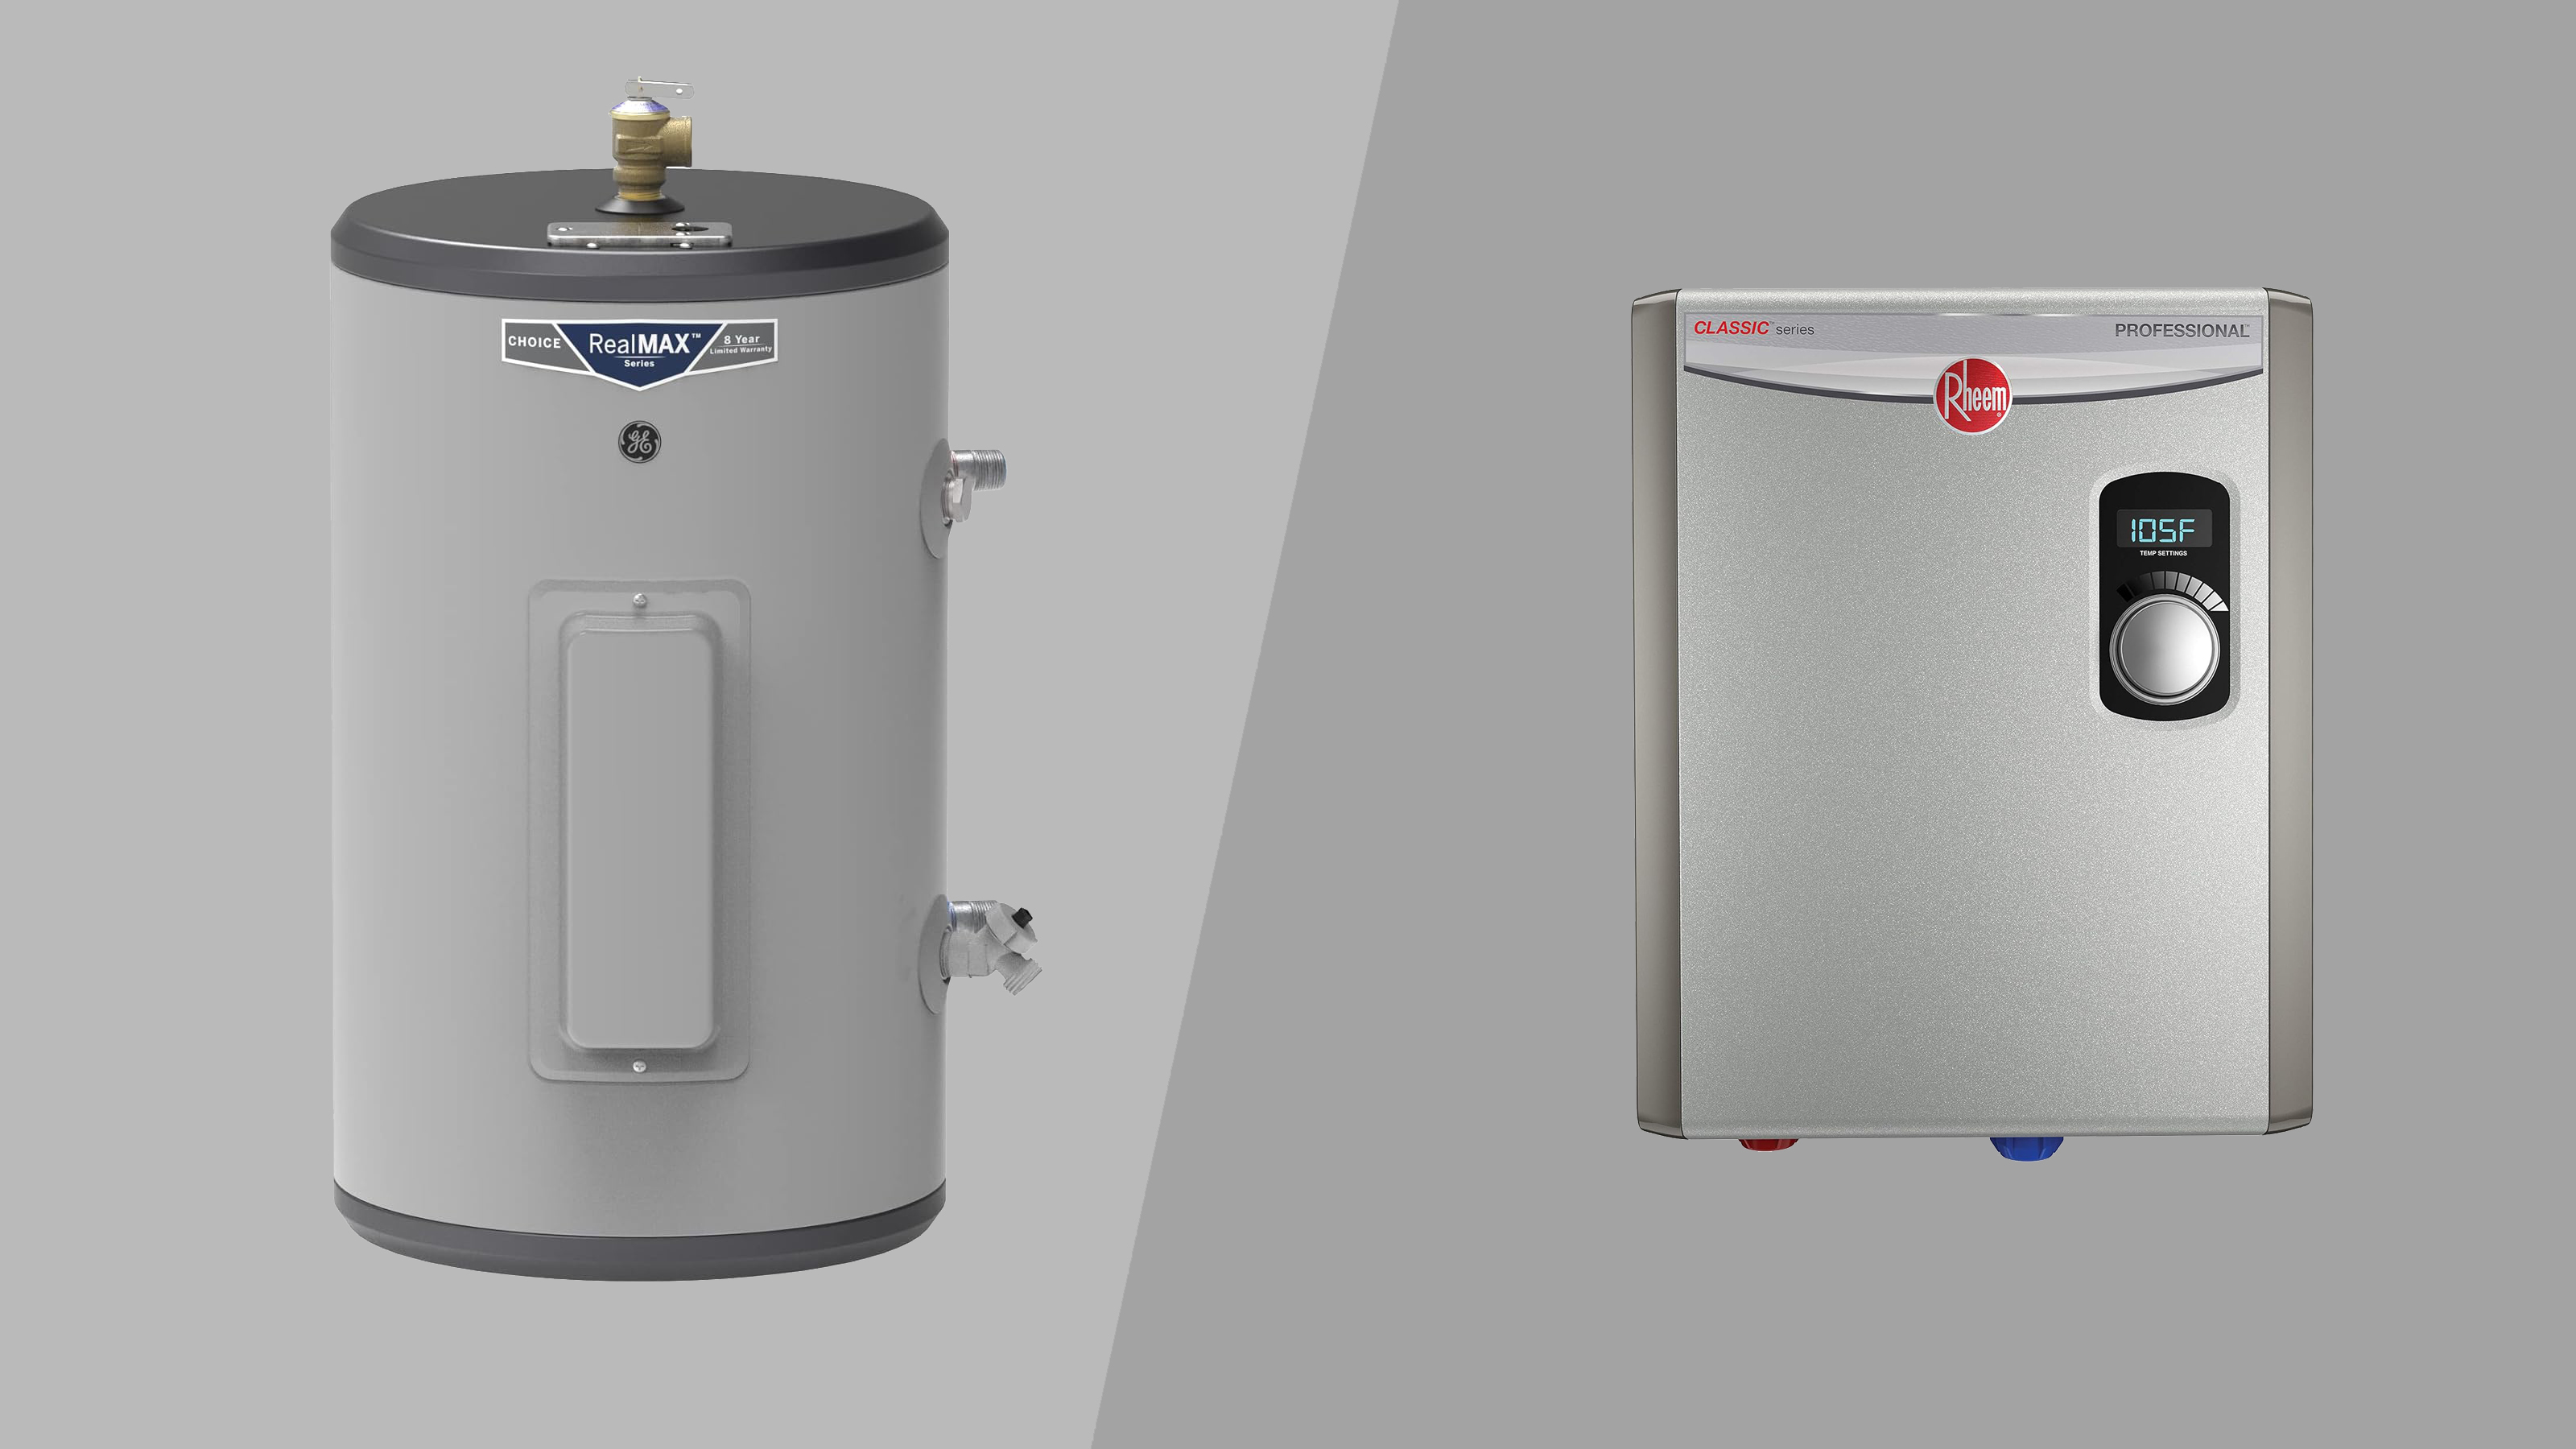
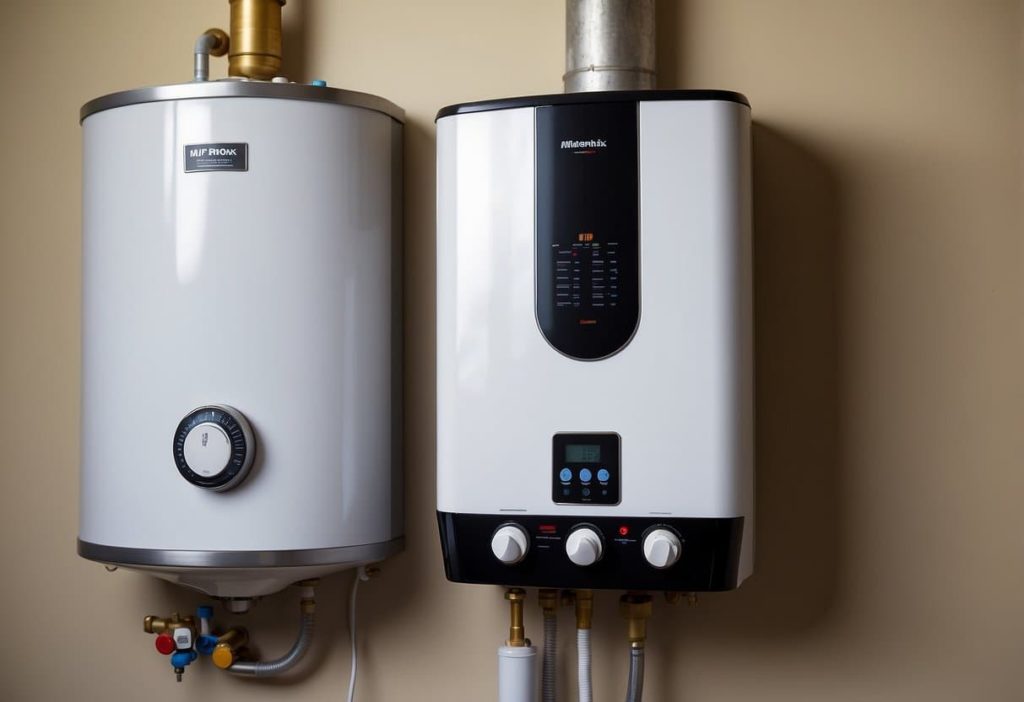
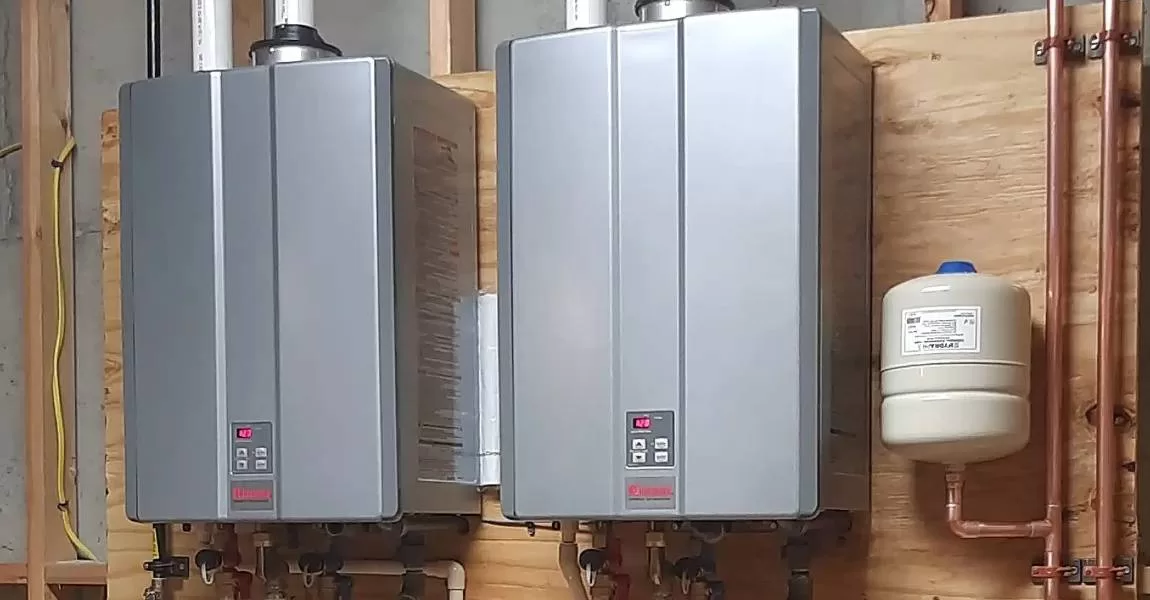
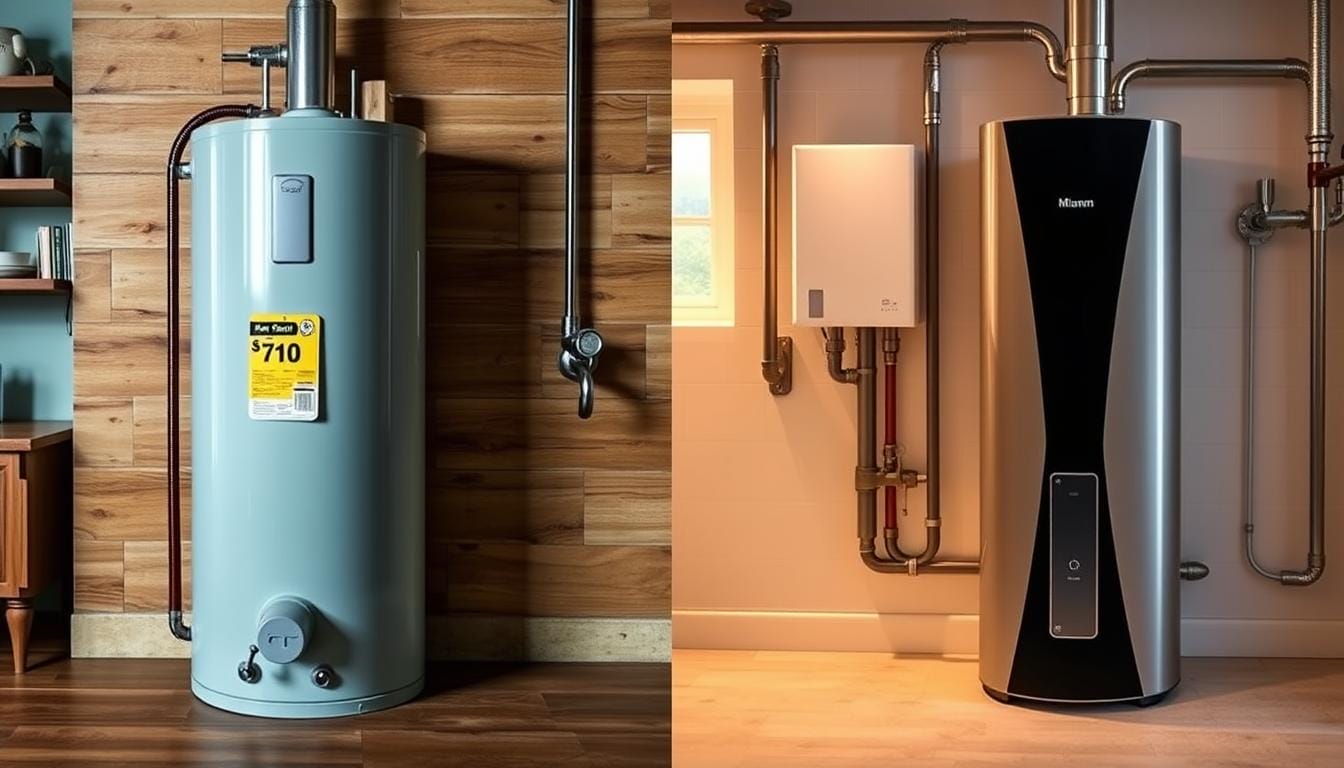
Before we dive into the diagnostics, let's clarify how a tank and tankless combo typically works. The tank (often a smaller one in these setups) acts as a buffer. The tankless unit provides on-demand hot water to refill the tank as it's depleted. This means the tank handles initial demand, and the tankless kicks in for extended use. Problems can stem from either component or the interaction between them.
Step 1: The Initial Check – No Tools Required!
Let's start with the easiest checks. These don't require any tools and can often pinpoint simple causes.
A. Water Heater Settings:
This is the first thing to examine. Temperature settings often get accidentally adjusted.
- Locate the Thermostat(s): Both the tank and tankless units will have temperature controls. The tank thermostat is typically behind an access panel. The tankless unit's controls are usually on the front panel.
- Check the Settings: Ensure the tank is set to a safe but effective temperature – typically around 120°F (49°C). The tankless unit may have a target temperature or a flow rate setting. Make sure the tankless unit is set to a temperature equal to or higher than the tank.
- Adjust if Necessary: If the temperature is too low, carefully increase it in small increments (5-10°F). Wait a few hours and test the water temperature again.
B. Obvious Leaks:
Even small leaks can dramatically impact hot water supply.
- Inspect Around the Tank: Look for any signs of water pooling around the base of the tank. Check all connections (inlet, outlet, drain valve).
- Check Tankless Unit Connections: Examine the pipes and connections leading to and from the tankless unit.
- Check Pressure Relief Valve (Tank): This valve is a safety device. If it's constantly dripping, it could indicate a problem with the tank's pressure or temperature. A small drip occasionally is normal, but a constant stream is not.
If you find a significant leak, shut off the water supply to the unit immediately and call a plumber. Do not attempt to repair a leaking tank yourself.
C. Multiple Fixtures Running Simultaneously:
Consider if you're using more hot water appliances at the same time than usual. This could overwhelm even a robust system.
- Think About Your Usage: Are you showering while the dishwasher is running and someone is doing laundry?
- Adjust Usage Habits: Try staggering hot water usage to see if it improves the situation.
Step 2: Basic Diagnostics with Simple Tools
If the initial checks didn't reveal the culprit, you'll need a few basic tools. A multimeter, a screwdriver, and maybe a bucket will come in handy.
A. Testing the Tank Heating Element (Electric Tanks Only):
If you have an electric tank, a faulty heating element is a common issue. Safety First: Always turn off the breaker to the water heater before working on any electrical components!
- Turn Off the Breaker: Absolutely crucial! Locate the breaker for the water heater in your electrical panel and switch it off. Double-check with a non-contact voltage tester to ensure the power is off.
- Access the Heating Elements: Remove the access panels on the side of the tank. There will typically be two, one near the top and one near the bottom.
- Remove Insulation and Plastic Guards: Carefully remove any insulation and plastic guards covering the heating element terminals.
- Test with a Multimeter: Set your multimeter to the ohms setting (resistance). Place one probe on each terminal of the heating element. You should get a reading between 10 and 30 ohms (this varies depending on the element's wattage). An open circuit (no reading) indicates a faulty heating element. A reading of zero ohms or very close to zero indicates a shorted element.
- Inspect the Element: If possible, carefully inspect the heating element itself (you may need to partially remove it). Look for signs of burning, corrosion, or bulging.
If you suspect a faulty heating element, it's generally best to replace both elements at the same time. Replacing a heating element is a relatively straightforward DIY project, but if you're uncomfortable working with electricity, call a qualified electrician.
B. Checking the Tankless Unit's Air Supply:
Tankless units require adequate airflow for proper combustion. A blocked air intake can cause performance issues.
- Locate the Air Intake: The air intake is usually on the bottom or side of the unit.
- Inspect for Obstructions: Check for dust, debris, leaves, or anything else that might be blocking the intake.
- Clean the Intake: Use a vacuum cleaner or brush to remove any obstructions.
C. Flushing the Tank:
Sediment buildup in the tank can reduce its efficiency and capacity.
- Turn Off Power/Gas: Turn off the power to an electric tank, or turn off the gas supply to a gas tank.
- Connect a Hose: Attach a garden hose to the drain valve at the bottom of the tank.
- Run the Hose: Run the hose to a safe drain (a floor drain, utility sink, or outside).
- Open the Drain Valve: Carefully open the drain valve. Let the water drain until it runs clear. This may take a while, depending on the amount of sediment.
- Flush Thoroughly: Open the cold water inlet valve periodically to help flush out the sediment.
- Close the Drain Valve and Refill: Once the water runs clear, close the drain valve and let the tank refill completely before turning the power/gas back on. Be sure to open a hot water faucet to allow air to escape as the tank refills.
Step 3: When to Call a Professional
Some issues are best left to the experts. These often involve complex repairs, gas-related problems, or potential safety hazards.
A. Gas Leaks:
If you smell gas near the water heater, evacuate the area immediately and call your gas company or the fire department. Do not attempt to fix a gas leak yourself.
B. Complex Tankless Unit Issues:
Tankless units are more complex than tank heaters. If you suspect problems with:
- Ignition system
- Flow sensors
- Gas valve
- Circuit board
…it's best to call a qualified HVAC technician.
C. Electrical Problems Beyond Simple Element Testing:
If you're uncomfortable working with electricity, or if you suspect a more serious electrical problem (e.g., burnt wires, tripped breakers repeatedly), call an electrician.
D. Persistent Issues After Troubleshooting:
If you've followed these steps and the problem persists, it's likely a more complex issue that requires professional diagnosis and repair.
E. Issues with the Tankless Unit's Heat Exchanger:
The heat exchanger is the core of the tankless unit. If it’s scaled up or cracked, this is a repair that should be handled by a professional. Signs of heat exchanger issues include strange noises, inconsistent water temperatures, and error codes on the unit's display.
Preventative Maintenance: Extending the Life of Your System
Regular maintenance can prevent many of the problems we've discussed.
- Annual Tank Flushing: Flush the tank at least once a year to remove sediment.
- Tankless Unit Descaling: Tankless units should be descaled periodically (usually every 1-2 years, depending on water hardness) to remove mineral buildup. Many units have a built-in descaling procedure, but some may require professional servicing.
- Regular Inspections: Visually inspect the water heater and surrounding area regularly for leaks, corrosion, or other signs of problems.
Final Thoughts
Troubleshooting a tank and tankless water heater combo can seem daunting, but by following these steps, you can often identify and resolve common issues yourself. Remember to prioritize safety and don't hesitate to call a professional when needed. With a little knowledge and preventative maintenance, you can keep your hot water flowing smoothly for years to come.