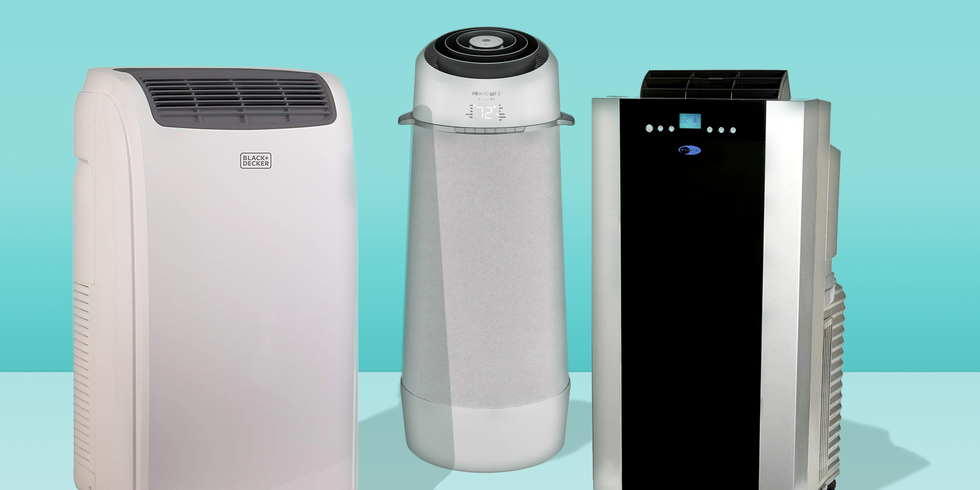
The Best Portable Air Conditioning Units
Summer's swelter can be brutal, and a broken or underperforming portable air conditioner is the last thing you need. Many homeowners find themselves facing the frustrating situation of a portable AC unit that just isn't cooling as effectively as it used to. Before you resign yourself to a stuffy room or shell out for a brand new unit, let's walk through some troubleshooting steps. This guide will help you diagnose the issue, try some simple fixes, and understand when it's time to call in the pros.
Step 1: Initial Assessment – Is It Really Not Cooling?
First things first, let's confirm the problem. It's easy to assume the AC is broken when you're feeling hot, but sometimes the issue is simpler. Ask yourself:
- Is the air coming out noticeably warmer than it used to be?
- Is the unit running, but the room temperature isn't dropping?
- Is the unit making unusual noises?
If you answered "yes" to any of these, move on to the next steps. If not, double-check that your expectations are realistic. A portable AC can only cool a certain square footage, and extreme outdoor temperatures will impact its performance.
Step 2: The Quick Checks (No Tools Required)
These are the easiest things to check, and often the culprits behind poor cooling. These can be done without any tools.
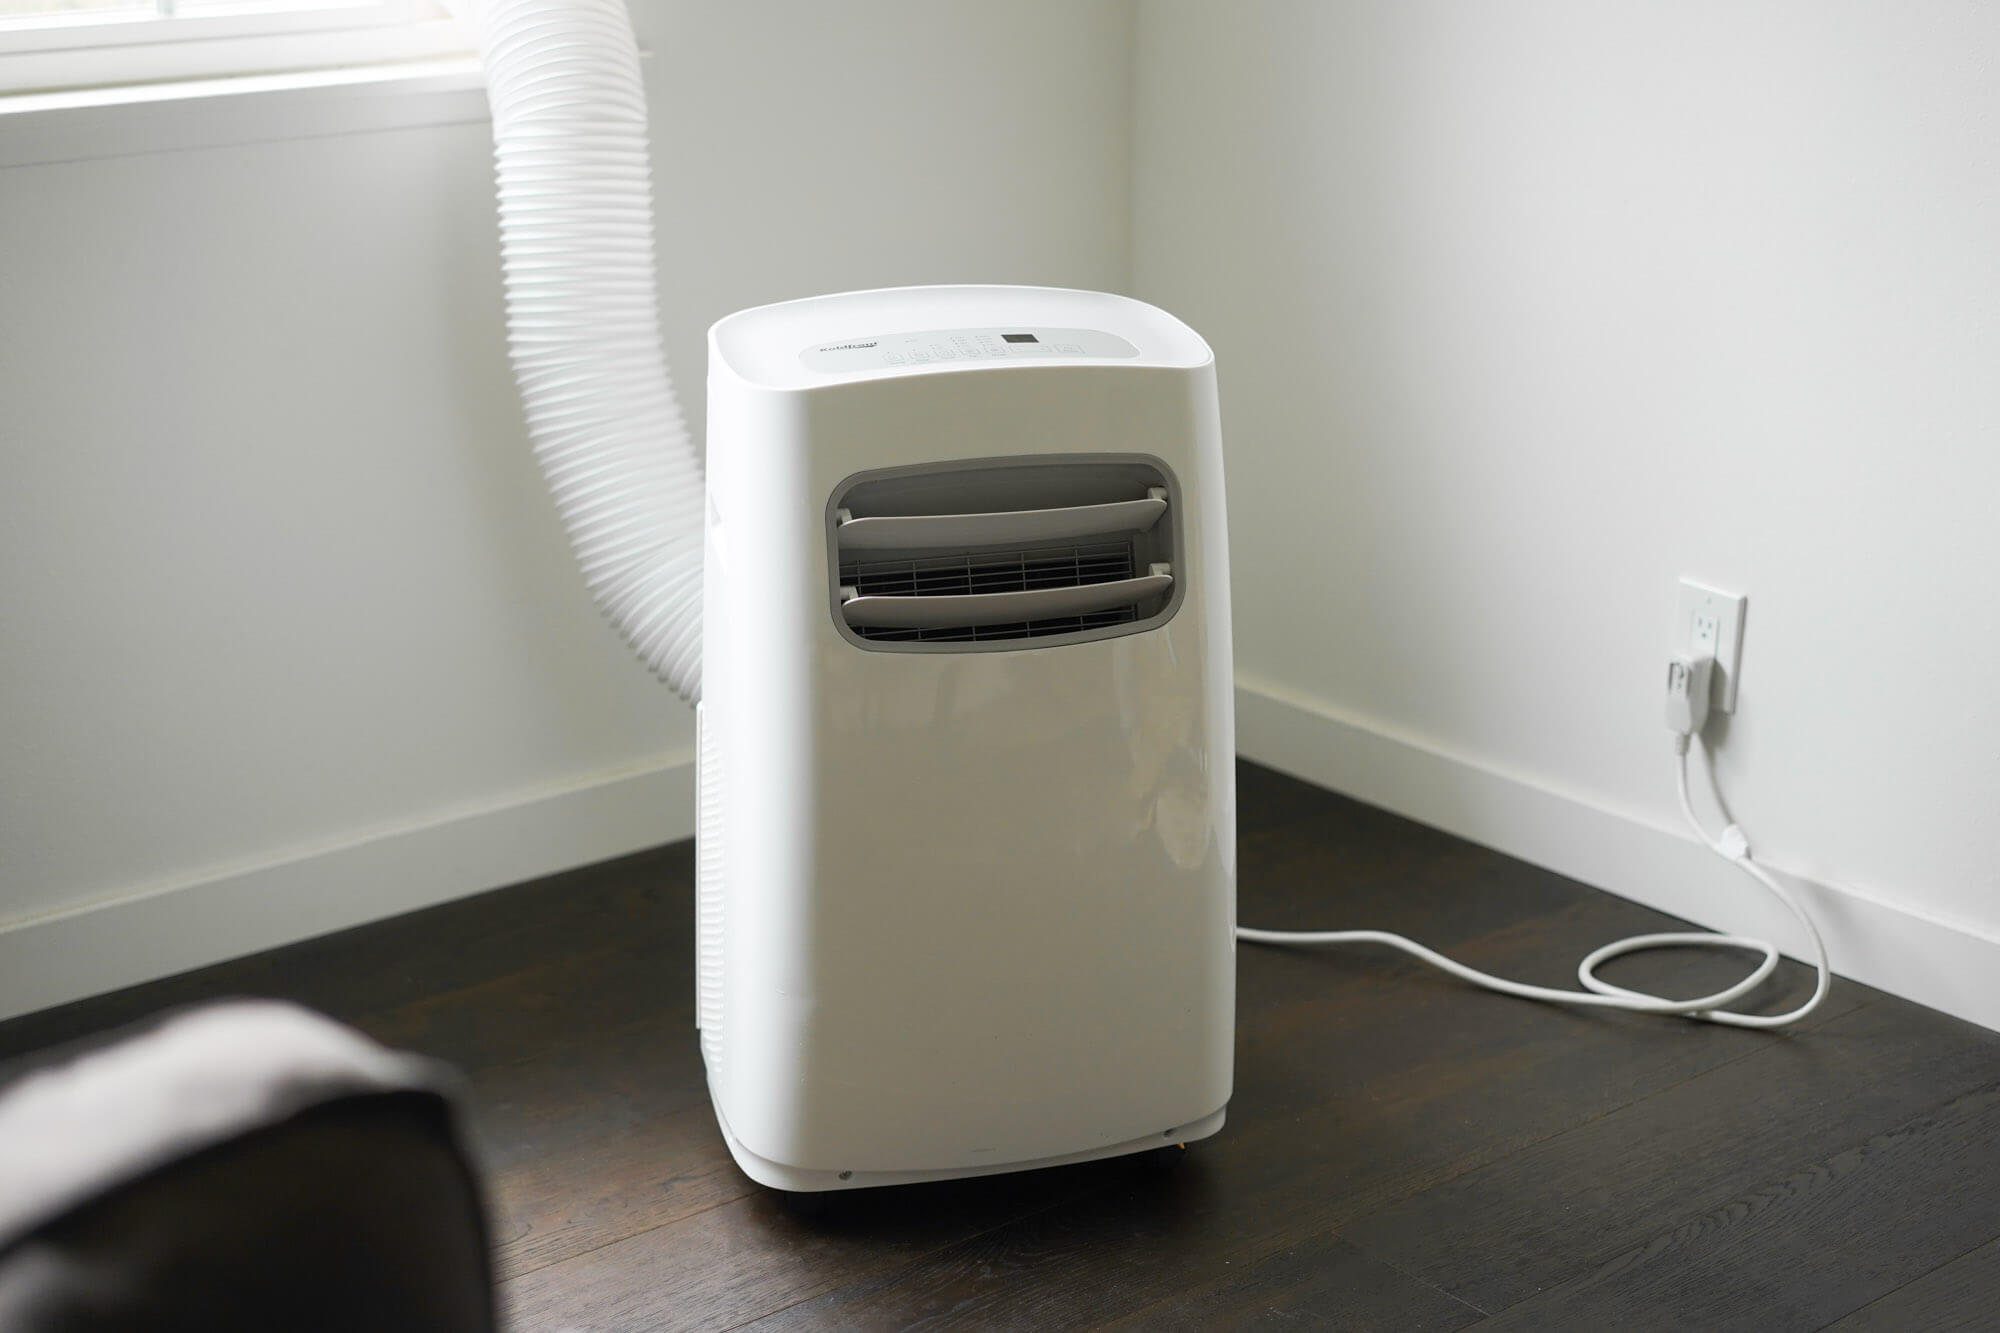
Check the Exhaust Hose
The exhaust hose is crucial for venting hot air outside. Make sure:
- It's properly connected to both the AC unit and the window adapter. A loose connection will let hot air leak back into the room.
- It's not kinked or blocked. A kink restricts airflow and makes the AC work harder.
- It's not too long. The longer the hose, the less efficient the AC. Try to keep it as short and straight as possible.
- The window adapter is properly sealed. Use weather stripping or foam to seal any gaps around the adapter. Hot air leaking in defeats the purpose of the AC.
DIY Action: Straighten the hose, re-attach loose connections, and improve the window seal. Observe if there is any improvement with the above.
Inspect the Air Filter
A dirty air filter is a very common cause of reduced cooling. A clogged filter restricts airflow, forcing the AC to work harder and reducing its efficiency.
- Locate the air filter. This is usually on the back or side of the unit. Consult your owner's manual if needed.
- Remove the filter and inspect it. Is it visibly dusty or clogged?
DIY Action: Clean or replace the air filter. Most portable ACs have washable filters. Wash it with mild soap and water, let it dry completely, and then reinstall it. If the filter is heavily damaged, replace it with a new one of the correct size and type. Turn the unit on and check for improvements.
Examine the Condensate Drain (If Applicable)
Some portable AC units have a condensate drain that needs to be emptied periodically. If the drain is full, the AC may shut off or not cool properly.
- Locate the condensate drain. This is usually a small opening on the back or bottom of the unit.
- Check if the drain is full. Some units have a water level indicator.
DIY Action: Empty the condensate drain. Use a shallow pan to catch the water. Refer to your owner's manual for specific instructions on how to drain the unit.
Check the Room Itself
The problem might not be the AC unit itself, but rather the room's environment.
- Are windows and doors closed tightly? Gaps let hot air in and cool air out.
- Are there sources of heat in the room? Appliances, computers, and direct sunlight can increase the room temperature.
- Is the room size appropriate for the AC's BTU rating? An AC that's too small won't be able to cool a large room effectively.
DIY Action: Close windows and doors, block sunlight with curtains or blinds, and move heat-generating appliances away from the AC. Consider whether your AC is appropriately sized for the room.
Step 3: Intermediate Checks (Basic Equipment May Be Needed)
These checks require minimal tools. Proceed only if you are comfortable with basic DIY tasks.
Inspect the Power Cord and Outlet
A faulty power cord or outlet can prevent the AC from running at full power.
- Visually inspect the power cord for damage (fraying, cuts, etc.).
- Try plugging the AC into a different outlet to rule out a faulty outlet.
- Use a multimeter (if you have one and know how to use it safely) to check the voltage at the outlet. It should be close to 120V in North America.
DIY Action: If the power cord is damaged, do not use the AC. Replace the cord or have it repaired by a qualified technician. If the outlet is faulty, consult an electrician. If you have a multimeter, check the voltage; if the voltage is significantly lower than 120V, this could indicate an electrical issue in your home. Seek professional help.
Check the Fan Motor
The fan motor is responsible for circulating air. If it's not working properly, the AC won't cool effectively.
- Listen for the fan motor. Is it running? If not, can you hear any humming?
- If the fan is running, is it running smoothly and at the correct speed?
- (Unplug the AC first!) Try to manually spin the fan blade. Does it spin freely, or is it stiff?
DIY Action: If the fan blade is stiff, try cleaning any visible debris around the motor housing. If the fan motor is humming but not running, it may be seized. Do not attempt to repair the motor yourself. This is best left to a professional.
Check the Thermistor (Temperature Sensor)
The thermistor tells the AC unit what the ambient temperature is. If it's faulty, the AC may not cycle on and off correctly, leading to poor cooling. This requires a multimeter and some basic electrical knowledge. If you're not comfortable with this, skip this step.
- Locate the thermistor. This is usually a small, bead-like sensor near the evaporator coil. Consult your owner's manual for its exact location.
- Disconnect the AC from the power source.
- Disconnect the thermistor's wires.
- Use a multimeter to measure the resistance of the thermistor. The resistance should vary depending on the temperature. Consult your owner's manual or search online for the expected resistance value at different temperatures.
DIY Action: If the thermistor's resistance is significantly different from the expected value, it may be faulty and need to be replaced. You can usually purchase a replacement thermistor online. However, replacing it requires disassembling the AC unit, which can be risky. Consider whether you're comfortable with this task before proceeding. If in doubt, call a professional.
Step 4: When to Call a Professional
There are certain issues that are beyond the scope of DIY repair and require a qualified HVAC technician. These include:
- Refrigerant Leaks: Refrigerant is essential for cooling. If there's a leak, the AC won't cool properly, and the refrigerant can be harmful. Do not attempt to handle refrigerant yourself.
- Compressor Problems: The compressor is the heart of the AC unit. If it's failing, the AC won't cool, and repairs can be expensive.
- Electrical Issues Inside the Unit: Working with electrical components inside the AC unit can be dangerous. Unless you're a qualified electrician, don't attempt to diagnose or repair these issues.
- If You're Not Comfortable: If at any point you feel unsure about what you're doing, or if you're not comfortable working with electrical components, it's best to call a professional.
Signs that you need a professional include:
- The AC is making loud, unusual noises.
- The AC is tripping your circuit breaker.
- You suspect a refrigerant leak (e.g., hissing sound, oily residue).
- You've tried the DIY steps and the AC still isn't cooling.
Step 5: Maintenance Tips to Prevent Future Problems
Regular maintenance can help keep your portable AC running smoothly and prevent future problems.
- Clean the air filter regularly (at least once a month).
- Inspect the exhaust hose for kinks and leaks.
- Empty the condensate drain as needed.
- Store the AC properly during the off-season. Clean it thoroughly, dry it completely, and cover it to protect it from dust.
- Consider a professional tune-up every few years.
By following these troubleshooting steps and maintenance tips, you can keep your portable AC running efficiently and stay cool all summer long. Remember to prioritize safety and when in doubt, call a qualified HVAC technician.

:strip_icc()/bhg-portable-air-conditioners-may-24-test-frigidaire-fhpc082ac1-room-brie-goldman-17-1-c427f6e8f37045ae9c29183f587a8a34.jpeg)