Thermostat Heat Pump With Auxiliary Heat
Many homeowners with heat pumps experience the frustrating issue of their system running constantly, but the house never reaching the set temperature, especially during colder weather. This often involves the auxiliary heat kicking in, leading to significantly higher energy bills. Let's walk through a step-by-step troubleshooting process to identify the cause and potentially resolve it yourself before calling a professional.
Step 1: Preliminary Checks (No Tools Required)
Before diving into anything complex, let’s rule out the simplest possibilities.
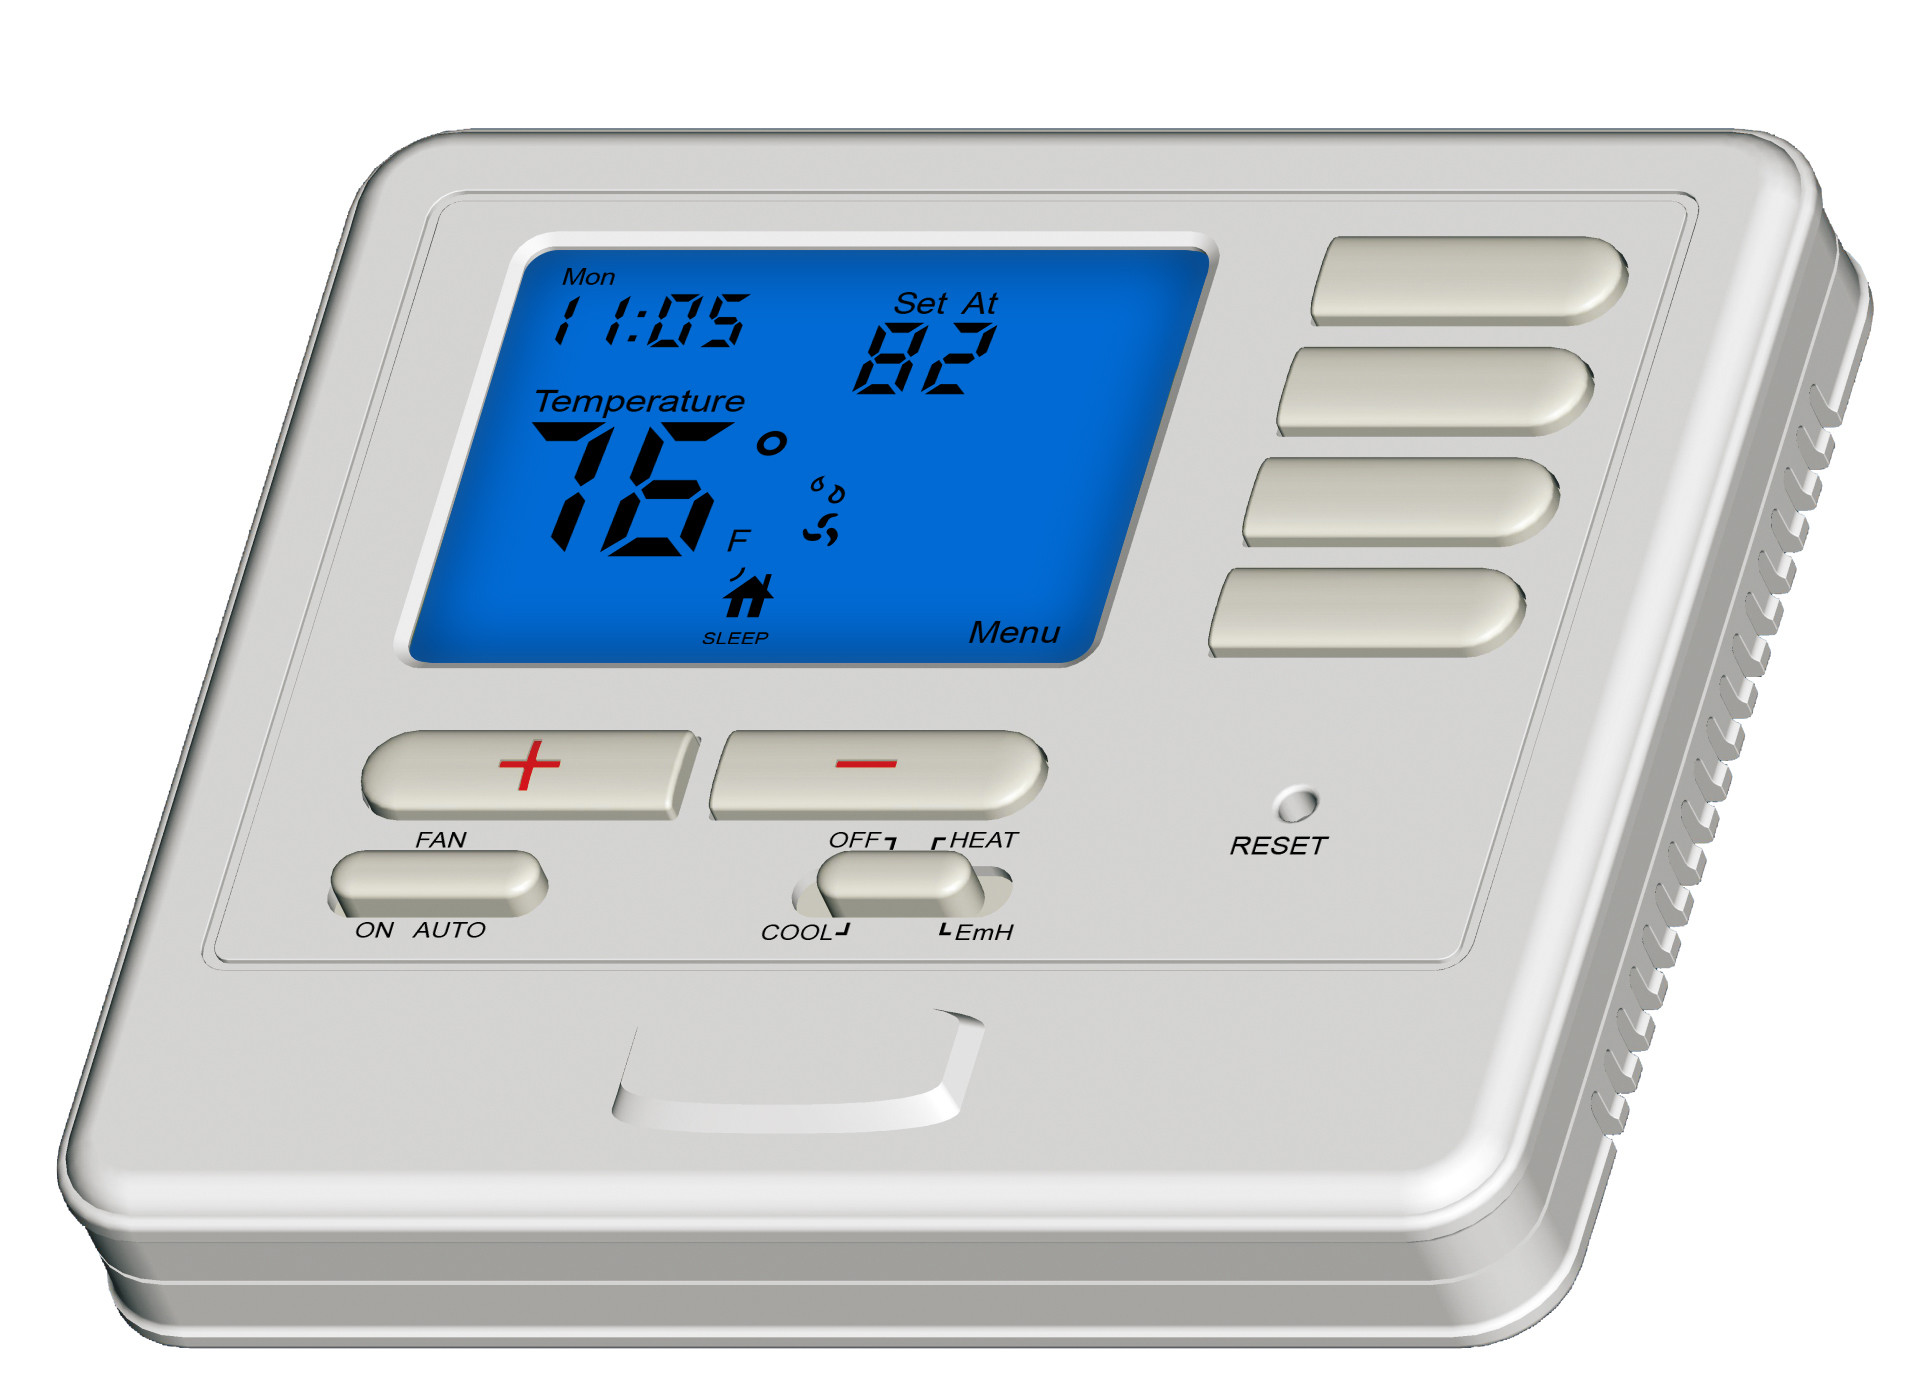
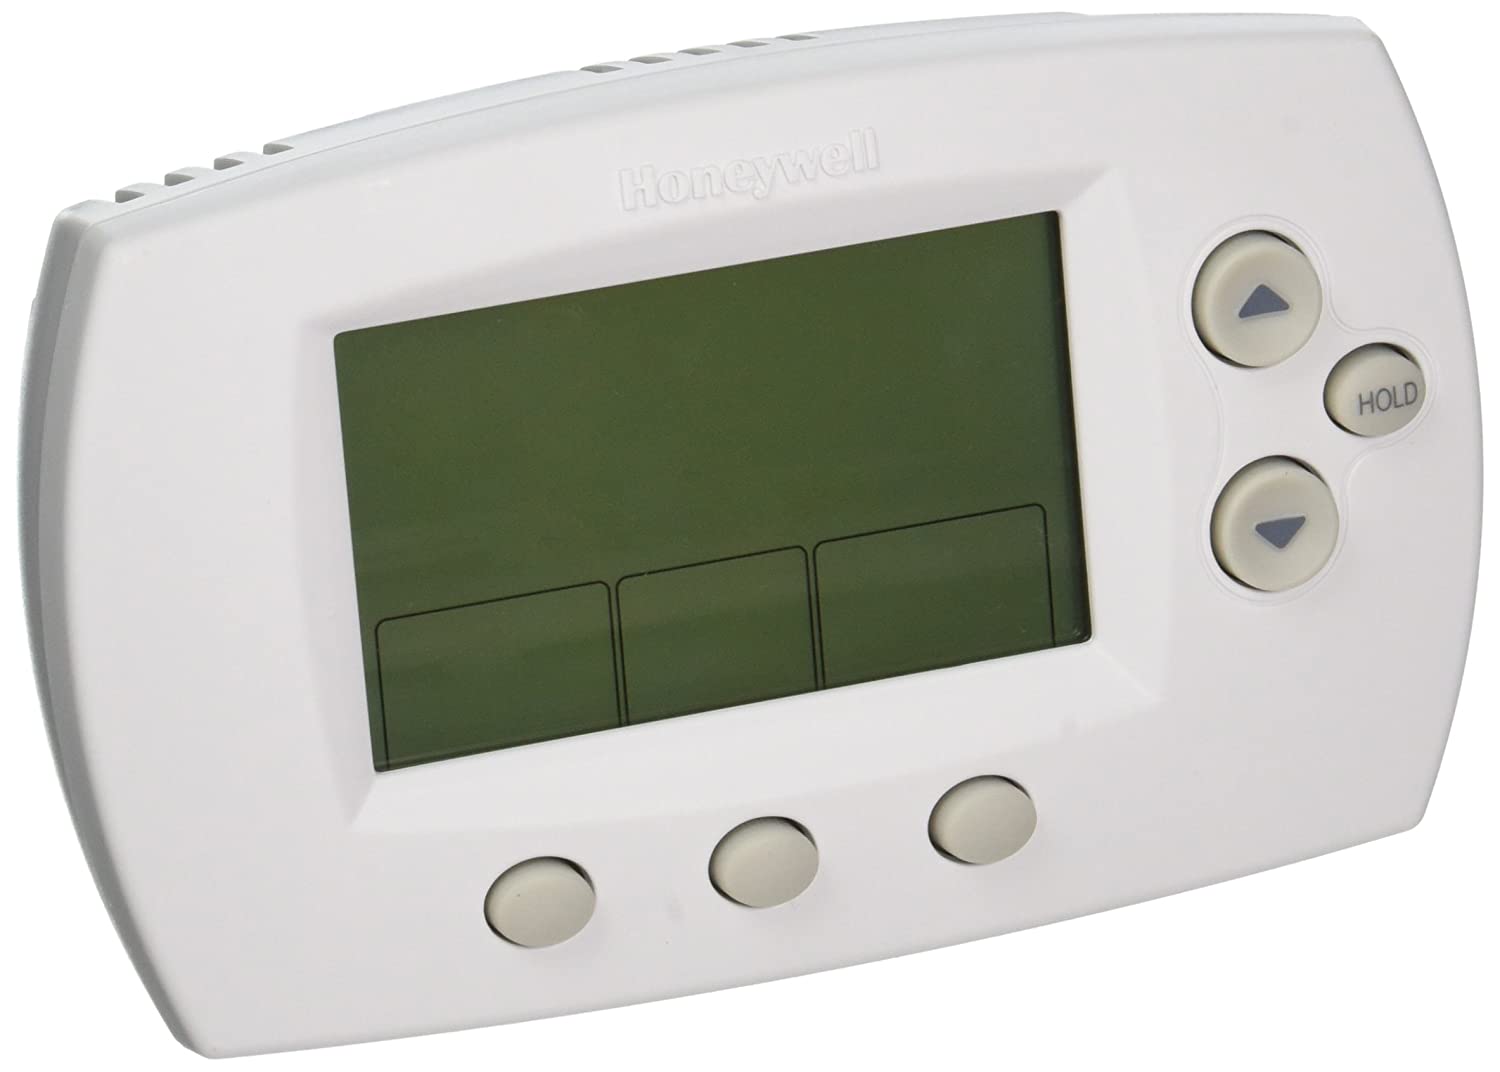
1. Verify Thermostat Settings:
This might sound obvious, but it's the most common culprit. Make absolutely certain your thermostat is set to HEAT mode (not COOL, AUTO, or EMERGENCY HEAT).
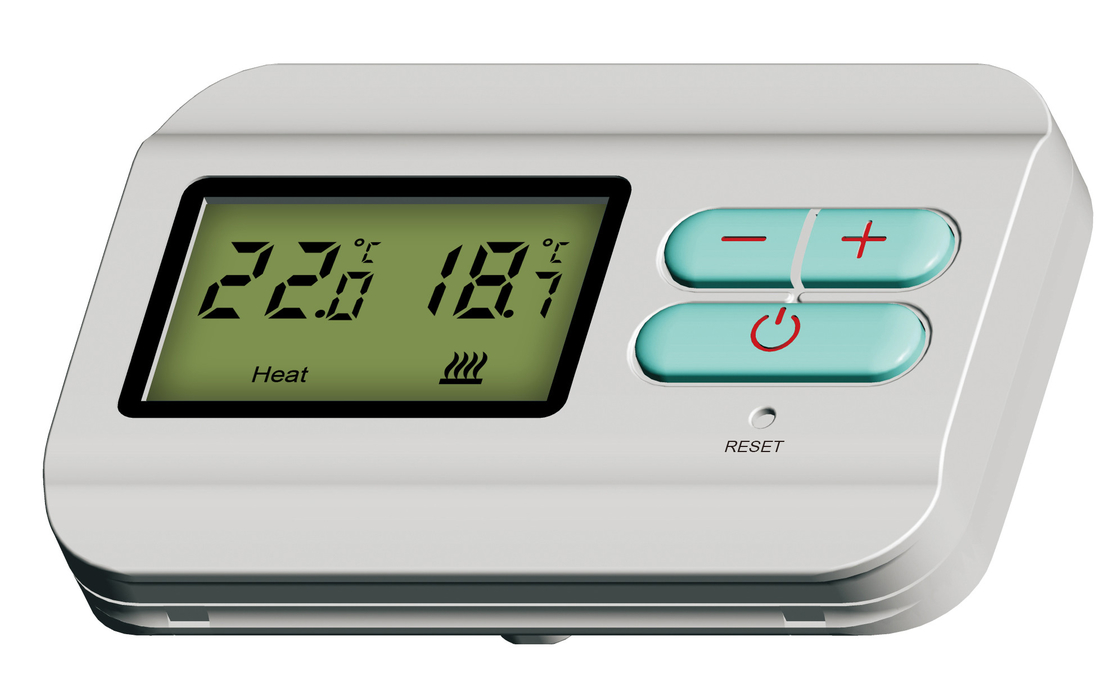
- Heat Mode: The heat pump should be the primary heating source.
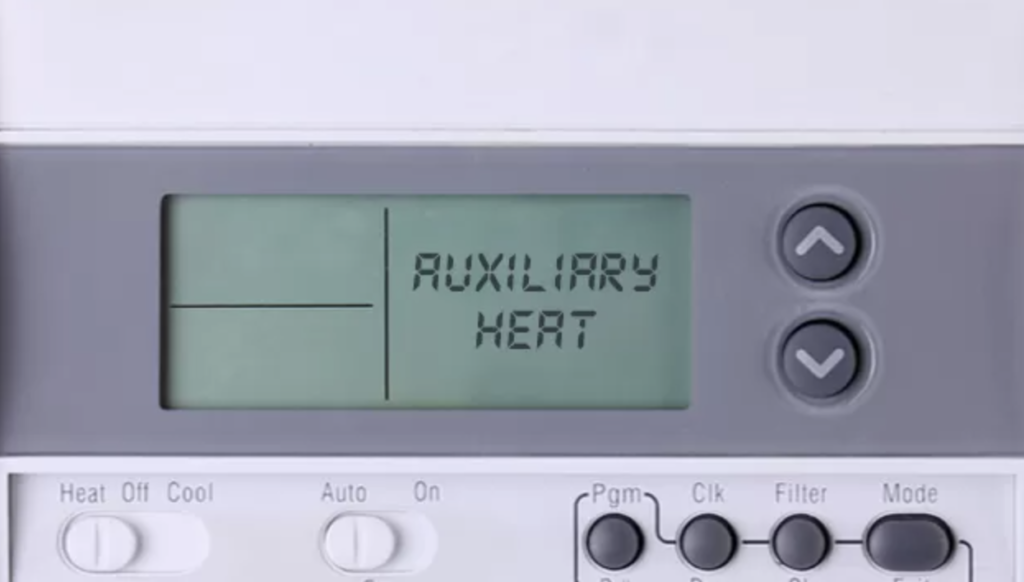
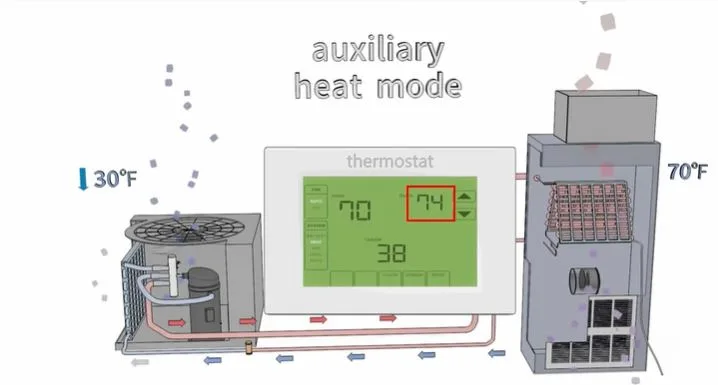
- Emergency Heat: This mode bypasses the heat pump and relies solely on the auxiliary heat, which is expensive to run.
- AUTO Mode: The system decides between heating and cooling based on temperature, and might not be functioning as intended.
Also, confirm that the set temperature is higher than the current room temperature. Try increasing the set temperature a few degrees and see if the system responds.
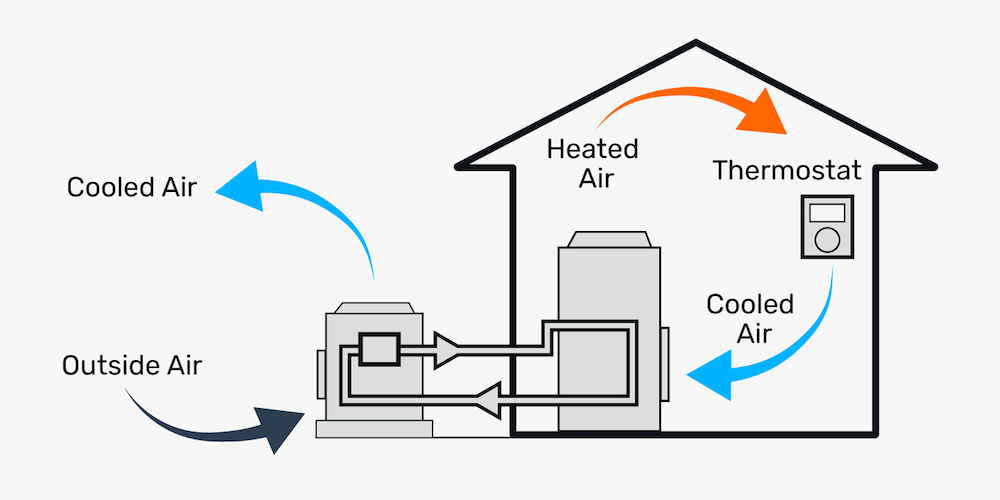
2. Check Airflow:
Restricted airflow can severely impact a heat pump's ability to heat or cool. Walk around the house and check all supply vents (where air blows out) and return vents (where air is sucked in).
- Supply Vents: Are they all open and unobstructed? Make sure furniture, rugs, or curtains aren't blocking them.
- Return Vents: These are crucial for air circulation. Check for dust buildup and obstructions.
3. Examine the Outdoor Unit (Heat Pump):
Safety First! Never stick your hands inside the unit. Observe from a safe distance.
- Ice Buildup: A thin layer of frost is normal, especially in cold weather. However, excessive ice buildup (covering most of the coils) indicates a defrost problem.
- Debris: Check for leaves, twigs, snow, or other debris blocking the unit. Clear away any visible obstructions.
- Fan Operation: Is the fan running smoothly? Listen for unusual noises (grinding, squealing) that might indicate a problem. Do not touch a fan that appears damaged or is making strange noises.
If the outdoor unit is heavily iced over, you can try the following briefly: Turn the thermostat to "OFF" for an hour or two to allow the unit to defrost naturally. Once defrosted, turn the thermostat back to HEAT and observe if the system functions normally. If the icing problem recurs quickly, it's a sign of a more serious issue requiring professional attention.
Step 2: Deeper Diagnosis (Basic Tools Required)
If the preliminary checks didn’t reveal the problem, you’ll need a few basic tools to proceed. This includes a multimeter, a screwdriver, and potentially a voltage tester. Always turn off power to the unit at the breaker before touching any electrical components. If you are uncomfortable with electrical work, skip this step and call an HVAC technician.
1. Air Filter Inspection and Replacement:
A dirty air filter is a prime suspect in reduced airflow and system inefficiency. This is arguably the most important DIY maintenance task.
- Location: Locate the air filter, usually near the indoor unit (furnace or air handler).
- Inspection: Remove the filter and hold it up to the light. If you can barely see through it, it's time for a replacement.
- Replacement: Replace the filter with a new one of the correct size and type (refer to your system's manual). Mark the date of installation on the filter to remind you when to change it again.
A clogged filter forces the system to work harder, causing the auxiliary heat to kick in more frequently and potentially damaging the heat pump.
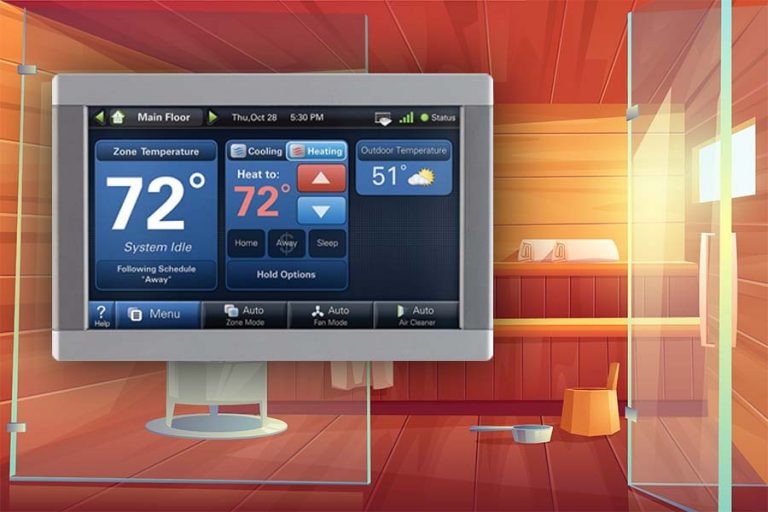
2. Thermostat Wiring Check:
Loose or corroded wiring at the thermostat can cause communication problems between the thermostat and the heat pump.
- Safety First: Turn off the power to the thermostat at the breaker.
- Access: Remove the thermostat from the wall plate.
- Inspection: Carefully examine the wires connected to the terminals. Look for loose connections, corrosion, or frayed wires.
- Tightening: If you find loose wires, gently tighten the screws securing them to the terminals.
- Cleaning: If you see corrosion, carefully clean the terminals with a small wire brush or contact cleaner.
- Reconnection: Ensure all wires are securely connected before reattaching the thermostat to the wall plate and restoring power. Take a picture of the wiring before disconnecting anything to ensure you can reconnect them correctly.
Incorrect wiring can lead to system malfunctions and even damage. If you are unsure about any of the wiring, consult a professional.
3. Breaker Panel Check:
The heat pump and auxiliary heat usually have separate breakers. A tripped breaker could prevent one or both from functioning correctly.
- Location: Locate your electrical panel.
- Identification: Identify the breakers for the heat pump and auxiliary heat (usually labeled).
- Inspection: Check if any breakers are tripped (switched to the "OFF" position or in a middle position).
- Resetting: If a breaker is tripped, flip it fully to the "OFF" position and then back to the "ON" position.
- Repeated Tripping: If a breaker trips repeatedly, do not keep resetting it. This indicates a more serious electrical problem that requires professional attention.
A repeatedly tripping breaker is a fire hazard and should be addressed immediately by a qualified electrician.
4. Inspect the Contactor:
The contactor is a switch that sends power to the outdoor unit. This requires a multimeter and knowledge of electrical safety. If you are not comfortable working with electricity, skip this step.
- Safety First: Turn off the power to the outdoor unit at the breaker.
- Access: Locate the contactor inside the outdoor unit's control panel. It's usually a small, rectangular device with several wires connected to it.
- Inspection: Use a multimeter to test the voltage going into and out of the contactor when the thermostat is calling for heat. If there is voltage going in but not coming out, the contactor may be faulty.
- Caution: This step involves working with electricity. If you are not comfortable, call a professional.
Step 3: When to Call a Professional
After performing the above checks, if the problem persists, it's time to call a qualified HVAC technician. Some issues are beyond the scope of DIY and require specialized knowledge and equipment.
Call a professional if:
- Refrigerant Leaks: Low refrigerant levels can significantly reduce the heat pump's efficiency. Refrigerant leaks are difficult to detect without specialized equipment.
- Compressor Problems: The compressor is the heart of the heat pump. If it's failing, the system won't heat or cool properly.
- Defrost Issues: If the heat pump is constantly iced over despite being set to heat mode, there's likely a problem with the defrost cycle.
- Electrical Issues: Any issues involving exposed wiring or repeatedly tripping breakers require immediate professional attention.
- Strange Noises: Unusual noises (grinding, squealing, hissing) from the heat pump or indoor unit could indicate a mechanical problem.
- You are uncomfortable or unsure about any of the steps outlined above. Your safety is paramount.
Remember: Regular maintenance, such as changing the air filter and cleaning the outdoor unit, can help prevent many of these issues. A professional HVAC tune-up once a year can also keep your system running efficiently and extend its lifespan. Don't hesitate to seek professional help when needed. It's better to address a problem early than to risk further damage or a costly repair.
By following these steps, you can systematically troubleshoot common heat pump issues and potentially save yourself a service call. However, always prioritize safety and don't hesitate to call a professional when necessary. A well-maintained heat pump will provide comfortable heating and cooling for years to come.