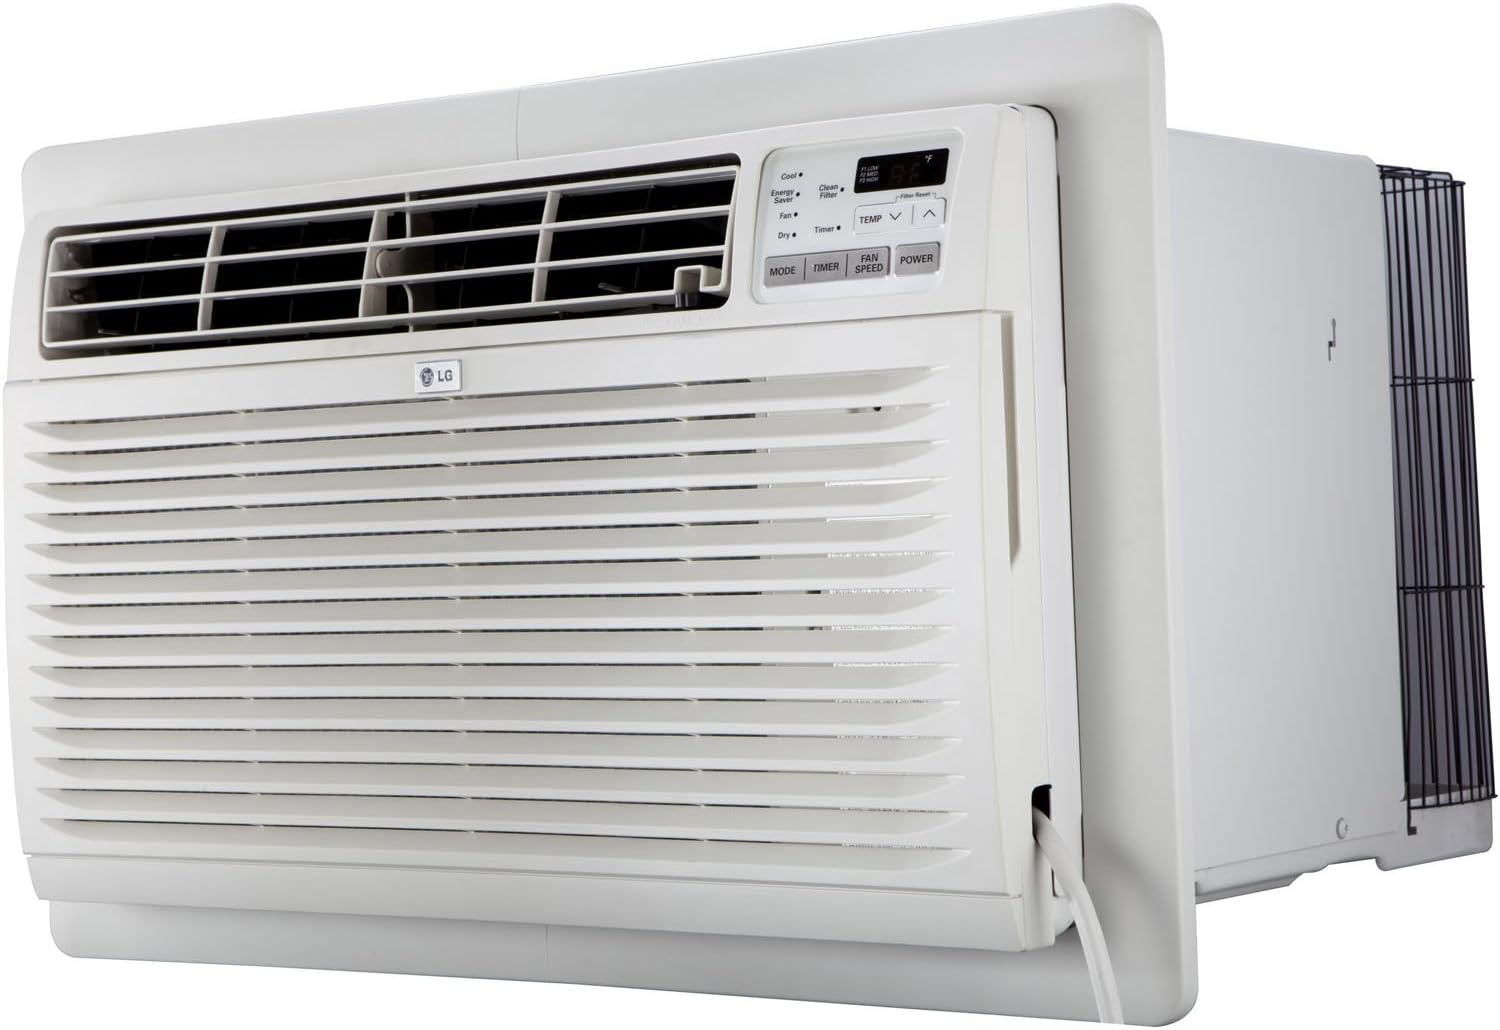
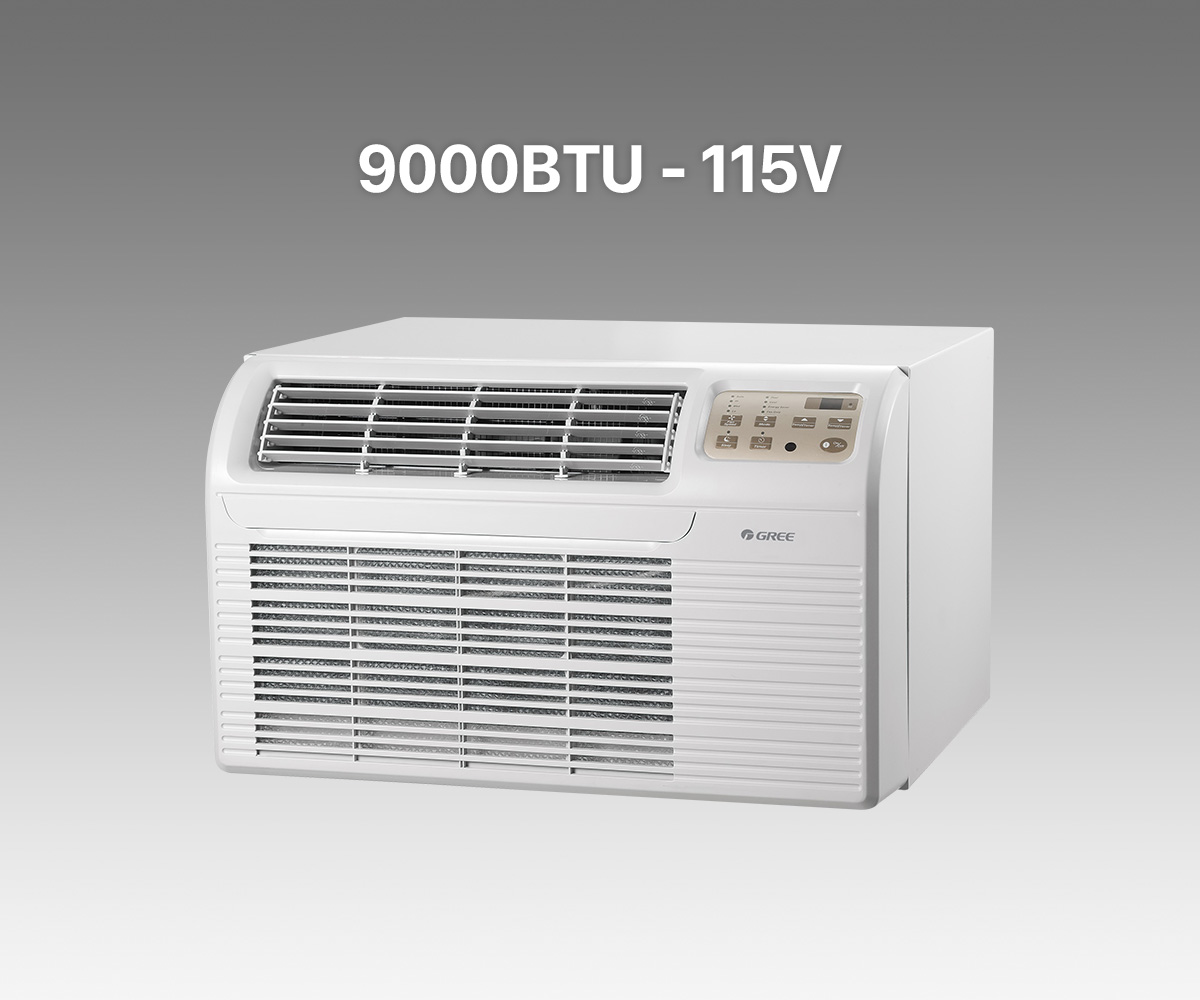
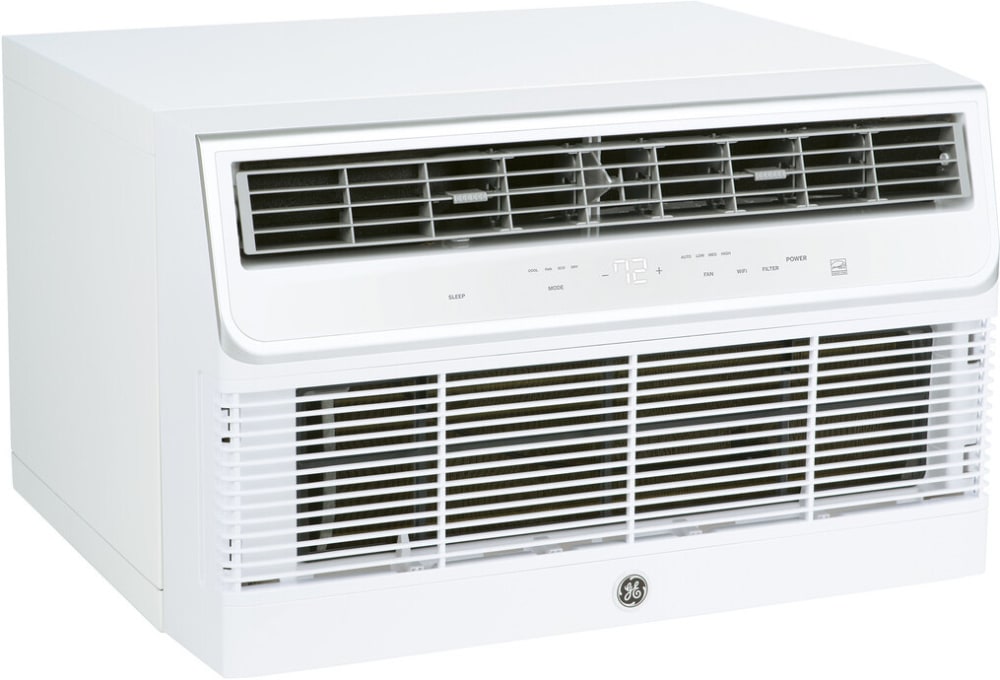
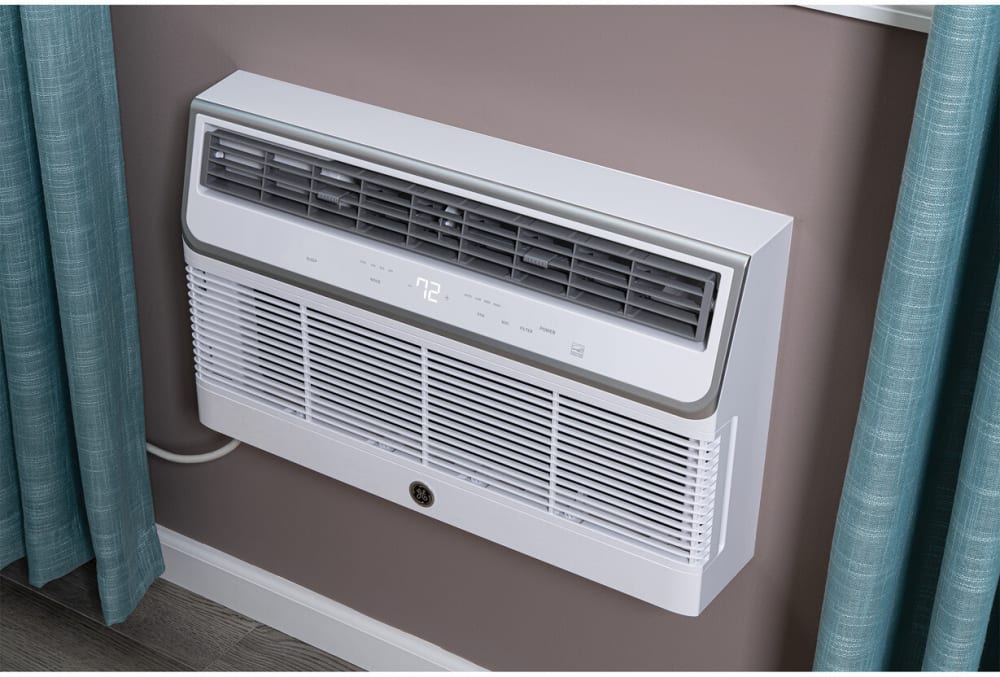
Through-the-wall Air Conditioner 26 X 17
Through-the-wall air conditioners, especially the standard 26 x 17 inch size, are a convenient cooling solution for many homes. However, like any appliance, they can experience problems. One very common issue homeowners face is a lack of cooling, even when the unit is running. This can be incredibly frustrating, especially during hot weather. Before calling a technician, let's explore some simple troubleshooting steps you can take to diagnose and potentially fix the problem yourself.
Step 1: Initial Assessment and Safety First
Before you touch anything, remember safety is paramount.
- Unplug the unit: Disconnect the air conditioner from the power outlet. This prevents any accidental shocks during your inspection.
- Wait a few minutes: Give the unit a few minutes to fully power down before proceeding.
- Visual inspection: Take a good look at the unit, both inside and out. Are there any obvious signs of damage, like dents, broken fins, or leaking water? Make a note of anything you see.
Checking the Basics
Start with the simplest things first. Sometimes, the problem is an easy fix.
- Thermostat Setting: Ensure the thermostat is set correctly. Make sure it's set to a temperature lower than the current room temperature and that the cooling mode is selected (usually indicated by a snowflake or 'cool' setting). It seems obvious, but it's a common mistake!
- Airflow Obstructions: Check for anything blocking the airflow around the unit, both inside and outside. This could include furniture, curtains, or debris. Restricted airflow severely limits the unit's ability to cool.
- Circuit Breaker: Go to your electrical panel and check the circuit breaker for the air conditioner. If the breaker has tripped, reset it. If it trips again immediately or soon after, this indicates a more serious electrical problem requiring a professional.
Step 2: Cleaning and Maintenance
A dirty air conditioner can't function efficiently. Cleaning is a crucial step in troubleshooting.
Cleaning the Air Filter
The air filter is your first line of defense against dust and debris. A clogged filter restricts airflow, making the unit work harder and less effectively. Most through-the-wall units have a removable filter, usually located at the front of the unit, behind a grille.
- Remove the filter: Refer to your owner's manual for specific instructions on how to remove the filter.
- Clean the filter: You can either vacuum the filter with a brush attachment or wash it with mild soap and water. If washing, ensure the filter is completely dry before reinstalling it. Moisture can promote mold growth and damage the unit.
- Replace the filter (if necessary): If the filter is old, damaged, or heavily soiled, replace it with a new one of the correct size. Check your owner's manual for the correct filter type.
- Reinstall the filter: Carefully reinsert the clean and dry filter into the unit.
Cleaning the Coils
The condenser and evaporator coils are responsible for transferring heat. If they're covered in dirt and debris, their ability to transfer heat is significantly reduced. Cleaning these coils can dramatically improve cooling performance. Unplug the unit before proceeding!
- Access the coils: Accessing the coils typically involves removing the outer casing of the unit. This may require a screwdriver. Consult your owner's manual for specific instructions. Be careful not to damage any internal components during disassembly.
- Vacuum the coils: Use a brush attachment on your vacuum cleaner to gently remove loose dirt and debris from the coils. Be careful not to bend or damage the delicate fins.
- Use a coil cleaner (optional): For stubborn dirt and grime, you can use a commercially available coil cleaner. Follow the instructions on the cleaner carefully. Ensure the area is well-ventilated.
- Rinse the coils (if necessary): If you used a coil cleaner, rinse the coils with water to remove any residue. Allow the coils to dry completely before reassembling the unit.
- Reassemble the unit: Carefully reassemble the outer casing of the unit, ensuring all screws are properly tightened.
Step 3: Checking for Frost Buildup
Frost buildup on the coils can also prevent cooling. This often indicates a problem with airflow or refrigerant.
- Inspect the coils: After running the unit for a while (after cleaning), check the evaporator coils (usually the ones inside the room). Look for excessive frost buildup. A thin layer of frost is normal, but a thick, solid block of ice is not.
- If frost is present: Turn off the unit and let the frost melt completely. This may take several hours.
- Identify the cause: Once the frost has melted, try to identify the cause. Is the air filter dirty? Is airflow restricted? If the problem persists even after cleaning the filter and ensuring proper airflow, it could indicate a more serious issue, such as a refrigerant leak or a faulty compressor.
Step 4: Inspecting the Fan Motor and Blades
The fan motor and blades are crucial for circulating air through the unit. A malfunctioning fan can significantly reduce cooling performance.
- Check the fan blades: Ensure the fan blades are clean and free from obstructions. Debris can cause the blades to become unbalanced, reducing their efficiency. Also, check the blades physically. Look for cracks and other damage.
- Listen for unusual noises: When the unit is running, listen for any unusual noises coming from the fan motor. Grinding, squealing, or rattling noises can indicate a problem with the motor bearings or other components.
- Test the fan motor (carefully): If you suspect a problem with the fan motor, you can try to manually spin the fan blades with the unit unplugged. The blades should spin freely. If they feel stiff or difficult to turn, the motor may be failing.
Step 5: Checking the Condensate Drain
Air conditioners remove moisture from the air, which is collected in a condensate pan and drained away. A clogged drain can cause water to leak from the unit or prevent it from cooling properly.
- Locate the drain: The condensate drain is typically located at the back of the unit. It may be a small opening or a hose connection.
- Check for clogs: Look for any signs of blockage in the drain, such as standing water or debris.
- Clear the drain: You can try to clear the drain with a stiff wire or a wet/dry vacuum cleaner. Be gentle to avoid damaging the drain.
- Pour in a solution (optional): You can also pour a solution of equal parts water and bleach into the drain to help prevent future clogs.
When to Call a Professional
While many air conditioner problems can be resolved with simple DIY troubleshooting, some issues require the expertise of a qualified technician. Do not attempt repairs that you are not comfortable with or that involve handling refrigerant or electrical components.
Call a professional if:
- Refrigerant Leaks: If you suspect a refrigerant leak (e.g., hissing sound, oily residue near the unit), do not attempt to repair it yourself. Refrigerant is a hazardous substance and should only be handled by a certified technician.
- Electrical Problems: If you experience frequent circuit breaker trips, sparking, or burning smells, immediately turn off the unit and call an electrician.
- Compressor Issues: The compressor is the heart of the air conditioner. If it's making unusual noises or not running at all, it likely needs to be replaced by a professional.
- Motor Replacement: If the fan motor is clearly faulty and requires replacement, this is often a job best left to a technician, especially if it involves wiring or specialized tools.
- Persistent Problems: If you've tried all of the troubleshooting steps outlined above and the unit is still not cooling properly, it's time to call a professional. They have the tools and expertise to diagnose and repair more complex issues.
- Unit is Old or Damaged: If the unit is old (more than 10 years) and has experienced multiple problems, it may be more cost-effective to replace it rather than continue to repair it.
Remember, safety should always be your top priority. If you're unsure about any aspect of the repair process, it's always best to err on the side of caution and call a qualified technician.
By following these steps, you can often diagnose and fix common cooling problems with your 26 x 17 through-the-wall air conditioner, saving you time and money. A little preventative maintenance can go a long way in keeping your unit running efficiently for years to come.