Traeger How Long To Ignite
Imagine this: It's a beautiful Saturday morning, you've prepped your ribs, and you're ready to fire up your Traeger for a low-and-slow cook. But instead of the satisfying roar of the fire pot igniting, you're met with silence... or worse, just smoke. A slow or non-existent ignition is a common frustration with pellet grills, but thankfully, many causes have simple solutions you can try before calling a professional.
Troubleshooting Your Traeger's Ignition: A Step-by-Step Guide
This guide provides a structured approach to diagnosing and resolving ignition issues with your Traeger pellet grill. Remember to always prioritize safety. If you're uncomfortable with any of these steps or suspect a gas leak, stop immediately and contact a qualified technician.
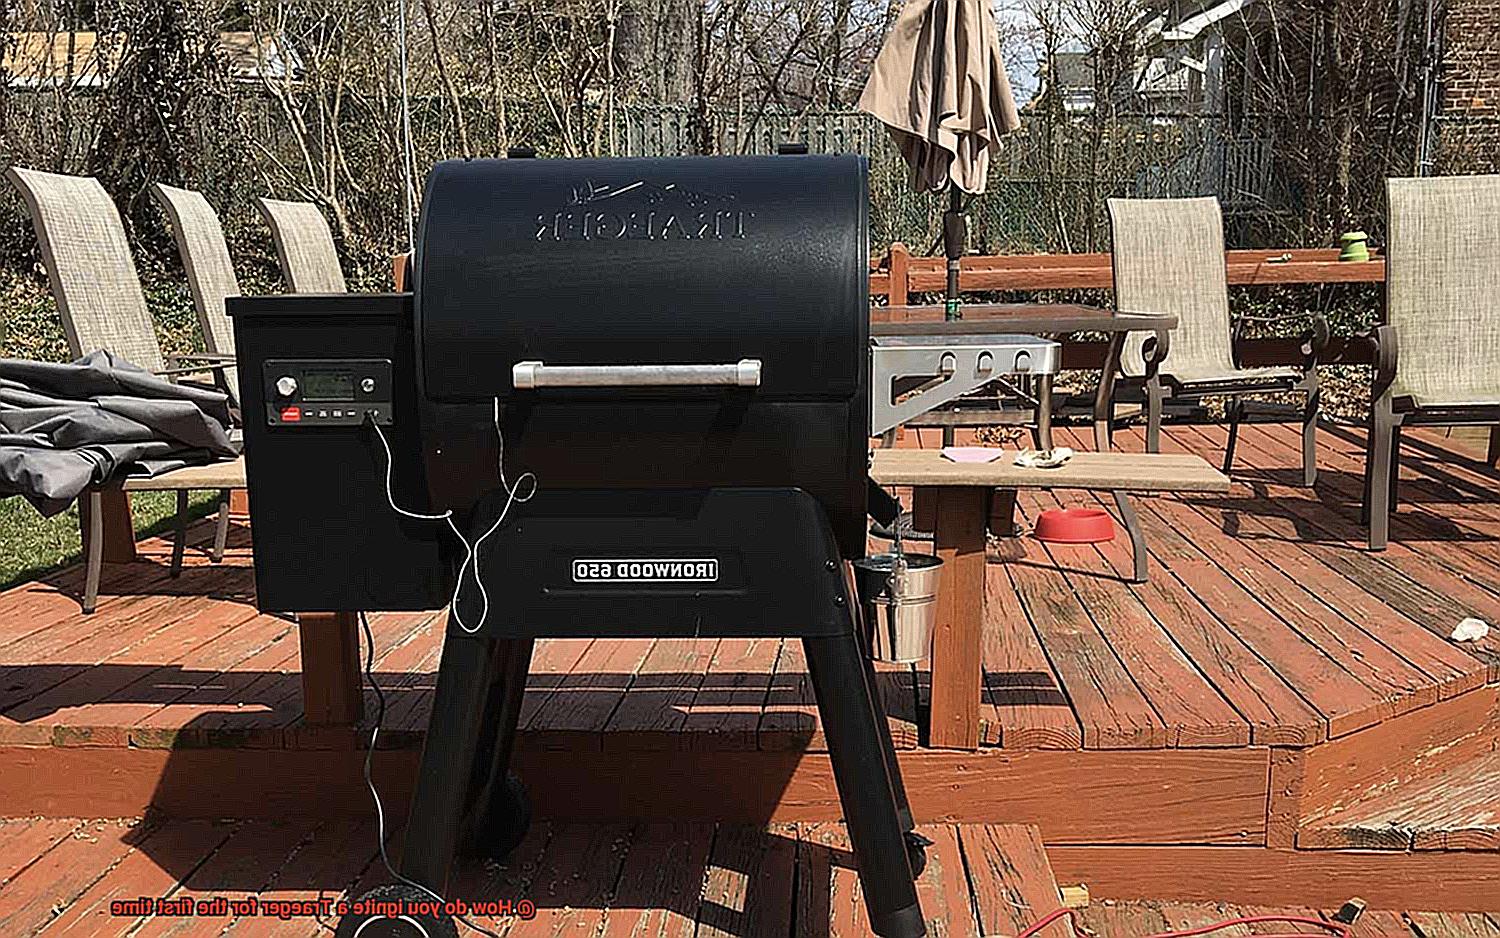
Step 1: Verify Power and Connections
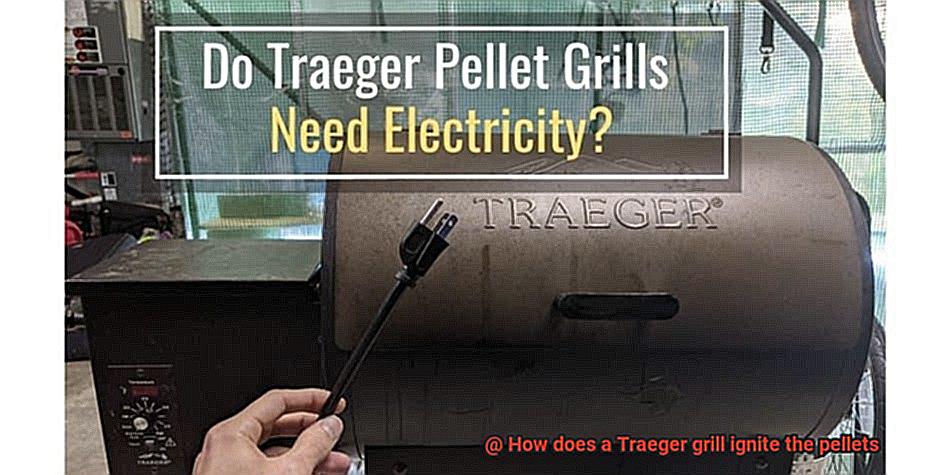
The most basic, yet often overlooked, first step is ensuring your Traeger is properly powered. Even if the controller lights up, there might be an issue preventing the igniter from receiving sufficient power.
- Check the Power Outlet: Plug the Traeger into a different outlet to rule out a faulty outlet. Use a known-good appliance (like a lamp) to test the original outlet.
- Inspect the Power Cord: Look for any visible damage to the power cord, such as cuts, frays, or exposed wires. Do not use the Traeger if the power cord is damaged. Replace the cord or contact a professional.
- Extension Cord (If Applicable): Avoid using extension cords if possible. If you must use one, ensure it's a heavy-duty outdoor extension cord with the appropriate amperage rating for your Traeger. A thin or weak extension cord can cause voltage drop, hindering ignition.
- GFCI Outlet: If you're using a GFCI outlet, ensure it hasn't tripped. Reset the GFCI outlet and try again.
Step 2: Check the Hopper and Pellet Feed System
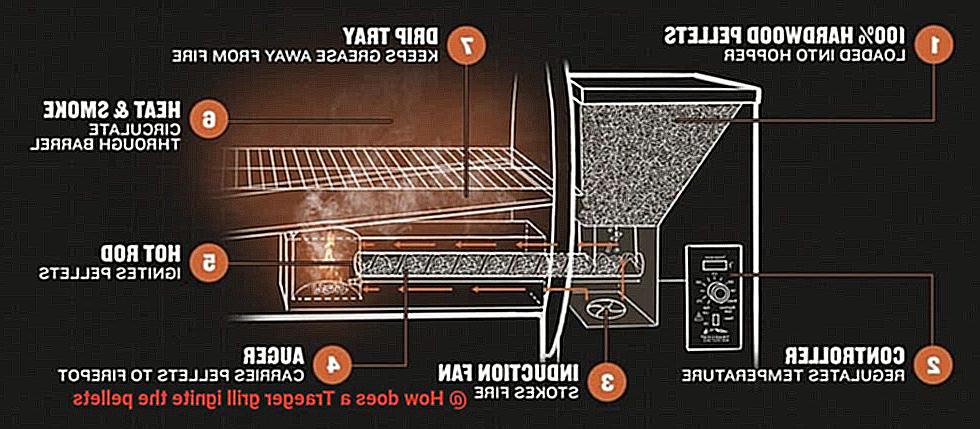
The Traeger relies on a steady supply of pellets to the fire pot. Issues with the hopper or auger can prevent ignition.
- Hopper Level: Make sure there are enough pellets in the hopper. A near-empty hopper can prevent the auger from feeding pellets properly.
- Pellet Quality: Are the pellets fresh and dry? Old or damp pellets don't ignite easily and can clog the auger. Discard any suspect pellets. Ideally, store your pellets in an airtight container in a dry place.
- Pellet Type: Ensure you're using wood pellets specifically designed for pellet grills. Heating pellets are not suitable and can damage your grill.
- Auger Inspection: With the grill unplugged, use a flashlight to inspect the auger tube for any obstructions (old pellets, debris).
- Auger Motor Function: Listen closely when you turn on the grill. Can you hear the auger motor running? If not, the motor might be faulty (more on this later).
Step 3: Prime the Auger
If the auger tube is empty, it needs to be primed before ignition can occur. This usually involves manually feeding pellets into the auger.
- Initial Start-Up: When starting the Traeger for the very first time or after running out of pellets completely, it's crucial to prime the auger.
- "Prime" Setting (If Available): Some Traeger models have a "Prime" or "Auger Prime" setting. Consult your owner's manual for instructions on how to use this feature. It will typically run the auger continuously until pellets are detected in the fire pot.
- Manual Priming (If No "Prime" Setting): If your Traeger doesn't have a "Prime" setting, you may need to manually prime the auger. Unplug the grill. Then, carefully pour a small handful of pellets directly into the fire pot. Plug the grill back in and start the ignition process. Repeat this process a few times if necessary, until you see pellets dropping into the fire pot.
Step 4: Clean the Fire Pot
Ash buildup in the fire pot is a major culprit behind ignition problems. Regular cleaning is essential for optimal performance.
- Frequency: Clean the fire pot after every 2-3 cooks, or more frequently if you use your Traeger often.
- Procedure:
- Completely cool down the grill.
- Remove the grates, drip tray, and heat baffle.
- Use a shop vacuum to thoroughly remove all ash from the fire pot. Pay close attention to the igniter, ensuring it's free from debris.
- Reassemble the grill.
Step 5: Inspect the Igniter Rod (Hot Rod)
The igniter rod, also known as the hot rod, is responsible for heating the pellets to ignition temperature. A faulty igniter is a common cause of ignition failure.
- Visual Inspection: With the grill unplugged and completely cool, carefully examine the igniter rod. Look for any signs of damage, such as cracks, breaks, or swelling.
- Resistance Test (Advanced - Use Caution): This test requires a multimeter and some electrical knowledge. If you're not comfortable working with electricity, skip this step and contact a professional.
- Unplug the grill.
- Locate the igniter rod's wiring connections (usually behind the control panel).
- Disconnect the wires from the igniter rod.
- Set your multimeter to the Ohms (resistance) setting.
- Touch the multimeter probes to the two terminals of the igniter rod.
- A healthy igniter rod should have a resistance reading of approximately 50-60 Ohms. If the reading is significantly higher, lower, or shows "OL" (Open Loop), the igniter rod is likely faulty and needs to be replaced.
- Igniter Replacement: Replacing the igniter rod is a relatively straightforward DIY project on many Traeger models. However, it involves working with electricity, so if you're not comfortable, hire a professional. Replacement igniters are readily available online or at Traeger retailers. Follow the manufacturer's instructions for your specific model.
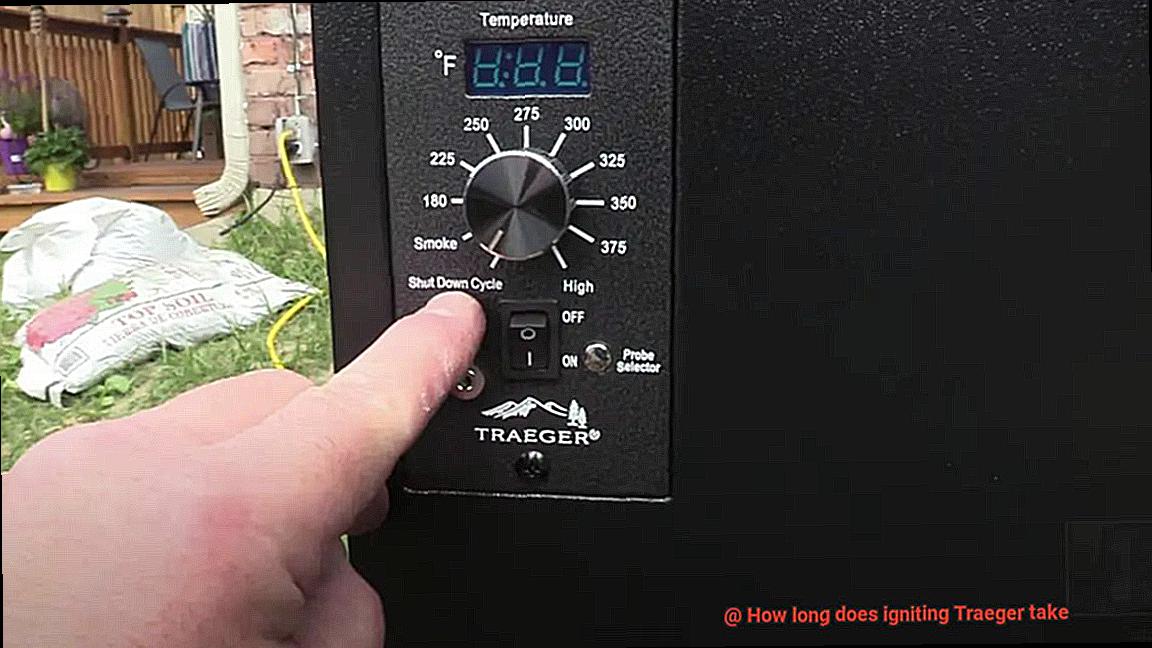
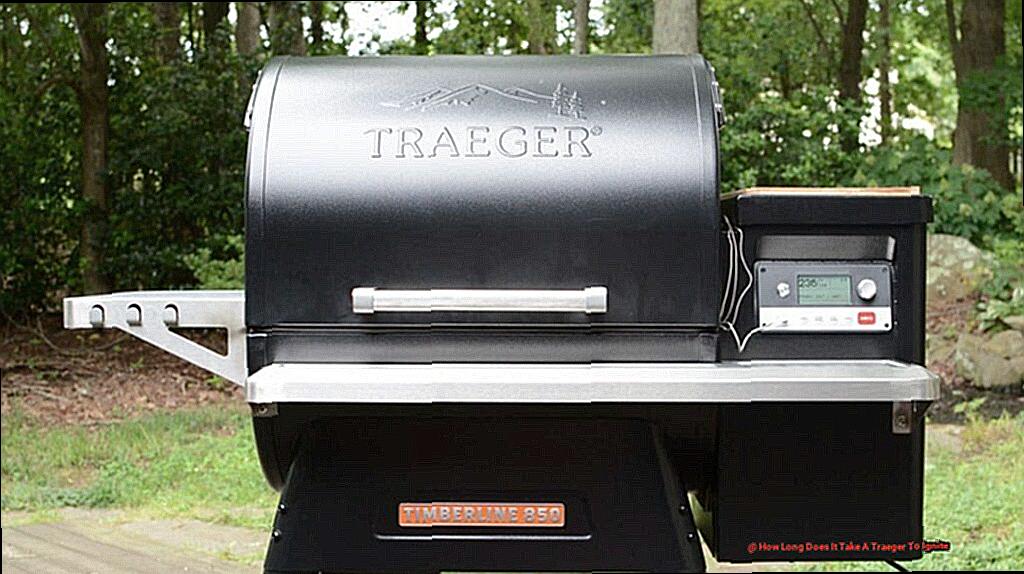
Step 6: Controller Issues
The Traeger controller manages the entire ignition process. A malfunctioning controller can prevent the igniter from receiving power or the auger from feeding pellets.
- Controller Display: Does the controller display any error codes? Consult your owner's manual to decipher the error code and follow the recommended troubleshooting steps.
- Controller Reset: Try resetting the controller. This often involves unplugging the grill for a few minutes and then plugging it back in. Consult your owner's manual for specific reset instructions for your model.
- Controller Replacement (Advanced): Replacing the controller is a more complex repair that usually requires some electrical knowledge. If you suspect a controller issue and are not comfortable with electrical work, consult a qualified technician.
Step 7: Grease Buildup
Excessive grease buildup in the grill can not only create a fire hazard but also interfere with ignition. While less common, grease buildup can smother the initial flame.
- Regular Cleaning: Clean your Traeger regularly to prevent grease buildup.
- Grease Trap: Empty the grease trap frequently.
- Drip Tray Liner: Consider using drip tray liners to make cleanup easier.
- Inspect the Fire Pot Area: Look around the fire pot for any accumulated grease. Clean thoroughly if needed.
Step 8: Auger Motor
If the auger motor isn't functioning, pellets won't be delivered to the fire pot.
- Listen Carefully: When you start the grill, listen closely for the auger motor. You should hear a humming or whirring sound. If you hear nothing, the motor might be dead or jammed.
- Motor Test (Advanced - Requires Multimeter): Proceed with caution. Disconnect the grill from power. Locate the wires leading to the auger motor. Using a multimeter set to voltage (DC), test for voltage at the motor terminals when the grill is supposed to be feeding pellets. If there's no voltage, the problem is likely with the controller or wiring. If there's voltage, the motor is likely faulty.
- Auger Motor Replacement (Advanced): Replacing the auger motor can be challenging. If you're not mechanically inclined, seek professional assistance.
When to Call a Professional
While many Traeger ignition issues can be resolved with simple DIY fixes, some situations require the expertise of a qualified technician. Do not attempt repairs involving gas lines, complex electrical components, or if you're uncomfortable working with electricity. Here are some scenarios where professional help is recommended:
- Gas Leak: If you suspect a gas leak (propane models), immediately turn off the gas supply and contact your gas company or a qualified gas technician.
- Complex Electrical Issues: If you're not comfortable working with electrical wiring or troubleshooting electrical components, leave it to the professionals.
- Controller Malfunctions: If you've tried resetting the controller and it's still not functioning properly, a professional can diagnose the problem and replace the controller if necessary.
- Auger Motor Replacement (If Uncomfortable): As mentioned earlier, auger motor replacement can be challenging, especially if the motor is difficult to access.
- Warranty Concerns: If your Traeger is still under warranty, attempting DIY repairs might void the warranty. Contact Traeger customer support before attempting any repairs.
By following these steps, you can effectively troubleshoot most Traeger ignition problems and get back to grilling your favorite foods. Remember to prioritize safety and don't hesitate to seek professional help when needed. Happy grilling!